
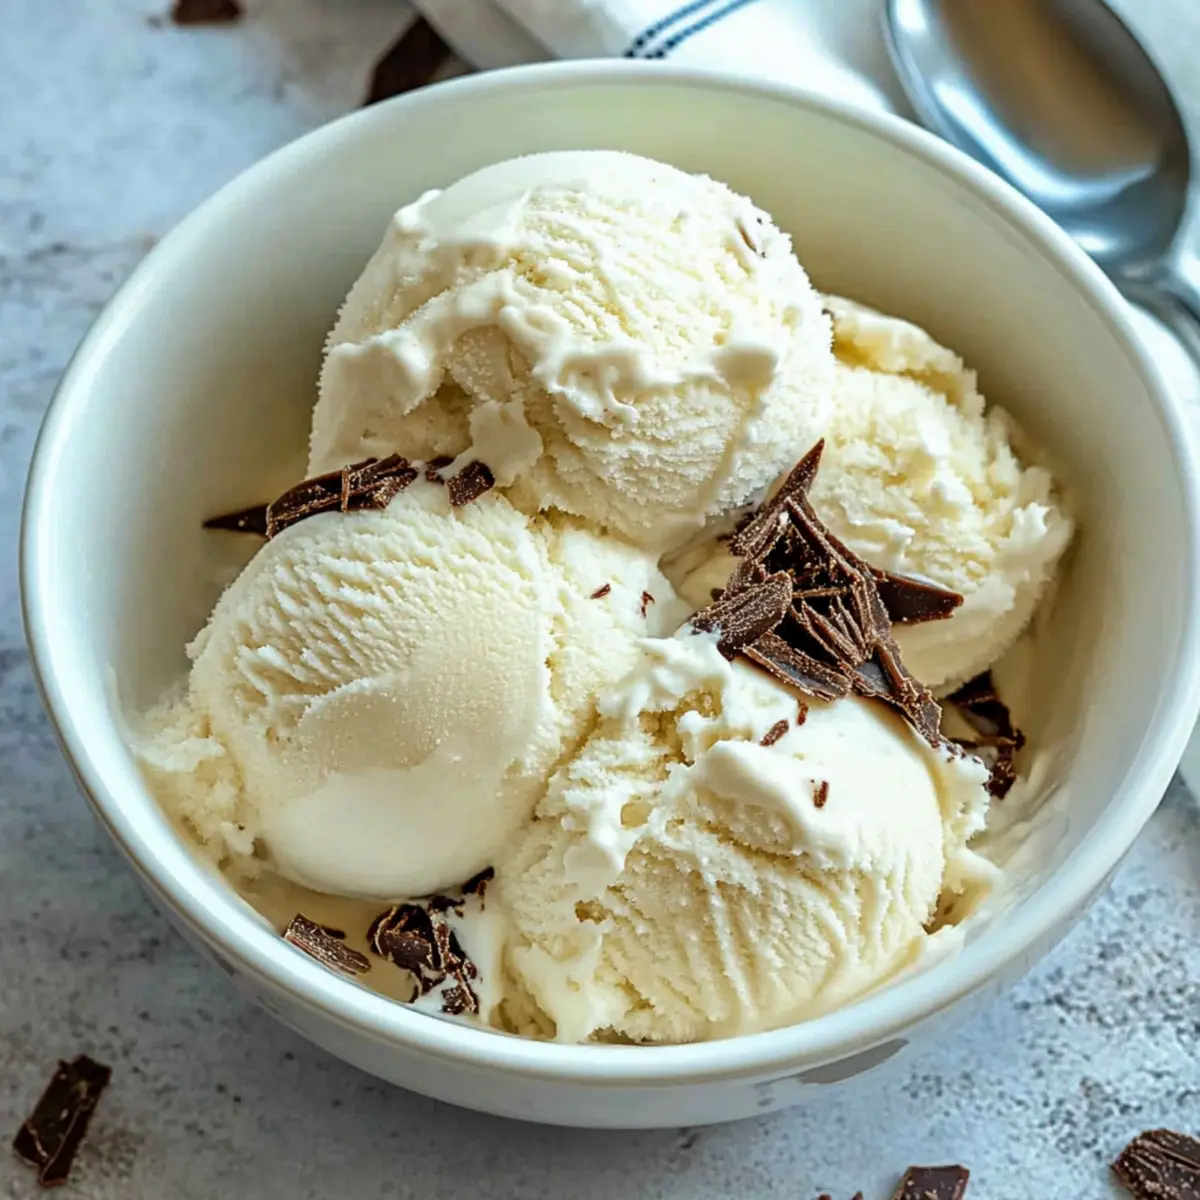
On a warm summer evening, nothing quite compares to the joy of indulging in a scoop of creamy vanilla ice cream. This Easiest 4-Ingredient Creamy Vanilla Ice Cream recipe transforms simple pantry staples into a luscious treat that’s perfect for beating the heat. With just four ingredients and a preparation time of under five minutes, you’ll whip up a homemade dessert that’s free of artificial additives and packed with heartwarming flavor. Whether you enjoy it in a cone or as a base for your favorite toppings, this recipe is sure to captivate family and friends alike. Are you ready to discover the pleasures of making ice cream from scratch? Let’s dive into this delightful journey!
Why Make Vanilla Ice Cream at Home?
Homemade Delight: There’s nothing quite like the taste of fresh, creamy vanilla ice cream made right in your own kitchen.
Quick Preparation: With a prep time under five minutes, you can enjoy this delicious treat without spending hours in the kitchen.
Four Simple Ingredients: No need for fancy additives—just sugar, half and half, vanilla, and heavy cream!
Guilt-Free Indulgence: Free from artificial ingredients, this ice cream is as wholesome as it is satisfying, making it perfect for any occasion.
Customizable Flavors: Feel free to get creative by adding mix-ins like crushed Oreos or pureed strawberries.
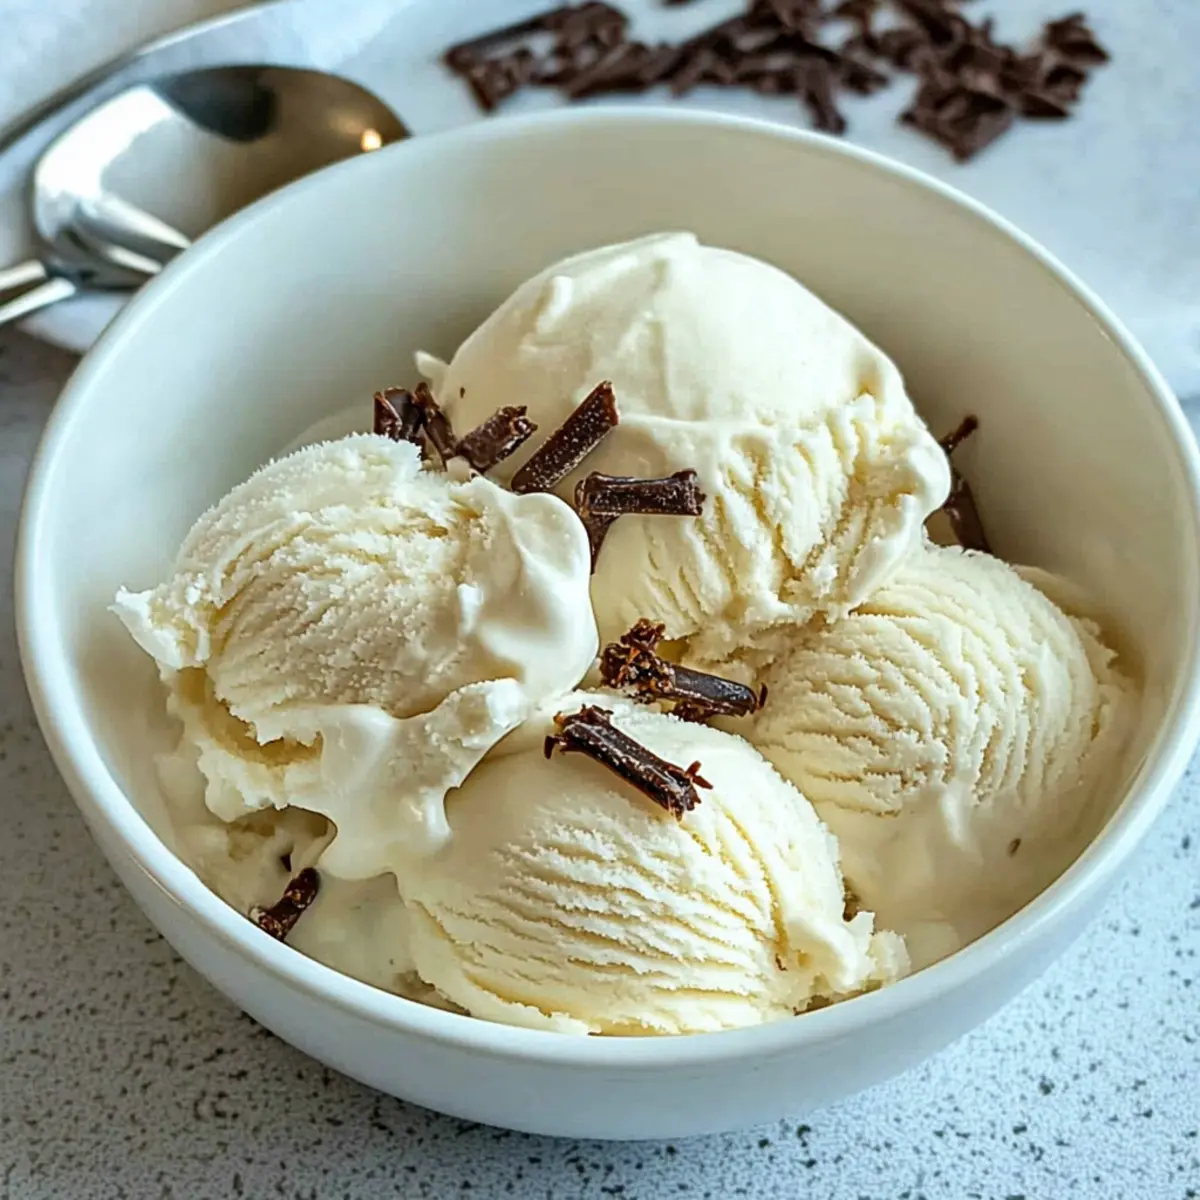
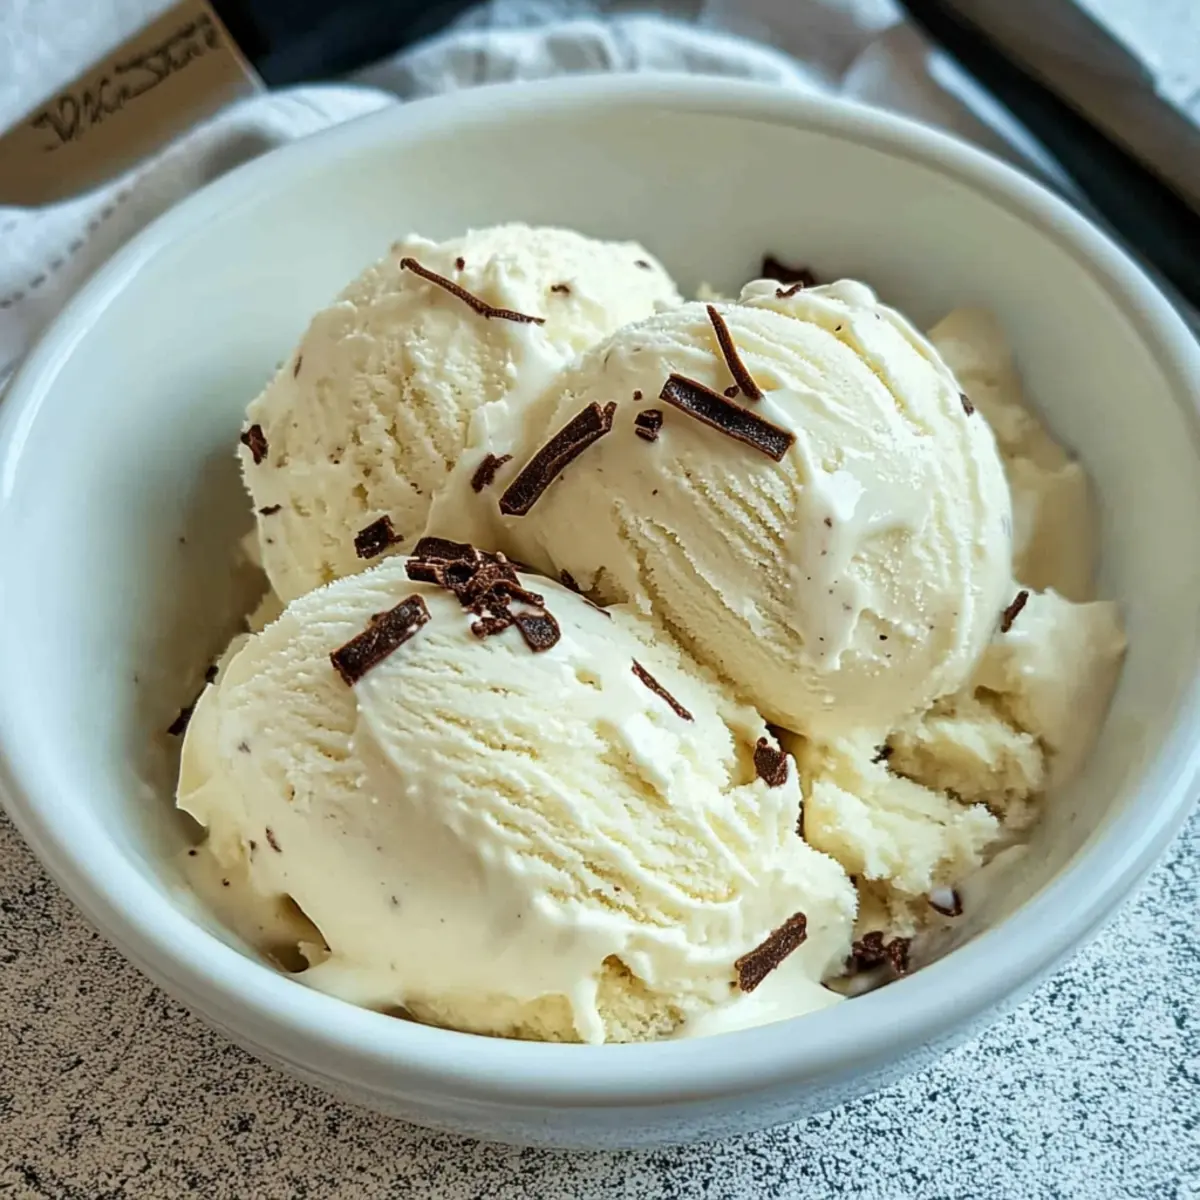
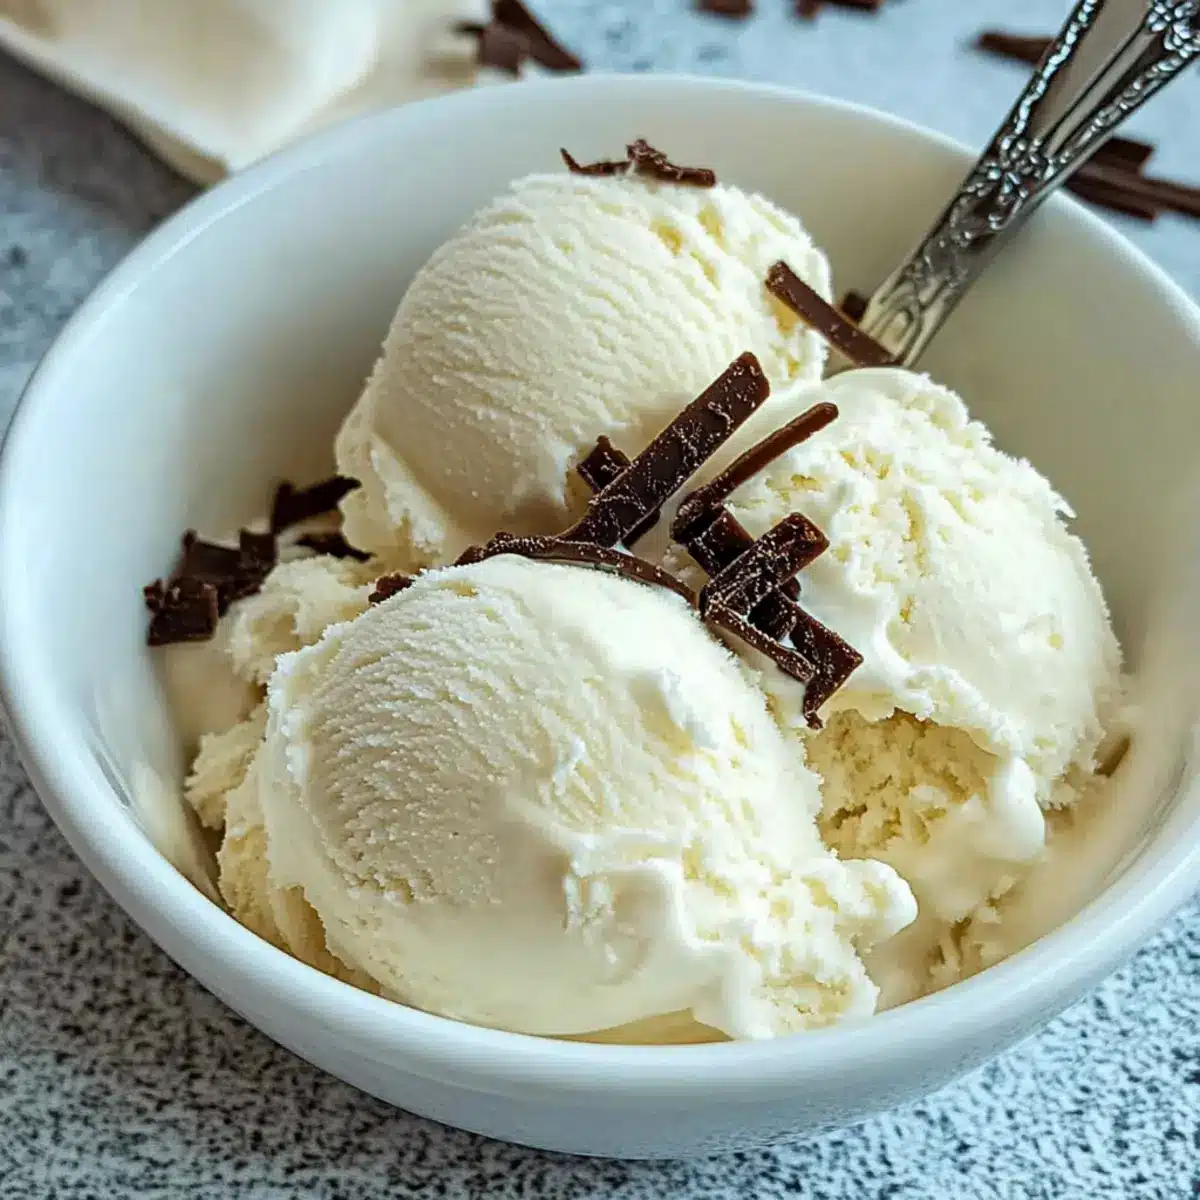
Serve it alongside a slice of pie or drizzle it with chocolate sauce for an even more indulgent experience! Enjoy this creamy vanilla ice cream as a base for toppings from your favorite dessert recipes like Vanilla Cinnamon Buttermilk or even Street Corn Cucumber salad for a unique twist!
Vanilla Ice Cream Ingredients
- For the Base
• 1 cup sugar – Sweetens the mix while balancing the cream’s richness; honey or maple syrup can be used as alternatives.
• 2 cups half and half – Provides a creamy base; substitute with full-fat coconut milk for a non-dairy option.
• 1 tablespoon real vanilla extract – Delivers authentic vanilla flavor; consider vanilla bean paste for an extra gourmet touch.
• 2 cups heavy whipping cream – Key for achieving a luscious texture; avoid low-fat creams, as they may compromise creaminess.
With these simple ingredients, you’re just moments away from enjoying your own homemade vanilla ice cream!
Step‑by‑Step Instructions for Easiest 4-Ingredient Creamy Vanilla Ice Cream
Step 1: Whisk the Base
In a large mixing bowl, combine 1 cup of sugar and 2 cups of half and half. Use a whisk to mix thoroughly until the sugar is completely dissolved, which typically takes about 2 minutes. Aim for a smooth, integrated mixture without any gritty texture. This step is crucial as it lays the foundation for your creamy vanilla ice cream.
Step 2: Add Cream and Flavor
Next, incorporate 1 tablespoon of real vanilla extract and 2 cups of heavy whipping cream into the sugar and half and half mixture. Whisk gently to combine all the ingredients evenly, ensuring a rich and creamy vanilla flavor. This step should only take about 1 minute. You’ll see the mixture becoming thicker and more homogeneous, perfect for your ice cream base.
Step 3: Pour into Ice Cream Maker
Pour the completed vanilla ice cream base into your ice cream maker, making sure to follow the manufacturer’s directions for maximum effectiveness. If your machine requires chilling the bowl beforehand, be sure to plan ahead. This process should take around 5 minutes to set up and prepare for churning.
Step 4: Churn to Soft-Serve Consistency
Churn the mixture in the ice cream maker according to the manufacturer’s instructions, usually ranging from 20 to 30 minutes. Keep an eye on the texture—the ideal consistency for vanilla ice cream resembles soft serve. At the 25-minute mark, check the mixture; it should feel thick and creamy, ready for freezing.
Step 5: Freeze for Firmness
Once you reach your desired soft-serve consistency, transfer the ice cream to an airtight container. Seal it tightly and place it in the freezer. Allow the ice cream to freeze for at least 2 hours, or until firm enough for easy scooping. This step ensures that your delicious homemade treat achieves the perfect, creamy texture everyone will adore.
Vanilla Ice Cream Variations & Substitutions
Get ready to elevate your homemade vanilla ice cream with fun tweaks and swaps that bring exciting flavors and textures to life!
-
Dairy-Free: Swap half and half with full-fat coconut milk for a creamy non-dairy alternative that’ll make everyone happy!
-
Extra Sweetness: Substitute sugar with maple syrup or agave for a delightful twist in taste; just adjust the quantity according to your preference.
-
Flavor Infusion: Experiment with almond extract or a hint of orange zest instead of vanilla for a unique homemade flavor adventure.
-
Chunky Add-ins: Stir in crushed cookies, brownie bits, or chocolate chips after churning for that irresistible crunch in every bite. The textural contrast is pure joy!
-
Fruity Fusion: Blend pureed strawberries or mango into the base before churning for a refreshing fruity twist that’s perfect for summer days. It gives a fun splash of color, too!
-
Herb-Infused: Infuse your cream with fresh herbs like mint or basil before mixing to create an aromatic and refreshing ice cream that surprises the palate.
-
Spice it Up: For a little warmth, add a pinch of cinnamon or a dash of nutmeg to the mix for a cozy seasonal flavor that’ll warm your heart.
Take your ice cream-making skills to new heights by trying these variations. Whether you want to serve it with something classic like a slice of pie or as a versatile base for creative toppings like Vanilla Cinnamon Buttermilk, the options are endless!
Make Ahead Options
These Easiest 4-Ingredient Creamy Vanilla Ice Cream are perfect for meal prep enthusiasts! You can whisk together the sugar, half and half, and vanilla extract up to 24 hours in advance, storing the mixture in an airtight container in the refrigerator to maintain its freshness. The heavy whipping cream should be added just before churning to keep the texture perfect. When you’re ready to enjoy your homemade goodness, simply pour the prepped base into your ice cream maker and churn as directed. With these make-ahead steps, you’ll save precious time on busy nights while still indulging in a creamy vanilla ice cream that’s just as delightful as when made fresh!
Storage Tips for Vanilla Ice Cream
Fridge: Keep your homemade vanilla ice cream in the freezer for optimal freshness. It’s best enjoyed within two weeks but can last up to a month if properly sealed.
Freezer: Store in an airtight container to prevent freezer burn. Wrap the container tightly with plastic wrap before sealing to keep the flavors intact.
Reheating: For a smoother scoop, let the vanilla ice cream sit at room temperature for about 5 minutes before serving. This helps ease the texture for better enjoyment.
Serving: Always use a clean ice cream scoop to maintain freshness and prevent contamination. Enjoy your creamy vanilla ice cream with your favorite toppings!
What to Serve with Easiest 4-Ingredient Creamy Vanilla Ice Cream
There’s nothing quite as delightful as pairing your homemade dessert with complementary flavors and textures that elevate each scoop to new heights.
-
Warm Brownies: The fudgy richness creates a heavenly contrast against the cool creaminess of vanilla ice cream. Each bite is a celebration of flavor!
-
Fresh Berries: Sweet strawberries or tart raspberries add a refreshing burst that perfectly cuts through the ice cream’s richness. Try tossing them with a little sugar for a delightful, juicy topping.
-
Chocolate Sauce: A drizzling of silky chocolate sauce brings a touch of decadence. The warm sauce melts into the cold ice cream, creating a luscious experience to savor.
-
Homemade Waffle Cones: Enjoy your ice cream in a crispy, warm waffle cone for added texture and flavor. It’s a fun twist that makes every scoop feel like a special treat.
-
Crushed Cookies: Sprinkling crushed Oreos or chocolate chip cookies on top introduces delightful crunch and chocolatey goodness, enhancing the overall experience.
-
Nutty Toppings: Chopped nuts, such as almonds or pecans, offer a savory crunch and an earthy flavor that complements the sweet creaminess.
-
Coconut Flakes: Toasted coconut flakes bring a tropical flair, and their chewy texture contrasts beautifully with the soft ice cream.
-
Dessert Wine: A chilled glass of dessert wine, like Moscato or Port, adds elegance to your ice cream affair, offering sweet notes that dance with the vanilla flavor.
-
Creamy Coffee: Serve a scoop alongside a cup of freshly brewed coffee for a delightful pick-me-up, where warmth meets cold in a comforting blend.
-
Mini Fruit Tarts: Pairing with mini fruit tarts introduces a burst of fruity flavors in a crispy shell, balancing the creamy smoothness of the ice cream perfectly.
Expert Tips for Creamy Vanilla Ice Cream
-
Dissolve Completely: Ensure sugar is fully dissolved before adding other ingredients to prevent a gritty texture in your vanilla ice cream.
-
Watch the Churn: Monitor the churning process closely—over-churning can lead to ice crystals, making your ice cream dense rather than creamy.
-
Quality Ingredients: Choose high-fat dairy for the base; alternatives should also be rich to maintain the desired creamy texture.
-
Customize Wisely: When adding mix-ins, do so after churning to keep the smooth texture of the vanilla ice cream intact.
-
Storage Tips: Store in an airtight container and allow it to sit at room temperature for a few minutes before scooping to prevent solid blocks.
Easiest 4-Ingredient Creamy Vanilla Ice Cream Recipe FAQs
How can I choose the best vanilla for my ice cream?
Absolutely! When selecting vanilla, opt for pure vanilla extract or vanilla bean paste for the richest flavor. If you prefer a more intense flavor, you can even scrape the seeds from a vanilla bean pod directly into the mixture. This small step enhances the gourmet feel of your homemade vanilla ice cream!
What’s the best way to store homemade vanilla ice cream?
For optimal freshness, store your homemade vanilla ice cream in an airtight container in the freezer. It will taste best within two weeks, but if sealed properly, it can stay delightful for up to a month. To prevent freezer burn, consider wrapping the container tightly with plastic wrap before putting it in the freezer. This method helps preserve the flavors beautifully.
Can I freeze my vanilla ice cream without an ice cream maker?
Yes, you can! Simply prepare the mixture as directed, then pour it into a shallow dish and place it in the freezer. Every 30 minutes, use a fork to stir the mixture vigorously, breaking up any ice crystals that form until it reaches your desired creamy consistency, usually about 2 to 3 hours. This will mimic the texture achieved in an ice cream maker.
Is it safe for anyone with dietary restrictions?
Very! This homemade vanilla ice cream can accommodate various dietary needs. If you have lactose intolerance, simply replace the half and half and heavy cream with full-fat coconut milk. As for allergies, be cautious with the sugar substitute if using alternatives like honey or maple syrup, as they may trigger sensitivities. Always check with your guests to ensure everyone can enjoy this delicious treat!
How should I troubleshoot grainy texture in my vanilla ice cream?
If your ice cream turns out grainy, it’s likely due to undissolved sugar. To avoid this, make sure to whisk the sugar into the half and half thoroughly until completely dissolved before adding the other ingredients. If you notice graininess after churning, it’s often a result of over-churning. In this case, be vigilant during the churning process, and stop once it reaches a creamy consistency. A well-prepared base leads to the best texture!
Can I customize flavors or add mix-ins to my vanilla ice cream?
Absolutely! Feel free to let your creativity shine. Adding mix-ins like crushed Oreos or fresh fruit can enhance your vanilla ice cream flavors beautifully. However, do this after the churning process to maintain a smooth texture. You can also infuse unique flavors like almond or hazelnut by substituting the vanilla extract. The more the merrier in making this treat uniquely yours!
Creamy Vanilla Ice Cream You Can Make in Just 5 Minutes
Ingredients
Equipment
Method
- Whisk the sugar and half and half in a large mixing bowl until completely dissolved, about 2 minutes.
- Add the vanilla extract and heavy whipping cream, whisk gently to combine, about 1 minute.
- Pour the mixture into the ice cream maker following the manufacturer's instructions.
- Churn the mixture until soft-serve consistency, typically 20 to 30 minutes.
- Transfer the ice cream to an airtight container and freeze for at least 2 hours until firm.
Leave a Reply