
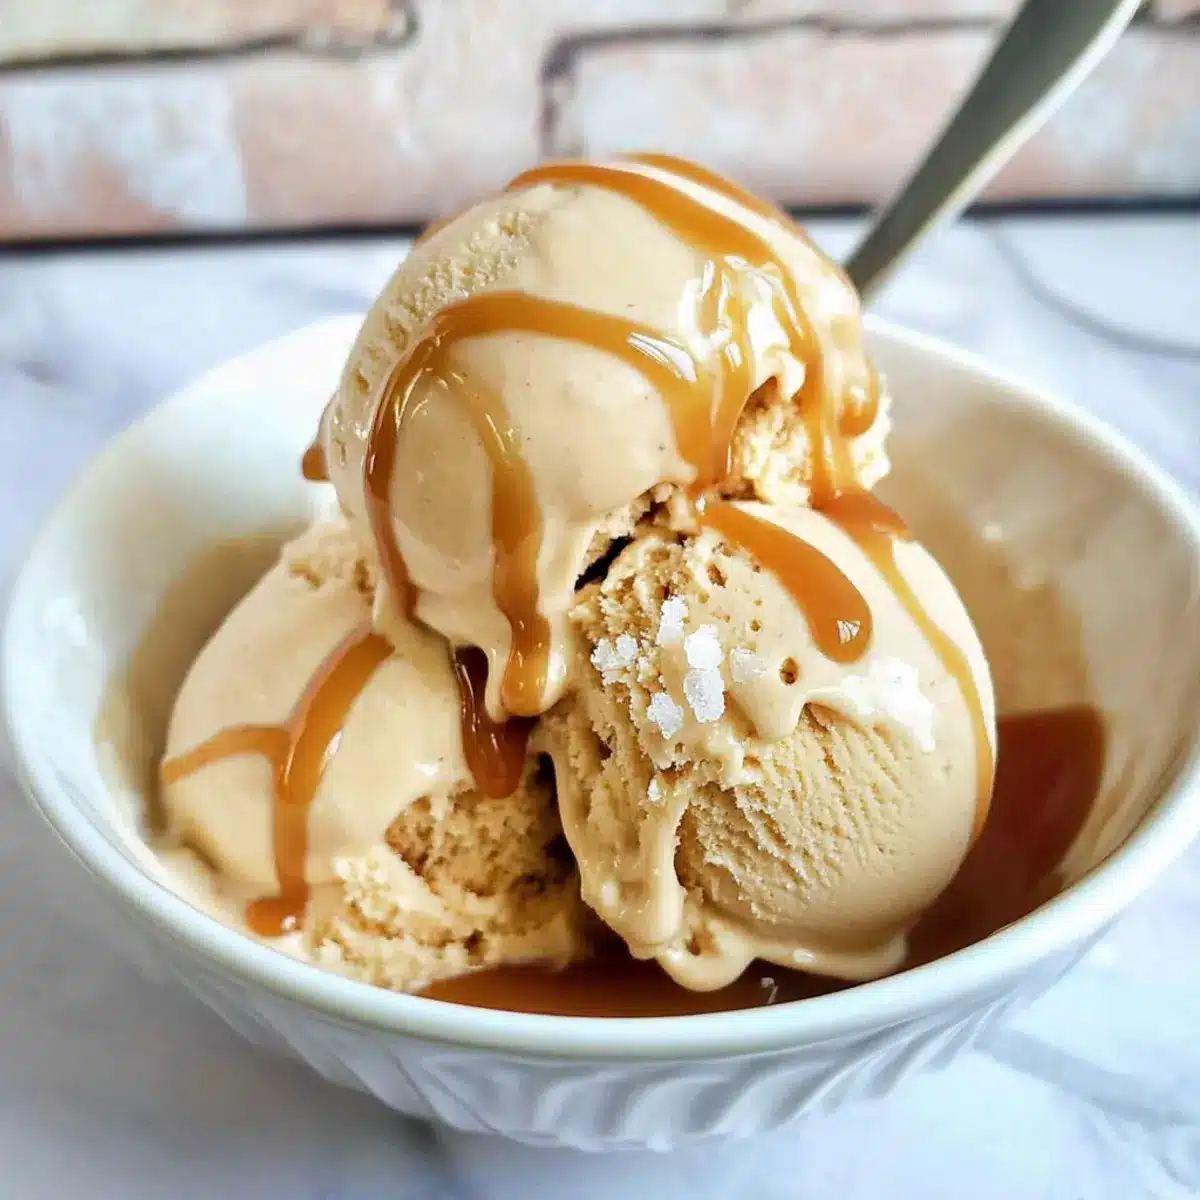
As the last remnants of summer linger in the air, I found myself craving a sweet escape—one that would whisk me away from the day-to-day grind. That’s when I decided to whip up my favorite 4-Ingredient No-Cook Salted Caramel Ice Cream, a dreamy blend of creamy richness and delightful caramel. The best part? It’s completely homemade, gluten-free, and requires no cooking or eggs! This easy-to-make treat is perfect for summer gatherings and family get-togethers, effortlessly elevating any occasion. With just a few simple ingredients, you can create something that not only fills bowls but also warms hearts. Are you ready to dive into a world of creamy goodness that will leave everyone asking for seconds?
Why is this ice cream a must-try?
Creamy Indulgence: This Salted Caramel Ice Cream offers an incredibly smooth and rich texture, making every bite a true delight.
No-Cook Convenience: With only four simple ingredients, there’s no need for stoves or complicated techniques—perfect for even the busiest home cooks!
Gluten-Free Goodness: Everyone can join the dessert party with this gluten-free creation, allowing you to share it with friends and family without worries.
Endless Customization: Feel free to mix in chocolate chips or make a fun banana split to elevate your dessert experience further. Plus, it pairs beautifully with other treats like Coconut Chicken Rice after a summer meal!
A Crowd Favorite: Whether at a family barbecue or a casual dinner with friends, this creamy treat is sure to impress and satisfy dessert lovers of all ages.
Salted Caramel Ice Cream Ingredients
• Discover the simple components for this delightful treat!
For the Ice Cream Base
- Dulce de leche – The star ingredient that brings the sweet caramel flavor; opt for homemade for a personal touch.
- Heavy cream – Essential for that rich, creamy texture; don’t skimp on quality here!
- Milk (whole) – Helps lighten the mixture while enhancing creaminess; low-fat milk can be used for a lighter alternative, but the texture may differ.
- Sea salt (fine) – Just a dash enhances the sweet profile of the caramel; feel free to adjust based on taste preferences.
Step‑by‑Step Instructions for Salted Caramel Ice Cream
Step 1: Blend Mixture
In a large mixing bowl, combine the luscious dulce de leche, whole milk, and a pinch of fine sea salt. Use a hand blender or stand mixer on low speed for about 1-2 minutes, ensuring the mixture is smooth and fully blended without any lumps. This creamy base will be the heart of your delightful salted caramel ice cream.
Step 2: Incorporate Cream
Gently fold in the heavy cream using a spatula to maintain its airy texture. Aim for a uniform mix but avoid vigorous blending to keep the ice cream light and creamy. This step enhances the richness and flavor profile, making your homemade salted caramel ice cream utterly decadent.
Step 3: Chill
Cover the mixture and refrigerate for 1-2 hours until it’s thoroughly chilled. Chilling is crucial as it prepares the mixture for churning, ensuring a smooth texture. Check for it to be cold to the touch, which will lead to perfect results during the next step.
Step 4: Churn
Once chilled, pour the ice cream base into your pre-frozen ice cream maker. Churn it for 25-30 minutes, or until it reaches a soft-serve consistency. A thickening mixture that clings to the sides of the bowl is a good sign that your salted caramel ice cream is ready for the next stage.
Step 5: Freeze
Transfer the churned ice cream into a freezer-safe container, smoothing the top with a spatula. Seal it tightly and freeze for at least 5-6 hours, allowing it to firm up. When you finally scoop out your salted caramel ice cream, you’ll be met with creamy goodness that is perfectly set and irresistible.
Salted Caramel Ice Cream Variations
Feel free to get creative with this delightful recipe by exploring these tempting twists and swaps!
-
Chocolate Chip Add-In: Fold in ½ cup of mini chocolate chips for delightful bursts of chocolate in every scoop. The mix of rich caramel and sweet chocolate is simply irresistible!
-
Nutty Delight: Toss in some chopped pecans or walnuts for added crunch and nutty flavor. They bring an enjoyable texture and complement the creamy base beautifully.
-
Banana Swirl: Layer in fresh banana slices or mash in ripe bananas before churning to create a sweet, fruity twist. It will transport you to a dessert paradise reminiscent of summer days!
-
Coffee Infusion: Add 1-2 tablespoons of instant coffee granules to the mixture for a coffee caramel ice cream that will keep you energized. The rich coffee flavor enhances the caramel, creating a delightful balance.
-
Spicy Kick: Stir in a pinch of cayenne or chili powder to introduce a spicy heat that contrasts with the sweetness. It’s a unique twist that will surprise and delight adventurous palates!
-
Custom Salt Blend: Experiment with flavored salts, like smoked or truffle salt, for a gourmet touch. This subtle change can elevate your salted caramel experience to decadent new heights!
After exploring these variations, don’t forget to consider pairing your ice cream with a delectable caramelized dish like Caramelized Soy Rice or Potatoes Rosemary Cream. The possibilities are endless!
Expert Tips for Salted Caramel Ice Cream
-
Dulce de Leche Prep: If your dulce de leche is too thick, gently microwave it for 20-25 seconds for easier mixing into the base.
-
Cream Incorporation: Use a spatula to fold in the heavy cream rather than mixing vigorously; this keeps your salted caramel ice cream light and airy.
-
Chilling Importance: Ensure the ice cream mixture is well chilled before churning; this step is crucial for achieving that creamy texture.
-
Churn Right: Always check that your ice cream maker bowl is completely frozen before use to avoid a grainy texture and ensure smooth churning.
-
Proper Storage: Use an airtight freezer-safe container to store your ice cream and prevent ice crystals; for best flavor, consume within 1-2 weeks.
Make Ahead Options
These delicious Salted Caramel Ice Cream treats are perfect for meal prep enthusiasts! You can prepare the mixture up to 24 hours in advance by blending the dulce de leche, whole milk, and sea salt, then covering and refrigerating it until you’re ready to churn. For optimal quality, ensure the mixture is chilled completely before churning, which helps maintain the smooth texture. When you’re ready to enjoy this creamy indulgence, simply incorporate the heavy cream and churn as directed. Freezing is essential; after churning, transfer the ice cream to a container and freeze for an additional 5-6 hours before serving. Doing this not only saves time but also allows you to wow your guests with homemade decadence!
How to Store and Freeze Salted Caramel Ice Cream
Fridge: Store any leftover salted caramel ice cream in an airtight container for up to 3 days to keep it fresh, although the texture may start to change.
Freezer: For longer storage, keep the ice cream in the freezer in a well-sealed container. It can last up to 2 weeks without losing quality, but it’s best enjoyed sooner.
Reheating: If your ice cream becomes too hard to scoop, let it sit at room temperature for about 5-10 minutes before serving for easier dishing.
Air-tight Storage: To prevent ice crystal formation and maintain that delightful creamy texture, always seal your container tightly before placing it in the freezer.
What to Serve with Salted Caramel Ice Cream
Elevate your dessert experience with delightful pairings that will enchant your taste buds and complement every scoop.
-
Warm Brownies: The rich, fudgy texture of brownies contrasts beautifully with your chilled salted caramel ice cream, creating a blissful combination. A scoop melting atop a warm brownie is pure indulgence.
-
Fresh Berries: Summery strawberries and raspberries add a refreshing burst of flavor that balances the sweetness of the ice cream. Plus, their tartness creates a lovely contrast that brightens each bite.
-
Chopped Nuts: Toasted almonds or pecans provide a satisfying crunch and nutty flavor, enhancing the overall creaminess of the dessert. You can also sprinkle them for added flair on top.
-
Chocolate Sauce: A drizzle of warm chocolate sauce makes the experience more decadent, creating an unmistakable ice cream sundae vibe. This layering of flavors adds depth and indulgence.
-
Mini Waffle Cones: Serving your ice cream in mini waffle cones makes for a fun, handheld treat, adding a delightful crunch and extra sweetness. Perfect for kids and adults alike!
-
Coffee: A rich cup of brewed coffee contrasts the sweetness of the salted caramel ice cream and enhances its flavors. The warm bitterness complements the smooth creaminess, making each sip feel cozy.
-
Sea Salt Caramel Sauce: Drizzling more salted caramel sauce atop your scoops intensifies the flavors and creates a luxurious finish that everyone will love. It’s a perfect way to take each spoonful up a notch.
Embrace these delicious pairings to create a memorable dessert experience that will have everyone reaching for more!
Salted Caramel Ice Cream Recipe FAQs
What should I look for when selecting dulce de leche?
Absolutely! When choosing dulce de leche, look for a smooth and creamy texture, ideally free from lumps. Check the label for quality ingredients, and aim for brands that don’t have unnecessary additives. If possible, you can also make homemade dulce de leche by simmering a can of sweetened condensed milk until it caramelizes; this typically takes about 1-2 hours.
How should I store leftover salted caramel ice cream?
You can store leftover salted caramel ice cream in an airtight container in the fridge for up to 3 days. However, for optimal freshness and texture, it’s best to keep it in the freezer, where it can last for up to 2 weeks without losing its delightful quality. Make sure to seal the container tightly to prevent ice crystal formation!
Can I freeze salted caramel ice cream for longer than two weeks?
Although you can freeze your salted caramel ice cream for up to a month, I recommend eating it within 2 weeks for the best texture and flavor. If you find that it’s too hard to scoop after being frozen for a while, simply let it sit at room temperature for about 5-10 minutes before serving to soften just enough for easy dishing.
What should I do if my ice cream is too hard after freezing?
No worries! If your ice cream becomes rock-hard in the freezer, let it sit out at room temperature for about 5-10 minutes before scooping. This will allow it to soften to the perfect consistency. Also, a quick stir with a spatula can help reintroduce air into the ice cream, making it easier to scoop!
Is this salted caramel ice cream suitable for people with dietary restrictions?
Very much so! This salted caramel ice cream is gluten-free, making it a wonderful treat for those avoiding gluten-based products. Be cautious, of course, if you’re serving guests with food allergies; always check ingredient labels for allergens, especially with store-bought dulce de leche and cream. If needed, you can use lactose-free milk and cream to make a lactose-friendly version!
Can I use different types of milk for my salted caramel ice cream?
Yes, you can! Whole milk works best for that creamy texture, but you can use low-fat milk as an alternative if you’re looking for a lighter version. Just bear in mind that while the ice cream will still taste delightful, the texture may be slightly less rich and creamy compared to using whole milk. The more the merrier when it comes to experimenting with different types of milk!
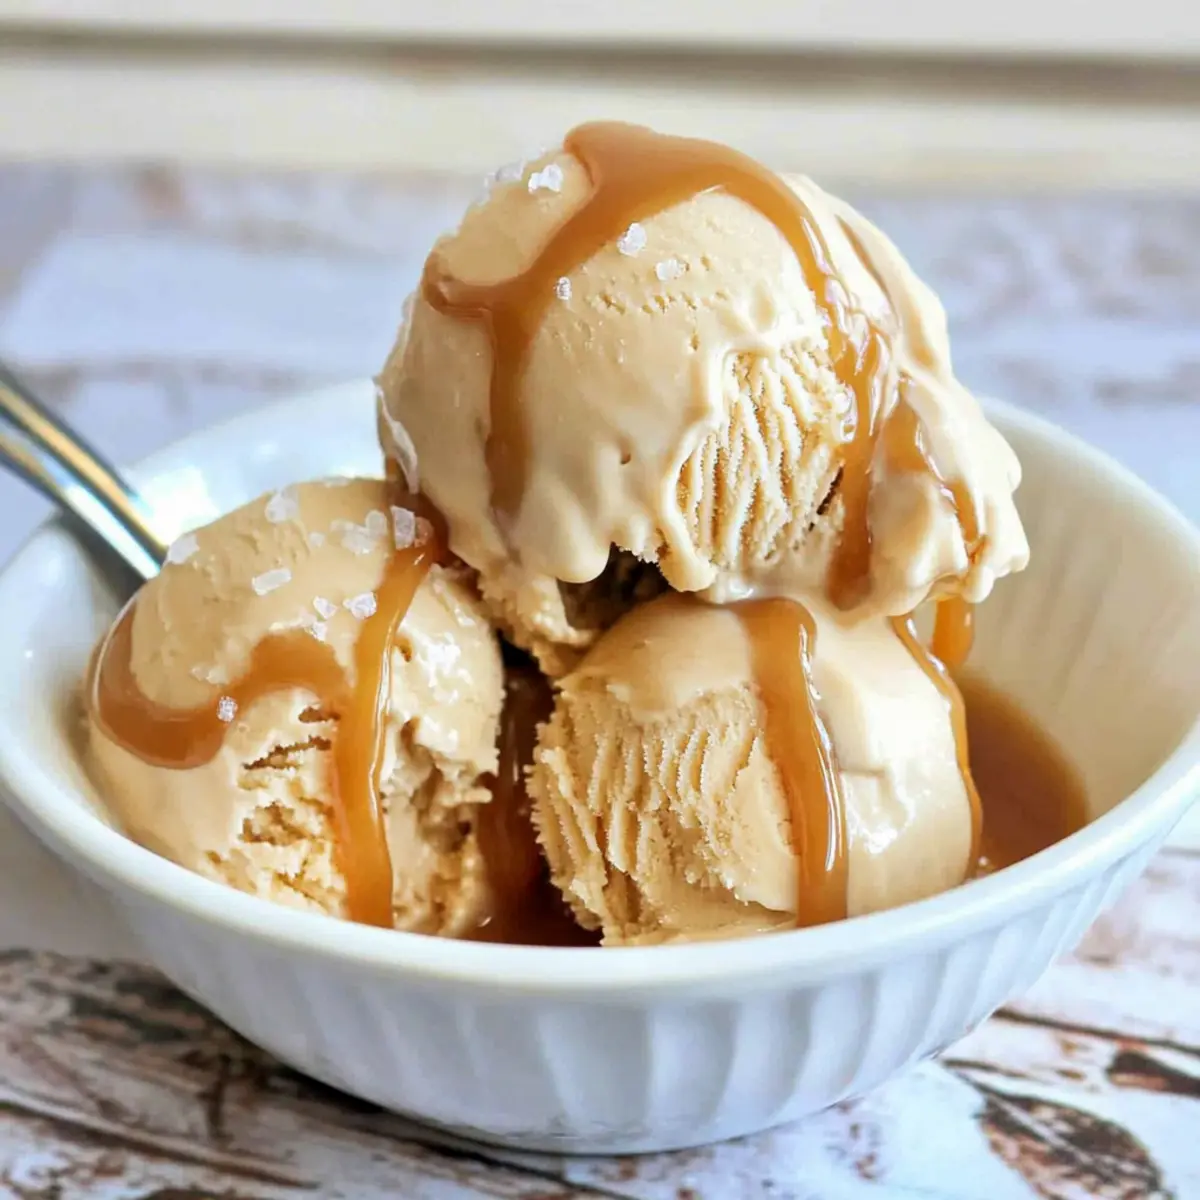
Creamy Salted Caramel Ice Cream You Can Make at Home
Ingredients
Equipment
Method
- In a large mixing bowl, combine the dulce de leche, whole milk, and a pinch of fine sea salt. Blend until smooth.
- Gently fold in the heavy cream using a spatula to maintain its airy texture.
- Cover the mixture and refrigerate for 1-2 hours until thoroughly chilled.
- Pour the chilled mixture into your ice cream maker and churn for 25-30 minutes until it reaches a soft-serve consistency.
- Transfer the churned ice cream into a freezer-safe container, smooth the top, and freeze for at least 5-6 hours.
Leave a Reply