
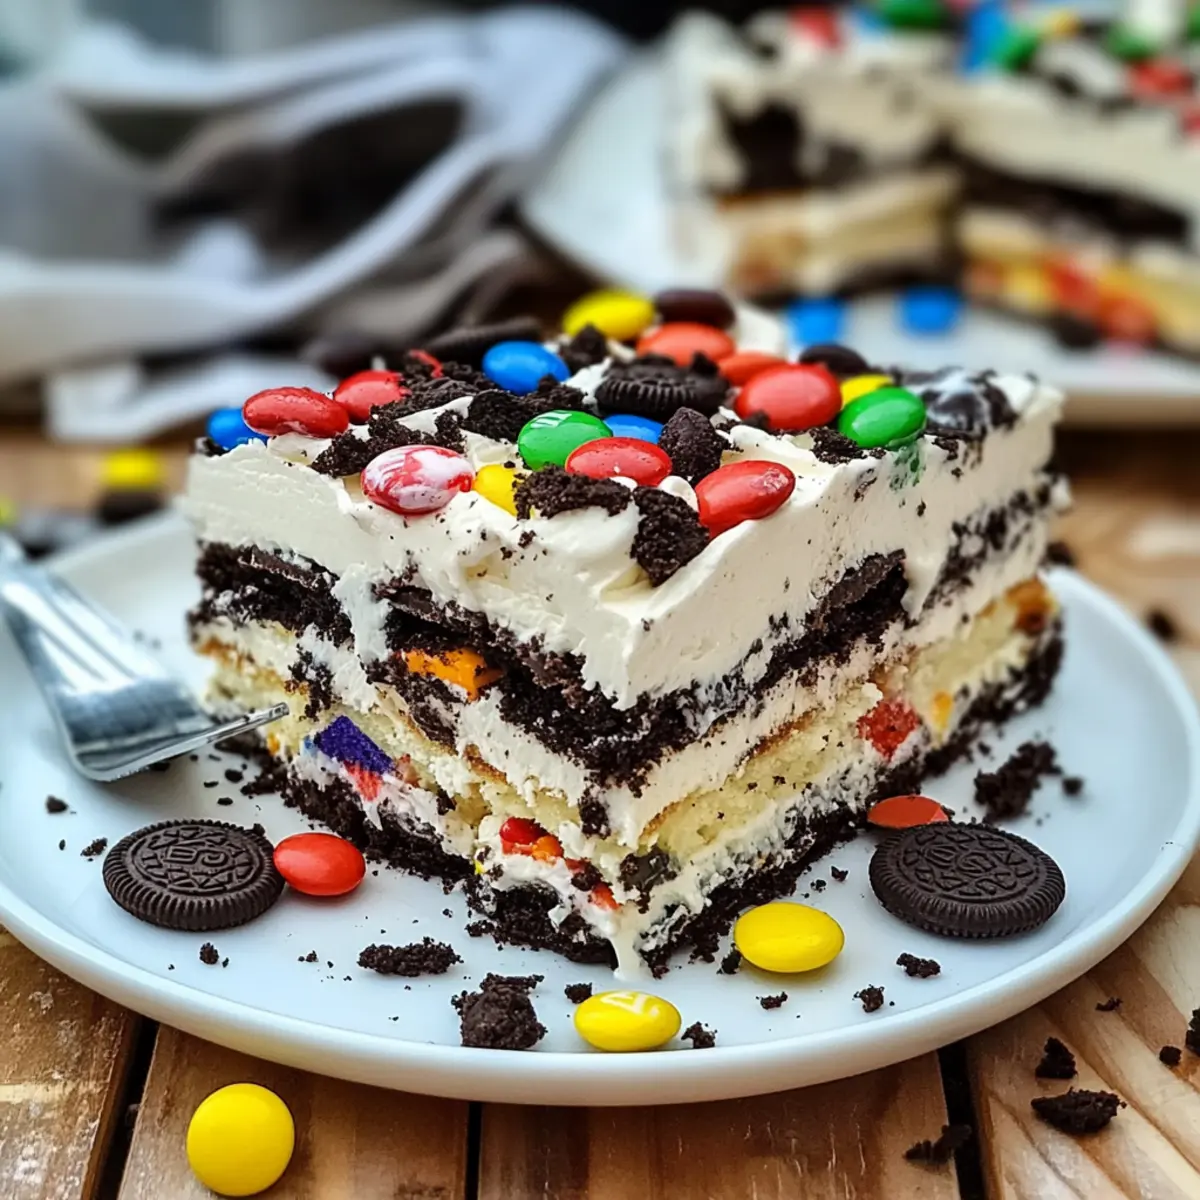
On a sweltering summer afternoon, nothing satisfies quite like a creamy dessert that’s effortlessly delicious. Enter the Easiest Ice Cream Sandwich Cake, a frozen delight that’s perfect for any gathering. This no-bake treat layers sweet ice cream sandwiches with fluffy Cool Whip, offering both a luscious texture and an astonishingly simple preparation. Whether you’re celebrating a birthday or just treating yourself after a long week, this cake delivers big on taste with minimal effort. Plus, it’s a fantastic crowd-pleaser that you can customize with your favorite toppings, making it a hit at any event. Curious about how to whip up this frozen wonder? Let’s dive into the delightful details!
Why Is This Cake So Irresistible?
Simplicity: With just a few ingredients and zero baking required, this ice cream sandwich cake is a breeze to prepare.
Crowd-Pleaser: Perfect for summer gatherings, its layers of sweet ice cream and fluffy Cool Whip make it a hit with guests of all ages.
Customizable: You can switch up the toppings, using crushed Oreos, mini M&M’s, or any favorite candy to create a unique dessert to suit your taste.
Quick Prep Time: You can go from gathering the ingredients to serving in just a couple of hours, making it an ideal last-minute treat.
Frozen Delight: This cake not only offers satisfaction on hot days but also presents beautifully, making it worthy of any celebration. Enjoy this refreshing delight alongside other easy desserts like [Apple Crumb Cake](https://biteloom.com/apple-crumb-cake-with-cinnamon-apple-drizzle/) or [Avocado Melt Sandwich](https://biteloom.com/chicken-avocado-melt-sandwich/) for a delightful menu!
Ice Cream Sandwich Cake Ingredients
• Here’s everything you need to make your delicious ice cream sandwich cake!
For the Cake Layers
- Ice Cream Sandwiches – 12 sandwiches are required for the cake layers, providing a rich, creamy flavor.
- Cool Whip Topping – This fluffy topping binds everything together beautifully; you can substitute it with homemade whipped cream for an added homemade touch.
For the Toppings
- Crushed Oreo Cookies – These add a delightful crunch and chocolaty flavor; feel free to switch with any favorite cookie to personalize your cake!
- Mini M&M’s Candies – Sprinkle these colorful candies on top for a fun touch; they’re great for adding whimsy and sweetness.
- Chocolate Syrup – Drizzle this on top for extra deliciousness and a beautiful presentation; it’s optional if you’re looking for a lighter treat.
Happy baking, and enjoy creating your Ice Cream Sandwich Cake!
Step‑by‑Step Instructions for Ice Cream Sandwich Cake
Step 1: Prepare the Baking Dish
Begin by unwrapping 12 ice cream sandwiches, laying them flat in a 9×13” baking dish. Arrange them in a single layer, ensuring they’re snugly packed together. If necessary, use a sharp knife to cut the last sandwich to fit the dish perfectly. This forms the sturdy base for your Ice Cream Sandwich Cake, so take care to line them up nicely.
Step 2: Add the First Layer of Topping
Next, scoop half of the softened Cool Whip topping and gently spread it over the first layer of ice cream sandwiches. Use a spatula to create an even layer similar to frosting, ensuring every sandwich is covered. This creamy layer adds richness and supports the structure of your cake, so make sure it’s smooth and graciously slathered.
Step 3: Layer the Remaining Sandwiches
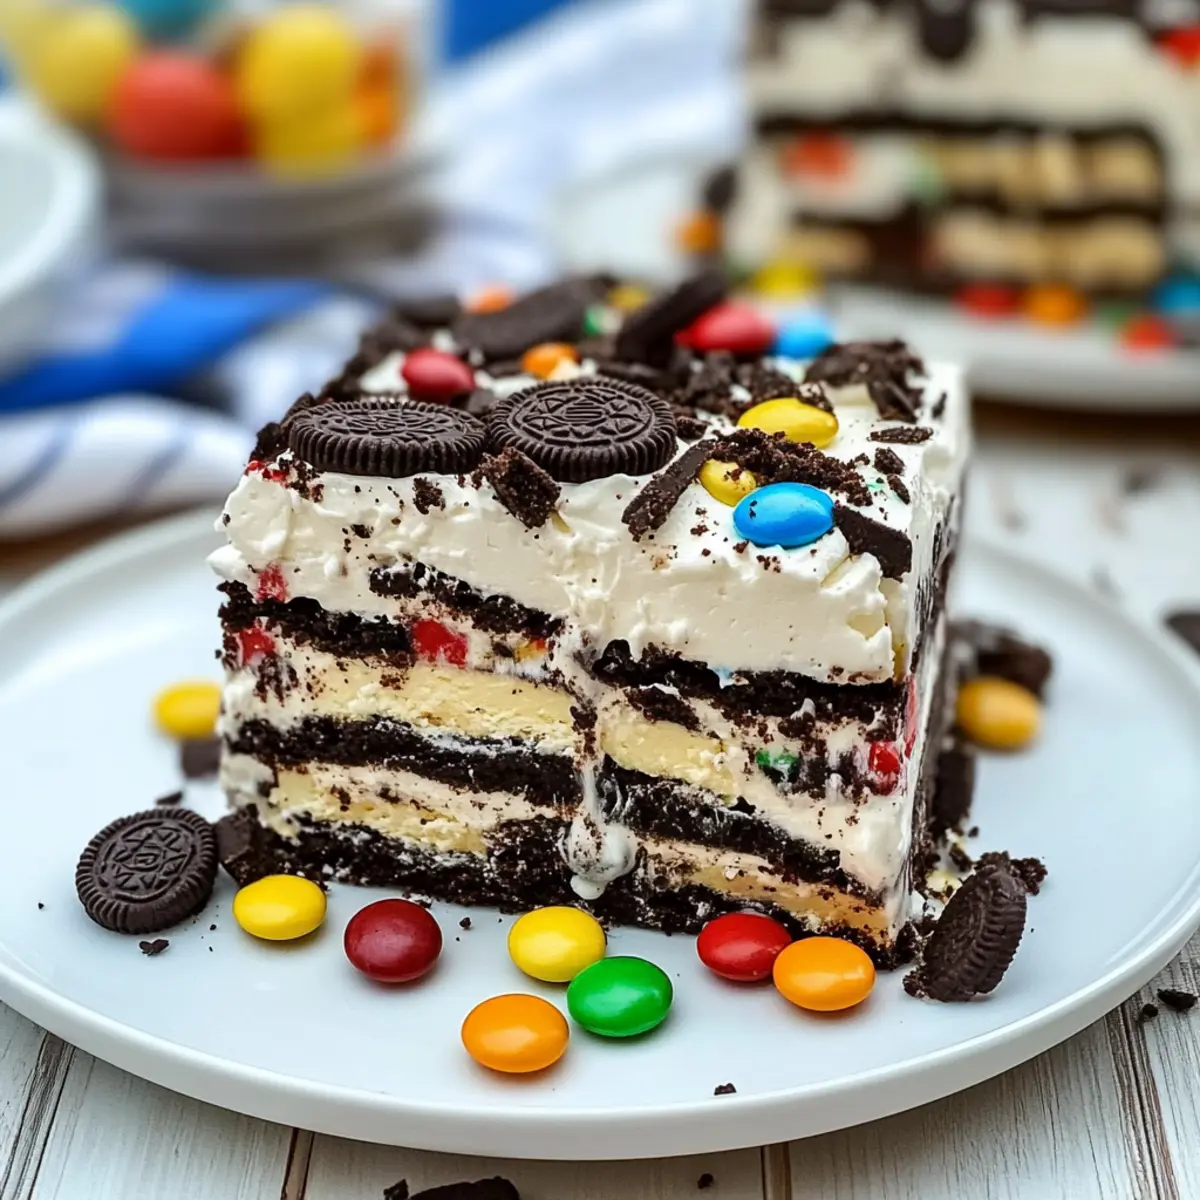
Now, it’s time to stack! Place the remaining ice cream sandwiches on top of the Cool Whip layer, aligning them as evenly as possible. Once they’re in position, spread the rest of the Cool Whip evenly over these sandwiches as well. This second layer of Cool Whip guarantees that each bite of the Ice Cream Sandwich Cake is delightfully creamy and decadent.
Step 4: Finish with Toppings
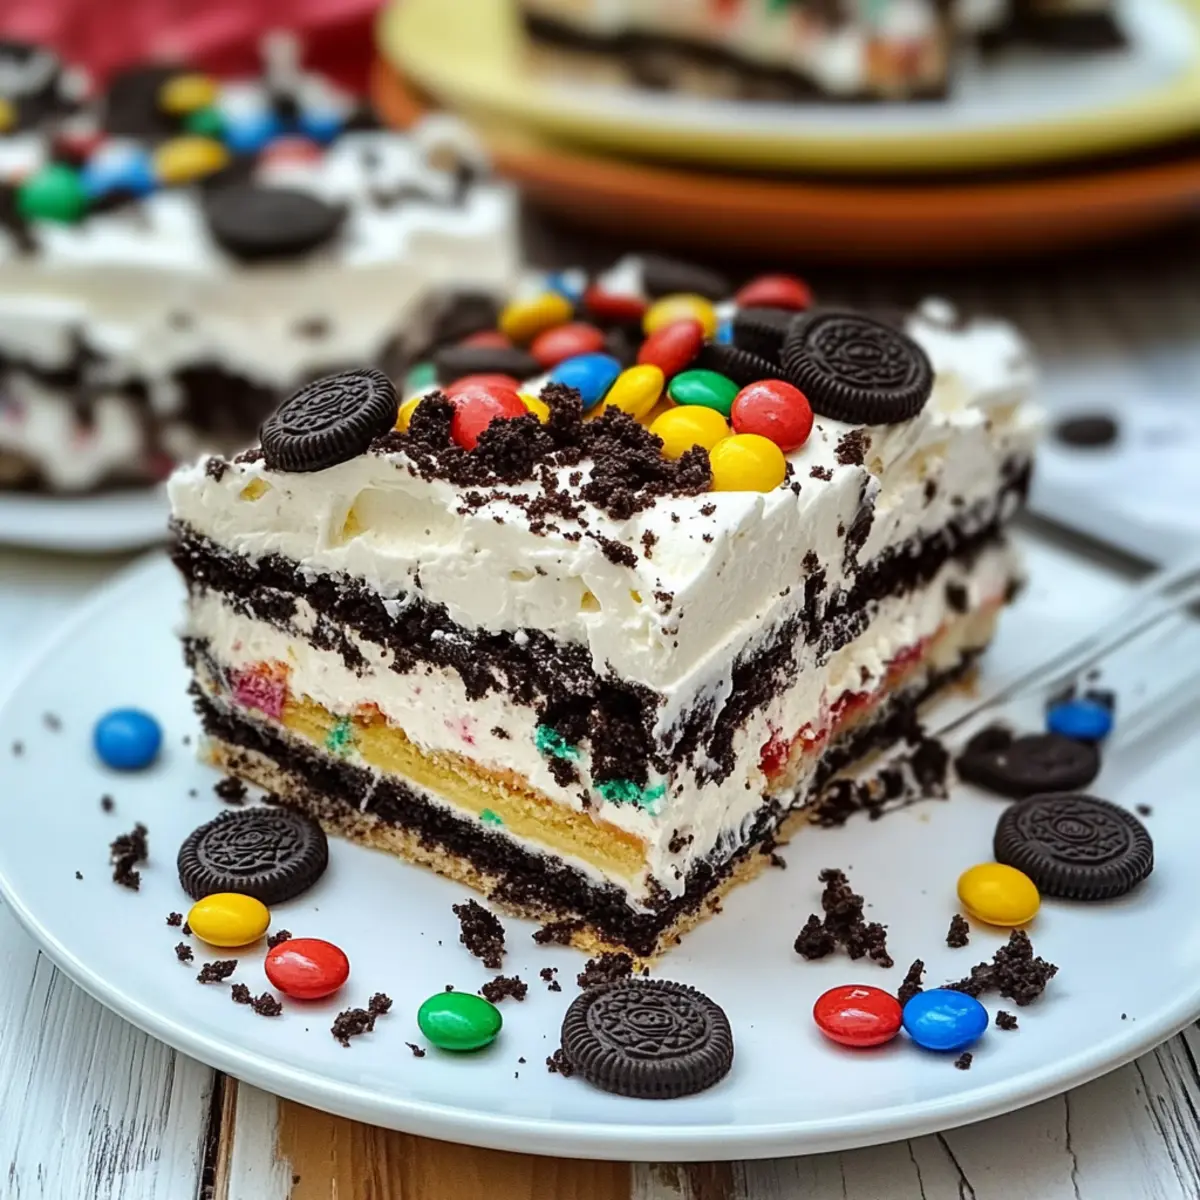
To elevate your cake, generously sprinkle crushed Oreo cookies over the top layer of Cool Whip. Follow up with a handful of mini M&M’s candies, adding a splash of color and fun. Finally, drizzle chocolate syrup on top for an enticing finish. This combination of crunchy and sweet toppings makes your Ice Cream Sandwich Cake visually appealing and utterly irresistible.
Step 5: Freeze to Set
Carefully place your assembled Ice Cream Sandwich Cake in the freezer for about 1-2 hours, allowing it to set properly. Check that it is firm to the touch before slicing. This freezing step ensures that every serving holds its shape and delivers a perfectly chilled dessert experience.
Step 6: Slice and Serve
Once fully chilled and set, remove the Ice Cream Sandwich Cake from the freezer. With a sharp knife, slice into squares, and serve immediately for maximum enjoyment. This treat is not only refreshing but brings joy to every occasion. Enjoy the creamy layers and delightful toppings of your masterpiece!
How to Store and Freeze Ice Cream Sandwich Cake
Fridge: Store in the refrigerator for up to 3 days in an airtight container. This keeps the cake cool but may affect the texture.
Freezer: For longer-lasting enjoyment, freeze the ice cream sandwich cake wrapped tightly in plastic wrap and placed in a large freezer bag. It can last up to 2 months without freezer burn.
Reheating: When ready to serve, remove from the freezer and allow it to sit at room temperature for about 10-15 minutes for easier slicing.
Portioning: If preparing for a gathering, consider slicing the cake before freezing, allowing for quick serving straight from the freezer!
Make Ahead Options
This Easiest Ice Cream Sandwich Cake is a lifesaver for busy cooks looking to save time! You can prepare all the components up to 24 hours in advance, making it not only convenient but also a smart choice for gatherings. Simply assemble the cake up to the freezing stage, cover it tightly with plastic wrap, and store it in the freezer; this ensures it remains fresh and tasty. When you’re ready to serve, just remove it from the freezer, let it sit for about 5-10 minutes to soften slightly, then slice and enjoy! With a little prep, you’ll have a delightful dessert waiting for you, just as delicious as when freshly made.
What to Serve with Easiest Ice Cream Sandwich Cake
Nothing makes a sunny day more delightful than pairing this frozen treat with bright, refreshing sides that amplify your dessert experience.
-
Fresh Fruit Salad: A vibrant mix of seasonal fruits adds a refreshing contrast to the creamy cake; perfect for balancing flavors.
-
Chocolate Dipped Strawberries: These sweet, juicy berries accent the chocolate syrup topping and elevate the dessert’s elegance; an irresistible pairing!
-
Crispy Rice Treats: Their chewy texture provides a fun contrast to the smooth layers of the cake, making for a nostalgic and enjoyable bite.
-
Minty Limeade: The tartness of lime and cool mint complements the sweetness of the cake beautifully; it’s perfect for quenching your thirst on hot days.
-
Coffee or Iced Latte: The depth of coffee pairs perfectly with the creamy sweetness of the ice cream sandwich cake, balancing flavors wonderfully.
-
Chocolate Chip Cookies: Offering a chewy, homey touch, the classic cookie textures echo the layers of this ice cream delight for ultimate satisfaction.
-
Caramel Sauce Drizzle: For those craving extra sweetness, a drizzle of caramel over your cake adds richness; a delightful twist that kids will love!
-
Vanilla Ice Cream Scoops: A scoop of classic vanilla ice cream takes indulgence to the next level, enhancing the overall creamy experience!
Ice Cream Sandwich Cake Variations
Feel free to put your personal spin on this delightful dessert for a flavor adventure everyone will love!
-
Flavor Swaps: Substitute ice cream sandwiches with different flavors, like mint chocolate chip or cookies and cream, for a unique twist.
-
Healthy Option: Use Greek yogurt or low-fat whipped topping instead of Cool Whip, creating a lighter cake that’s still indulgent.
-
Alternative Toppings: Try chocolate ganache or caramel sauce instead of chocolate syrup for a rich, velvety finish.
-
Crunchy Contrast: Replace crushed Oreos with your favorite cookies, like graham crackers or even peanut butter cookies, for an exciting texture twist.
-
Sweet Heat: Enhance the flavor with a sprinkle of sea salt or chili powder over the chocolate syrup for a sensational sweet-and-spicy touch.
-
Nutty Surprise: Incorporate chopped nuts, like almonds or walnuts, for a delightful crunch and additional flavor depth.
-
Fruit Layers: Add a layer of fresh berries, such as strawberries or raspberries, between the ice cream sandwiches for a refreshing fruity contrast.
-
Cake Boost: Layer this dessert with soft cake pieces, as seen in recipes like our Gourmet Ciabatta Sandwich, to give it an extra special touch.
Let these suggestions inspire you to make the Easiest Ice Cream Sandwich Cake your own, ensuring it becomes a family favorite at every gathering!
Expert Tips for Ice Cream Sandwich Cake
-
Freeze Properly: Ensure that the cake freezes for the full 1-2 hours to achieve the right consistency; under-freezing can lead to a messy serving experience.
-
Layer Inspirations: Feel free to mix and match different flavors of ice cream sandwiches to create more complex flavor profiles; just remember to keep that ice cream sandwich cake layered!
-
Get Creative with Toppings: Besides Oreo cookies and mini M&M’s, consider fruit or crushed candies to add a personal twist; let your imagination run wild!
-
Smart Prepping: To speed up preparation, have all ingredients ready before starting; this helps you avoid distractions and focus solely on creating your ice cream sandwich cake.
-
Slice with Care: Use a knife dipped in warm water to slice the cake neatly; this trick helps maintain the layers without squishing them together.
Easiest Ice Cream Sandwich Cake Recipe FAQs
How do I choose the best ice cream sandwiches?
Absolutely! When selecting ice cream sandwiches, look for ones with a good balance of ice cream to cookie. Aim for brands without artificial flavors or colors for a more natural taste. Check the expiration date too; fresher sandwiches yield better flavor and texture.
What’s the best way to store leftovers?
To keep your Ice Cream Sandwich Cake fresh, wrap it tightly in plastic wrap and place it in a large freezer bag. This prevents freezer burn and allows for storage up to 2 months. Just remember to slice it before freezing! This makes serving quick and easy later on.
Can I freeze the Ice Cream Sandwich Cake?
Yes, you can! After assembling, wrap the cake in plastic wrap and place it in a large freezer bag. It can last up to 2 months in the freezer. When ready to serve, allow it to sit at room temperature for about 10-15 minutes before slicing for neat portions.
What if the cake is too soft when I slice it?
If your cake is too soft, it likely needs more freezing time. Freeze it for an additional 30 minutes to 1 hour until it sets properly. For easier slicing, dip your knife in warm water before cutting into the cake, which helps maintain clean layers.
Can I make this dessert gluten-free?
Very! To switch this into a gluten-free treat, simply look for gluten-free ice cream sandwiches or use your favorite gluten-free cookies instead. Ensure that any toppings you use, like Oreo cookies or M&M’s, are also gluten-free options. Enjoy your creation without worry!
Are there any dietary considerations for pets?
While ice cream is a beloved treat, keep in mind that it’s not safe for pets, especially dogs. Ingredients like chocolate syrup can be toxic. It’s best to keep this delightful Ice Cream Sandwich Cake for human enjoyment only!

Ice Cream Sandwich Cake: The Ultimate No-Bake Summer Treat
Ingredients
Equipment
Method
- Prepare the baking dish by unwrapping the ice cream sandwiches and laying them flat in a 9x13” baking dish.
- Add the first layer of topping by spreading half of the Cool Whip over the first layer of ice cream sandwiches.
- Layer the remaining sandwiches on top and spread the rest of the Cool Whip over them.
- Finish with toppings by sprinkling crushed Oreo cookies, mini M&M’s candies, and drizzling chocolate syrup.
- Freeze to set for about 1-2 hours until firm.
- Slice and serve once chilled.
Leave a Reply