
As I stood over the stovetop, the warm aroma of vanilla enveloped my kitchen like a cozy blanket, instantly transporting me to a simpler time. This Easy and Creamy Fail-Proof Egg Custard has become my go-to dessert, effortlessly combining rich flavors with a silky texture that melts in your mouth. One of the best perks? It’s not just a quick fix for satisfying your sweet tooth, but it also welcomes creativity with endless variations like vegan, chocolate, or citrus zest. Whether you’re hosting friends or treating yourself after a long day, this custard is sure to impress and cater to diverse tastes. Are you ready to tackle this delightful dessert that’s bound to become a staple in your home?
Why is this egg custard a must-try?
Simplicity at its finest: This Fail-Proof Egg Custard requires minimal ingredients and can be whipped up quickly, making it perfect for busy weeknights. Endless variations: From rich chocolate to refreshing citrus zest, you can customize this recipe to suit any palate. Crowd-pleaser: Impress guests at your next gathering with a dessert that looks as good as it tastes. Gluten-free and versatile: Easily adapt to dietary preferences, including vegan options, so everyone can indulge. Perfectly creamy: The velvety texture paired with subtle vanilla notes will make every bite a delightful experience. Serve it alongside fresh berries or a drizzle of caramel for an extra touch!
Fail-Proof Egg Custard Ingredients
For the Custard
• Eggs – Essential for richness and structure; an egg replacer works great for a vegan option.
• Milk – Provides that creamy texture; whole milk is best, but almond or soy milk can be delightful alternatives—just watch the flavor shift.
• Sugar – Sweetens the custard; you can swap it for brown sugar for a deeper taste or use stevia for a lower-calorie option.
• Vanilla Extract – A must for classic flavor; opt for vanilla essence if you prefer something milder.
• Salt – Enhances sweetness and balances flavors beautifully.
For Serving
• Ground Nutmeg – Adds an aromatic touch before serving; it’s optional but highly recommended for an extra layer of flavor.
This fail-proof egg custard recipe is all about simplicity and satisfying those sweet cravings!
Step‑by‑Step Instructions for Fail-Proof Egg Custard
Step 1: Preheat the Oven
Begin by preheating your oven to 325°F (165°C). This ensures that your Fail-Proof Egg Custard bakes evenly, producing a silky texture. While the oven warms up, gather your ingredients and equipment: a medium bowl, a whisk, a saucepan, and ramekins for the custard.
Step 2: Whisk the Eggs
In a medium bowl, crack your fresh eggs and whisk them gently until just combined, about 30 seconds. Be careful not to overbeat; we want to maintain that creamy consistency. The eggs will provide the foundation for our custard, making this a vital step in achieving delicious results.
Step 3: Warm the Milk
Pour your milk into a saucepan and heat it over medium-low heat. Stir occasionally until you see small bubbles forming along the edges, which should take around 5 minutes. Avoid boiling the milk, as that might alter the custard’s texture, making it less creamy.
Step 4: Temper the Eggs
Carefully whisk the warm milk into the fresh eggs, a little at a time, to temper them without scrambling. This process should take about 2 minutes. It’s crucial to add the milk slowly, ensuring a smooth mixture that will set beautifully in the oven.
Step 5: Combine Ingredients
Next, mix in the sugar, vanilla extract, and salt into the egg and milk mixture. Whisk until dissolved and well combined, which should take about 1 minute. This step adds sweetness and essential flavor to your Fail-Proof Egg Custard, making each bite a delight.
Step 6: Strain the Mixture
To ensure a flawless texture, strain the custard mixture through a fine sieve into a clean bowl. This eliminates any lumps and creates a smooth custard, taking just a couple of minutes. You’ll feel confident knowing your custard will turn out perfectly creamy.
Step 7: Fill the Ramekins
Carefully pour the strained custard into your prepared ramekins, filling them about three-quarters full. This allows room for the custard to expand as it bakes. Place the filled ramekins in a baking dish, ready for the next step.
Step 8: Prepare the Water Bath
Create a water bath for even baking. Place the baking dish in your oven and carefully add hot water to the dish until it reaches halfway up the sides of the ramekins. This method helps maintain a gentle cooking environment, crucial for achieving the ideal custard texture.
Step 9: Bake the Custards
Bake your custards in the preheated oven for 35-40 minutes, until the edges are set and the centers are slightly jiggly. Check for doneness intermittently to prevent overcooking, as this ensures that each custard remains velvety and smooth.
Step 10: Cool and Refrigerate
Once baked, remove the ramekins from the oven and allow them to cool to room temperature. This should take around 15 minutes. After cooling, cover them and refrigerate for at least 2 hours to enhance the flavors and consolidation of the custard.
Step 11: Serve Your Custard
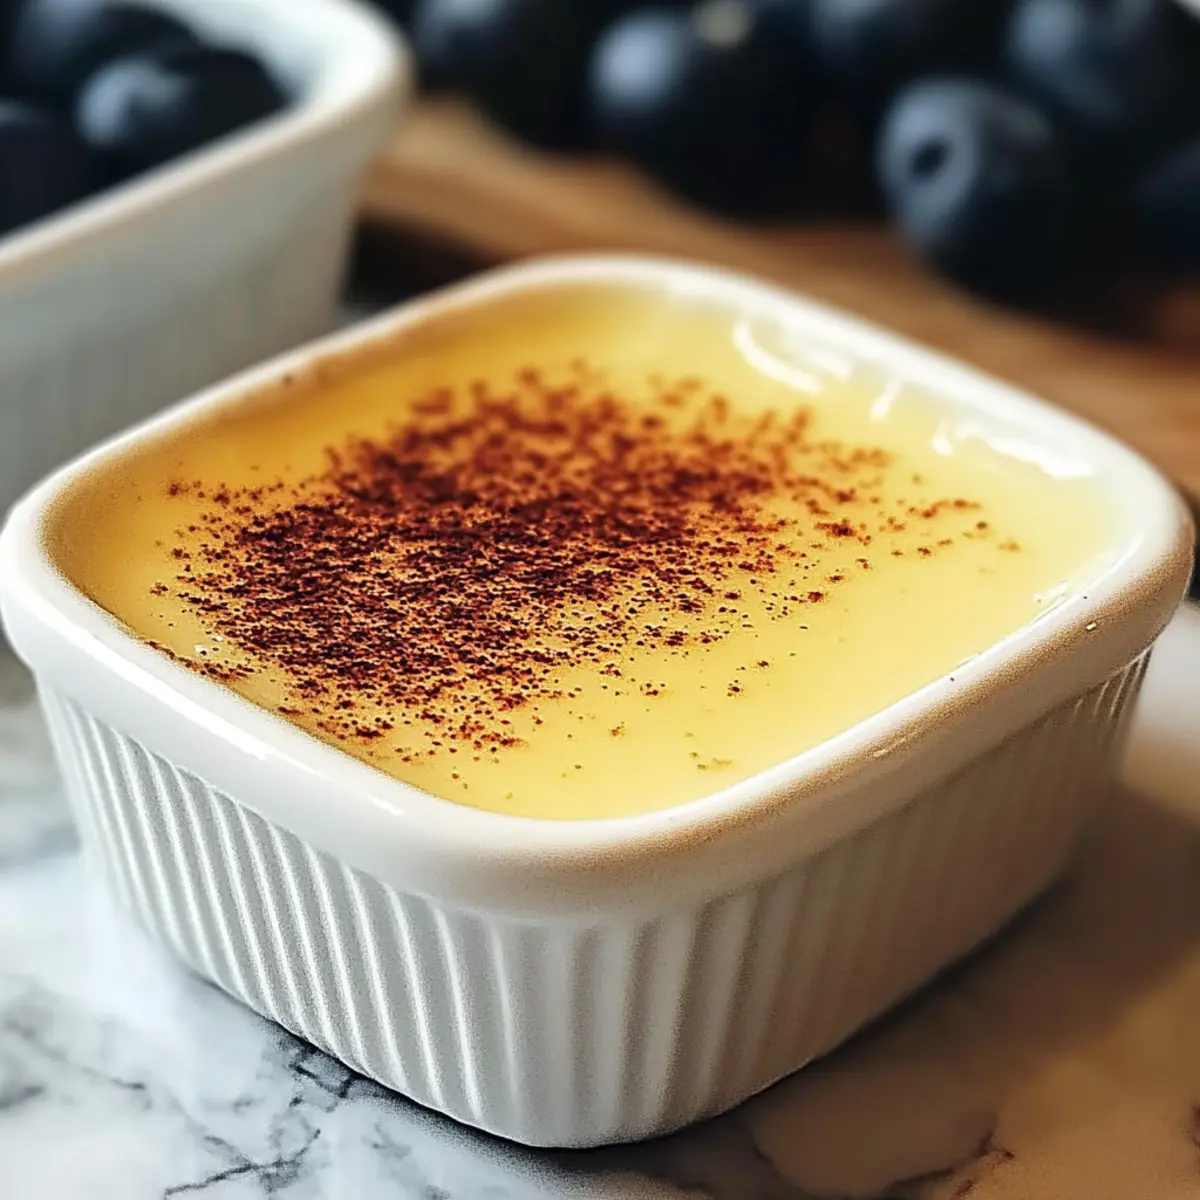
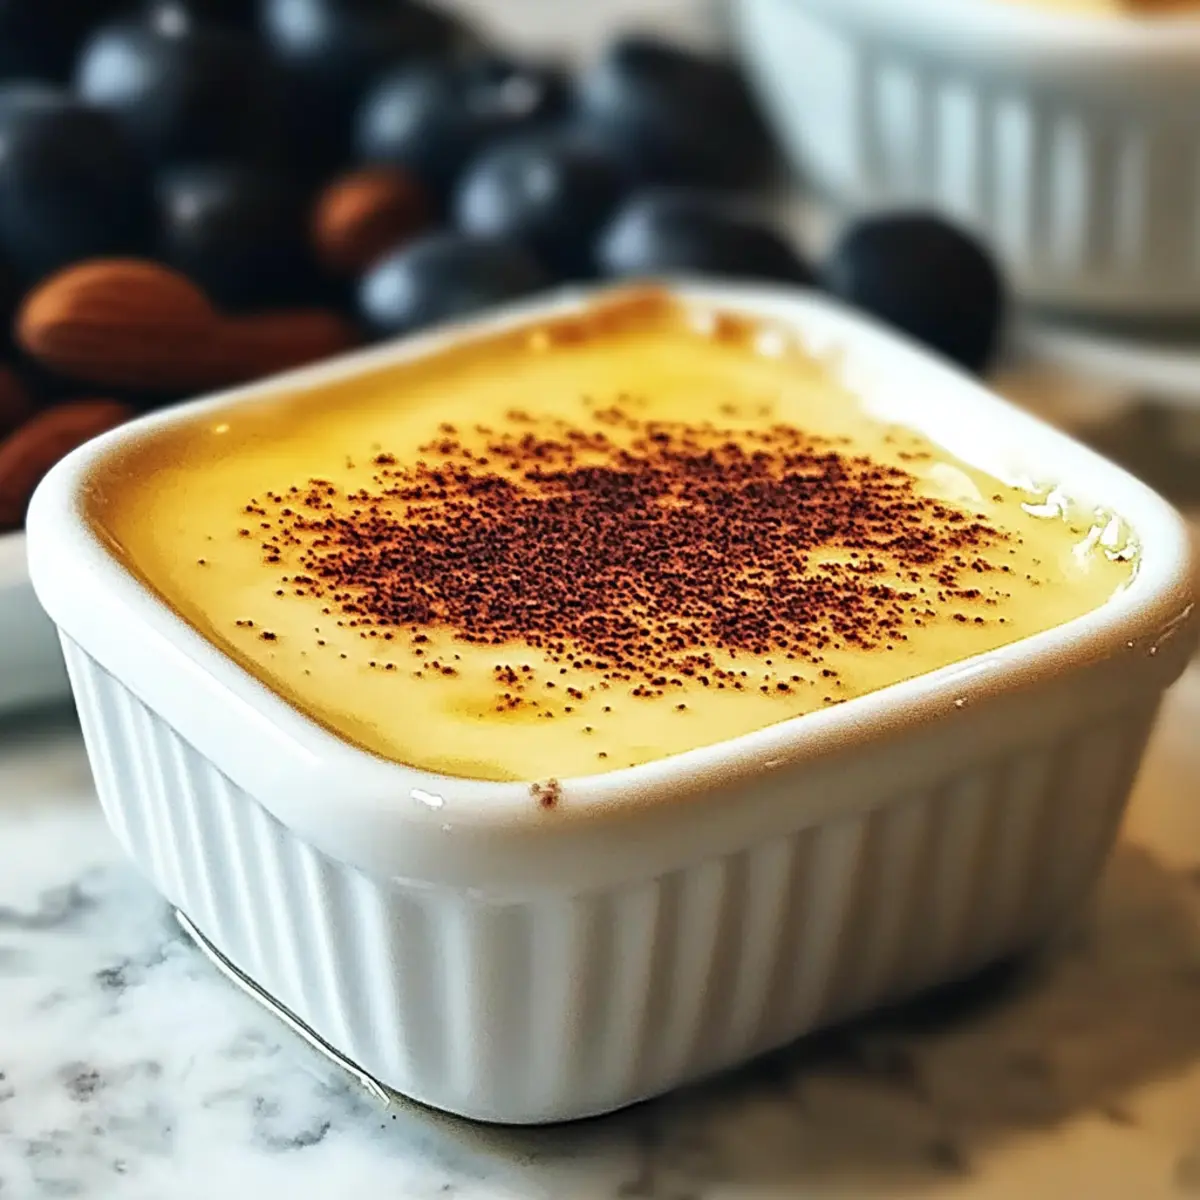
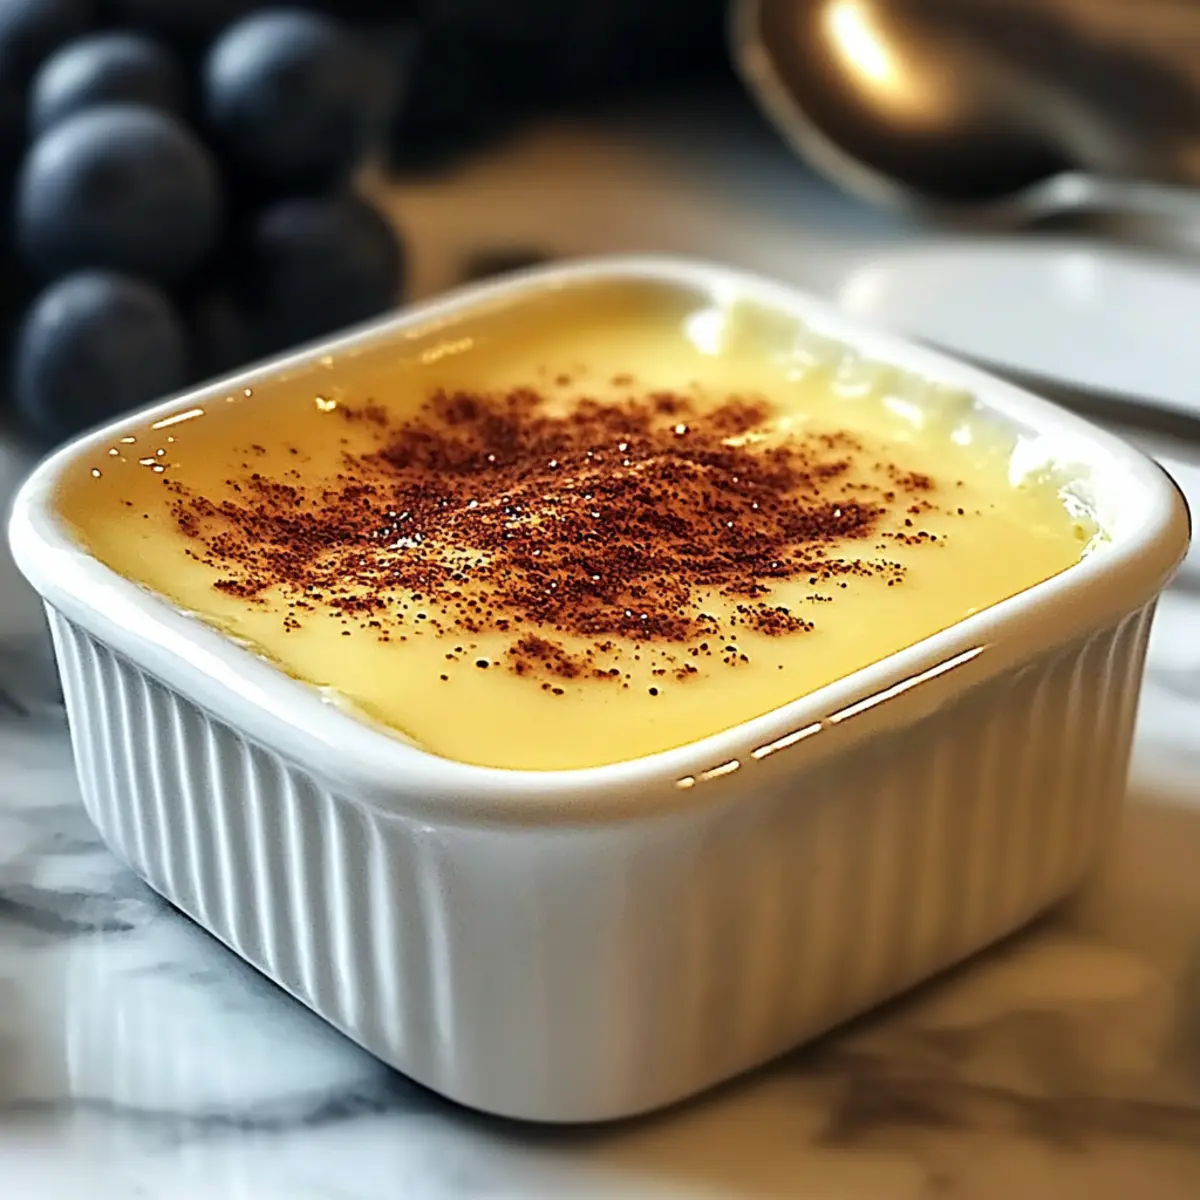
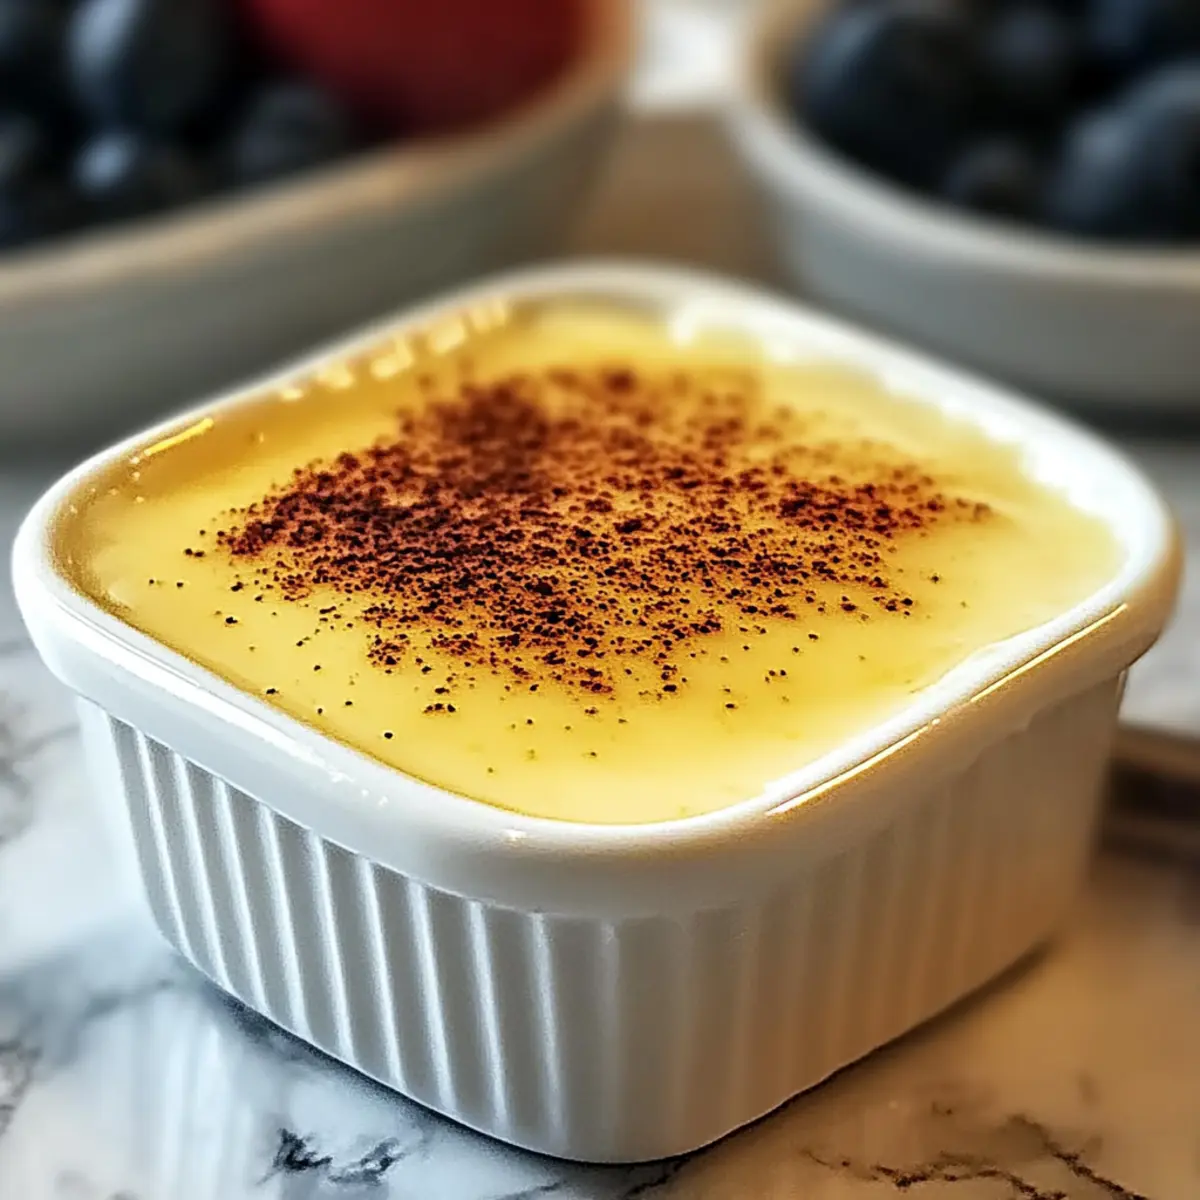
Before serving your delicious Fail-Proof Egg Custard, garnish with a sprinkle of ground nutmeg or other desired toppings. This final touch not only elevates the dish but adds an aromatic finish, making it irresistible for your guests or family!
Make Ahead Options
These Fail-Proof Egg Custards are perfect for busy home cooks looking to save time! You can prepare the custard mixture up to 24 hours in advance by whisking together the eggs, sugar, milk, vanilla extract, and salt, then storing it in a well-sealed container in the refrigerator. This method prevents any browning and ensures the mixture stays fresh and creamy. When you’re ready to bake, simply strain the mixture into ramekins, create your water bath, and pop them in the oven. They’ll turn out just as delicious with minimal effort, allowing you to focus on other tasks or enjoy some well-deserved downtime before serving!
Fail-Proof Egg Custard Customizations
Create your perfect version of this creamy delight with these fun twists and substitutions!
-
Vegan Custard: Replace eggs with a mixture of silken tofu and almond milk for a plant-based treat that retains that silky smooth texture. You won’t miss the eggs!
-
Chocolate Delight: Blend in melted dark chocolate to the custard mixture for a rich, decadent dessert. This variation will satisfy any chocolate craving and leave your taste buds dancing with joy.
-
Coconut Dream: Use coconut milk instead of regular milk for a tropical twist that’s refreshing and indulgent. Imagine a sweet escape to paradise with each spoonful.
-
Citrus Zing: Add some lemon or orange zest to brighten the custard’s flavors. This refreshing twist will wake up your taste buds and bring a sunny smile to your face!
-
Maple Sweetness: Substitute sugar with pure maple syrup for a unique twist on sweetness that embodies warmth and richness. It adds another dimension you’ll love in every bite.
-
Nutty Infusion: Stir in a tablespoon of almond or hazelnut extract for a delightful nutty flavor that pairs beautifully with the custard’s creamy texture. It’s a simple change with a big flavor impact!
-
Spiced Upgrade: Add a dash of cinnamon or cardamom to the mixture before baking for a warm and inviting aroma that fills your kitchen. This aromatic twist adds a cozy touch to your dessert.
Feeling inspired? Consider serving your custard alongside some {Fresh Berries](https://biteloom.com/sheet-pan-sausage-veggies/) or a dollop of whipped cream for an unforgettable experience. And for a fun combo, why not try it with {Smashed Carrots Veggie](https://biteloom.com/smashed-carrots/) on the side? Each bite can be a new adventure!
Storage Tips for Fail-Proof Egg Custard
Fridge: Store leftover custard in an airtight container for up to 3 days. This helps preserve its creamy texture and flavors, so you can enjoy it later.
Freezer: For longer storage, freeze custard in a freezer-safe container for up to 2 months. Allow it to cool before transferring, and remember to defrost in the fridge before serving.
Reheating: Gently reheat defrosted custard in the microwave at low power, stirring occasionally. Aim for a warm (not hot) temperature to maintain its silky smoothness.
Make-Ahead: You can prepare the custard mixture up to 24 hours in advance. Store it well-sealed in the refrigerator to ensure easy assembly and baking when you’re ready to enjoy this delightful treat.
Expert Tips for Fail-Proof Egg Custard
• Fresh Ingredients: Use fresh, large eggs for the best texture and flavor. The quality of your ingredients makes a significant difference in the custard’s success.
• Temperature Control: Tempering the eggs gradually with warm milk is crucial. It prevents scrambling and ensures a smooth mixture, perfect for your fail-proof egg custard.
• Baking Monitor: Keep an eye on the custard as it bakes. Remove it just as the center is slightly jiggly for the ideal creamy consistency—overbaking leads to a grainy texture.
• Strain for Smoothness: Don’t skip straining the mixture! This step removes any lumps and guarantees a luxuriously smooth custard that melts in your mouth.
• Chill Time: Allowing the custard to cool completely and refrigerating it for at least 2 hours enhances its flavor and texture. Patience here leads to perfection!
• Creative Twists: Feel free to experiment with flavors like chocolate or citrus zest. These variations allow you to customize your fail-proof egg custard for various tastes and occasions.
What to Serve with Easy and Creamy Fail-Proof Egg Custard
Imagine a stunning table spread that perfectly complements the velvety sweetness of your custard, elevating your dessert experience to new heights.
- Fresh Berries: Bursting with flavor and acidity, they provide a refreshing contrast to the creamy custard.
- Whipped Cream: Light and airy, this classic pairing adds a rich finish that elevates the custard’s sweetness beautifully. A generous dollop will make every bite even more delightful.
- Chocolate Sauce: Drizzling warm chocolate sauce over the custard introduces a luscious, sweet touch, creating a decadent experience that’s irresistible.
- Caramel Drizzle: Sweet and silky, a touch of caramel brings a comforting warmth that enhances the custard’s buttery richness effortlessly.
- Baked Apples: Cinnamon-spiced baked apples introduce a warm, fruity element that balances the custard’s smooth texture with a lovely chewiness.
- Coffee: A robust cup of freshly brewed coffee provides an excellent counterpoint to the sweet custard, creating a harmony of flavors.
- Shortbread Cookies: Their crumbly texture pairs well, offering a satisfying crunch that complements the custard’s creaminess beautifully.
- Almond Biscotti: Perfect for dipping, these crunchy delights add nutty undertones that enhance the custard while providing textural contrast.
- Citrus Zest: Bright and zesty, a sprinkle on top of the custard enriches every spoonful with a refreshing burst of flavor that lifts the sweet notes.
Fail-Proof Egg Custard Recipe FAQs
What kind of eggs should I use for the custard?
Absolutely! For the best texture and flavor, opt for fresh, large eggs. They provide the richness and creaminess that’s essential for a delightful Fail-Proof Egg Custard.
How should I store leftover custard?
You can store leftover custard in an airtight container in the fridge for up to 3 days. This will help maintain its creamy texture. Just make sure it’s sealed tightly to avoid absorbing any fridge odors.
Can I freeze my egg custard?
Yes, you can freeze your egg custard for up to 2 months! Allow it to cool completely, then transfer it to a freezer-safe container. When you’re ready to enjoy it, thaw the custard in the refrigerator overnight. Gently reheat in the microwave at low power, stirring occasionally, to retain its silky texture.
What are some troubleshooting tips if my custard doesn’t set?
If your custard doesn’t set properly, it may be due to over or underbaking. Make sure you’re watching it closely in the oven. It should come out when the edges are set but the center is still slightly jiggly—this usually takes about 35-40 minutes at 325°F (165°C). If it’s overbaked, the texture can turn grainy. Straining the mixture before baking is also crucial to achieving that perfect creaminess!
Are there any dietary considerations for pets, allergies, or gluten?
Great question! This Fail-Proof Egg Custard is naturally gluten-free as long as you use gluten-free ingredients. However, be mindful of those with egg or dairy allergies. For a vegan option, swap the eggs for a combination of silken tofu and almond milk, which works beautifully! Always check labels on your ingredients, especially for any hidden allergens.
How can I make the custard in advance?
You can certainly make the custard mixture up to 24 hours in advance. Just store it in a well-sealed container in the refrigerator, and when you’re ready, pour it into ramekins and bake. This approach allows you to have a delicious dessert ready with minimal effort when you’re entertaining or craving something sweet!
These FAQs will help guide you to custard perfection!
Fail-Proof Egg Custard: Silky Smooth Delight to Savor
Ingredients
Equipment
Method
- Preheat your oven to 325°F (165°C). Gather your ingredients and equipment.
- In a medium bowl, crack the eggs and whisk until just combined, about 30 seconds.
- Warm the milk in a saucepan over medium-low heat until small bubbles form.
- Whisk the warm milk into the eggs gradually to temper them.
- Mix in sugar, vanilla extract, and salt, whisking until dissolved.
- Strain the custard mixture through a fine sieve into a clean bowl.
- Pour the strained custard into ramekins, filling them three-quarters full.
- Place the baking dish in the oven and add hot water to create a water bath.
- Bake for 35-40 minutes until the edges are set and the centers are slightly jiggly.
- Allow the ramekins to cool to room temperature before refrigerating for at least 2 hours.
- Garnish with ground nutmeg or desired toppings before serving.
Leave a Reply