
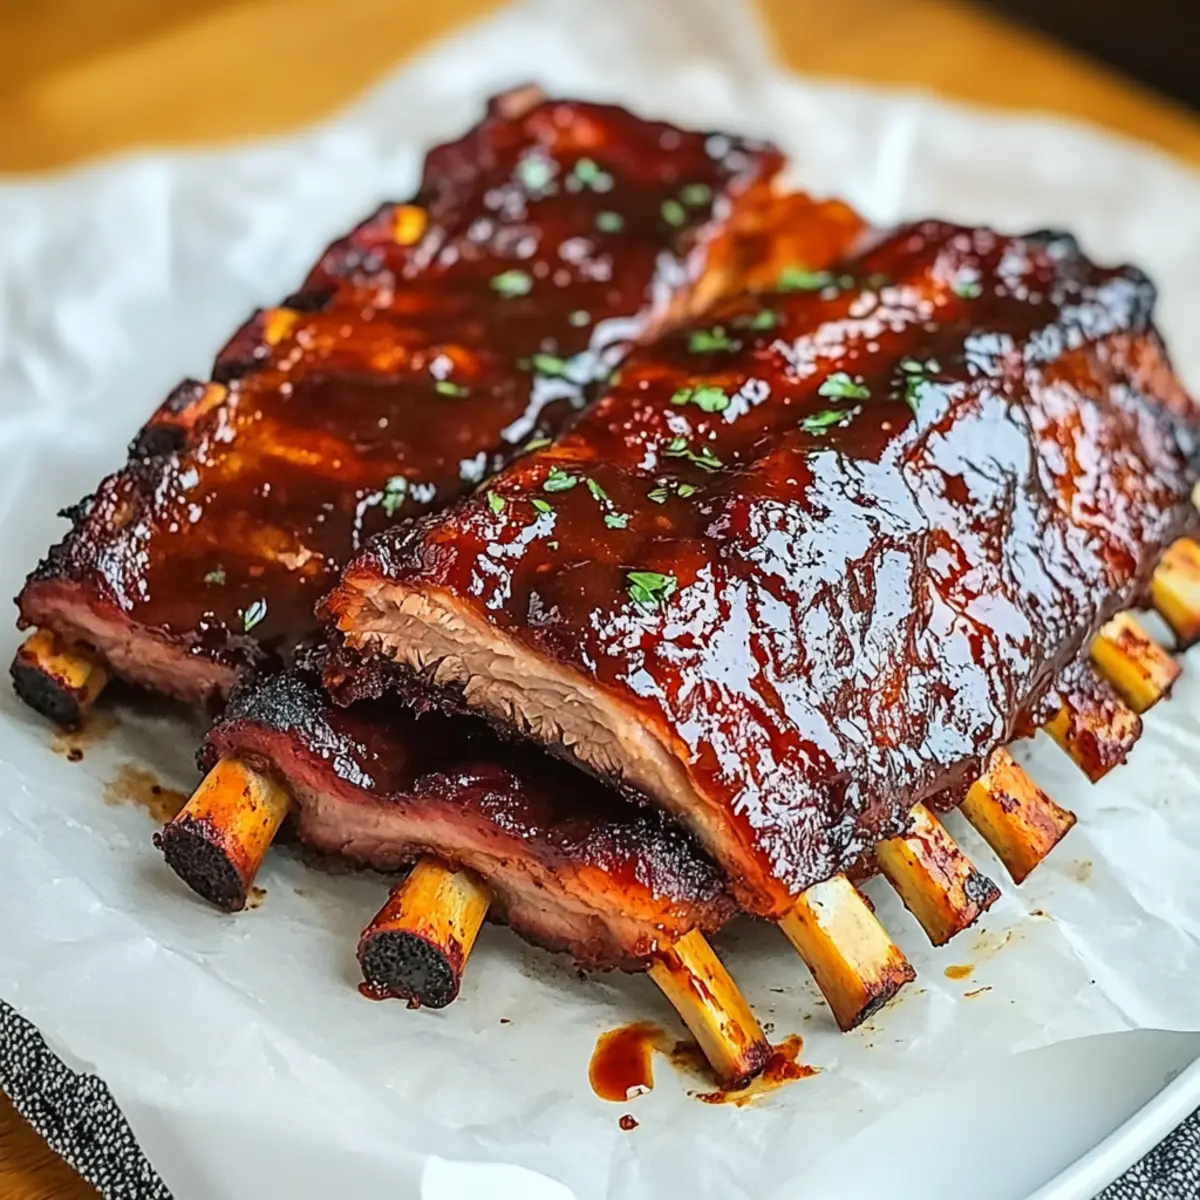
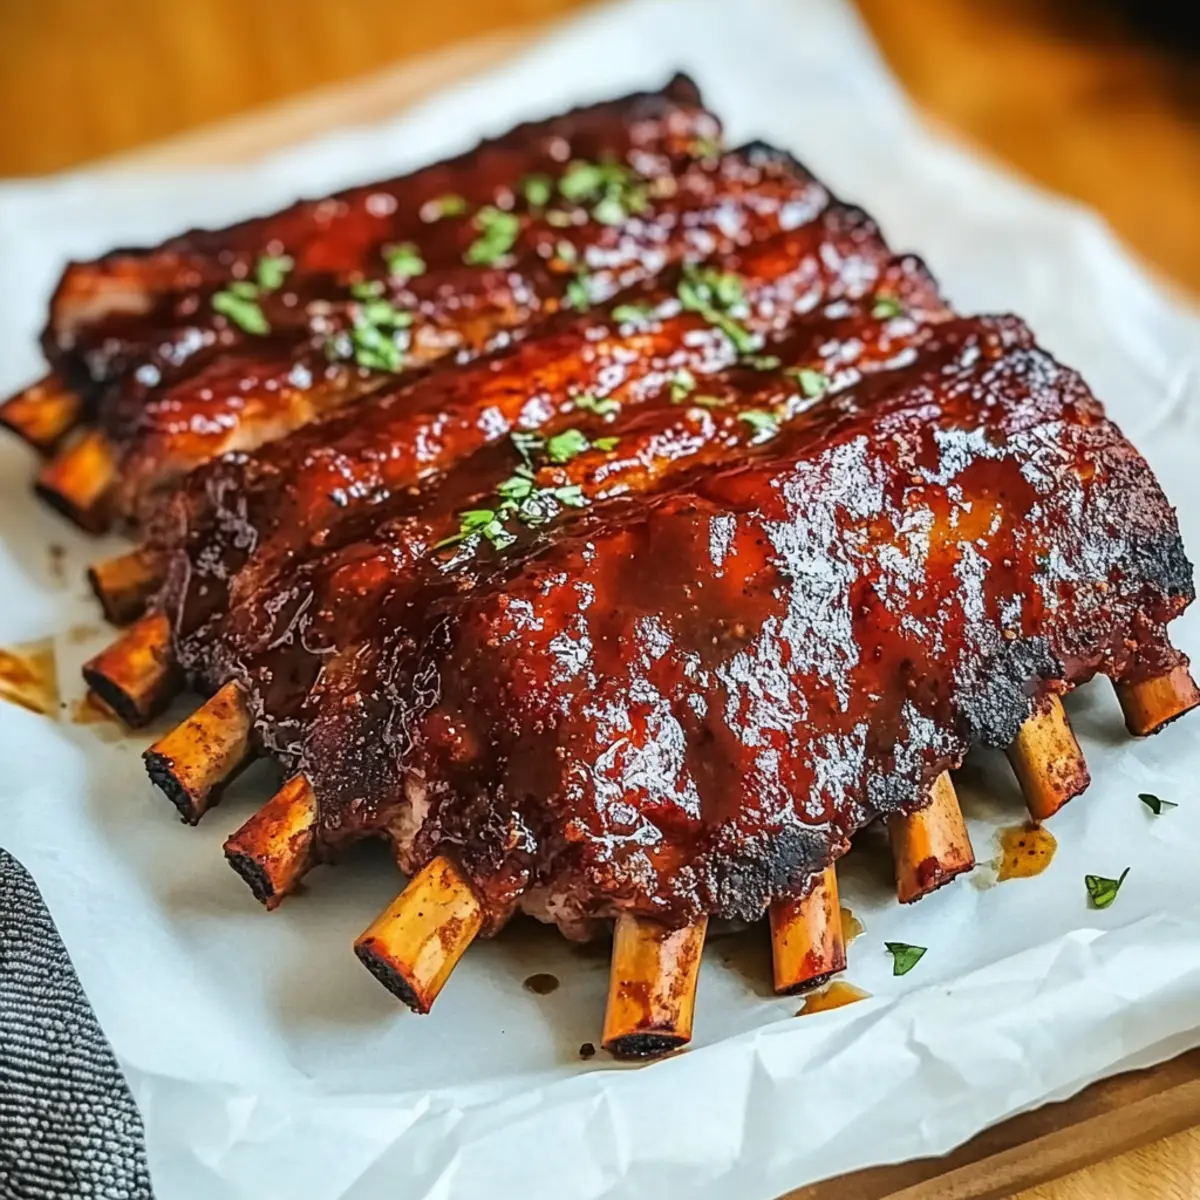
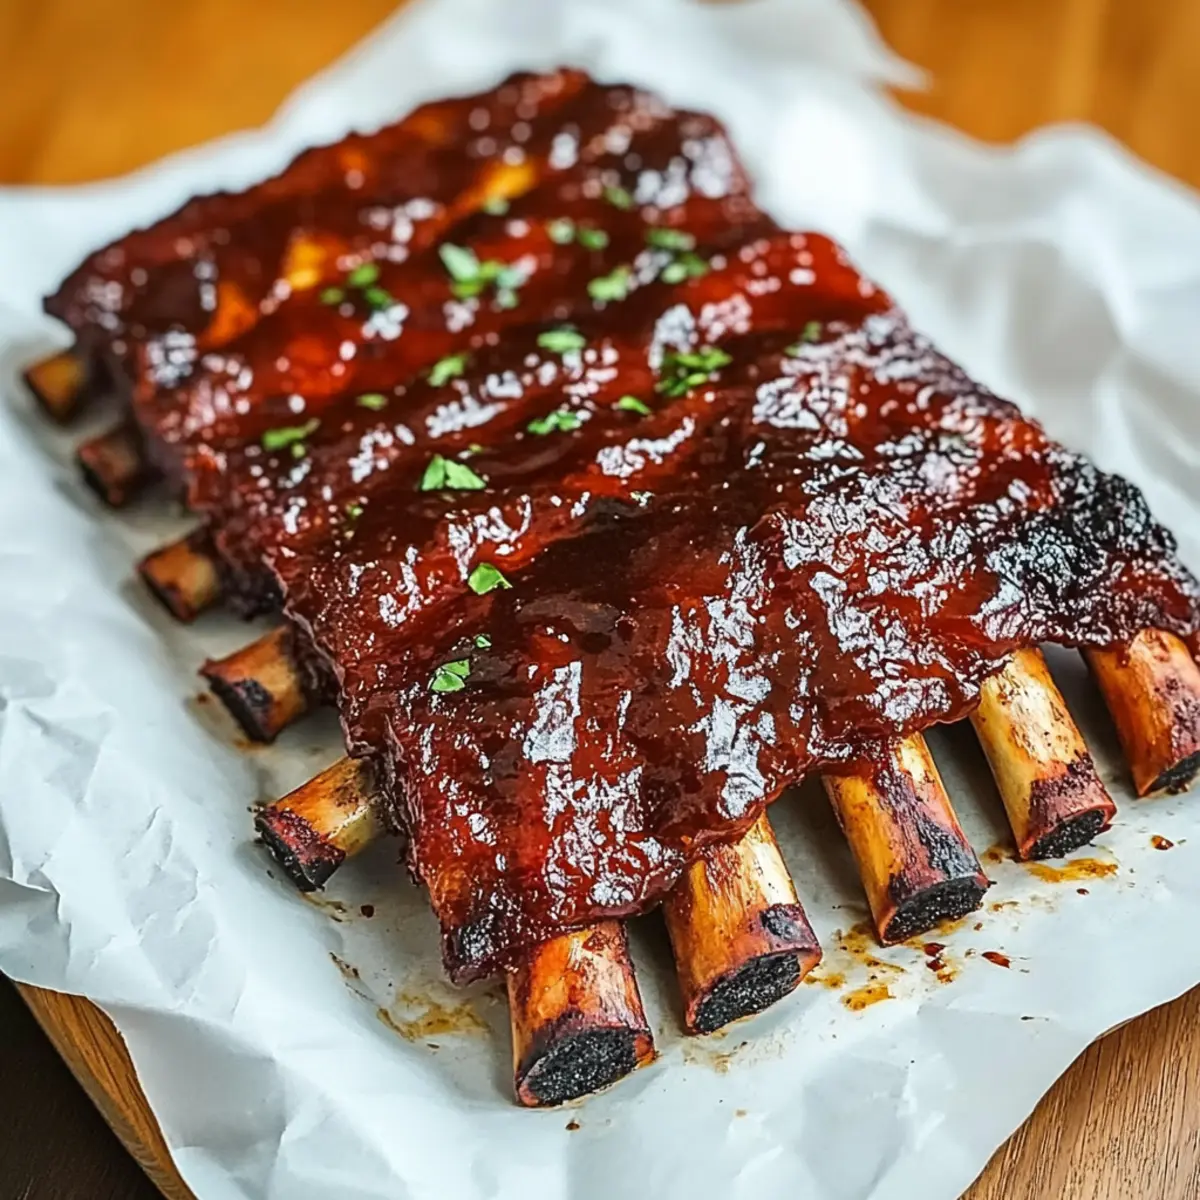
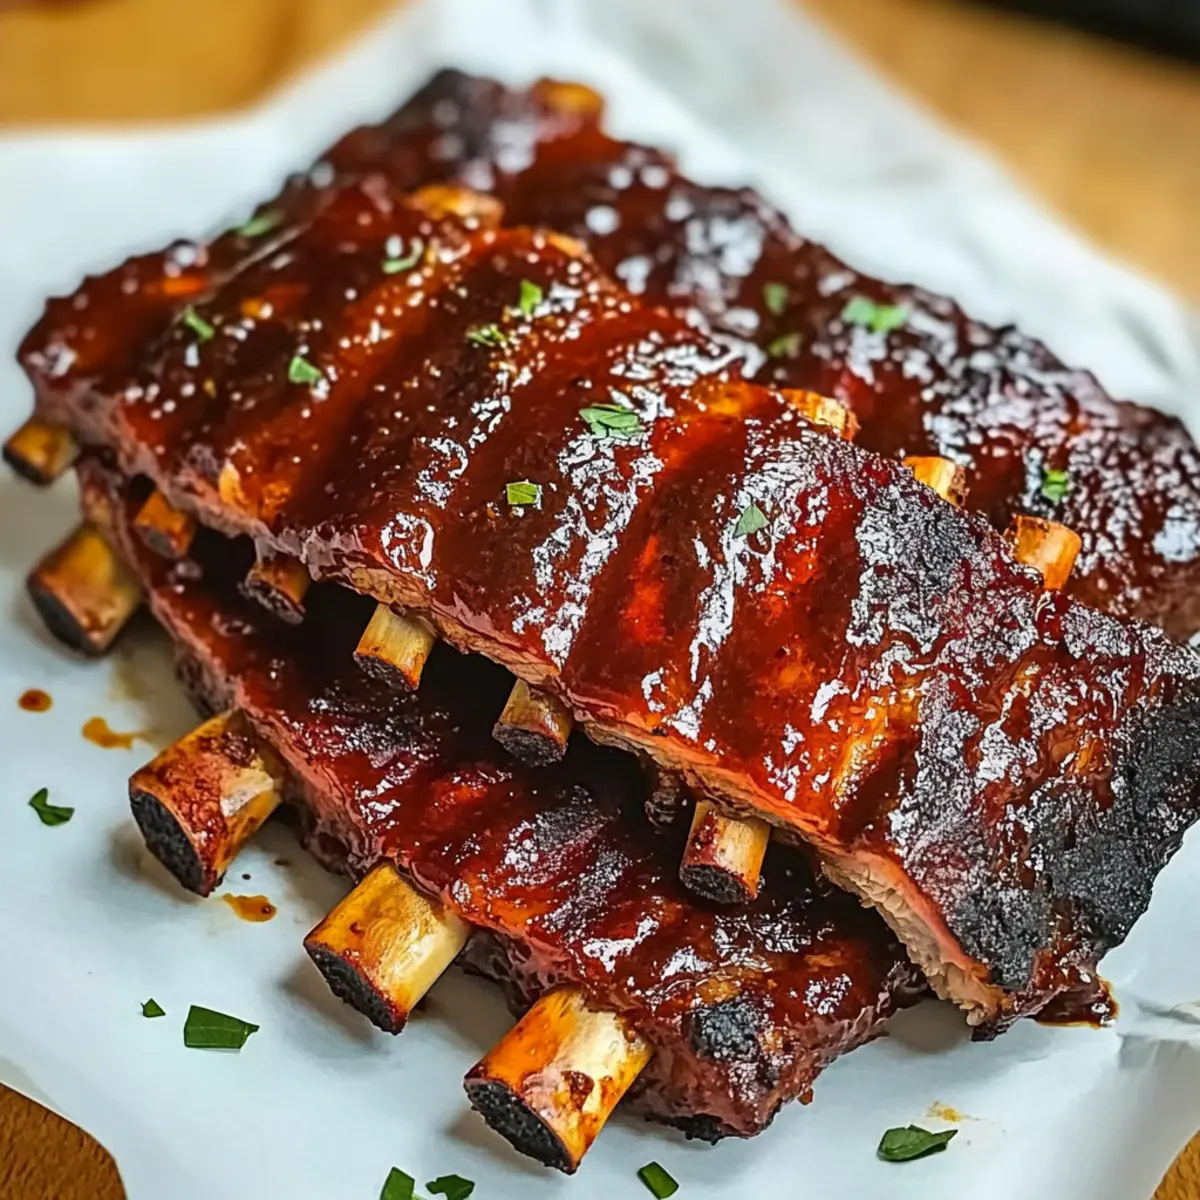
As I opened the oven door, the sweet, smoky fragrance of my Tender Oven-Baked Ribs enveloped the kitchen like a warm hug. There’s something incredibly satisfying about making these Dry Rub Ribs from scratch, especially knowing that each bite will melt in your mouth and leave everyone at the table asking for seconds. Not only are these ribs easy to prepare, allowing you to spend less time cooking and more time enjoying meals with loved ones, but they also offer a delightful balance of flavors, thanks to a homemade dry rub that elevates your next cozy dinner or weekend gathering. Curious how to achieve that perfect caramelized glaze? Let’s dive in!
Why Choose Dry Rub Ribs?
Simplicity at Its Best: The recipe is easy to follow, even for beginners, allowing everyone to enjoy home-cooked goodness.
Melt-in-Your-Mouth Tenderness: These ribs are slow-cooked to perfection, ensuring each bite is juicy and packed with flavor.
Homemade Flavor: The unique dry rub combines spices like smoked paprika and garlic powder, creating a rich flavor profile that rivals restaurant-quality dishes.
Crowd-Pleasing Delight: Perfect for gatherings, your guests will rave about these ribs and keep coming back for more.
Make-Ahead Convenience: Prepare the dry rub the day before for deeper flavor, saving you time on busy days.
Pair your ribs with sides like creamy garlic parmesan tortellini or coleslaw for the ultimate meal experience!
Dry Rub Ribs Ingredients
• Gather all your ingredients to make these flavorful Dry Rub Ribs that will impress your family and friends!
For the Ribs
- Baby Back Ribs or St. Louis-style Ribs – 2 racks, the perfect foundation for melt-in-your-mouth goodness.
For the Dry Rub
- Olive Oil – 2 tablespoons; helps the dry rub adhere to the ribs for maximum flavor.
- Brown Sugar – 1/4 cup; aids in caramelization, providing a delightful sweetness.
- Smoked Paprika – 1 tablespoon; adds depth and a smoky aroma to these Dry Rub Ribs.
- Garlic Powder – 1 tablespoon; infuses a rich savory flavor.
- Onion Powder – 1 tablespoon; enhances the overall taste profile.
- Black Pepper – 1 teaspoon; for essential seasoning that rounds out flavors.
- Salt – 1 teaspoon; crucial for enhancing the meat’s natural flavors.
- Chili Powder – 1 teaspoon; introduces a hint of heat and complexity.
- Cumin – 1 teaspoon; contributes earthy tones that balance the sweetness.
- Cayenne Pepper – 1/2 teaspoon (optional); perfect for those who enjoy an extra kick.
For the Glaze
- Barbecue Sauce – 1 cup; choose between store-bought or homemade for glazing the ribs before the final bake.
Step‑by‑Step Instructions for Tender Oven-Baked Ribs with a Smoky Dry Rub
Step 1: Preheat the Oven
Begin by preheating your oven to 275°F (135°C). This low temperature is vital for achieving tender Dry Rub Ribs that practically fall off the bone. Make sure your oven is properly heated before proceeding, as this ensures even cooking throughout the ribs.
Step 2: Prepare the Ribs
Next, take your racks of baby back ribs or St. Louis-style ribs and remove the thin membrane from the bone side for better flavor absorption. Pat the ribs dry with paper towels to help the seasoning stick, and lay them on a clean surface, ready for seasoning.
Step 3: Make the Dry Rub
In a mixing bowl, combine 1/4 cup brown sugar, 1 tablespoon each of smoked paprika, garlic powder, and onion powder, along with 1 teaspoon each of black pepper, salt, chili powder, cumin, and cayenne pepper (if using). Whisk these ingredients together until well blended, creating a fragrant dry rub that will enhance your ribs’ smoky flavor.
Step 4: Season the Ribs
Rub 2 tablespoons of olive oil evenly over both sides of the ribs, creating a base for the spices. Once the oil is applied, generously sprinkle the dry rub mixture over the ribs, rubbing it in with your hands to ensure all surfaces are coated. This step will ensure that every bite of your Dry Rub Ribs is bursting with flavor.
Step 5: Wrap the Ribs
Once seasoned, place each rack of ribs on a large piece of aluminum foil. Wrap the ribs tightly, sealing the edges to keep in all the moisture during baking. This will help cook the ribs evenly and maintain their tenderness while they’re in the oven.
Step 6: Bake the Ribs
Place the wrapped ribs on a baking sheet and transfer them to the preheated oven. Bake the ribs for 2.5 to 3 hours, allowing them to slowly cook and become tender. Make sure to check occasionally; the meat should begin pulling away from the bone towards the end of the cooking time.
Step 7: Glaze the Ribs
After baking, raise your oven temperature to 450°F (230°C). Carefully unwrap the ribs and transfer them back to the baking sheet; brush both sides with your choice of barbecue sauce. The glaze will create a beautiful, sticky finish that adds a delicious layer of flavor to your Dry Rub Ribs.
Step 8: Finish Baking
Return the glazed ribs to the oven and bake uncovered for 10-15 minutes. During this time, watch closely as the sauce bubbles and caramelizes—this step is crucial for achieving that irresistible glaze that enhances the overall taste and presentation.
Step 9: Let the Ribs Rest
Once finished baking, remove the ribs from the oven and let them rest for about 5 minutes. This resting period allows the juices to redistribute, ensuring that every slice is as juicy and flavorful as possible. After resting, you’re ready to slice between the bones and serve your delicious Tender Oven-Baked Ribs!
Dry Rub Ribs: Creative Twists
Feel free to explore the endless possibilities with these Dry Rub Ribs and make them uniquely yours!
-
Spicy Kick: Add extra cayenne pepper to the dry rub for a fiery punch that will leave your taste buds tingling. Adjust the level of heat to suit your family’s preferences for a spicy surprise that elevates the flavor profile.
-
Sweet & Tangy: Drizzle honey mixed with mustard over the ribs before glazing with barbecue sauce for a delightful balance of sweetness and tang. This lively combination creates an unforgettable flavor that will become a favorite around your dinner table.
-
Herb-Infused: Incorporate fresh herbs like rosemary or thyme into the dry rub for an aromatic twist. These herbaceous notes add depth to the flavor while offering a refreshing contrast to the smoky richness of the ribs.
-
Maple Glaze: Substitute brown sugar with maple syrup in your dry rub for a unique sweet twist. The resulting caramelization brings a delightful depth that pairs wonderfully with the ribs’ natural flavor.
-
Citrus Zest: Add finely grated lemon or orange zest to the dry rub for a bright pop of flavor. The citrus will cut through the richness, providing a lively note that makes each bite even more enjoyable.
-
Asian Influence: Incorporate soy sauce and ginger into your glaze for an Asian-inspired twist on the classic barbecue flavor. This unexpected twist will intrigue your guests and offer a new take on a beloved dish. Consider pairing these ribs with creamy garlic parmesan tortellini to maintain a balance of flavors in your meal.
-
BBQ Sauce Variety: Experiment with different barbecue sauces, like honey mustard or chipotle, to find the perfect flavor combination that fits your family. Choose a sauce that complements the dry rub and enhances the overall enjoyment of the dish.
With these variations, you’ll keep your Dry Rub Ribs exciting and adaptable, ensuring there’s always something new to savor!
What to Serve with Tender Oven-Baked Ribs?
Imagine a delightful feast where tender, smoky ribs steal the show, complemented by a medley of flavors and textures that keep everyone coming back for more.
-
Creamy Coleslaw: This refreshing dish adds a crunchy, tangy contrast to the rich flavors of the ribs, balancing the meal beautifully.
-
Garlic Breadsticks: Soft, buttery breadsticks are perfect for mopping up any barbecue sauce, adding a comforting element to your feast.
-
Corn on the Cob: Sweet, juicy corn enhances the summer barbecue vibe and adds a delightful sweetness to the meal, perfect for family gatherings.
-
Macaroni and Cheese: This creamy, cheesy staple is a crowd-pleaser that pairs perfectly with the smoky ribs, offering indulgence in every bite.
-
Baked Beans: Earthy and slightly sweet, baked beans bring a wonderful depth of flavor that complements the smoky notes of the ribs.
-
Mixed Green Salad: A light, vibrant salad with a zesty vinaigrette introduces fresh herbs and greens, cleansing the palate between rib bites.
-
Ice-cold Lemonade: This refreshing drink cuts through the richly flavored meat, keeping your guests feeling cool and satisfied throughout the meal.
-
Chocolate Brownies: Finish off the evening with these fudgy delights; their sweetness is a perfect ending to a savory rib feast, leaving everyone smiling.
How to Store and Freeze Dry Rub Ribs
Fridge: Store leftover Dry Rub Ribs in an airtight container for up to 3 days to maintain their juicy flavor and tenderness.
Freezer: For longer storage, freeze the unglazed ribs before baking. Wrap tightly in aluminum foil, followed by plastic wrap, and they can last for up to 3 months.
Reheating: To reheat, bake from frozen at 275°F (135°C) for about 2 hours, then glaze with barbecue sauce and finish baking at 450°F (230°C) for 10-15 minutes for that perfect sticky finish.
Cooling: Allow the ribs to cool completely before refrigerating or freezing to preserve their texture and flavor.
Expert Tips for Dry Rub Ribs
Flavor Balance: Ensure the dry rub is well mixed before applying to achieve an even distribution of flavors throughout your ribs.
No Overcooking: Watch the baking time closely; overcooking can lead to dry ribs. Aim for tender meat that pulls away from the bone with minimal resistance.
Resting Time: Don’t skip the resting period after baking. It allows the juices to redistribute, resulting in juicy, flavor-packed Dry Rub Ribs.
Wrap Tightly: When wrapping ribs in aluminum foil, seal the edges snugly to retain moisture. Loose wrapping can dry out your ribs during cooking.
Sauce Application: Apply barbecue sauce towards the end of baking. Doing it too early may lead to burning and a less appetizing finish.
Make Ahead Options
These Tender Oven-Baked Ribs are ideal for meal prep, allowing you to enjoy delicious homemade flavors without the last-minute rush! You can prepare the dry rub up to 24 hours in advance and store it in an airtight container in the refrigerator. Additionally, you can season and wrap the ribs in aluminum foil and refrigerate them for up to 3 days before baking. When you’re ready to serve, simply bake the ribs according to the instructions, then glaze and finish them in the oven. This prep-ahead method ensures your ribs are just as tender and flavorful, making your dinner more enjoyable with minimal effort!
Tender Oven-Baked Ribs Recipe FAQs
How do I select the best ribs for this recipe?
Absolutely! When choosing your ribs, look for well-marbled meat with a pinkish color. Avoid ribs with dark spots or a strong odor. Baby back ribs are tender and lean, while St. Louis-style ribs are meatier and flavorful. Both work beautifully in this recipe.
What’s the best way to store leftover Dry Rub Ribs?
You can store leftover Dry Rub Ribs in an airtight container in the fridge for up to 3 days. Just ensure they have cooled completely before sealing to keep them juicy and flavorful. For longer storage, wrap the cooked ribs tightly in plastic wrap and then place them in a freezer-safe bag.
Can I freeze Dry Rub Ribs, and how should I do it?
Yes, you can absolutely freeze Dry Rub Ribs! Before baking, wrap the ribs tightly in aluminum foil, then cover with plastic wrap or place them in a freezer-safe bag. They should last for up to 3 months. When ready to eat, bake them frozen at 275°F (135°C) for about 2 hours, glaze with barbecue sauce, and finish baking at 450°F (230°C) for 10-15 minutes.
What can I do if my ribs are tough after baking?
If your ribs end up a bit tough, they might have been overcooked. A great tip is to check them at around the 2-hour mark; if the meat is pulling back from the bone and fork-tender, they are ready! If they’re still tough, try wrapping them again and giving them an extra 30 minutes in the oven at the same temperature.
Can my pet dogs eat leftover rib meat?
While dogs love meat, it’s essential to avoid giving them seasoned or sauced rib parts, as some spices can be harmful. Stick to giving them plain, cooked meat without any bones, as cooked bones can splinter and pose a choking hazard.
How important is the resting time for the ribs?
Resting your Dry Rub Ribs for about 5 minutes after baking is crucial! This short period allows the juices to redistribute throughout the meat, keeping every slice juicy and flavorful. Skipping this step may result in drier ribs, so don’t rush it!
Savory Dry Rub Ribs: Melt-in-Your-Mouth Perfection at Home
Ingredients
Equipment
Method
- Preheat your oven to 275°F (135°C).
- Remove the thin membrane from the bone side of the ribs and pat them dry.
- Mix the dry rub ingredients in a bowl until well blended.
- Apply olive oil to the ribs and coat them with the dry rub.
- Wrap each rack of ribs in aluminum foil tightly to retain moisture.
- Bake the wrapped ribs on a baking sheet for 2.5 to 3 hours.
- Unwrap the ribs, brush with barbecue sauce, and return to the oven.
- Bake uncovered for 10-15 minutes until caramelized.
- Let the ribs rest for about 5 minutes before slicing.
Leave a Reply