
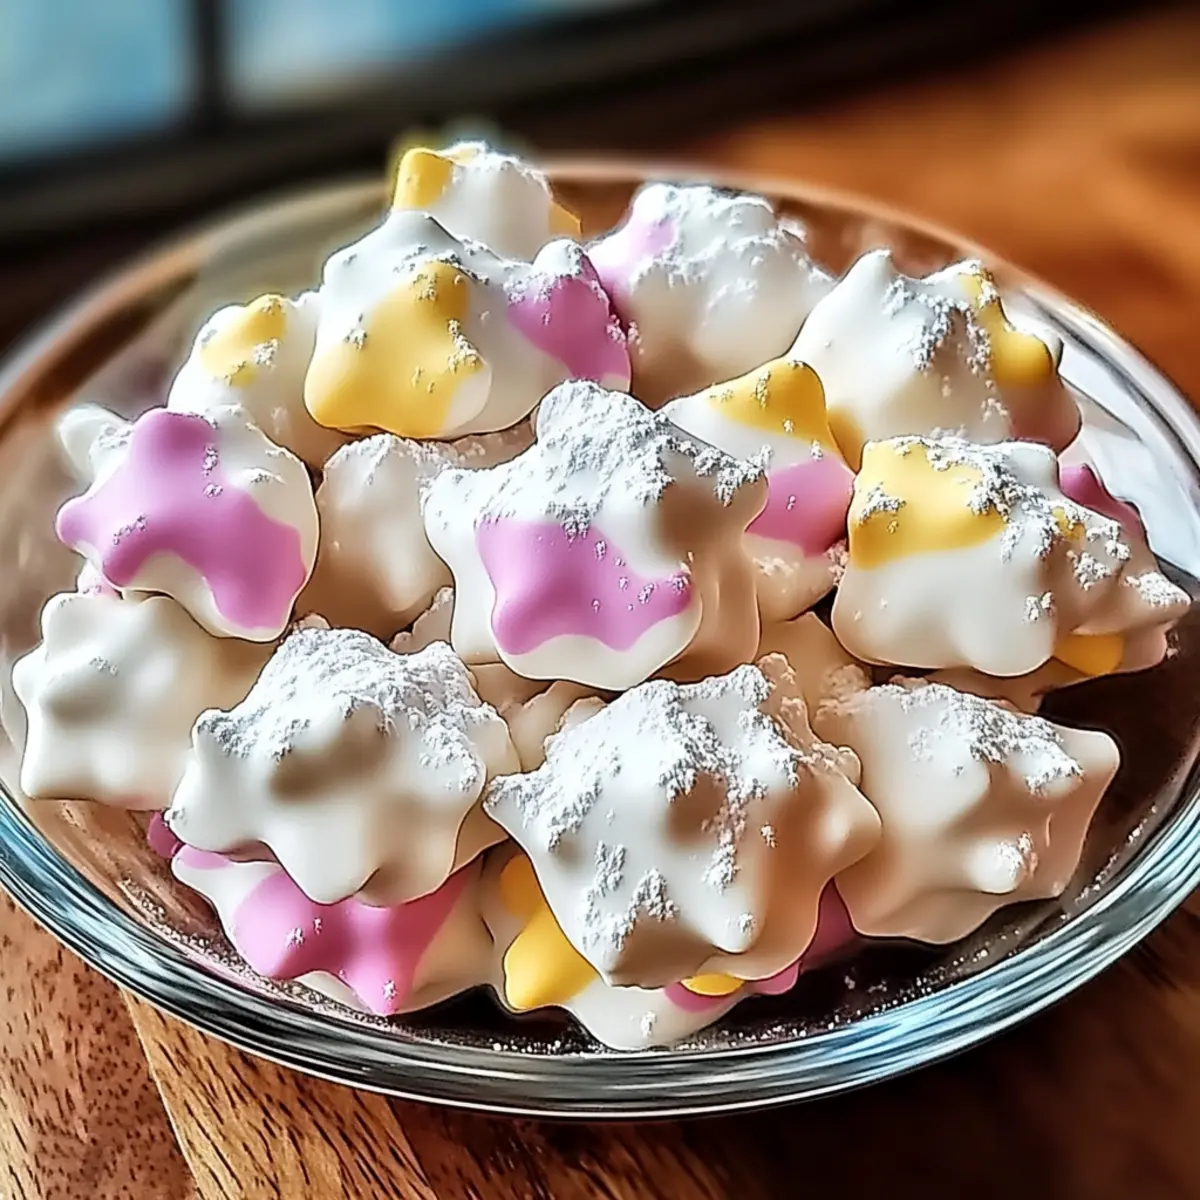
In the rush of everyday life, finding a sweet escape can be a challenge, but that’s exactly what my Easy No-Bake Cool Whip Candy delivers. This delightful treat combines the fluffiness of Cool Whip with your choice of rich flavored pudding, creating creamy bites that are pure joy to indulge in. Perfect for those moments when you want something quick yet impressive, this recipe stands out as a crowd-pleaser. Plus, the best part? You can easily customize it with various pudding flavors like chocolate, pistachio, or even cheesecake. Get ready to impress your friends and family with a treat that will have everyone begging for the recipe. So, which flavor will you try first?
Why is Cool Whip Candy so irresistible?
Nostalgic, this treat brings back sweet memories and is perfect for all ages, making it a hit at gatherings. No baking required, just a few simple steps, so anyone can whip it up effortlessly. Versatile flavors mean you can explore endless combinations, whether you want chocolate or something fruity! Crowd-pleaser status is guaranteed as these fluffy bites melt in your mouth, bringing smiles all around. For a refreshing drink to pair, check out my Refreshing Peach Lemonade for the ultimate treat experience!
Cool Whip Candy Ingredients
• Get ready to whip up this delightful treat!
For the Candy Mixture
- Cool Whip – Provides creaminess and light texture; use thawed but cold for best results.
- Instant Pudding Mix – Delivers flavor and sweetness; any flavor works, but chocolate is a classic choice!
- Powdered Sugar – Adds sweetness and helps achieve that melt-in-your-mouth quality; adjust for desired sweetness.
- Vanilla Extract – Enhances flavor; real vanilla will make your Cool Whip Candy even more delicious!
For Coating Options
- Powdered Sugar – A simple way to coat the candies and add extra sweetness!
- Cocoa Powder – A great alternative for a more decadent look and flavor.
- Chopped Nuts – Adds a crunchy texture; pecans or walnuts work wonderfully.
- Colorful Sprinkles – Perfect for a festive touch that makes your candy visually appealing!
Explore your creative side as you make this Cool Whip Candy, customizing flavors and coatings to suit your taste!
Step‑by‑Step Instructions for Cool Whip Candy
Step 1: Combine the Base Ingredients
In a large mixing bowl, gently fold together the thawed Cool Whip and your chosen instant pudding mix until the mixture is smooth and creamy. This should take about 2-3 minutes of careful mixing; watch for any lumps, ensuring a velvety texture. Using a silicone spatula or an electric mixer can help blend everything evenly.
Step 2: Incorporate Sweetness and Flavor
Next, gradually add the powdered sugar and vanilla extract, mixing until a soft, slightly stiff dough forms. This process should take an additional 2 minutes; the dough will start to hold together nicely. Make sure to scrape down the sides of the bowl to incorporate all ingredients well for that delightful Cool Whip Candy flavor.
Step 3: Chill Until Firm
Cover the bowl with plastic wrap and place it in the refrigerator for 30-60 minutes. This chilling time allows the mixture to firm up, making it easier to handle. You’ll know it’s ready when it feels somewhat solid to the touch but still soft and pliable—perfect for shaping into candies.
Step 4: Shape the Candy
Once chilled, line a baking sheet with parchment paper. Using a small scoop or your hands, take portions of the mixture and roll them into bite-sized balls—about 1 inch in diameter works well. Arrange the shaped Cool Whip Candy on the prepared baking sheet, ensuring they are spaced apart for even coating later.
Step 5: Coat with Powdered Sugar
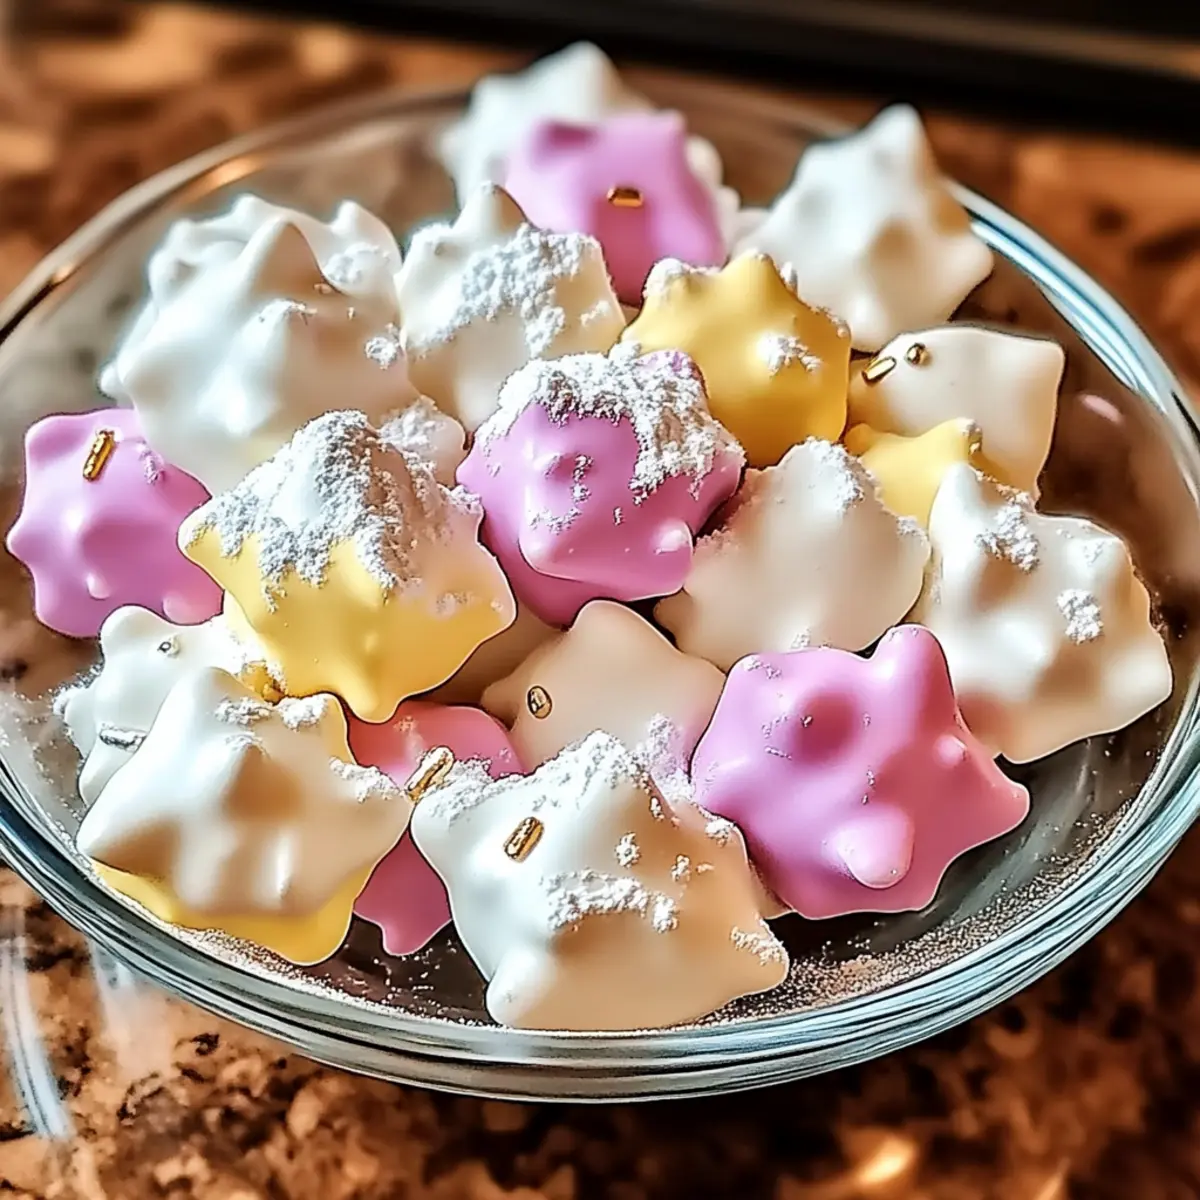
Roll each candy ball in powdered sugar to coat them thoroughly, giving a beautiful and sweet finish. This step not only adds a delightful layer of sweetness but also prevents sticking. If desired, you can experiment with cocoa powder or chopped nuts for a unique twist on your Cool Whip Candy.
Step 6: Final Chill for Setting
Refrigerate the coated candies for another 15-20 minutes to allow them to set completely. This quick chill helps the coating adhere and firms up the candy’s texture. You’ll know they’re ready when they feel firmer to the touch yet still soft—just right for indulging in a heavenly bite of Cool Whip Candy.
Make Ahead Options
These Cool Whip Candy bites are a fantastic option for busy home cooks looking to save time without sacrificing taste! You can prep the candy mixture up to 24 hours in advance; simply follow the recipe steps up to the chilling point. After mixing the Cool Whip and pudding, cover the bowl tightly and refrigerate it. For best quality, make sure to keep it well sealed to prevent drying out. When you’re ready to serve, scoop and roll the chilled mixture into balls, coat with powdered sugar, and refrigerate for an additional 15-20 minutes to set. You’ll have delicious, creamy treats ready to impress with minimal last-minute effort!
Cool Whip Candy Variations & Substitutions
Feel free to adjust this recipe to fit your taste buds and dietary needs!
-
Flavor Twist: Experiment with bold pudding flavors like lemon, coconut, or cheesecake for a refreshing change.
Mixing in a fruity flavor can elevate your Cool Whip Candy to a whole new level of deliciousness. -
Nutty Crunch: Add chopped nuts like almonds or pecans for a satisfying crunch.
This little twist not only enhances texture but also adds a nutty richness to balance the sweetness. -
Dairy-Free: Use dairy-free whipped topping and pudding mix for a vegan-friendly option.
Your guests won’t believe these candy bites are dairy-free; they’re just as creamy and delightful! -
Chocolate Covered: Dip your candy balls in melted chocolate for an indulgent treat.
This wickedly delicious layer adds a rich contrast that makes every bite even more irresistible. -
Sprinkle Surprise: Roll your candies in colorful sprinkles for a festive touch!
Perfect for celebrations, these vibrant candies bring a cheerful pop of color that’s sure to delight. -
Caffeine Kick: Sprinkle in some finely ground espresso or coffee-flavored pudding mix.
For coffee lovers, this variation will give your Cool Whip Candy an extra zing of flavor that’s simply divine. -
Savory Sweet: Try adding a pinch of sea salt or crushed pretzels to balance the sweetness.
Just a hint of salt can amplify the flavor and create a unique sweet-and-salty combination that’s hard to resist. -
Tropical Vibe: Incorporate coconut flakes or a hint of pineapple pudding for a tropical twist.
This fun variation transports you to a sunny paradise with each creamy bite!
With these versatile suggestions, you can easily adjust your Cool Whip Candy to match any gathering or preference. For a refreshing drink to pair with your candies, consider making my delightful Refreshing Peach Lemonade—it’s the perfect complement!
What to Serve with Easy No-Bake Cool Whip Candy
Looking to build a delightful meal around your sweet, creamy treats? Pair these fluffy bites with complementary flavors for a well-rounded experience.
- Fresh Berries: Juicy strawberries or raspberries add a tart contrast, enhancing the sweetness of Cool Whip Candy.
- Chocolate-Covered Pretzels: The salty crunch of pretzels beautifully balances the sweet, soft texture of the candy.
- Ice Cream Sundae Bar: Set up a DIY sundae bar where guests can create their own desserts, incorporating Cool Whip Candy for added delight.
- Fruit Salad: A refreshing mix of seasonal fruits brightens the palate, providing a light counterpart to the rich flavors of the candy.
- Creamy Yogurt Parfaits: Layer yogurt with fruits and Cool Whip Candy in glasses for a beautifully presented dessert that’s tasty and fun!
- Mint Tea: A refreshing herbal tea offers a soothing finish, cleansing your palate after enjoying rich dessert flavors.
- Homemade Lemonade: A glass of chilled lemonade provides a zesty contrast that elevates the sweetness, making it a perfect pairing.
- Mini Cheesecakes: Serve alongside individual cheesecakes for a delightful dessert spread that promises satisfaction for any sweet tooth.
Expert Tips for Cool Whip Candy
-
Measure Accurately: Ensure you measure the Cool Whip and pudding mix correctly to maintain the right texture of your Cool Whip Candy. Too much pudding can make it too dense.
-
Chill Thoroughly: Don’t skip the chilling steps! Proper chilling allows the candy to firm up, making it easier to roll into balls and ensuring they hold their shape.
-
Avoid Overmixing: When combining the ingredients, mix just until smooth. Overmixing can lead to a gummy consistency, which affects the candy’s melt-in-your-mouth quality.
-
Customize Wisely: While experimenting with flavors is fun, start with just one new pudding flavor at a time to avoid overpowering the base taste of Cool Whip Candy.
-
Keep Hands Dusty: If the mixture is sticky, dust your hands with powdered sugar before rolling, which helps keep the candies from adhering to your fingers.
How to Store and Freeze Cool Whip Candy
Fridge: Store your Cool Whip Candy in an airtight container in the refrigerator for up to one week. This keeps them fresh and fluffy for indulgent snacking!
Freezer: For longer storage, freeze the candies in a freezer-safe container for up to one month. Ensure they are well-sealed to prevent freezer burn.
Thawing: To enjoy frozen Cool Whip Candy, simply transfer them to the fridge for a few hours or overnight before serving. This will help maintain their delightful texture.
Reheating: There’s no need to reheat; they’re best enjoyed cold and fresh straight from the fridge or after a short thaw from the freezer!
Cool Whip Candy Recipe FAQs
How do I select the best instant pudding mix for Cool Whip Candy?
Absolutely! Choose your favorite flavor of instant pudding mix, but make sure it’s from a reputable brand for the best taste. Look for varieties with a rich color and clear packaging; they’re usually the freshest. If you’re feeling adventurous, try something unique like pistachio or cheesecake to create a surprising twist!
How long can I store Cool Whip Candy in the fridge?
You can store your Cool Whip Candy in an airtight container in the refrigerator for up to one week. That’s perfect for keeping them fresh and fluffy! To keep them at their best, place them in a cool spot away from heat sources, and avoid stacking them too high to prevent crushing.
Can I freeze Cool Whip Candy for later use?
Absolutely! To freeze your Cool Whip Candy, place them in a single layer on a baking sheet first to prevent sticking. Once they’re frozen solid, transfer them to a freezer-safe container or bag. They’re good for up to one month. Always make sure they are sealed tightly to prevent freezer burn!
What should I do if my Cool Whip Candy mixture is too sticky?
If the mixture is too sticky, don’t worry! Chill it for an additional 30 minutes in the refrigerator. This will help firm it up. You can also dust your hands with powdered sugar when rolling the balls to help with stickiness. If it’s still difficult, adding a touch more powdered sugar while mixing can also do the trick.
Are there any allergies I should consider when making Cool Whip Candy?
Yes, it’s essential to consider dietary restrictions! Both Cool Whip and instant pudding can contain common allergens such as milk and soy. I recommend using allergen-free brands if you’re serving someone with dairy allergies, or consider using whipped coconut cream as a delightful alternative for the base. Always double-check ingredient labels!

Creamy Cool Whip Candy Recipe – No-Bake and Irresistible
Ingredients
Equipment
Method
- In a large mixing bowl, gently fold together the thawed Cool Whip and your chosen instant pudding mix until the mixture is smooth and creamy.
- Gradually add the powdered sugar and vanilla extract, mixing until a soft, slightly stiff dough forms.
- Cover the bowl with plastic wrap and place it in the refrigerator for 30-60 minutes.
- Once chilled, line a baking sheet with parchment paper and roll the mixture into bite-sized balls.
- Roll each candy ball in powdered sugar to coat them thoroughly.
- Refrigerate the coated candies for another 15-20 minutes to allow them to set completely.
Leave a Reply