
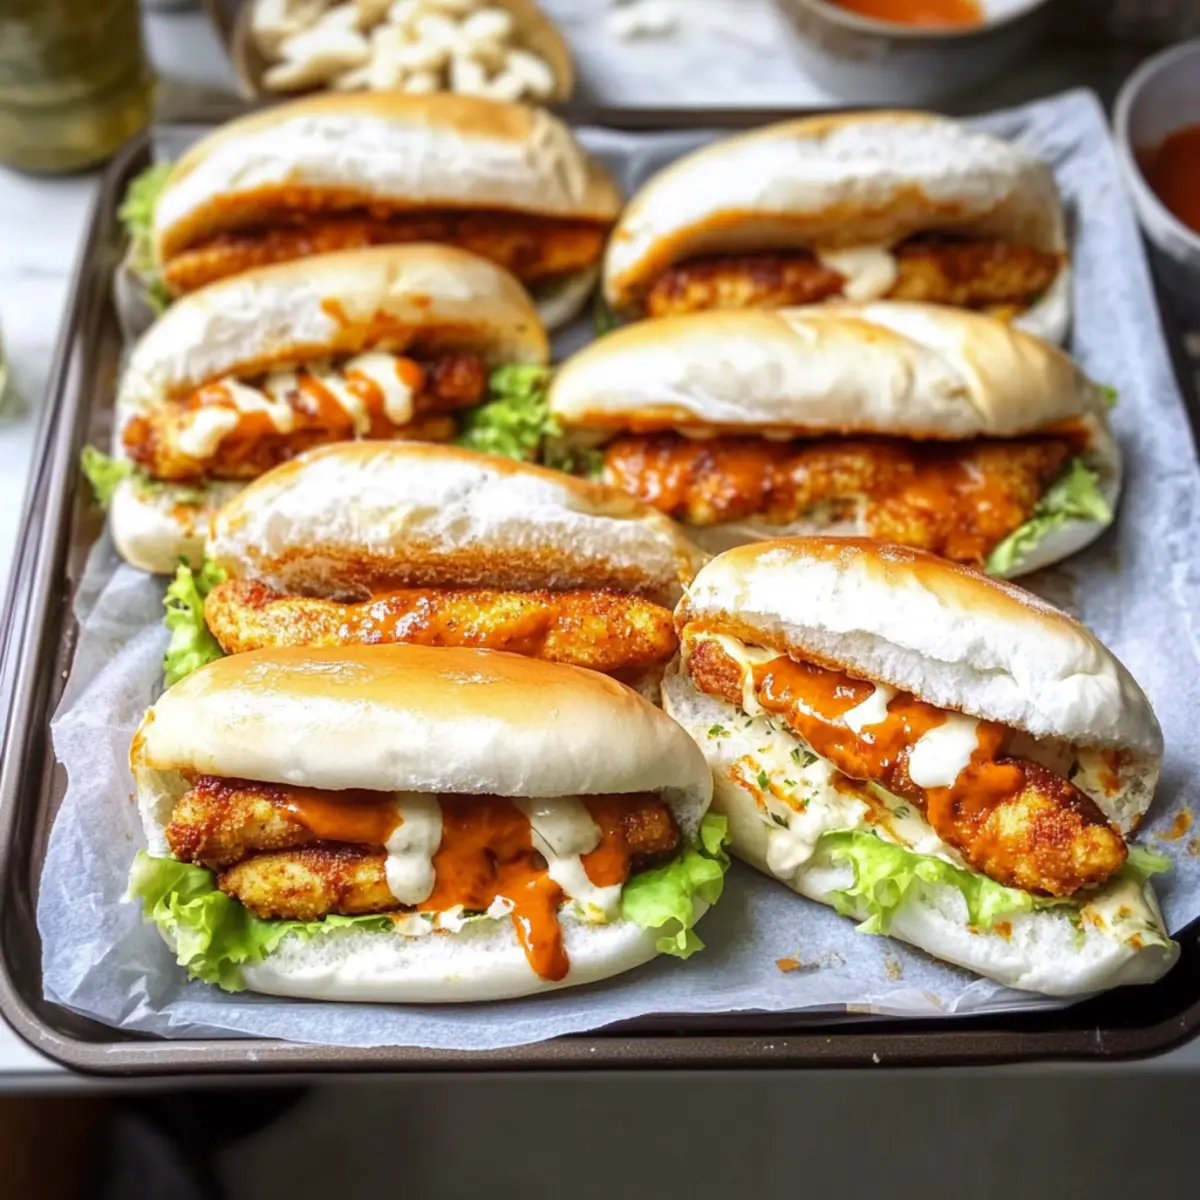
The aroma wafting from my oven takes me back to that lively neighborhood party, where sharing joyful moments and mouthwatering food creates unforgettable memories. These Cheesy Dynamite Chicken Buns are my go-to for any gathering, transforming simple ingredients into a crowd-pleaser that steals the show. With their crispy, golden exterior and a delightful filling of spicy chicken and gooey cheese, they come together in a flash and are effortlessly impressive. You’ll love that they’re not just delicious but also a fantastic way to break away from boring fast food! So, whether you’re hosting friends or craving something special for dinner, why not treat yourself to these buns? Can you resist the urge to take a bite?
Why Are Cheesy Dynamite Chicken Buns Irresistible?
Flavor Explosion: Each bite is a delightful burst of spicy chicken and gooey cheese, bringing joy to your taste buds.
Quick and Easy: These buns come together in no time, making them perfect for busy weeknights or unexpected guests.
Perfect Party Snack: Their hand-held size and crowd-pleasing flavor combo make them an ideal choice for any gathering.
Customization Friendly: Feel free to switch up the chicken for shredded beef or tofu, catering to every dietary preference!
Gourmet Appeal: With their golden, crispy exterior, these buns offer a gourmet touch that will impress even the pickiest eaters.
So, if you’re ready to break free from fast food monotony, dive into the magic of Cheesy Dynamite Chicken Buns and ignite your dining experience!
Cheesy Dynamite Chicken Buns Ingredients
-
For the Dough
-
Water – Provides hydration for the dough; use lukewarm to activate the yeast.
-
Milk – Adds creaminess; lukewarm is best for perfect texture.
-
Honey – Adds sweetness and helps with yeast activation; can substitute with sugar.
-
Instant Yeast – Leavening agent that gives the dough its rise.
-
Egg – Acts as a binder; for a vegan option, replace with a flax egg.
-
Sunflower Oil – Keeps the dough moist; any neutral oil works too.
-
All-purpose Flour – Provides necessary structure for the buns; whole wheat may alter texture.
-
Salt – Enhances flavor and controls yeast activity.
-
Butter – Adds richness and flavor; margarine can be used for a lactose-free option.
-
For the Topping
-
Parmesan Cheese – Adds savory flavor; substitute with pecorino or nutritional yeast for a vegan alternative.
-
Cayenne Powder – Adds heat; adjust to taste or swap with paprika for milder flavor.
-
Onion Powder – Imparts savory depth to the buns.
-
Black Pepper Powder – Adds a hint of spice.
-
For the Chicken Mixture
-
Chicken Fillet – The main filling for these buns; for a vegetarian option, use jackfruit or tofu.
-
Salt – Enhances the chicken’s flavor.
-
Onion Powder – For seasoning; can also use fresh onion.
-
Garlic Powder – Adds aromatic richness.
-
Cayenne Powder – Provides flavorful heat.
-
Black Pepper Powder – Adds depth of flavor to the mixture.
-
Sambal Oelek – Gives a spicy kick; omit for a milder version or swap with sriracha.
-
Soy Sauce – Adds a savory umami touch; use tamari for a gluten-free option.
-
Egg – Binds the chicken mixture together.
-
For the Cornstarch Mixture
-
Cornstarch – Provides a crispy coating when frying; can replace with potato starch if preferred.
-
Salt – Enhances overall flavor.
-
Black Pepper Powder – Adds seasoning depth to the coating.
-
Onion Powder – For added flavor complexity.
-
For the Sauce
-
Mayonnaise – The creamy base of the sauce; Greek yogurt can lighten it up.
-
Chili Sauce – Provides sweetness and spice balance.
-
Sambal Oelek – For extra heat; adjust based on your spice preferences.
These Cheesy Dynamite Chicken Buns are just a few ingredients away from igniting your taste buds and making mealtime spectacular!
Step‑by‑Step Instructions for Cheesy Dynamite Chicken Buns
Step 1: Prepare Dough
In a mixing bowl, combine lukewarm water, milk, honey, and instant yeast, letting it sit for 5 minutes until bubbly. Mix in the beaten egg and sunflower oil, then gradually add all-purpose flour, salt, and butter. Knead the dough on a floured surface for 10-12 minutes until smooth and elastic. Place the dough in a greased bowl, cover it, and let it rise in a warm spot for 1 hour or until doubled in size.
Step 2: Make Chicken Mixture
While the dough rises, cut the chicken fillet into small pieces and transfer them to a mixing bowl. Add salt, onion powder, garlic powder, cayenne powder, black pepper, sambal oelek, soy sauce, and the beaten egg. Mix thoroughly until all ingredients are well combined. Cover the mixture and refrigerate for at least 1-2 hours to allow the flavors to meld beautifully.
Step 3: Shape and Top Buns
Once the dough has risen, gently deflate it and divide it into 14 equal pieces, each weighing about 70g. Roll each piece into a ball, then flatten it into a rectangle. Fold the rectangle in half, brush the top with milk, and dip it in the Parmesan topping mixture. Arrange shaped buns on a baking sheet lined with parchment paper and let them rise for another 30 minutes until slightly puffy.
Step 4: Bake Buns
Preheat your oven to 200℃ (392°F). Once the buns have risen, bake them for 12-15 minutes or until they achieve a beautiful golden brown color. Keep an eye on them to ensure they don’t overcook; they should be crispy on the outside and soft on the inside, just like the perfect Cheesy Dynamite Chicken Buns.
Step 5: Cook Chicken
In a mixing bowl, combine cornstarch, salt, black pepper, and onion powder. Coat the marinated chicken pieces in the cornstarch mixture. Heat oil in a frying pan over medium heat until it reaches 175℃ (350°F). Fry the coated chicken pieces in batches for 5-7 minutes or until they turn golden brown and crisp. Once cooked, drain them on paper towels to remove excess oil.
Step 6: Prepare Sauce
In a small bowl, whisk together mayonnaise, chili sauce, and sambal oelek to create a creamy sauce. Adjust the heat and sweetness according to your preference. Set the sauce aside; it will add a delightful kick to your assembled Cheesy Dynamite Chicken Buns.
Step 7: Assemble Buns
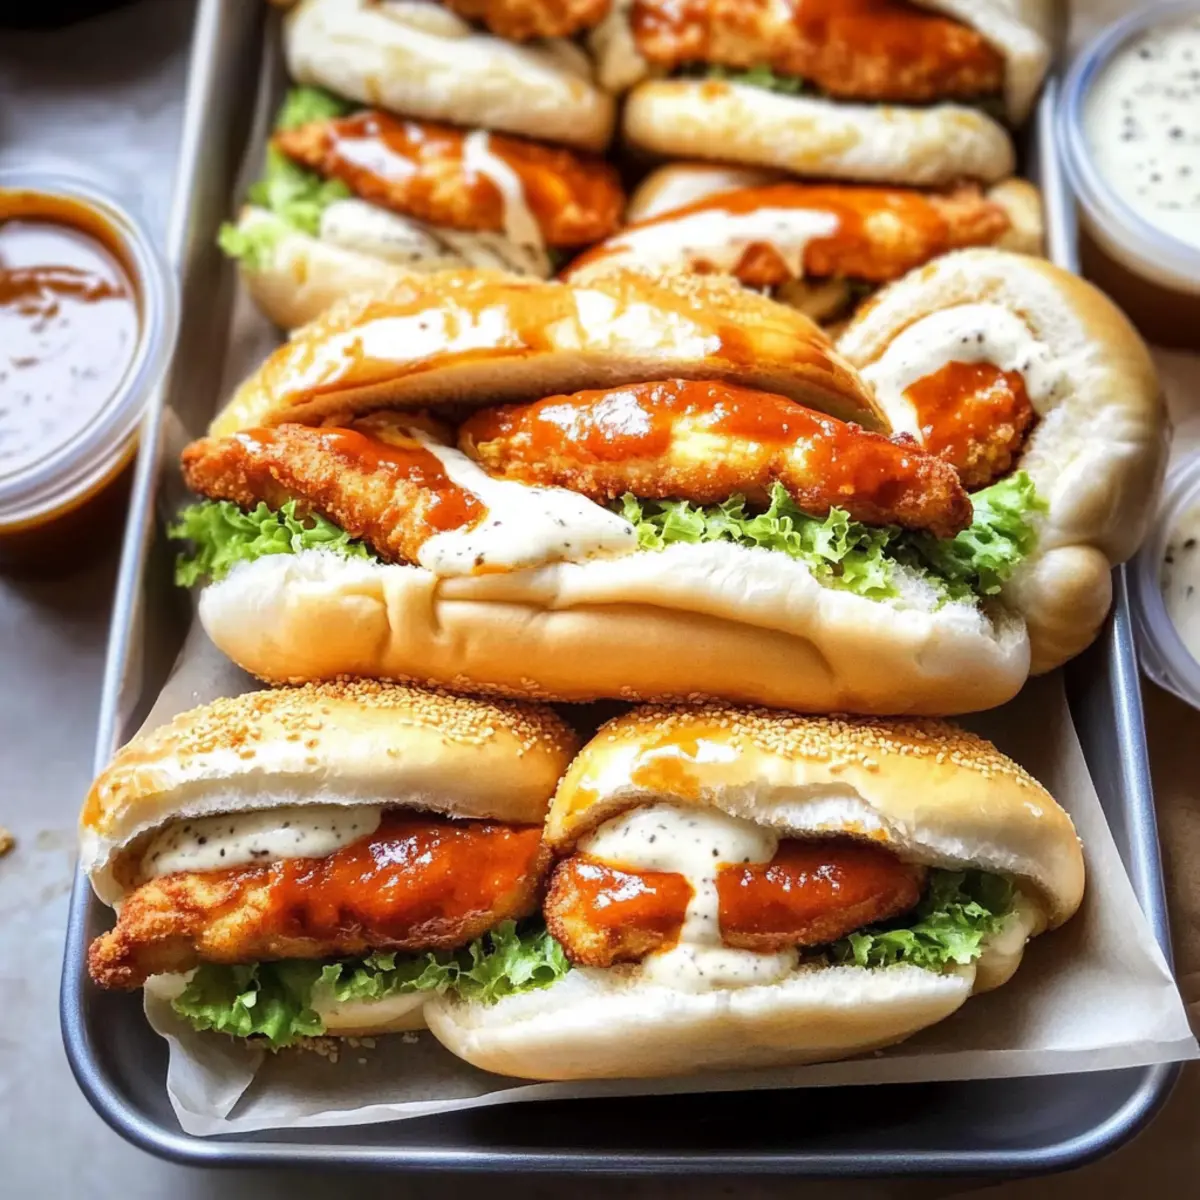
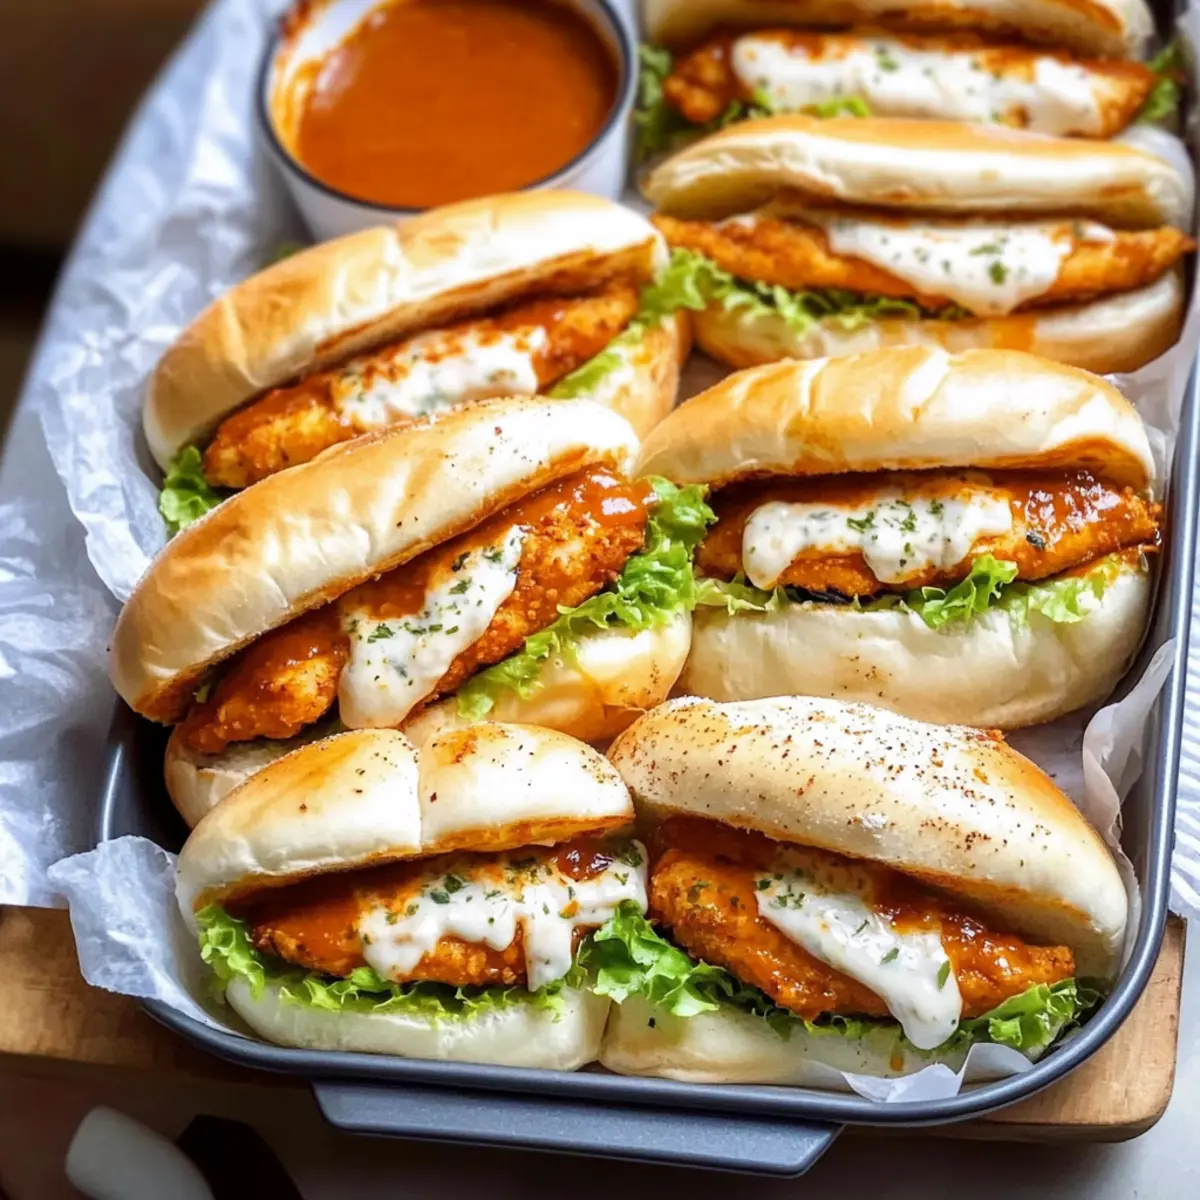
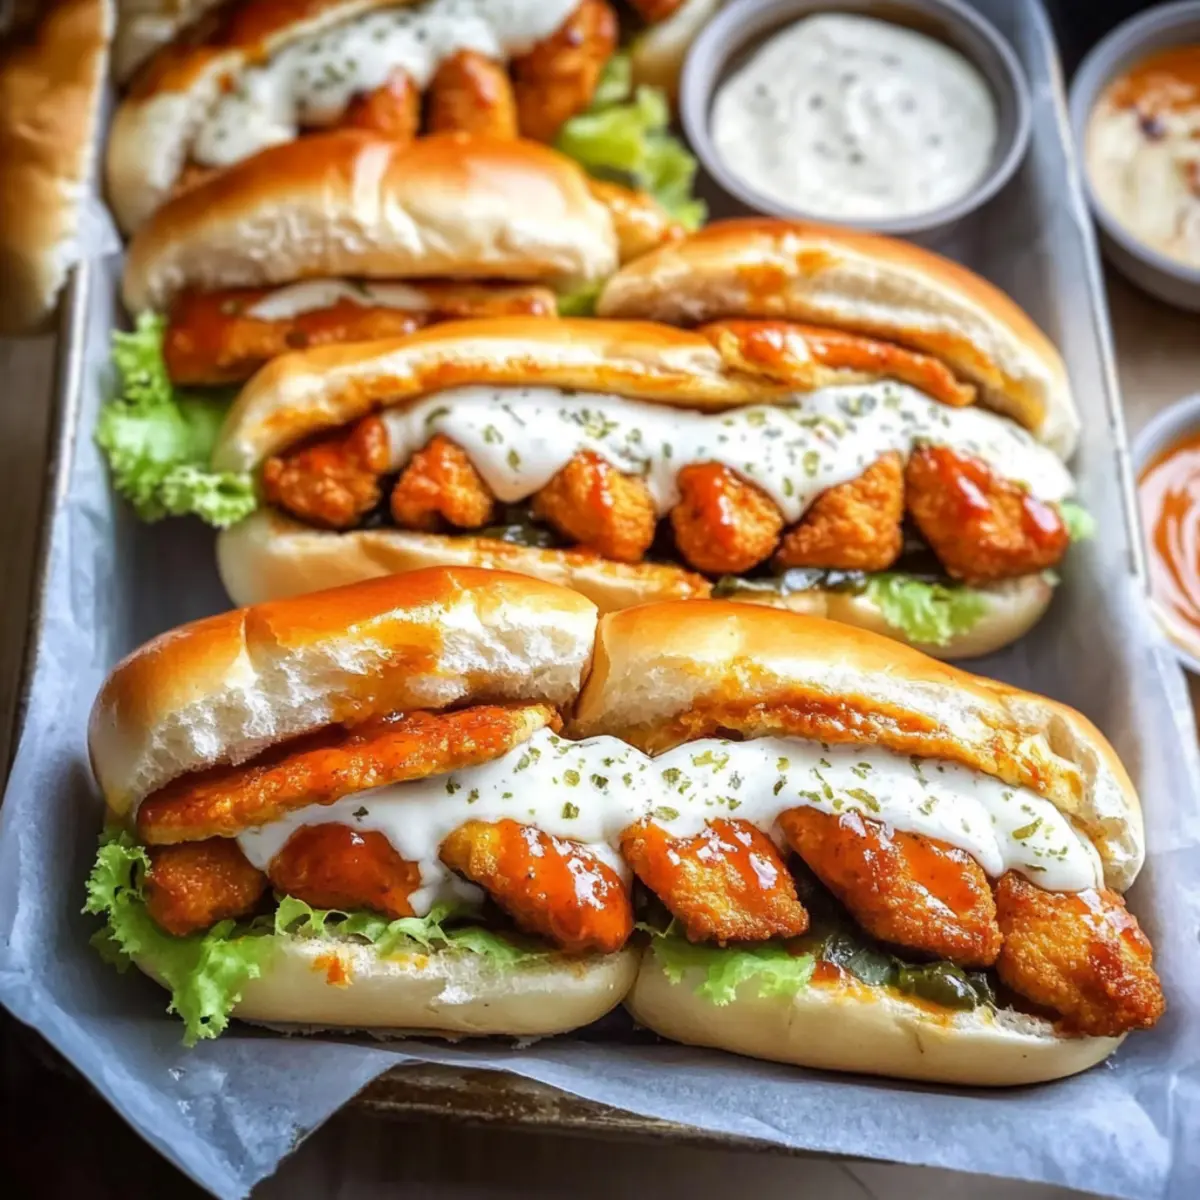
Fill each baked bun with a generous portion of the fried chicken. Drizzle the prepared sauce over the chicken filling, adding fresh vegetables if desired for an extra crunch. Serve your Cheesy Dynamite Chicken Buns warm, and enjoy the explosion of flavors that will undoubtedly please your palate!
What to Serve with Cheesy Dynamite Chicken Buns
Elevate your mealtime experience by pairing these delectable buns with sides that complement their flavor and texture, creating a feast worth sharing.
- Crispy Garlic Fries: Hot, crispy fries tossed in garlic and parsley make a fantastic pairing, providing a savory crunch that balances the soft buns.
- Zesty Coleslaw: Refreshing and tangy, this crunchy slaw adds a nice contrast, brightening up the meal with its crisp veggies and tangy dressing.
- Spicy Dipping Sauce: Serve alongside a spicy sriracha or garlic mayo; this creamy dip enhances the flavor of the buns, inviting bold bites.
- Sautéed Vegetables: Lightly sautéed bell peppers and zucchini introduce a beautiful color and a delicious freshness, keeping the meal balanced and healthy.
- Mini Caprese Salad: Cherry tomatoes, mozzarella balls, and fresh basil dressed with olive oil provide a refreshing side that complements the richness of the buns.
- Beer or Spiced Lemonade: Pair with a thirst-quenching drink; a cold beer enhances the flavors, while spiced lemonade offers a refreshing, bright twist.
- Fruit Salad: A light fruit salad with mango, pineapple, and mint adds a sweet freshness, cutting through the savory notes of the chicken buns beautifully.
- Cheesy Garlic Bread: Extra cheesy bread brings a comforting, warm element to the table, making every bite a delight to savor as you enjoy your buns.
How to Store and Freeze Cheesy Dynamite Chicken Buns
Fridge: Store leftover Cheesy Dynamite Chicken Buns in an airtight container for up to 3 days. Reheat in the oven or toaster oven for best texture.
Freezer: For longer storage, freeze the buns in a single layer on a baking sheet until solid, then transfer to a freezer bag. They can last up to 3 months!
Reheating: To reheat from frozen, preheat your oven to 180°C (350°F) and bake for 15-20 minutes, ensuring they’re warmed through and crispy.
Wrapping: If you’re planning to freeze, wrap each bun individually in plastic wrap and then place them in a freezer bag to prevent freezer burn.
Expert Tips for Cheesy Dynamite Chicken Buns
- Dough Temperature Matters: Make sure your milk is around 37-40°C to effectively activate the yeast; too hot kills it!
- Knead With Care: Knead the dough until smooth but avoid overworking it. This ensures a light and fluffy texture in your Cheesy Dynamite Chicken Buns.
- Flavorful Marination: For the chicken mixture, marinating overnight maximizes flavor, creating a more delicious filling.
- Frying Right: Maintain the oil temperature at 175°C to achieve crispy chicken without burning. Use a thermometer for accuracy.
- Topping Choices: Feel free to experiment with different cheeses or spices to personalize your buns and cater to everyone’s taste preferences.
Make Ahead Options
These Cheesy Dynamite Chicken Buns are perfect for meal prep enthusiasts! You can prepare the chicken mixture and dough up to 24 hours in advance, allowing the flavors to develop beautifully. Simply marinate the chicken and store it in the refrigerator overnight. For the dough, let it rise, deflate, and form the buns, then cover and refrigerate them until you’re ready to bake. When you’re set to serve, allow the chilled buns to come to room temperature for about 30 minutes before baking them as instructed. Just like that, you’ll have fresh, piping hot Cheesy Dynamite Chicken Buns with a fraction of the effort, making them ideal for busy weeknights!
Cheesy Dynamite Chicken Buns Variations & Substitutions
Feel free to get creative with these Cheesy Dynamite Chicken Buns to suit your taste buds!
-
Vegetarian Option:
Swap out the chicken fillet for shredded jackfruit or marinated tofu for a meat-free delight. -
Cheese Twist:
Experiment with different cheeses like sharp cheddar or gooey mozzarella for a unique flavor profile. -
Herb Infusion:
Stir in fresh herbs like cilantro or parsley into the dough for an aromatic touch that elevates every bite. -
Spicy Kick:
Increase the heat levels by adding diced jalapeños into the chicken mixture or topping the buns with a spicy aioli. -
Whole Grain Dough:
Use whole wheat flour instead of all-purpose flour for a heartier option that adds extra fiber to your buns. -
Different Sauces:
Try a Buffalo sauce or a zesty ranch dressing in place of the mayo-based sauce for a fun flavor twist. -
Baked Variations:
For a lighter take, brush the buns with olive oil before baking instead of milk for a crispy finish without dairy.
These adaptations ensure that everyone can enjoy the Cheesy Dynamite Chicken Buns, making them perfect for any gathering. If you’re looking for more recipe ideas, check out my Southern Cheesy Chicken or these flavorful Fried Chicken Street tacos to mix things up!
Cheesy Dynamite Chicken Buns Recipe FAQs
How do I select the best ripe ingredients for my Cheesy Dynamite Chicken Buns?
Absolutely! For the best results, choose fresh ingredients. For the chicken, look for fillets that are pink and firm, with no discoloration. When choosing milk, check the expiration date, and ensure it’s fresh and not past its prime. Opt for eggs that are clean, with a smooth shell. Fresh ingredients will enhance the flavors and textures of your buns!
What’s the best way to store leftover Cheesy Dynamite Chicken Buns?
For sure! Store any leftover Cheesy Dynamite Chicken Buns in an airtight container for up to 3 days in the fridge. To keep them tasting fresh, I recommend reheating them in an oven or toaster oven. Wrapping them in foil while reheating helps maintain their signature crispy exterior!
Can I freeze Cheesy Dynamite Chicken Buns?
Yes, you can! First, place the cooled buns on a baking sheet and freeze them in a single layer until solid. This prevents them from sticking together. Once frozen, transfer them into a freezer bag, removing as much air as possible to prevent freezer burn. They can last up to 3 months in the freezer! When ready to enjoy, just bake them from frozen at 180°C (350°F) for about 15-20 minutes.
What should I do if my dough doesn’t rise?
Very! If your dough doesn’t rise, it’s likely the yeast was either too old or the liquids were too hot or cold. Ensure the water and milk are around 37-40°C (98-104°F) to properly activate the yeast. If you’re still having issues, giving the dough a warm place to rise, like an oven turned off but warm, can help it double in size. If it’s still stubborn, try again with fresh yeast!
Can I make Cheesy Dynamite Chicken Buns for a gluten-free diet?
Certainly! To prepare a gluten-free version, substitute all-purpose flour with a gluten-free flour blend. Additionally, ensure your soy sauce is gluten-free by using tamari. The texture may vary slightly, but it should still be delicious! Just follow the instructions carefully and allow for extra rising time if necessary.
Are there any dietary considerations for pets or allergies?
Yes, indeed! It’s always a good idea to be cautious when cooking for friends or family with allergies. If someone is allergic to egg, you can use a flax egg (1 tablespoon ground flaxseed mixed with 2.5 tablespoons water, rested for 5 minutes) as a substitute. Always check the labels of ingredients for gluten, dairy, or nut contents, especially with pre-made sauces, to keep your guests safe. Always consult with anyone with specific dietary restrictions before serving!
Cheesy Dynamite Chicken Buns That Will Ignite Your Taste Buds
Ingredients
Equipment
Method
- In a mixing bowl, combine lukewarm water, milk, honey, and instant yeast, letting it sit for 5 minutes until bubbly. Mix in the beaten egg and sunflower oil, then gradually add all-purpose flour, salt, and butter. Knead the dough on a floured surface for 10-12 minutes until smooth and elastic. Place the dough in a greased bowl, cover it, and let it rise in a warm spot for 1 hour or until doubled in size.
- While the dough rises, cut the chicken fillet into small pieces and transfer them to a mixing bowl. Add salt, onion powder, garlic powder, cayenne powder, black pepper, sambal oelek, soy sauce, and the beaten egg. Mix thoroughly until all ingredients are well combined. Cover the mixture and refrigerate for at least 1-2 hours.
- Once the dough has risen, gently deflate it and divide it into 14 equal pieces, each weighing about 70g. Roll each piece into a ball, then flatten it into a rectangle. Fold the rectangle in half, brush the top with milk, and dip it in the Parmesan topping mixture. Arrange shaped buns on a baking sheet lined with parchment paper and let them rise for another 30 minutes.
- Preheat your oven to 200℃ (392°F). Once the buns have risen, bake them for 12-15 minutes or until they are golden brown.
- In a mixing bowl, combine cornstarch, salt, black pepper, and onion powder. Coat the marinated chicken pieces in the cornstarch mixture. Heat oil in a frying pan over medium heat until it reaches 175℃ (350°F). Fry the coated chicken pieces in batches for 5-7 minutes or until golden brown and crisp. Drain on paper towels.
- In a small bowl, whisk together mayonnaise, chili sauce, and sambal oelek to create a creamy sauce. Adjust heat and sweetness to your preference.
- Fill each baked bun with a generous portion of fried chicken. Drizzle the prepared sauce over the chicken filling, adding fresh vegetables if desired.
Leave a Reply