Go Back
+ servings
Perfection with Juicy Mango Sticky Rice

Perfection with Juicy Mango Sticky Rice for Your Sweet Cravings

Experience the ultimate comfort dessert with Perfection with Juicy Mango Sticky Rice, a gluten-free treat blending creamy rice and luscious mango.
Prep Time 1 hour
Cook Time 25 minutes
Resting Time 20 minutes
Total Time 1 hour 45 minutes
Servings: 4 servings
Course: Desserts
Cuisine: Thai
Calories: 280

Ingredients
  

For the Sticky Rice
  • 2 cups Glutinous Sticky Rice Soak beforehand for best results.
  • 2 cups Water For steaming.
For the Coconut Sauce
  • 1 can Coconut Milk Use dairy-free alternatives if preferred.
  • 1/4 cup Granulated Sugar Adjust to taste.
  • 1/4 teaspoon Salt Enhances and balances sweetness.
For the Mango
  • 2 pieces Ripe Mangos Choose ripe mangoes for the best flavor.
Optional Toppings
  • 2 tablespoons Toasted Sesame Seeds Omit if a smoother texture is preferred.

Equipment

  • Steamer Basket
  • saucepan
  • Mixing Bowl
  • Fine mesh sieve

Method
 

Step-by-Step Instructions
  1. Soak the glutinous sticky rice in a bowl of water for at least 1 hour or overnight.
  2. Steam the drained sticky rice for 20–25 minutes until tender and sticky.
  3. While the rice is steaming, heat coconut milk in a saucepan with sugar and salt until the sugar dissolves, but do not boil.
  4. Combine the cooked sticky rice with three-quarters of the warm coconut sauce and let it absorb for 20 minutes.
  5. Peel and slice the ripe mangoes into thin strips.
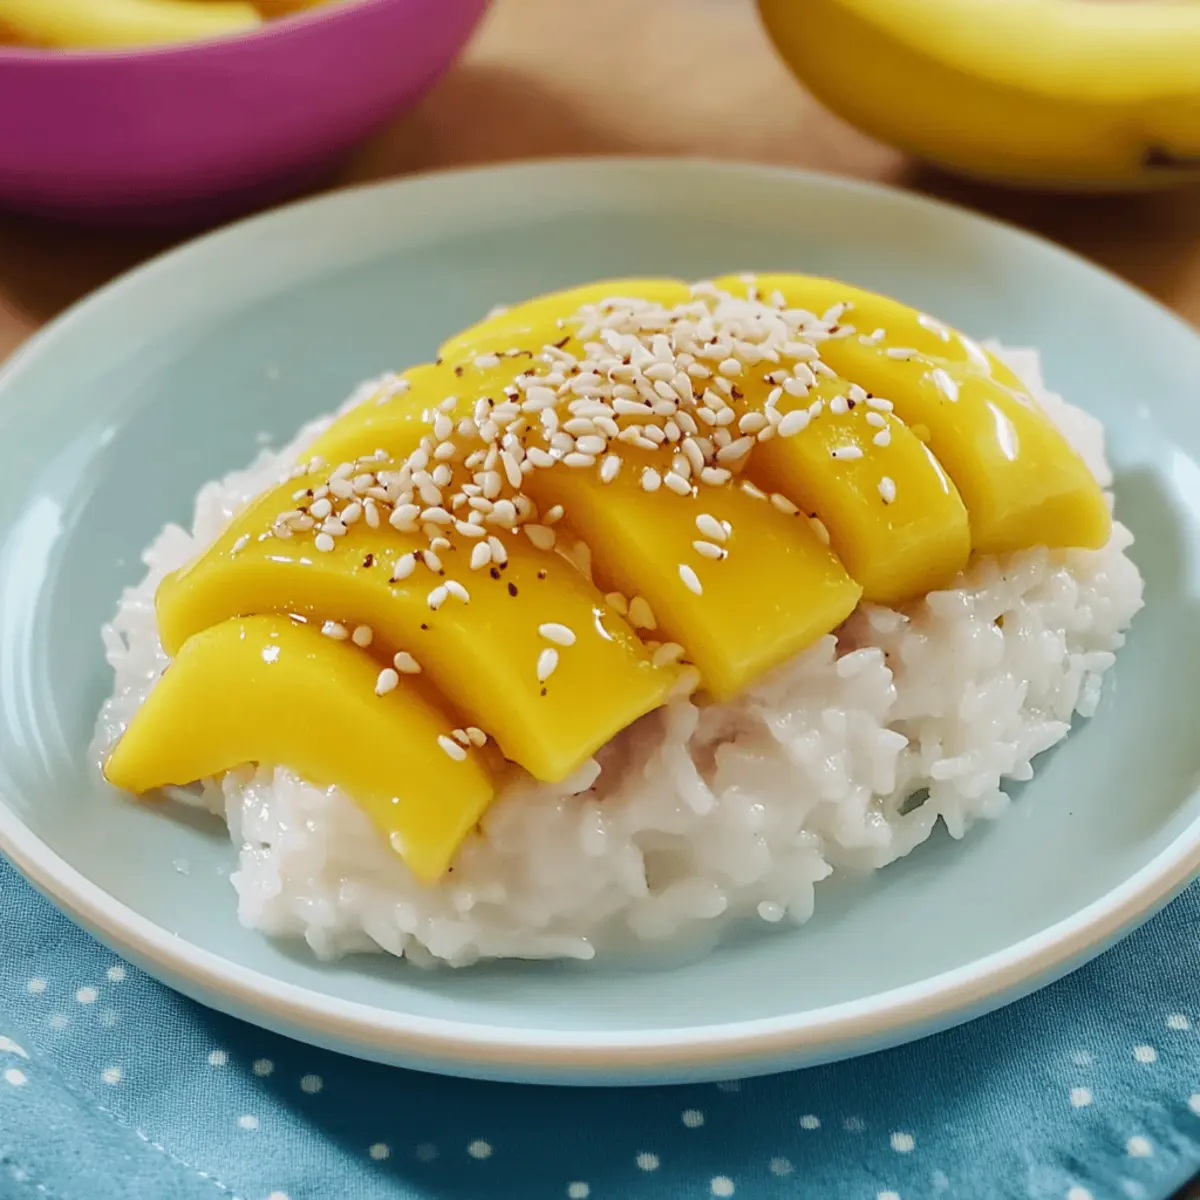
  6. To serve, scoop the sticky rice onto plates, top with mango slices, drizzle with reserved coconut sauce, and sprinkle with sesame seeds if desired.

Nutrition

Serving: 1servingCalories: 280kcalCarbohydrates: 50gProtein: 4gFat: 10gSaturated Fat: 9gPolyunsaturated Fat: 0.5gMonounsaturated Fat: 0.5gSodium: 120mgPotassium: 300mgFiber: 2gSugar: 18gVitamin A: 1000IUVitamin C: 20mgCalcium: 50mgIron: 0.5mg

Notes

Mango Sticky Rice can be enjoyed warm or cold. For leftovers, store in an airtight container for up to 3 days or freeze for up to 1 month.

Tried this recipe?

Let us know how it was!