
There’s something mesmerizing about the sound of a satisfying bubble from the oven as you await a delicious meal. Enter the Easy Salmon Sushi Bake, a delightful twist on traditional sushi that’ll make your kitchen feel like a trendy restaurant. This recipe is a perfect marriage between creamy layers and hearty salmon, turning beloved California rolls into a warm casserole that even your pickiest eaters will adore. What I love most is how quickly it comes together—it’s an effortless crowd-pleaser, ideal for busy weeknights or cozy gatherings. With a splash of umami and a touch of spice from sriracha, you’ll be rushing back for seconds. Ready to scoop up this delicious adventure in a dish? Let’s dive in!
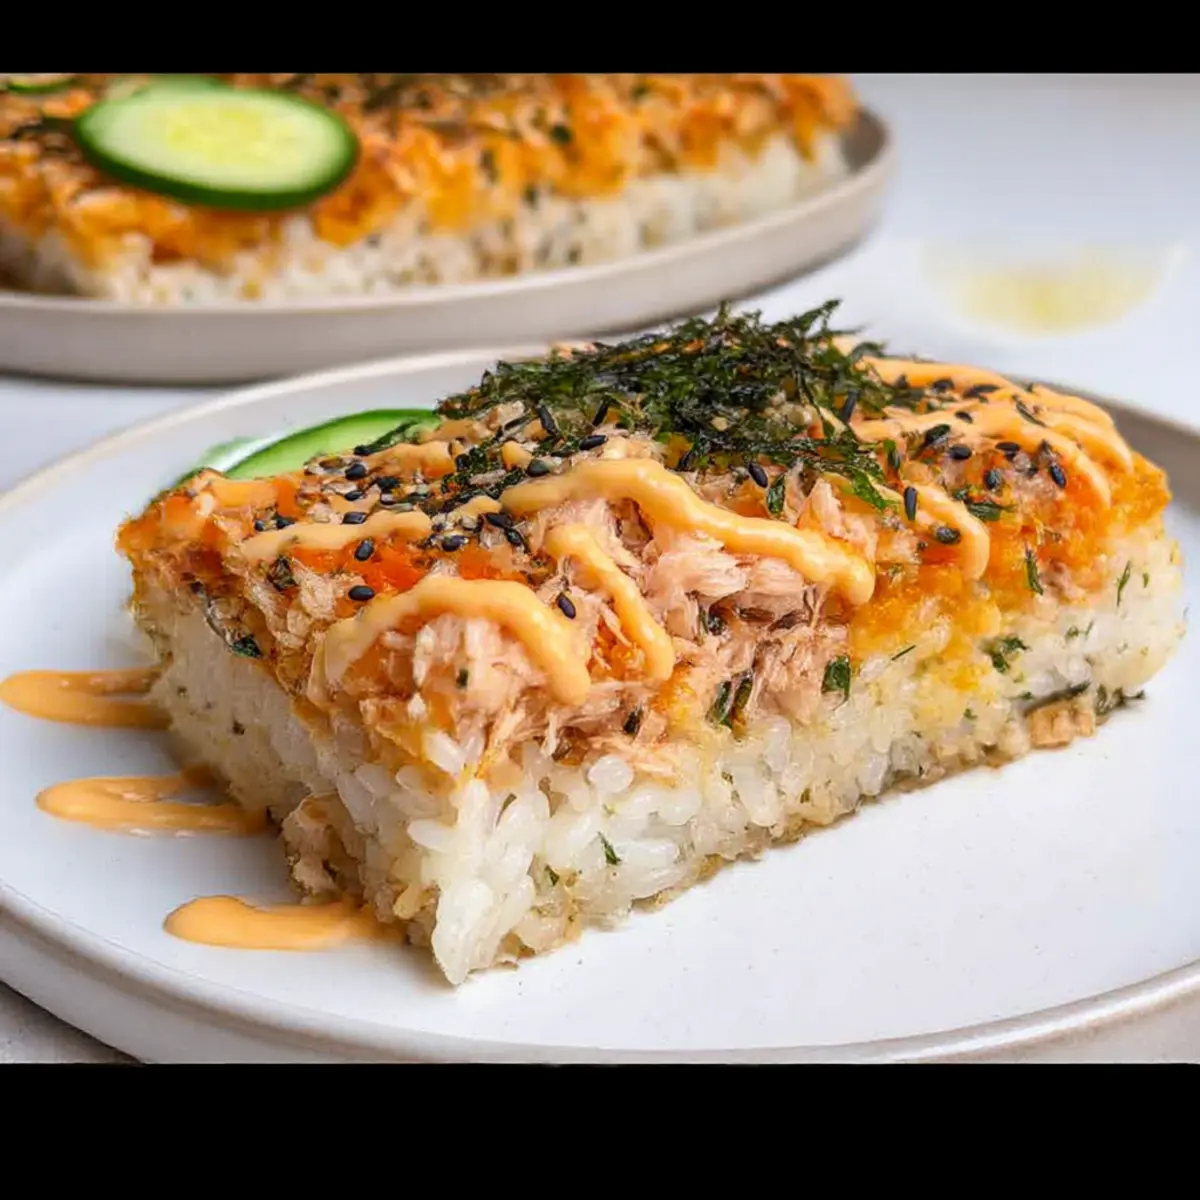
Why is Sushi Bake a must-try?
Comforting, Homemade Goodness: This easy Salmon Sushi Bake blends the best of sushi and casseroles, delivering a creamy and savory dish that screams comfort food.
Quick to Prepare: With simple steps and readily available ingredients, you can whip this up in no time, making it a perfect choice for busy weeknights.
Crowd-Pleasing Appeal: Whether you’re serving family or friends, this dish is sure to impress, with flavors that satisfy everyone from sushi lovers to those who shy away from raw seafood.
Endless Variations: Swap out ingredients like imitation crab for real crab or add veggies to personalize your bake for different tastes. It’s versatility at its finest!
Serve with Style: Pair your Sushi Bake with fresh sides like avocado and cucumber for a colorful presentation, and enjoy alongside simple appetizers such as Baked Parmesan Zucchini or Baked Cottage Cheese for a full meal experience.
Get ready to make this dish your new go-to comfort casserole!
Sushi Bake Ingredients
Discover the secret to making this delightful dish with these essential ingredients!
For the Sushi Rice
- Sushi Rice – This grain is crucial for the right texture and structure. Substitution: Jasmine or short-grain rice works, but sushi rice is best!
- Rice Vinegar – Adds a tangy kick that enhances the rice flavors. Substitution: Use white vinegar if you’re out of rice vinegar.
- Sugar – Balances the acidity from the rice vinegar. Note: Adjust the sugar to suit your taste; less for a not-so-sweet rice.
- Salt – Vital for a flavor boost in the rice. Just a pinch will do!
For the Filling
- Salmon Fillet – Provides richness and depth to the dish. Substitution: Feel free to use tuna or shrimp instead of salmon.
- Imitation Crab – Adds a tasty seafood element without breaking the bank. Substitution: Real crab can elevate the dish for special occasions.
- Japanese Kewpie Mayonnaise – Brings a creamy consistency and umami flavor. Substitution: Regular mayo is fine, but Kewpie is preferred for an authentic touch.
- Sriracha Sauce – Gives a spicy kick; modify based on your heat preference. Note: Omit it for a milder experience.
- Soy Sauce – Develops umami depth in the filling. Note: Opt for low sodium to keep it balanced.
- Sesame Oil – Adds a lovely nutty flavor to the mix. Note: Omit if you’re looking for a lighter dish.
For Topping & Serving
- Nori Sheet – A classic sushi garnish that adds a touch of tradition. Substitution: Seaweed snacks can work in a pinch.
- Sesame Seeds – Enhance flavor and texture when sprinkled on top.
- Spicy Mayonnaise (for garnish) – Combines mayo with sriracha for a tasty drizzle. Note: Make just before serving for freshness!
- Chopped Cilantro or Scallions (for garnish) – Adds a pop of color and freshness.
- Black Sesame Seeds (optional) – Great for additional texture and visual appeal.
- Seaweed Snacks – Perfect for scooping and adding crunch.
- Sliced Avocado and Cucumber (for serving) – Fresh elements to complement the dish.
Gather these ingredients and prepare to create a comforting, home-cooked Sushi Bake that everyone will love!
Step‑by‑Step Instructions for Sushi Bake
Step 1: Prepare Sushi Rice
Rinse 2 cups of sushi rice under cold water until the water runs clear, removing excess starch. In a medium pot, combine the rinsed rice with 2½ cups water. Bring to a boil over medium-high heat, then reduce the heat and cover. Cook for 15-20 minutes until water is absorbed. After removing from heat, let the rice steam, covered, for an additional 5-10 minutes for perfect fluffy texture.
Step 2: Cook Salmon
Season a salmon fillet with salt, pepper, and a drizzle of olive oil to enhance flavor. Cook the seasoned salmon in an air fryer at 400°F (200°C) for approximately 10 minutes or until it flakes easily with a fork. Once cooked, carefully transfer it to a plate and flake the salmon into bite-sized pieces, setting it aside to cool while preparing the filling.
Step 3: Prepare Filling
In a mixing bowl, shred the imitation crab finely and add the flaked salmon. Stir in soy sauce, Japanese Kewpie mayonnaise, sriracha, and sesame oil, mixing thoroughly until everything is evenly coated. The filling for your Sushi Bake should be creamy and delicious, offering a satisfying blend of flavors that will create a delightful casserole base.
Step 4: Assemble Layer
Preheat your oven to 400°F (200°C). Grease a 13×9 inch baking dish with cooking spray or oil. Spread the cooked sushi rice evenly across the bottom of the dish. In a separate bowl, mix rice vinegar, sugar, and salt, then gently fold this mixture into the warm rice until well combined, ensuring each grain is coated with the tangy flavor.
Step 5: Add Nori and Filling
Tear nori sheets into small, bite-sized pieces and sprinkle them evenly over the seasoned rice. Next, spread the seafood filling on top, pressing it down gently to ensure it adheres to the rice. Finish this layer with a sprinkle of sesame seeds, adding extra flavor and a delightful crunch to your Sushi Bake.
Step 6: Bake
Transfer the assembled dish to the preheated oven and bake for about 10 minutes, allowing the flavors to meld together. For a golden, crispy top, switch to the broil setting and broil for an additional 2 minutes, keeping a close eye to prevent burning. The result should be a luscious, bubbly casserole ready to serve.
Step 7: Serve
Remove your Sushi Bake from the oven and drizzle a generous amount of spicy mayo over the top for an extra touch of zest. Garnish with fresh chopped cilantro or scallions and a sprinkle of sesame seeds for visual appeal. Cut into squares and serve alongside nori sheets and fresh slices of avocado and cucumber for a delightful meal experience.
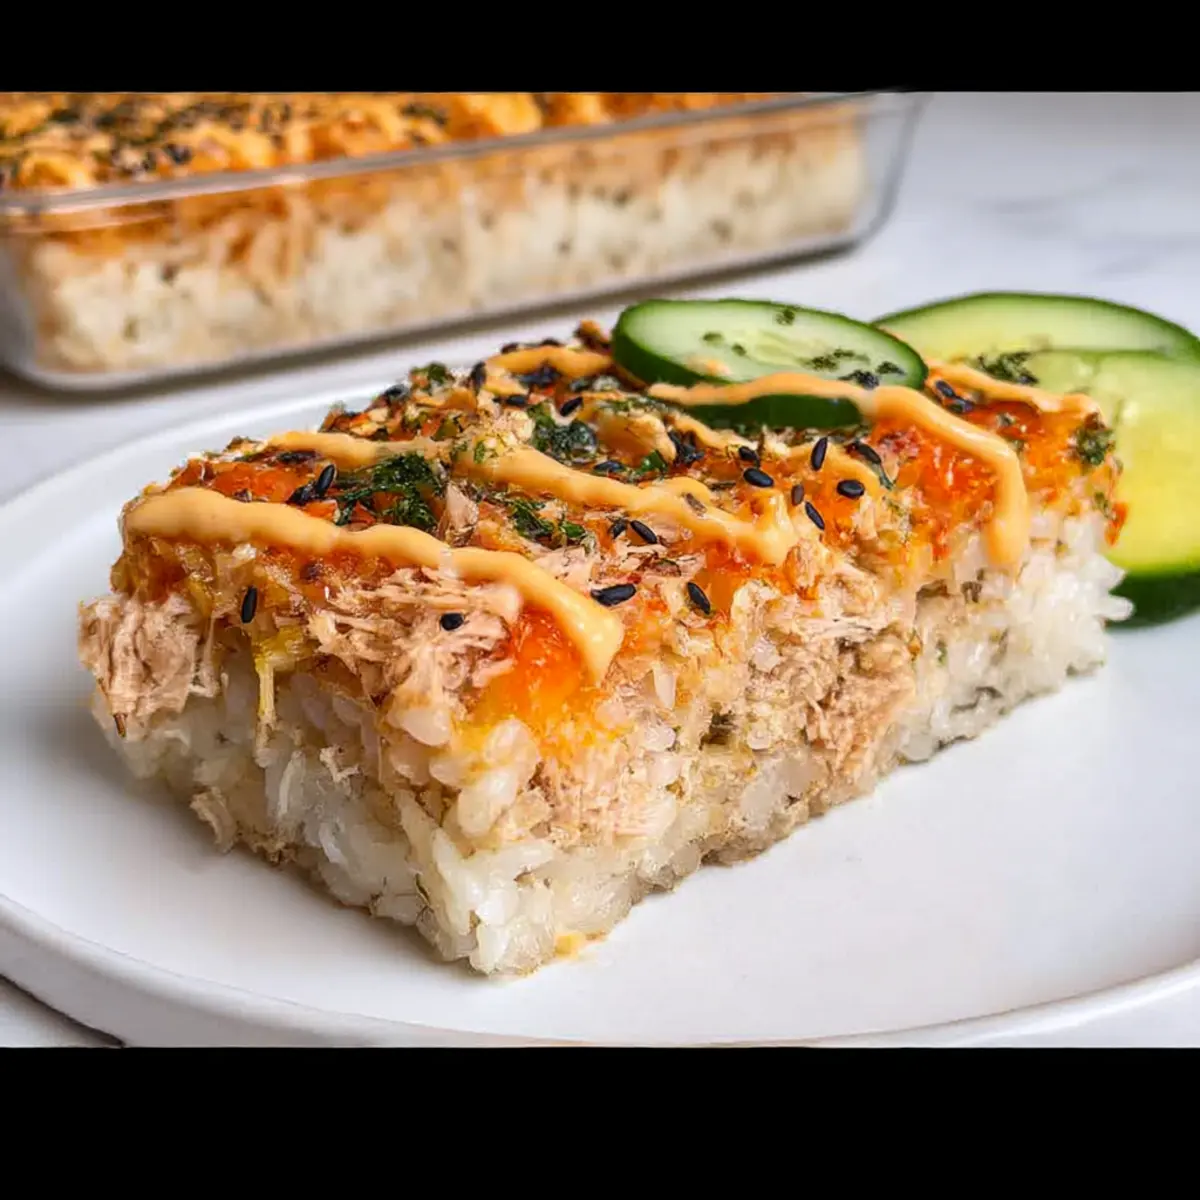
Expert Tips for Sushi Bake
-
Rice Rinsing: Rinse your sushi rice thoroughly until the water is clear to remove excess starch; this ensures fluffy rice instead of mushy clumps.
-
Proper Pressing: Firmly press the filling into the baking dish for clean, easy slices; avoid using too much pressure that could crush the rice underneath.
-
Layer with Care: When adding nori and filling, be gentle to maintain distinct layers. This helps enhance the presentation of your Sushi Bake.
-
Freshness Matters: Mix your spicy mayonnaise just before serving for the best flavor. This makes each bite of your Sushi Bake taste fresh and vibrant.
-
Storage Insight: If making ahead, let the baked dish cool, refrigerate it for up to 6 hours, and enjoy it chilled for a different but delightful experience!
-
Heat Variation: Adjust the sriracha amount based on your heat tolerance; remember, you can always add more, but you can’t take it back!
What to Serve with Easy Salmon Sushi Bake
The warm, cheesy layers of flavor in this dish create a delightful opportunity to build a complete meal experience.
- Creamy Mashed Potatoes: The comforting texture of mashed potatoes balances the chewy sushi elements, providing a rich contrast.
- Steamed Broccoli: A pop of bright green with a slight crunch enhances the colorful presentation and adds a fresh, nutrient-rich side.
- Crispy Tempura Vegetables: Their light and airy crunch offers a perfect textural contrast, elevating the meal with a touch of Japanese cuisine.
- Miso Soup: This classic Japanese soup complements the sushi flavors beautifully, offering warmth and a flavorful broth to sip on the side.
- Sliced Avocado and Cucumber: Fresh, cool slices refresh the palate, cutting through the richness of the bake while enhancing its delicious presentation.
- Nori Snacks: Serve alongside for scooping; they add a delightful crunch and extra sushi flavor that aligns perfectly with the main dish.
- Chilled Sake or Sparkling Water: A glass of chilled sake harmonizes with the flavors, while sparkling water offers a refreshing cleanse between bites.
- Green Salad with Sesame Dressing: A light salad adds a crispness and a punch of flavor that complements the richness of the Sushi Bake impressively.
How to Store and Freeze Sushi Bake
-
Fridge: Store leftovers in an airtight container in the refrigerator for up to 3 days. To maintain the creamy texture, reheat gently in the microwave or oven until warmed through.
-
Freezer: You can freeze Sushi Bake for up to 2 months. Allow it to cool completely, then wrap tightly in plastic wrap and foil before freezing to prevent freezer burn.
-
Reheating: Thaw overnight in the fridge before reheating. Reheat in a 350°F (175°C) oven for about 15-20 minutes until hot, or microwave in short intervals, stirring occasionally.
-
Leftover Uses: Transform your Sushi Bake leftovers into sushi wraps with fresh nori and veggies or enjoy them as a unique lunchtime delight!
Make Ahead Options
Sushi Bake is a fantastic dish to prepare in advance, making it perfect for busy weeknights or gatherings! You can prepare the sushi rice and filling up to 24 hours ahead of time; just refrigerate them separately. To maintain quality, cool the sushi rice completely before storing and cover the filling securely. When you’re ready to bake, simply spread the seasoned rice in the baking dish, layer the nori and filling on top, and bake as directed. For the best results, finish with the spicy mayonnaise and garnishes just before serving, ensuring it tastes just as delightful as when freshly made!
Sushi Bake Variations & Substitutions
Customize your Sushi Bake to delight your taste buds with these fun and flavorful twists!
- Cream Cheese Fun: Substitute half the mayonnaise with cream cheese for a richer, creamier filling. This adds a delightful depth of flavor that elevates the whole dish!
- Veggie Loaded: Incorporate diced bell peppers, green onions, or carrots into the filling for a colorful crunch. The added veggies not only enhance texture but also bring more nutrients to the dish.
- Spicy Kicks: If you crave more heat, add diced jalapeños or a dash of cayenne pepper to the filling mixture. This will turn up the flavor while keeping everyone guessing about your secret ingredient!
- Different Proteins: Swap out the salmon for shredded chicken, crab, or even cooked shrimp for a delightful seafood variety. Each protein brings a unique taste that’s just as comforting!
- Gluten-Free Option: Use tamari instead of soy sauce for those looking to avoid gluten while still enjoying the umami flavor. Your Sushi Bake will maintain its delicious character without compromising on taste!
- Herb Infusion: Stir in fresh herbs like dill or chives into the filling mix for a burst of vibrant flavor. This simple addition can transform the dish and impress your guests!
- Tropical Twist: Incorporate diced mango or pineapple into the filling for a sweet and savory combination. The tropical flavors will surprise and please the palate, making every bite an adventure!
- Alternative Bases: Experiment with quinoa or farro instead of sushi rice for a nutritious twist. These alternatives create a nutty flavor, adding another layer of taste to your beloved Sushi Bake!
Feeling inspired? Try these variations and create your personalized masterpiece! Don’t forget to enjoy it alongside fresh slices of avocado and cucumber, just like with our Baked Parmesan Zucchini, for a delightful meal experience!
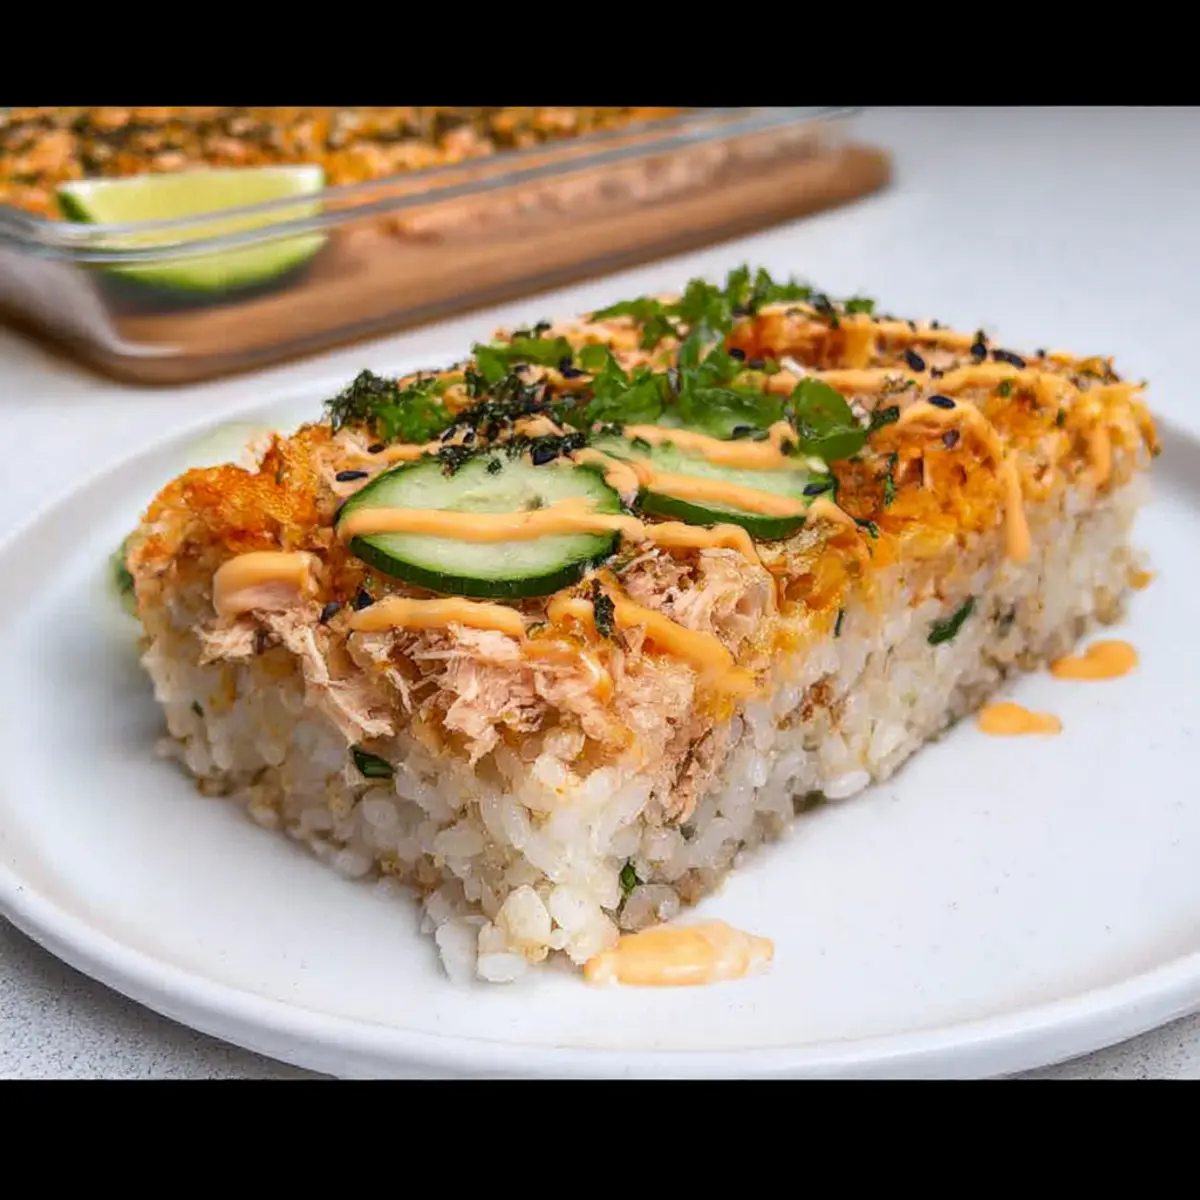
Sushi Bake Recipe FAQs
What kind of sushi rice should I use?
For the best texture and flavor, I highly recommend using sushi rice. However, if you find yourself without it, jasmine or short-grain rice can be used as alternatives, though the outcome might not capture the authentic essence of traditional sushi.
How do I store leftover Sushi Bake?
Store your Sushi Bake in an airtight container in the refrigerator for up to 3 days. To maintain its creamy texture, reheat gently in the microwave or oven, ensuring not to overheat, which could result in dryness.
Can I freeze Sushi Bake?
Absolutely! To freeze your Sushi Bake, let it cool completely after baking. Wrap it tightly in plastic wrap, then in foil, and store it in the freezer for up to 2 months. This helps to prevent freezer burn and preserves flavor.
What should I do if my rice turns out mushy?
If your sushi rice becomes mushy, it may have been overcooked or had too much water. Try the next time to rinse the rice thoroughly until the water runs clear, which removes excess starch, and stick to the recommended water-to-rice ratio. Using a wooden paddle or rubber spatula when mixing in the vinegar and seasonings can also help prevent mushiness by keeping the grains intact.
Is Sushi Bake safe for people with seafood allergies?
This recipe contains seafood; specifically, salmon and imitation crab. If you’re cooking for someone with seafood allergies, you may want to substitute these ingredients with alternatives like cooked chicken or tofu, ensuring a safe yet flavorful dish.
How can I make Sushi Bake more spicy?
To amp up the heat in your Sushi Bake, simply increase the amount of sriracha in the filling or drizzle more spicy mayonnaise on top just before serving. You could also add a few slices of fresh chili to the filling mixture for an extra kick!

Sushi Bake: Your New Favorite Comfort Food Casserole
Ingredients
Equipment
Method
- Rinse sushi rice under cold water until clear, combine with water in a pot, boil, reduce heat, cover, and cook for 15-20 minutes.
- Season salmon fillet with salt, pepper, and olive oil; air fry at 400°F for about 10 minutes until flaky.
- In a mixing bowl, shred imitation crab, add flaked salmon, soy sauce, Kewpie mayo, sriracha, and sesame oil, mixing thoroughly.
- Preheat oven to 400°F, grease baking dish, spread sushi rice evenly, and mix rice vinegar, sugar, and salt into warm rice.
- Tear nori sheets and sprinkle over the rice, then add the filling on top, pressing down gently; finish with sesame seeds.
- Bake assembled dish for 10 minutes then broil for 2 minutes for a golden top.
- Remove from oven, drizzle spicy mayo, garnish with cilantro or scallions, and serve with avocado and cucumber.
Leave a Reply