
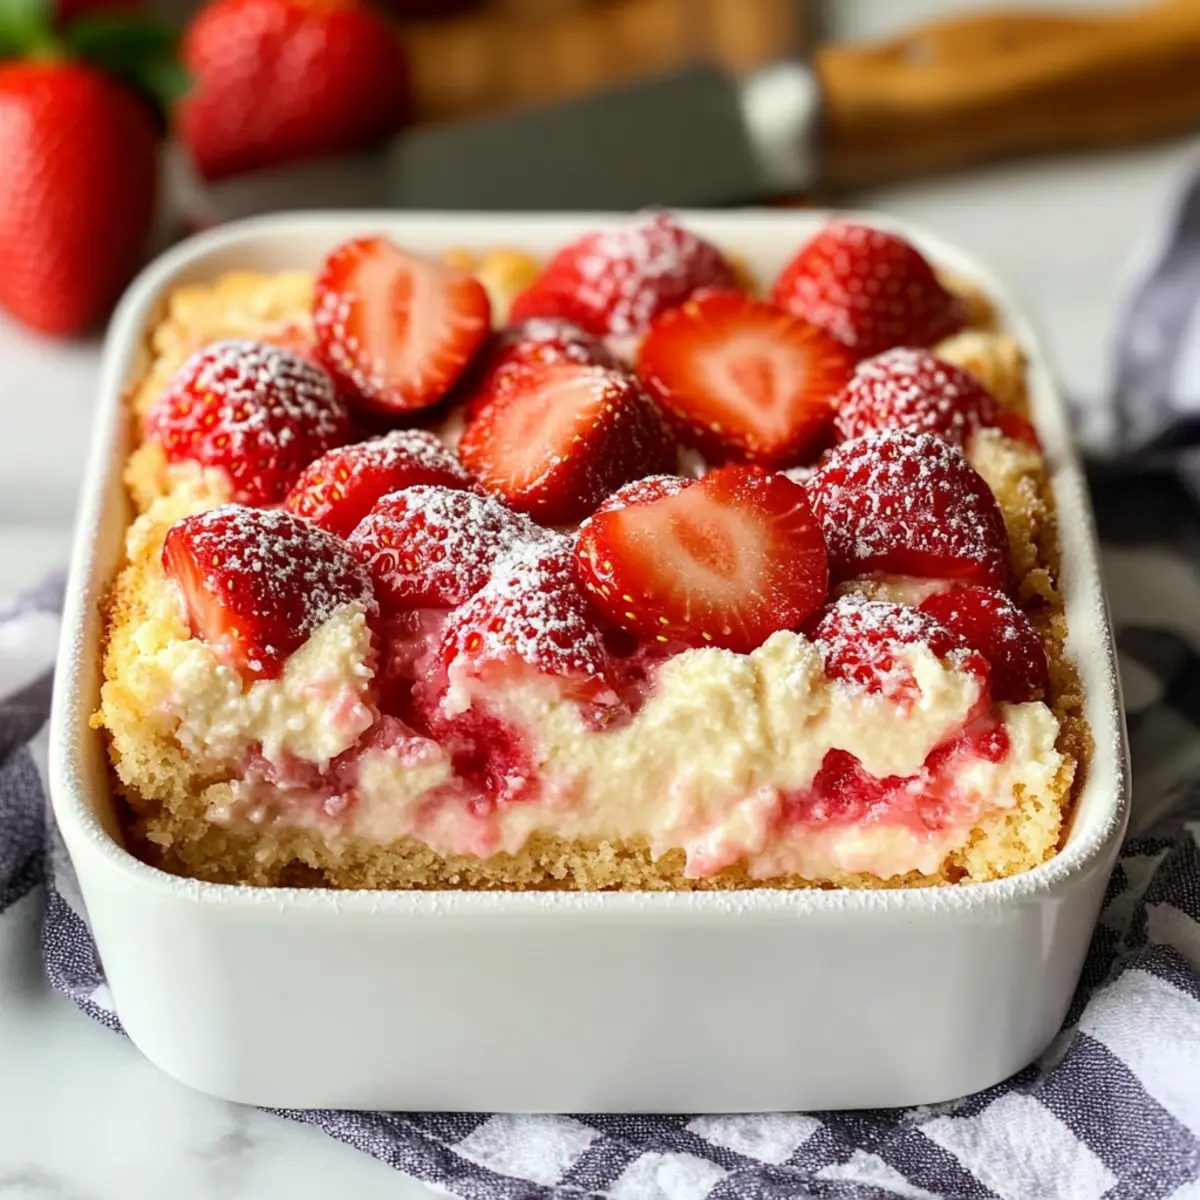
A burst of summer sweetness and creamy bliss is just a few steps away with this Strawberry Cheesecake Dump Cake Recipe. Trust me, when life gets busy, this effortless dessert delivers in both taste and presentation—ideal for gatherings or a cozy night in. Just mix, layer, and bake for a scrumptious treat that requires minimal effort and just 45-50 minutes of your time. Plus, it’s wonderfully adaptable! Whether you’re looking to create a gluten-free version or are in need of vegan alternatives, this dessert has got you covered. So, are you ready to dive into a dessert guaranteed to impress? Let’s get baking!
Why Is This Dessert a Must-Try?
Effortless Preparation: This Strawberry Cheesecake Dump Cake makes dessert-making a breeze, requiring only basic mixing skills and minimal time in the kitchen.
Irresistible Flavor Fusion: Enjoy the sweet-tart strawberries and creamy cheesecake melded together for a flavor explosion that will have your guests asking for seconds.
Versatile Options: Whether you’re aiming for gluten-free or vegan, this recipe offers easy substitutions, so everyone can indulge!
Crowd-Pleasing Delight: Perfect for parties or cozy family nights, this dessert is sure to impress—just like our Indulge Raspberry Cake or Apple Crumb Cake.
Quick Baking Time: In just 45-50 minutes, you’ll have a stunning dessert ready to serve, allowing more time for you to enjoy with your loved ones.
Strawberry Cheesecake Dump Cake Ingredients
For the Strawberries
- Sliced Strawberries – Adds sweetness and tartness; let them sit with sugar for 10 minutes to enhance flavor.
For the Cheesecake Layer
- Cream Cheese – Provides the creamy cheesecake layer; substitute with plant-based cream cheese for a vegan option.
- Granulated Sugar – Two parts (1/4 cup for strawberries, 3/4 cup for cheesecake) to provide necessary sweetness.
- Vanilla Extract – Adds aromatic flavor; no substitutions necessary.
For the Cake Batter
- Yellow Cake Mix – The base of the cake structure; substitute with gluten-free cake mix for a gluten-free version.
- Melted Butter – Adds moisture and richness; can be substituted with oil for a lighter option.
- Milk – Moisture and richness; substitute with almond, soy, or oat milk for a dairy-free version.
- Salt – Enhances flavor balance.
Step‑by‑Step Instructions for Strawberry Cheesecake Dump Cake Recipe
Step 1: Preheat Your Oven
Begin by preheating your oven to 350°F (175°C). This step is essential for ensuring your Strawberry Cheesecake Dump Cake bakes evenly and achieves that beautiful golden brown color. While your oven heats up, you can gather and prepare your ingredients, making the process seamless and efficient.
Step 2: Prepare the Strawberries
In a medium bowl, combine the sliced strawberries with 1/4 cup of granulated sugar. Stir gently and let the mixture sit for about 10 minutes. This resting period allows the strawberries to release their juices, creating a delightful syrup that will enhance the flavor of your dump cake.
Step 3: Make the Cheesecake Layer
In a separate mixing bowl, beat together the softened cream cheese, remaining 3/4 cup of sugar, and vanilla extract until the mixture is smooth and creamy. This should take about 2-3 minutes with an electric mixer on medium speed. Achieving a luscious cheesecake layer is crucial for that rich flavor in your Strawberry Cheesecake Dump Cake.
Step 4: Combine the Cake Batter
In another bowl, mix the yellow cake mix, melted butter, milk, and a pinch of salt until just combined. Be careful not to overmix, as a few lumps are perfectly fine. This simple batter will create the foundation of your cake, which pairs beautifully with the strawberry and cheesecake layers.
Step 5: Begin Layering
Grease a 9×13-inch baking dish to ensure easy removal later. Start layering by pouring half of the cake batter into the dish and spreading it evenly. Follow this with the creamy cheesecake mixture, then layer on the marinated strawberries, spreading them out for an even distribution. Finish with the remaining cake batter on top to create a lovely layered effect.
Step 6: Bake the Cake
Carefully place the baking dish in your preheated oven and bake for 45-50 minutes. Keep an eye on it, and know that it’s done when the top is golden brown, and a toothpick inserted in the center comes out clean. The aroma wafting through your kitchen will be delightful as it bakes!
Step 7: Cool and Serve
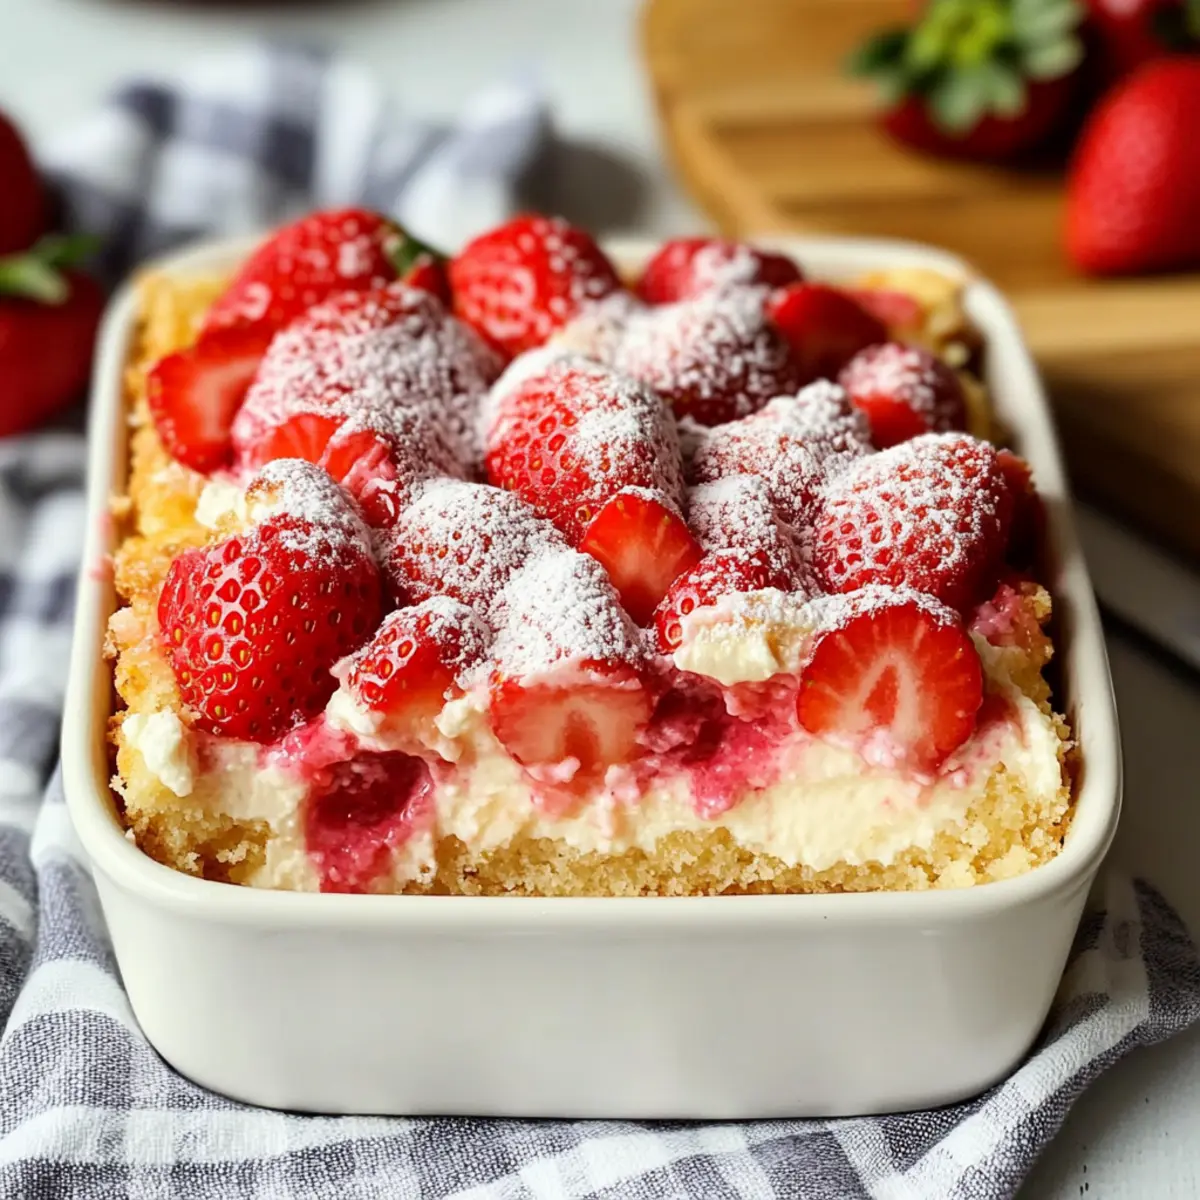
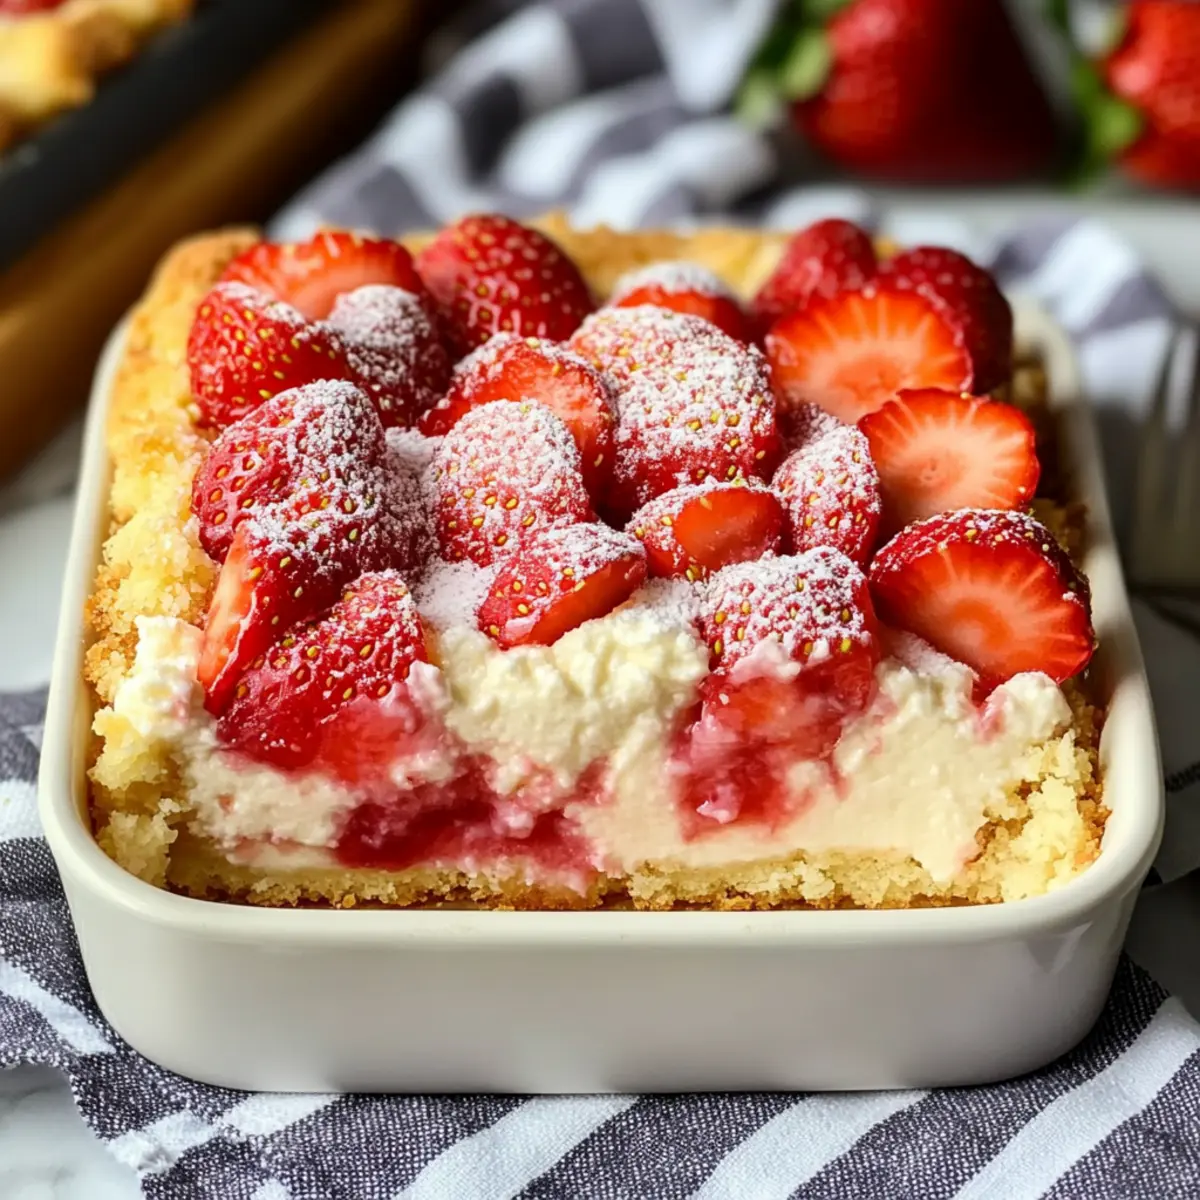
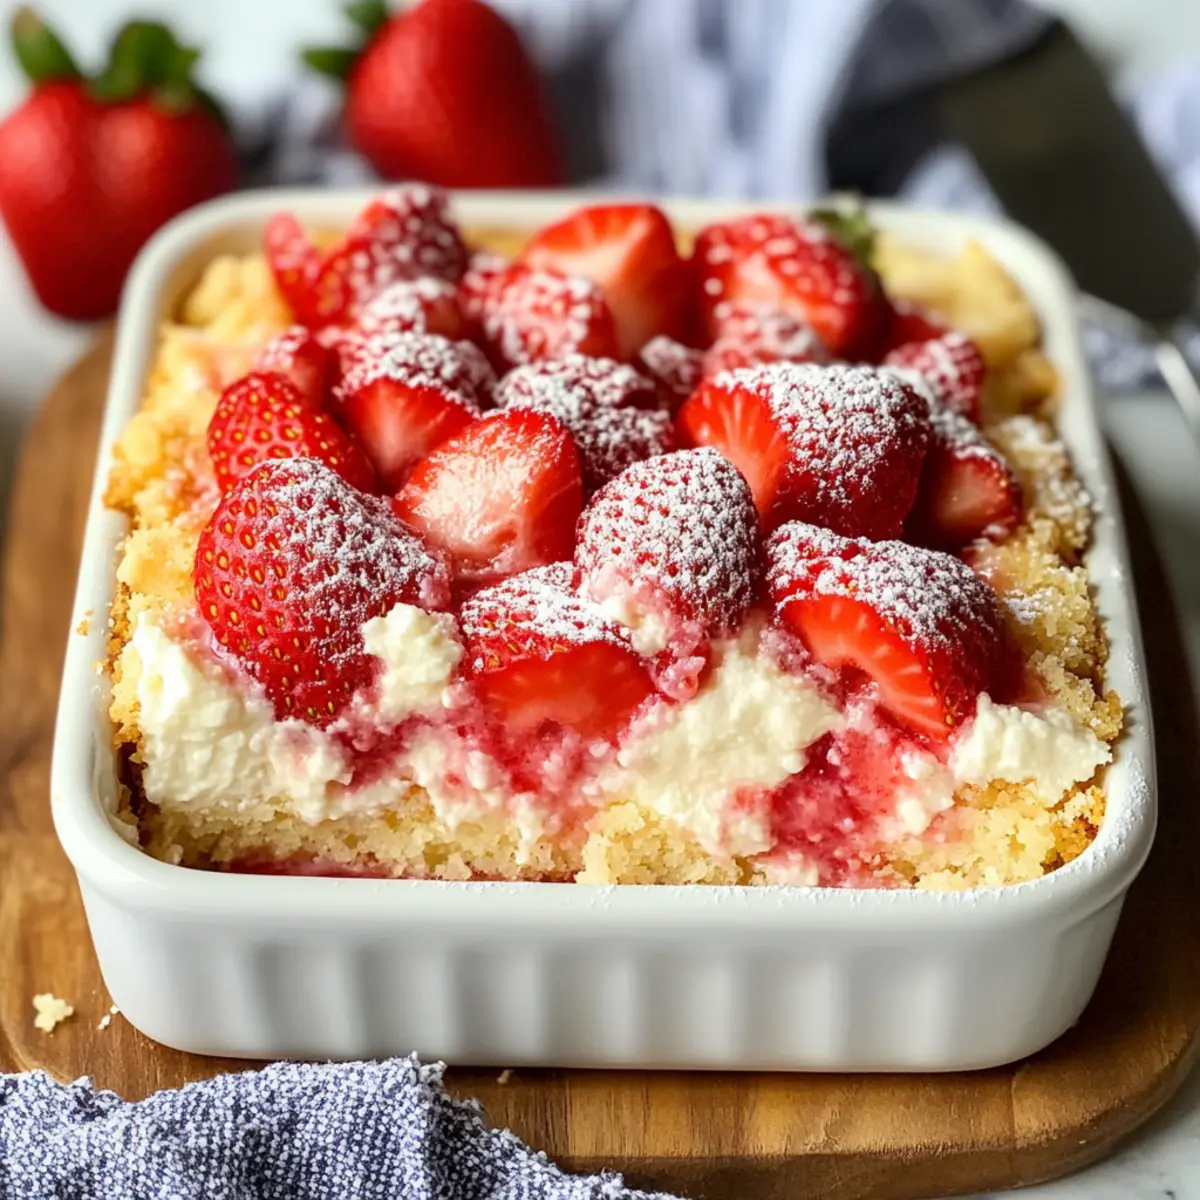
Once baked, remove your Strawberry Cheesecake Dump Cake from the oven and let it cool for 10-15 minutes on a wire rack. This cooling time helps the layers set appropriately. Before serving, dust with powdered sugar for an elegant touch, enhancing the dessert’s visual appeal.
What to Serve with Strawberry Cheesecake Dump Cake
Indulging in a slice of this dessert is just the beginning; a perfectly balanced meal experience awaits.
- Fresh Fruit Salad: A medley of crisp, seasonal fruits adds brightness and balances out the rich creaminess of the cake.
- Whipped Cream: A dollop of fluffy, sweetened cream brings a lightness that complements the dense cheesecake layer beautifully.
- Vanilla Ice Cream: Creamy and cool, a scoop of vanilla ice cream creates a delightful contrast to the warm cake, enhancing the overall experience.
- Chocolate-Covered Strawberries: For an elegant touch, these sweet bites echo the flavor of the cake while adding an indulgent twist.
- Coffee or Espresso: The rich aroma of brewed coffee harmonizes perfectly with the sweet flavors, making for a comforting dessert pairing.
- Sparkling Water with Lime: A refreshing zesty drink cleanses the palate, ensuring each bite of cake remains delightful and vibrant.
- Almond Biscotti: These crunchy delights provide a satisfying contrast to the cake’s softness, perfect for dipping.
- Caramel Sauce Drizzle: A warm drizzle of caramel adds an extra layer of sweetness and depth, creating a luxurious treat.
- Mint Tea: The soothing notes of mint tea offer a light and fragrant complement to this delectable dessert.
- Cheesecake Brownies: Pairing with a brownie brings an exciting dual dessert experience, sure to impress your guests further!
Expert Tips for Strawberry Cheesecake Dump Cake
-
Room Temperature Ingredients: Ensure all ingredients, like cream cheese and eggs, are at room temperature. This helps create a smooth cheesecake layer in your Strawberry Cheesecake Dump Cake.
-
Avoid Overmixing: When combining the cake batter, mix just until combined. Overmixing can lead to a dense cake rather than a light and fluffy texture.
-
Layering Technique: To avoid a soggy bottom, make sure the strawberries are well-drained after marinating. Spread them evenly for balanced flavor throughout the cake.
-
Baking Checks: Keep an eye on your cake during the last 10 minutes of baking. Every oven is different, and you want to prevent overbaking for a perfect, moist result.
-
Serving Tips: Allow the cake to cool slightly before serving. If desired, enhance each slice with a dollop of whipped cream or a scoop of vanilla ice cream for an added treat!
-
Storage Advice: Store any leftovers in the refrigerator in an airtight container. The flavors meld beautifully overnight, so it can be even tastier the next day!
How to Store and Freeze Strawberry Cheesecake Dump Cake
Fridge: Store leftovers in an airtight container for up to 3 days. This keeps the Strawberry Cheesecake Dump Cake fresh while the flavors meld beautifully overnight.
Freezer: To freeze, cut into portions and wrap slices individually in plastic wrap, then place in a freezer-safe bag. The cake can be stored frozen for up to 2 months.
Reheating: When ready to enjoy, thaw in the fridge overnight, then warm in the microwave for about 20-30 seconds or until heated through.
Strawberry Cheesecake Dump Cake Variations
Feel free to get creative with this dessert and make it your own!
-
Gluten-Free: Use a gluten-free cake mix to allow those with dietary restrictions to indulge in this delightful dessert.
-
Vegan: Swap out cream cheese for a plant-based alternative and use almond or oat milk instead of regular milk. This way, everyone can savor the goodness!
-
Fruit Swap: Experiment with different fruits like peaches or blueberries for a unique flavor twist. Just remember to adjust the sugar according to the sweetness of the fruit.
-
Coconut Cream: For a tropical vibe, replace the cream cheese with coconut cream for a light and fluffy texture that’s simply divine.
-
Nutty Crunch: Add chopped nuts, such as walnuts or pecans, to the batter for a satisfying crunch. Sprinkle them on top of the last cake layer before baking for extra flair!
-
Chocolate Drizzle: Once the cake has cooled, drizzle some melted chocolate on top for an indulgent finishing touch. Chocolate and strawberries are a classic match made in heaven!
-
Spiced Up: Incorporate cinnamon or nutmeg into the cake batter or cheesecake layer for a warm, comforting flavor profile that will remind you of cozy evenings.
-
Layered Delight: For an elegant presentation, serve each slice with a dollop of our Lemon Truffles Zesty on the side—it adds a zesty twist that pairs beautifully with the strawberries!
Make Ahead Options
These Strawberry Cheesecake Dump Cakes are perfect for meal prep enthusiasts! You can prepare the cheesecake layer and marinated strawberries up to 24 hours in advance. To do this, mix the cream cheese, sugar, and vanilla extract, then refrigerate it in an airtight container to keep it creamy and fresh. Meanwhile, combine the sliced strawberries with sugar and let them sit to release their juices, then store them separately to prevent excess moisture from affecting the cake. When you’re ready to bake, simply mix the cake batter and layer everything according to the recipe before popping it in the oven. This way, you’ll save time on busy weeknights and still enjoy a delicious, homemade dessert that’s just as delightful!
Strawberry Cheesecake Dump Cake Recipe FAQs
How do I choose ripe strawberries for this recipe?
Absolutely! Look for strawberries that are bright red, firm, and have a sweet fragrance. Avoid any that have dark spots all over or seem mushy, as they may be overripe or starting to spoil.
How can I store leftovers of the Strawberry Cheesecake Dump Cake?
Very simply! Store leftovers in an airtight container in the refrigerator for up to 3 days. This ensures your dessert stays fresh and allows the flavors to meld together beautifully. Just remember, it’s best enjoyed chilled or at room temperature!
Can I freeze the Strawberry Cheesecake Dump Cake?
Yes, you can! I often make individual portions for convenience. Cut the cake into slices and wrap each piece in plastic wrap, then place them in a freezer-safe bag. It can be frozen for up to 2 months. To enjoy, simply thaw it in the fridge overnight and warm it in the microwave for about 20-30 seconds until heated through.
What if my dump cake turns out too dense?
This can happen if the batter is overmixed. I recommend mixing just until everything is combined; a few lumps are perfectly fine for a light, airy texture. Also, ensure your cream cheese and other ingredients are at room temperature for the best mixing outcome.
Are there any dietary considerations for this recipe?
Of course! For a gluten-free version, substitute the yellow cake mix with a gluten-free alternative. If you’re looking for a vegan option, you can easily swap out the cream cheese for plant-based cream cheese, and use almond milk instead of regular milk. The more the merrier, so everyone can enjoy this delightful dessert!
Strawberry Cheesecake Dump Cake Recipe: Easy Bliss in Every Bite
Ingredients
Equipment
Method
- Preheat your oven to 350°F (175°C).
- In a medium bowl, combine the sliced strawberries with 1/4 cup of granulated sugar. Stir gently and let the mixture sit for about 10 minutes.
- In a separate mixing bowl, beat together the softened cream cheese, remaining 3/4 cup of sugar, and vanilla extract until smooth and creamy.
- In another bowl, mix the yellow cake mix, melted butter, milk, and a pinch of salt until just combined.
- Grease a 9x13-inch baking dish. Start layering by pouring half of the cake batter into the dish, followed by the cheesecake mixture, marinated strawberries, and remaining cake batter.
- Bake for 45-50 minutes, or until the top is golden brown.
- Remove from the oven and let it cool for 10-15 minutes. Dust with powdered sugar before serving.
Leave a Reply