
As I stepped into the bustling heart of a vibrant Mexican market, the intoxicating aroma of spices and grilled meats wrapped around me like a warm hug. Today, I’m excited to share my take on Quesabirria Tacos—an incredible dish that’s not just a meal but a celebration of flavor and culture. These tender braised beef tacos are perfect for a quick weeknight dinner or a festive Taco Tuesday gathering. The best part? They’re incredibly easy to prepare and a guaranteed crowd-pleaser, thanks to their crispy tortillas and melty cheese. And don’t forget the dipping broth that elevates each bite into a savory delight! Are you ready to dive into this delightful culinary adventure?
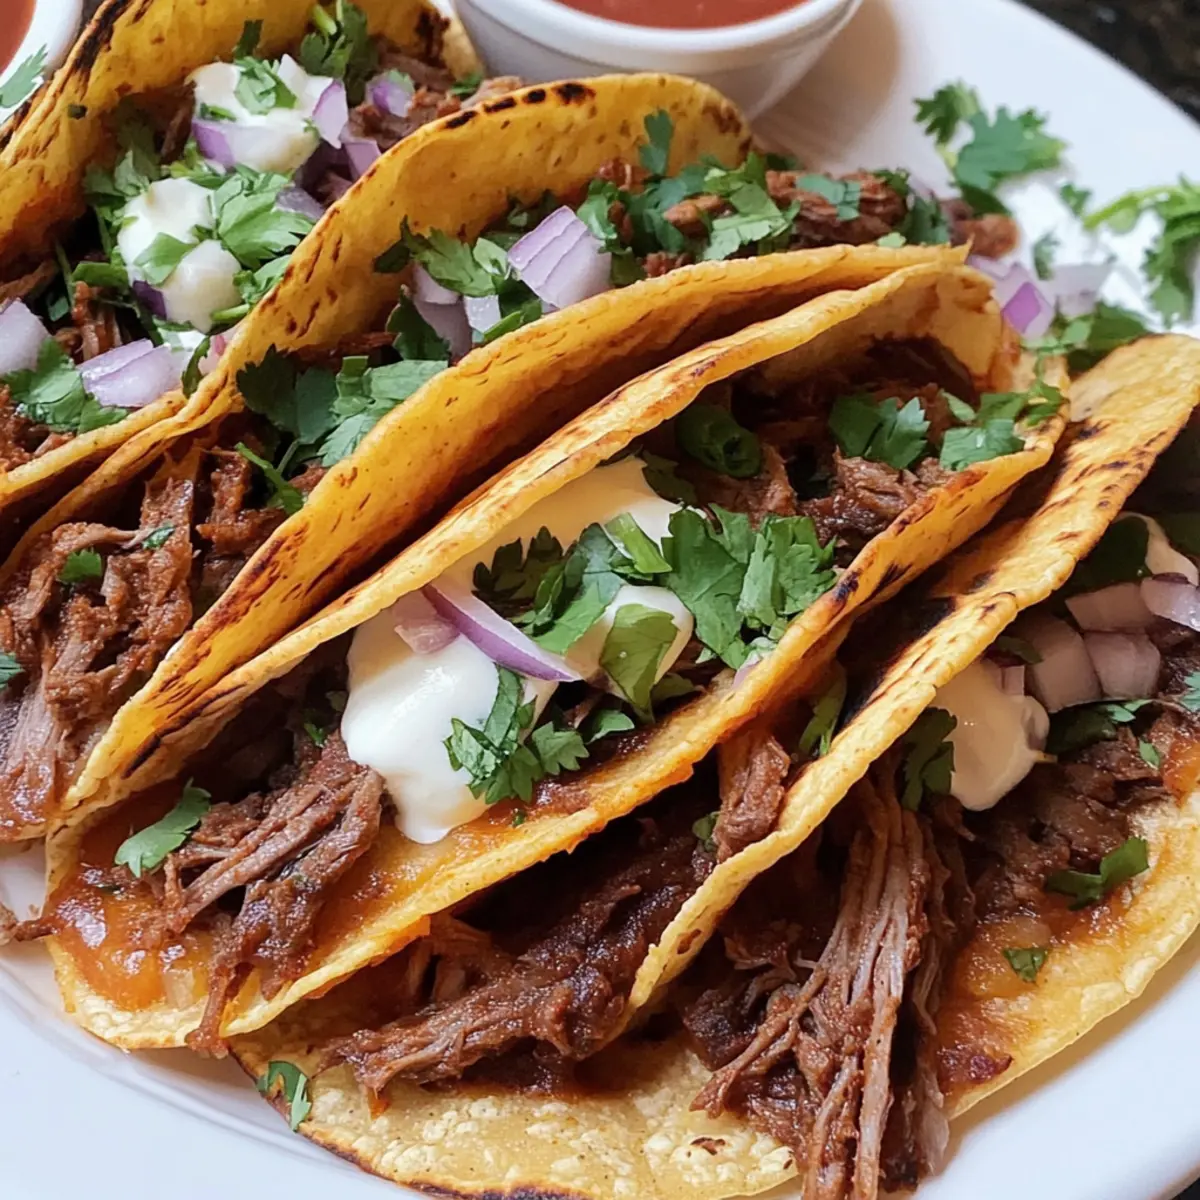
Why are Quesabirria Tacos so special?
Flavor Explosion: Each taco is filled with tender, savory beef and oozing melted cheese that create an unforgettable taste sensation.
Crispy Delight: The freshly cooked tortillas provide a crispy exterior that perfectly complements the gooey interior.
Quick Preparation: Whip these up in no time—great for busy weeknights or spontaneous gatherings.
Versatile Options: Customize with your favorite cheeses, meats, and toppings, making every meal unique and personalized.
Crowd-Pleaser: Whether it’s Taco Tuesday or a feast with friends, these tacos are a surefire way to impress everyone at the table—just like the delicious Chicken Street Corn you can’t resist!
Quesabirria Tacos Ingredients
• Get ready to create a taco masterpiece with these essential ingredients!
For the Beef Birria
- Beef (4 cups) – Use chuck roast or brisket for rich flavor and tenderness in your Quesabirria Tacos.
- Spices (check your recipe) – Make sure to balance cumin, oregano, and chili powder for authentic taste.
For the Broth
- Birria Broth (2 cups) – This flavorful liquid not only adds moisture but is perfect for dipping your tacos!
For the Tacos
- Thick Corn Tortillas (16) – Opt for thick tortillas that won’t break when packed with delicious fillings.
- Oaxaca Cheese (1 lb, shredded) – Melts beautifully for a creamy texture; Monterey Jack is a great substitute if needed.
For Toppings
- Diced Red Onions (½ cup) – Adds a delightful crunch and sharpness to balance flavors.
- Fresh Chopped Cilantro (¼ cup) – Brings freshness and vibrancy to your Quesabirria Tacos.
- Lime Wedges (2) – A squeeze of lime adds a zesty kick and brightens the rich taste.
Step‑by‑Step Instructions for Quesabirria Tacos
Step 1: Prepare the Beef Birria
Start by cooking the beef in a pressure cooker or slow cooker until it’s tender, which usually takes about 1.5 to 2 hours at high pressure or 6-8 hours on low heat. Incorporate your favorite spices like cumin, oregano, and chili powder for authentic flavor. Once done, shred the beef and reserve the flavorful broth for dipping later.
Step 2: Heat Skillet
Preheat a large skillet or cast iron griddle over medium-high heat, adding a light coat of cooking spray or vegetable oil. This will be the stage for transforming your simple tortillas into crispy, golden shells for your Quesabirria Tacos. The skillet should be hot enough that a drop of water sizzles upon contact.
Step 3: Dip Tortilla
Take each thick corn tortilla and dip it into the warm birria broth, ensuring both sides are evenly coated but not soggy. This step adds moisture and flavor, making it essential for creating a tasty base for your tacos. Allow the excess broth to drip off as you prepare to cook them.
Step 4: Cook Tortilla
Place the dipped tortilla onto the hot skillet and cook for about 30 seconds until it starts to become pliable and lightly browned. Flip the tortilla and give it another 30 seconds on the other side until both sides show a mild golden color, signaling that they are ready for the next step in your Quesabirria Taco assembly.
Step 5: Add Fillings
On one half of the cooked tortilla, add approximately two tablespoons of shredded Oaxaca cheese followed by about ¼ cup of the tender shredded beef. This combination of rich, flavorful beef and melting cheese forms the heart of your Quesabirria Tacos, promising an explosion of flavors in every bite.
Step 6: Fold and Cook
Carefully fold the tortilla over the cheese and beef filling, pressing down gently. Let it cook for an additional 30 to 60 seconds on each side until the cheese melts and the tortilla turns a perfect golden brown. This step ensures a delightful crispy exterior while locking in all the savory goodness inside.
Step 7: Repeat
Continue the process of dipping, cooking, filling, and folding with the remaining tortillas, beef, and cheese until all ingredients are used. Keep an eye on the skillet temperature, adjusting as needed to maintain that perfect sizzle. Soon, you’ll have a stack of delicious Quesabirria Tacos, ready to impress!
Step 8: Serve
Once your Quesabirria Tacos are cooked to perfection, garnish them with diced red onions and freshly chopped cilantro for an added crunch and flavor profile. Serve with lime wedges and a side of warm birria broth for dipping, enhancing the rich taste of your tacos and making each bite even more enjoyable.
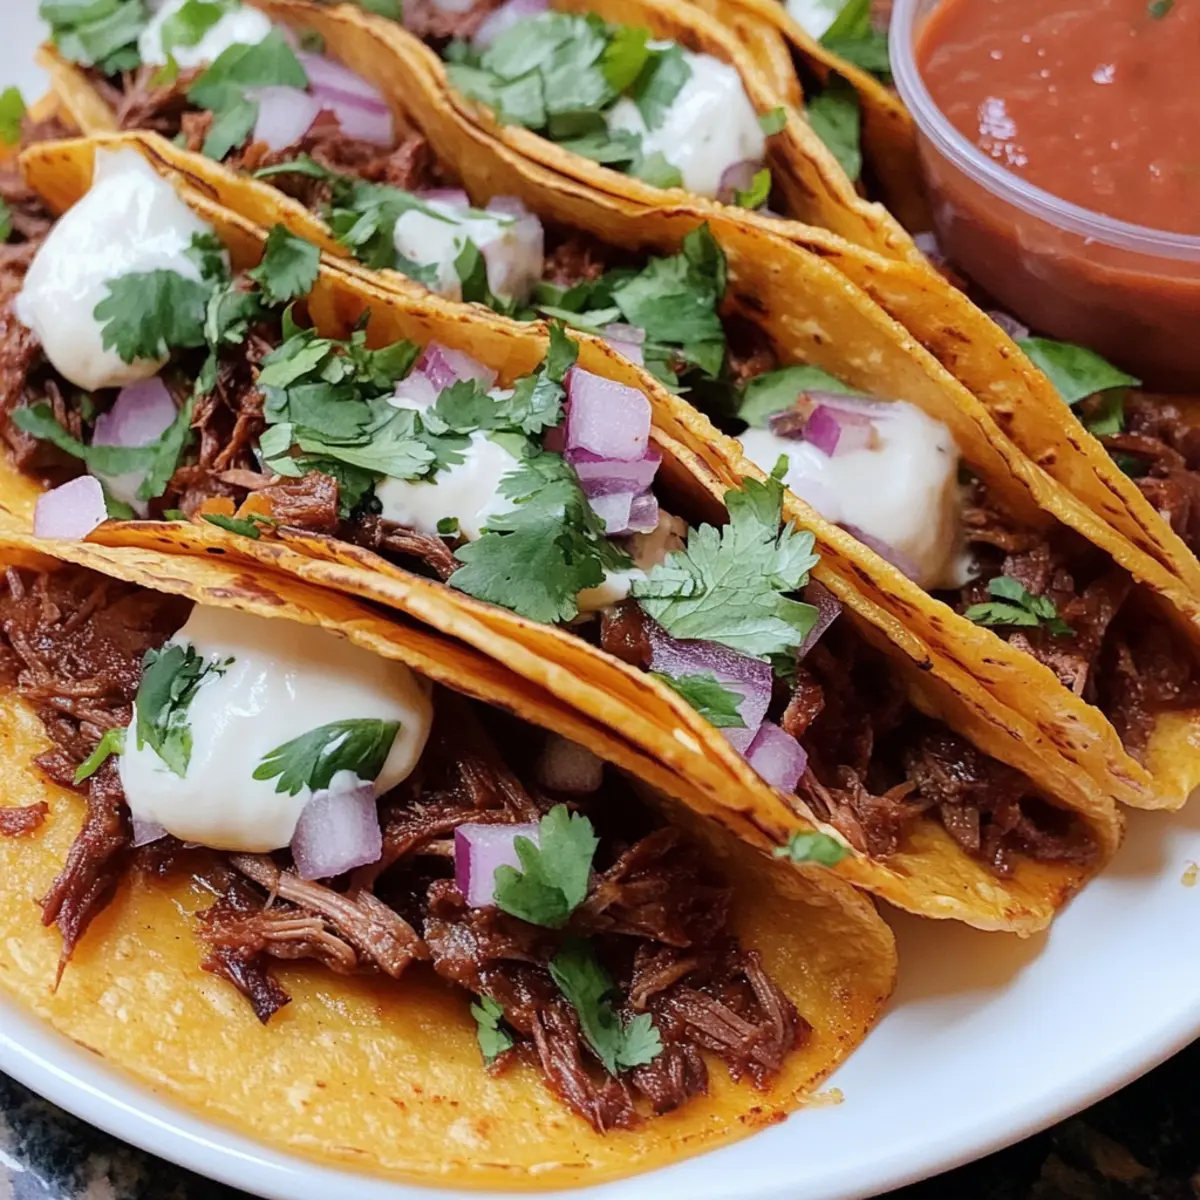
What to Serve with Irresistible Quesabirria Tacos?
Elevate your meal experience by adding delightful sides that complement the rich and savory flavors of these mouthwatering tacos.
-
Mexican Rice: Fluffy and seasoned just right, this rice adds a flavorful backdrop that balances the richness of the tacos.
-
Refried Beans: Creamy and savory, these beans create a comforting side that perfectly matches the texture and flavors of Quesabirria Tacos.
-
Fresh Guacamole: Creamy and zesty, guacamole provides a refreshing counterpoint to the hearty tacos, making each bite even more enjoyable. Pairing it with crispy tortilla chips makes for a delightful munch during your meal!
-
Pico de Gallo: A fresh tomato salsa that adds brightness and a burst of flavor, enhancing every bite of your savory tacos. It introduces a refreshing crunch with every mouthful.
-
Corn Elote: Grilled corn on the cob, smeared with mayo, sprinkled with cheese, and flavored with lime brings a smoky sweetness that contrasts delightful with the deep flavors of birria.
-
Horchata: This creamy cinnamon rice drink is the perfect cooling beverage, balancing the rich spices and heat while enhancing the overall dining experience with its sweet notes.
Make Ahead Options
Preparing Quesabirria Tacos in advance is a fantastic way to save time during busy weeknights! You can make the beef birria and refrigerate it for up to 3 days, allowing the flavors to meld beautifully. Simply cool the beef, store it in an airtight container, and the birria broth can also be kept in the fridge for dipping. On the day you plan to serve, reheat the beef in a skillet over medium heat until warmed through, and proceed with making the tacos as instructed. For the best results, dip the prepared tortillas just before cooking to maintain their crispy texture. Enjoy flavorful Quesabirria Tacos that are just as delicious as if made fresh!
Quesabirria Tacos: Variations & Substitutions
Feel free to explore creative takes on your Quesabirria Tacos; let the flavors and textures come alive!
- Gluten-Free: Use gluten-free corn tortillas to enjoy this dish while keeping your dietary needs in mind.
- Different Cheeses: Swap Oaxaca for Pepper Jack for a cheesy taco with a spicy kick that elevates the flavor profile.
- Alternative Meats: Try adding lamb or goat meat for a unique flavor twist, honoring the traditional roots of birria.
- Vegetarian Version: Replace the beef with shredded jackfruit or pork, cooked in a robust broth for a satisfying plant-based option.
- Add Avocado: Top your tacos with sliced avocado for a creamy texture that complements the savory beef beautifully.
- Pico de Gallo Twist: Freshen up your tacos with a pico de gallo topping, adding a burst of freshness and color that will make your dish pop.
- Heat It Up: If you’re craving heat, add sliced jalapeños or a drizzle of hot sauce to pack a flavorful punch.
- Crunchy Toppings: Add crispy fried onions for a delightful texture contrast that enhances every bite.
Whether you’re drawn to the freshness of a side of Chicken Street Corn or the richness of additional toppings, these variations will ensure everyone enjoys the flavors of Quesabirria Tacos their own way!
Storage Tips for Quesabirria Tacos
Fridge: Store leftover Quesabirria Tacos in an airtight container for up to 5 days. Ensure they are cooled completely before sealing to maintain freshness.
Freezer: For longer storage, freeze the cooked tacos wrapped tightly in plastic wrap and then in foil for up to 3 months. Thaw overnight in the fridge before reheating.
Reheating: To regain that crispy texture, reheat tacos in a skillet over medium heat for about 2-3 minutes per side. Alternatively, place them in a preheated oven at 350°F for 10 minutes.
Birria Broth: Store any extra birria broth in a separate airtight container in the fridge for up to 4 days or freeze for up to 3 months. It’s perfect for dipping!
Expert Tips for Quesabirria Tacos
• Tortilla Texture: Make sure to use thick corn tortillas to prevent sogginess and ensure a satisfying crunch when biting into your Quesabirria Tacos.
• Broth Balance: Don’t soak the tortillas too long in the birria broth; just a quick dip will keep them from breaking while still adding flavor.
• Cheese Choice: Opt for fresh Oaxaca cheese for the best melt. Pre-shredded cheese may contain anti-caking agents, which can hinder that gooey texture you desire.
• Heat Control: Maintain medium-high heat while cooking the tortillas to achieve that perfect crispy exterior without burning them.
• Serving Style: Pair Quesabirria Tacos with a side of warm birria broth for dipping; this enhances the flavor and adds an exciting twist to each bite!
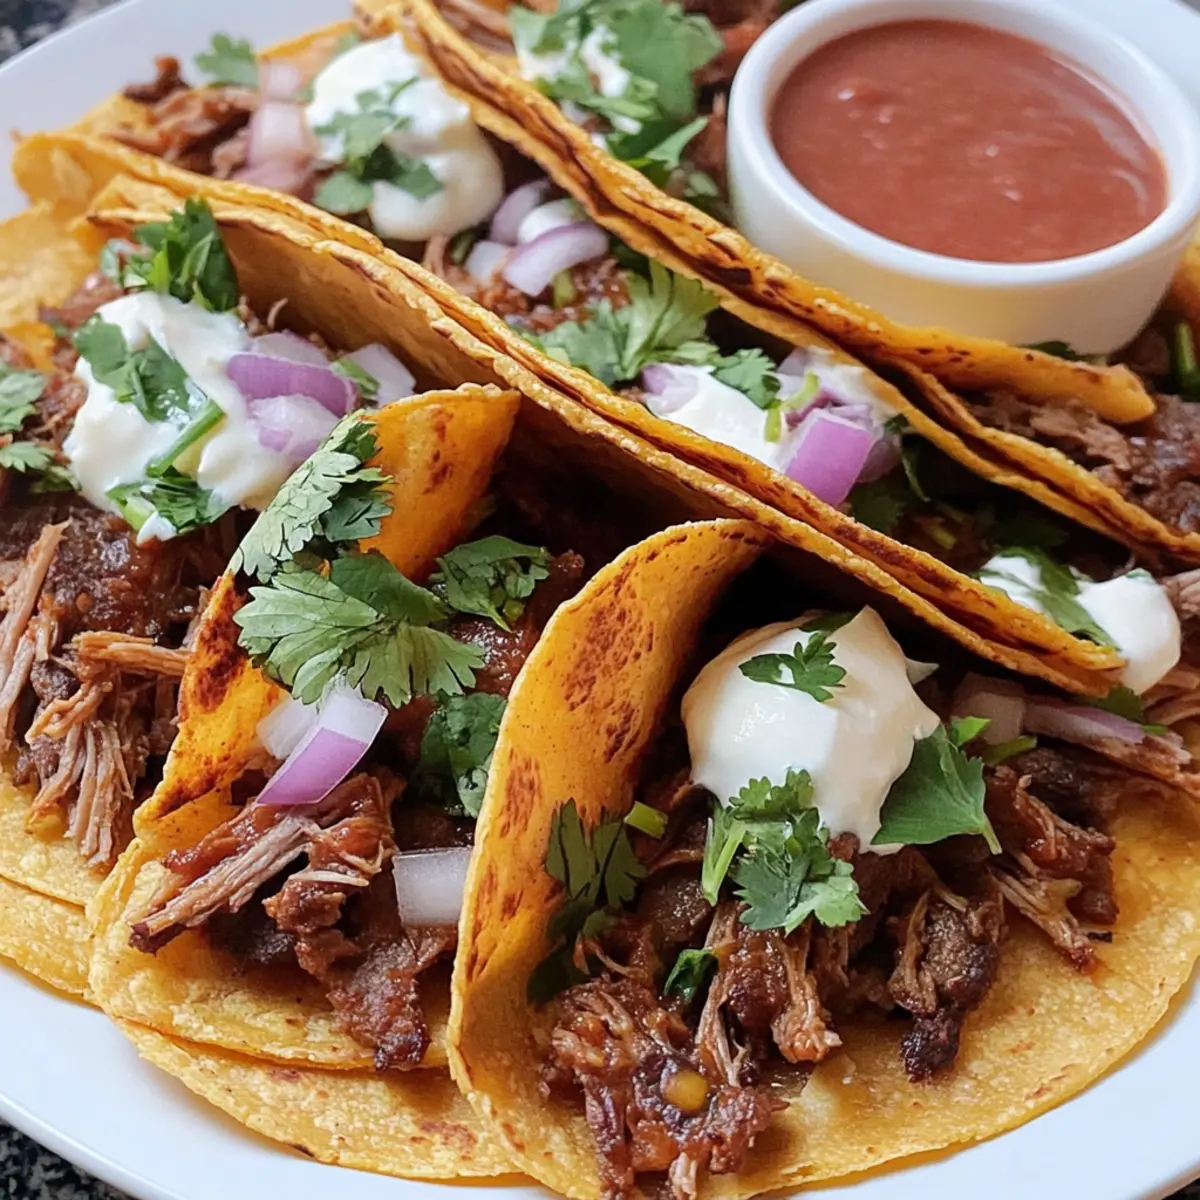
Quesabirria Tacos Recipe FAQs
What type of beef is best for Quesabirria Tacos?
I recommend using chuck roast or brisket for the best flavor and tenderness. These cuts are ideal as they become deliciously soft during the slow cooking process, soaking up all the spices beautifully.
How should I store leftover Quesabirria Tacos?
For best results, store leftover Quesabirria Tacos in an airtight container in the fridge within two hours of cooking. They’ll stay fresh for up to 5 days. Make sure they’re cooled completely before sealing to maintain optimal texture.
Can I freeze Quesabirria Tacos?
Absolutely! To freeze them, wrap each cooked taco tightly in plastic wrap and then in aluminum foil to prevent freezer burn. You can store them for up to 3 months. When you’re ready to enjoy, thaw them in the fridge overnight and reheat in a skillet or oven until crispy again.
What should I do if my tortillas break when cooking?
If you’re experiencing broken tortillas, try using thicker corn tortillas as they hold up better against the moisture. Also, don’t soak them too long in the birria broth—just a quick dip is enough to infuse flavor without making them soggy.
Are Quesabirria Tacos gluten-free?
Yes! As long as you use gluten-free corn tortillas, your Quesabirria Tacos can be a tasty option for those avoiding gluten. Always check the labels to ensure no gluten-containing ingredients are included.
Can pets eat the beef from Quesabirria Tacos?
While cooked beef itself is generally safe for pets, avoid giving them any spices or broth as they may contain ingredients harmful to animals, like onion and garlic. It’s best to keep taco leftovers strictly for human enjoyment!
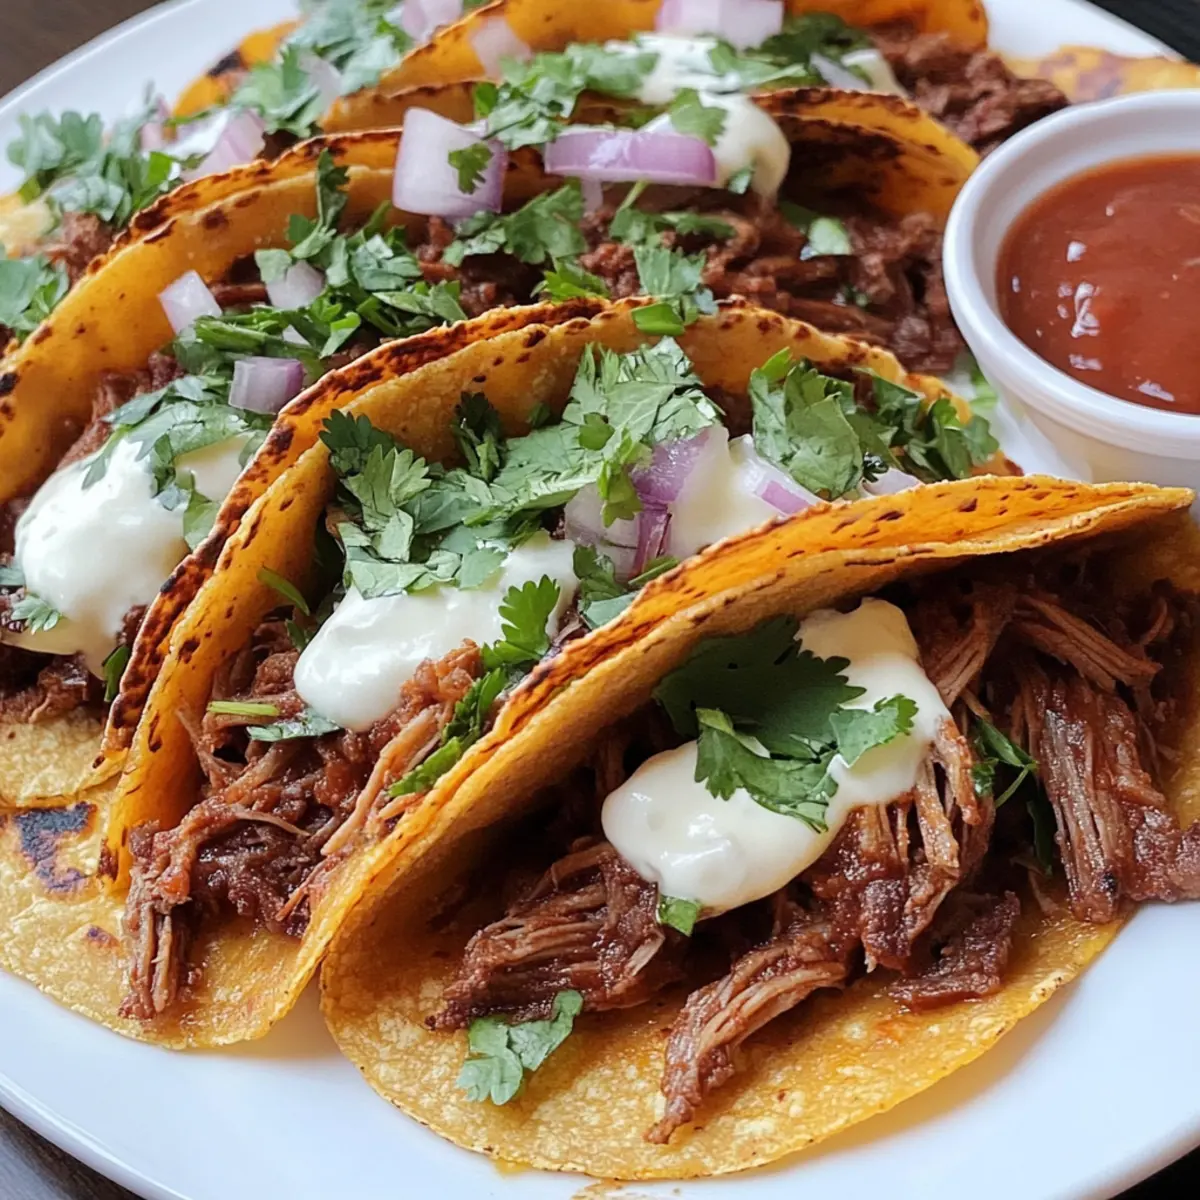
Irresistible Quesabirria Tacos with Savory Beef and Cheese
Ingredients
Equipment
Method
- Prepare the Beef Birria: Cook the beef in a pressure cooker or slow cooker until tender, about 1.5 to 2 hours at high pressure or 6-8 hours on low heat. Shred beef and reserve the broth for dipping.
- Heat Skillet: Preheat a skillet over medium-high heat with a light coat of cooking spray or oil.
- Dip Tortilla: Dip each tortilla into the warm birria broth, ensuring even coating but not soggy.
- Cook Tortilla: Cook the dipped tortilla for about 30 seconds until pliable and lightly browned, then flip and repeat.
- Add Fillings: On one half of the tortilla, add shredded Oaxaca cheese and shredded beef.
- Fold and Cook: Fold the tortilla over the fillings and cook for 30 to 60 seconds on each side until cheese melts and tortilla is golden.
- Repeat: Continue dipping, cooking, filling, and folding with remaining ingredients.
- Serve: Garnish with diced onions and cilantro, and serve with lime wedges and dipping broth.
Leave a Reply