
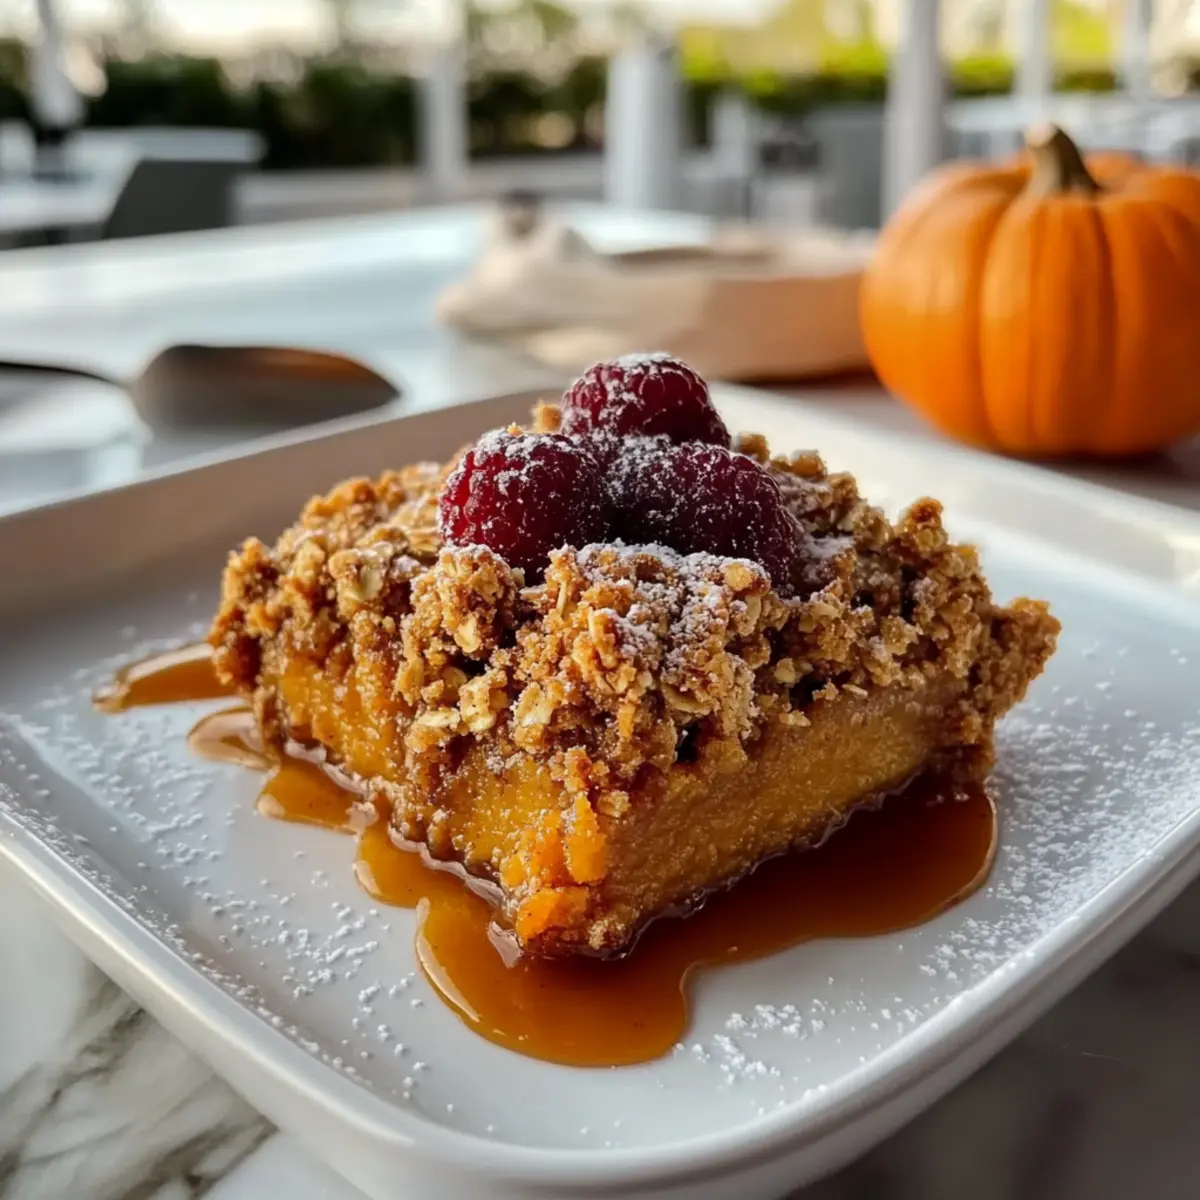
As the leaves turn golden and the air gets crisp, there’s nothing quite like the scent of a freshly baked dessert wafting through the kitchen. That’s where my Easy Pumpkin Crisp with Buttery Oat Topping comes in, combining the rich essence of pumpkin pie with a delightful crunch that makes every bite feel like a warm hug. This easy pumpkin recipe not only brings comfort and nostalgia to your fall gatherings but also ensures that you spend minimal time in the kitchen—leaving you free to enjoy the company of family and friends. Whether you’re hosting Thanksgiving dinner or simply craving a sweet treat, this Pumpkin Crisp is a crowd-pleaser that’s sure to satisfy your autumn sweet tooth. Ready to indulge in a dessert that captures the spirit of the season? Let’s dive in and make some magic happen in your kitchen!
Why is Pumpkin Crisp the perfect fall dessert?
Comforting and nostalgic: This Pumpkin Crisp evokes the warmth of family gatherings and crisp autumn days, making it the ideal dessert for cozy evenings.
Effortless preparation: With simple ingredients and minimal steps, you’ll have a delicious treat ready in no time—perfect for those busy fall weeks!
Versatile toppings: Whether you enjoy it plain or topped with a scoop of vanilla ice cream or a dollop of whipped cream, this dish adapts to your preference, much like our Baked Parmesan Zucchini that pairs well with any main course.
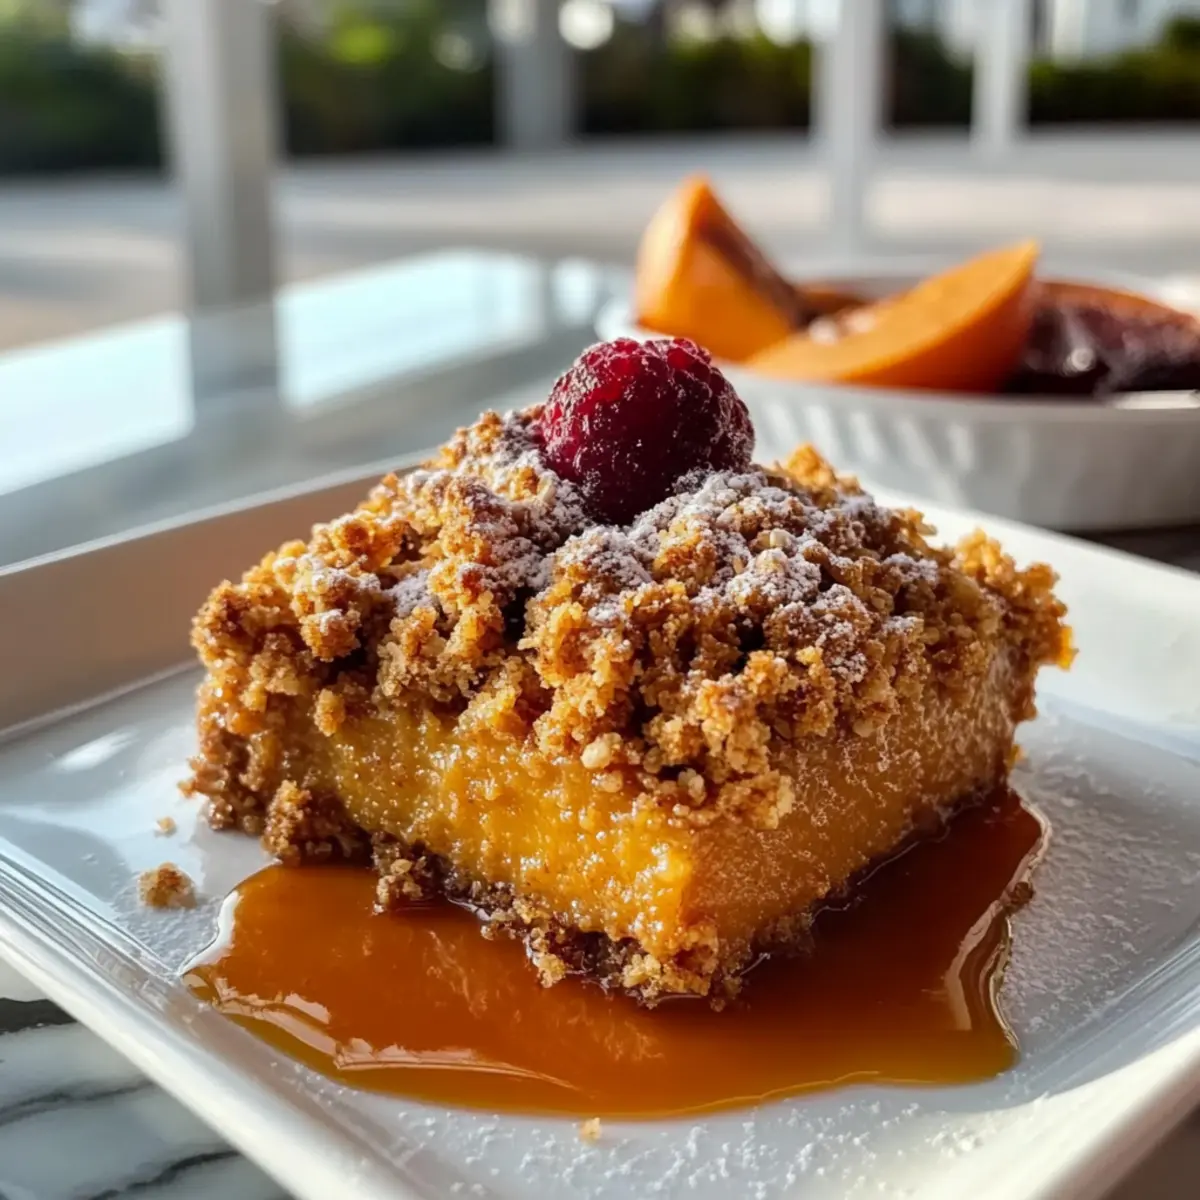
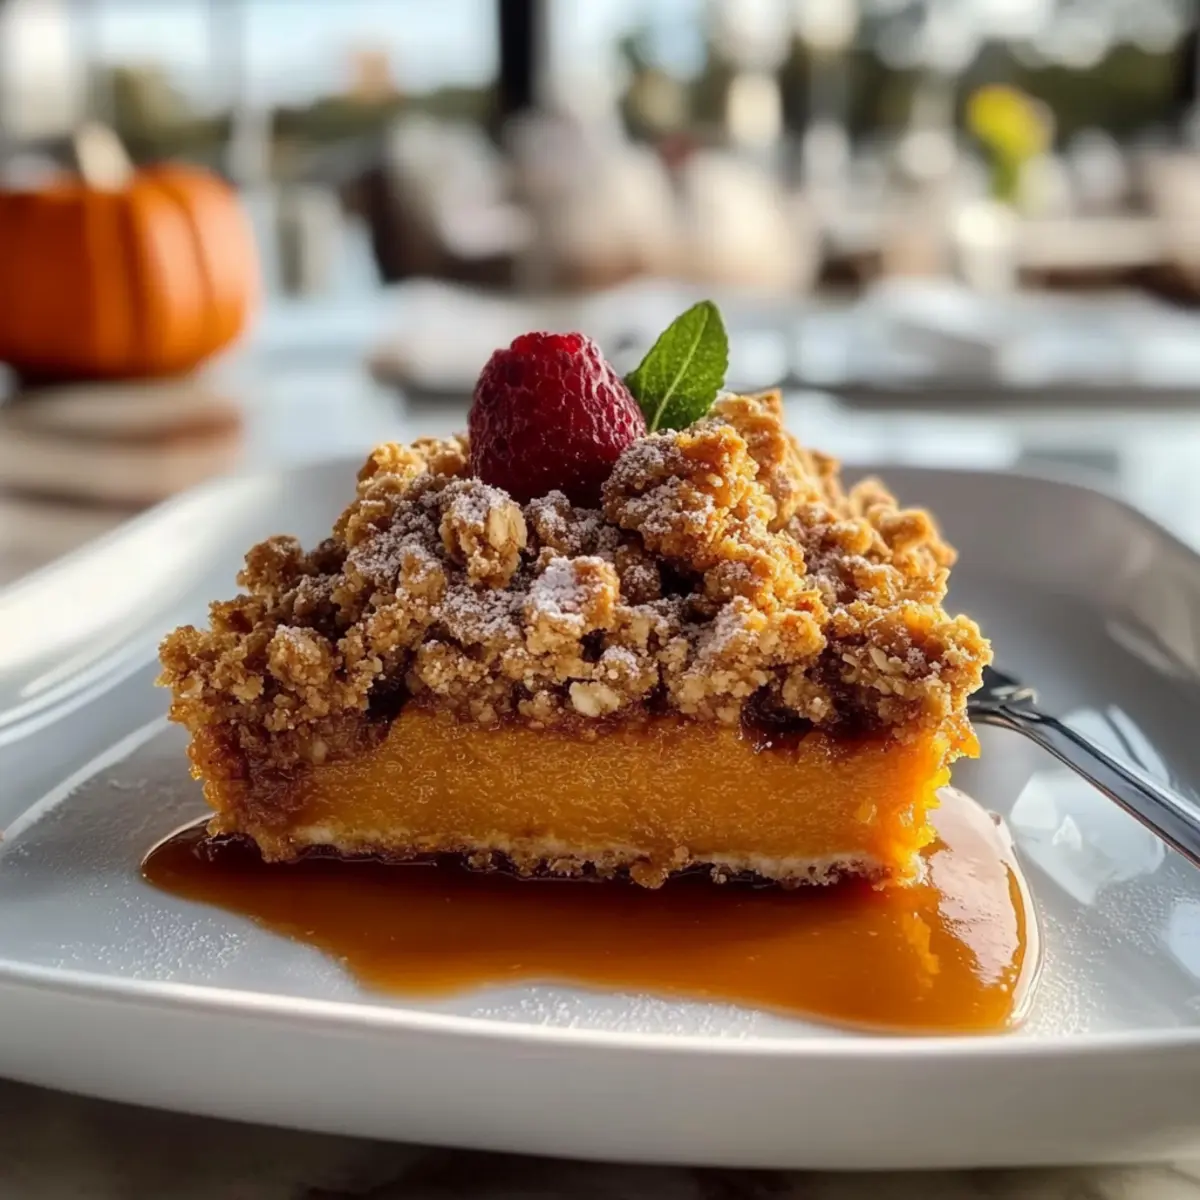
Unique crunch: The buttery oat topping adds a delightful texture that contrasts beautifully with the silky pumpkin filling, creating a dish everyone will rave about.
Seasonal superstar: Highlighting fall flavors with spices that awaken the senses, this vegetarian-friendly dessert is a must-try during this joyous season!
Pumpkin Crisp Ingredients
-
For the Filling
• Pumpkin Puree – Provides the creamy base; use canned for convenience but avoid pie filling for best results.
• Granulated Sugar – Adds sweetness to the pumpkin filling.
• Large Eggs – Acts as a binder for the custard, ensuring smooth texture.
• Vanilla Extract – Enhances flavor depth, enriching the overall taste.
• Whole Milk – Contributes creaminess to the filling.
• Heavy Cream – Boosts richness and creates a wonderfully smooth texture.
• Ground Cinnamon – Adds warmth and spice to elevate the flavor.
• Ground Ginger – Provides a zesty note for a taste of fall.
• Ground Nutmeg – Enhances the spiced flavor profile, making it irresistible.
• Ground Cloves – Offers a hint of sweetness and depth, rounding out the spices.
• Salt – Balances the overall sweetness, enhancing the flavors. -
For the Topping
• All-Purpose Flour – Gives structure to the topping; consider gluten-free flour if needed.
• Old-Fashioned Oats – Contributes a delightful crunch to the topping.
• Brown Sugar – Adds a deep, caramel-like sweetness for a rich taste.
• Chopped Pecans – Introduces a nutty flavor and extra crunch (optional; can substitute with other nuts).
• Unsalted Butter – Binds the crumb topping together, ensuring a rich and buttery flavor.
This Pumpkin Crisp brings the spirit of autumn to your table, making it a delightful choice for any fall gathering!
Step‑by‑Step Instructions for Pumpkin Crisp
Step 1: Preheat the Oven
Start by preheating your oven to 350°F (175°C). While the oven warms up, grab a 9-inch square baking dish and generously grease it with butter or non-stick spray to prevent the Pumpkin Crisp from sticking. This will ensure that your dessert has a perfect release later!
Step 2: Make the Pumpkin Filling
In a large mixing bowl, combine the pumpkin puree, granulated sugar, eggs, vanilla extract, whole milk, and heavy cream. Using a whisk, mix until the ingredients are smooth and incorporated well, about 1-2 minutes. Pour this creamy mixture into the greased baking dish, creating a luscious base for your Pumpkin Crisp.
Step 3: Add the Spices
Next, sprinkle in the ground cinnamon, ginger, nutmeg, cloves, and salt to the pumpkin mixture. Gently stir until the spices are evenly distributed, enhancing the flavors of your filling. The scent of these aromatic spices will fill your kitchen with cozy fall vibes.
Step 4: Prepare the Topping
In another bowl, combine the all-purpose flour, old-fashioned oats, brown sugar, ground cinnamon, salt, and chopped pecans. Mix these dry ingredients until well blended. The crunchy oat topping will add texture to your Pumpkin Crisp and balance the creamy filling beautifully.
Step 5: Incorporate the Butter
Melt the unsalted butter and pour it over the dry topping mixture. Stir everything together gently until the mixture resembles coarse crumbs. Be careful not to overmix, as you want it to remain crumbly. This buttery topping will provide a golden finish to your Pumpkin Crisp.
Step 6: Assemble the Dish
Evenly distribute the crumbly topping over the prepared pumpkin filling in the baking dish. Make sure to cover the filling fully to create a nice contrast between the smooth custard and the crunchy topping. This step is crucial for achieving that delightful texture in your Pumpkin Crisp.
Step 7: Bake to Perfection
Place the assembled dish into the preheated oven, baking for 40-45 minutes. Keep an eye on it; the topping should turn golden brown while the pumpkin filling firms up. You can test for doneness by gently shaking the dish; it should jiggle slightly but not be liquidy in the center.
Step 8: Cool Before Serving
Once baked, remove the Pumpkin Crisp from the oven and let it cool for about 15 minutes before serving. This cooling time allows the layers to set perfectly. As the dessert rests, the rich aromas will entice everyone to gather around the table for a warm slice of this comforting fall treat.
Expert Tips for Pumpkin Crisp
-
Choose Quality Pumpkin: Using pure pumpkin puree instead of pie filling elevates your Pumpkin Crisp. It ensures a fresher and more natural flavor profile.
-
Baking Dish Matters: A ceramic dish provides even cooking for your dessert, preventing the dreaded soggy bottom often caused by metal pans.
-
Be Mindful of Timing: Keep an eye on the baking time. It’s ok to tent with foil if the topping browns too quickly while the filling is still setting.
-
Cool Before Serving: Patience pays off! Allow the Pumpkin Crisp to cool for at least 15 minutes. This helps the layers firm up and enhances the overall texture.
-
Adjust Spices to Taste: Feel free to customize the spice blend to your liking, adding more cinnamon or even a pinch of cardamom to suit your palate.
-
Storage Tips: Make this easy pumpkin recipe a day in advance. Store it in the fridge and reheat gently before serving, preserving its wonderful flavors!
Make Ahead Options
These Easy Pumpkin Crisp with Buttery Oat Topping are perfect for meal prep enthusiasts! You can prepare the pumpkin filling up to 24 hours in advance; simply mix the pumpkin puree, sugar, eggs, vanilla, milk, cream, and spices, and refrigerate it until you’re ready to bake. Additionally, you can make the crumb topping a few days ahead—just store it in an airtight container in the fridge to keep it fresh. When you’re ready to serve, pour the filling into the greased baking dish, sprinkle the topping over, and bake it straight from the refrigerator. With these make-ahead tips, you’ll enjoy a comforting, homemade Pumpkin Crisp that’s just as delicious with minimal effort on busy weeknights!
Pumpkin Crisp Variations & Substitutions
Customize your Pumpkin Crisp to suit your tastebuds and enjoy a delightful twist on this classic fall dessert!
-
Nut-Free: Omit the chopped pecans and replace them with additional oats for a satisfying crunch.
You can still achieve a great texture without the nuts, making it perfect for those with allergies. -
Gluten-Free: Substitute all-purpose flour with a 1:1 gluten-free flour blend.
This way, everyone can enjoy this tasty treat without concern for dietary restrictions! -
Dried Fruits: Toss in some dried cranberries or raisins in the topping for a burst of sweetness.
These add a lovely chewy texture and a hint of tartness that perfectly complements the pumpkin filling. -
Spicy Kick: For an added zing, throw in a pinch of cayenne pepper or red pepper flakes.
The heat will enliven the fall spices, creating a uniquely satisfying flavor profile. -
Sweet Potato Twist: Use sweet potato puree instead of pumpkin for a different yet equally delicious flavor.
It brings a subtle sweetness that pairs beautifully with the spices and oat topping. -
Coconut Cream: Swap out heavy cream for coconut cream for a dairy-free version.
Not only will it create a rich flavor, but it also introduces a hint of tropical essence, reminiscent of our recipe for Crispy Baked Cauliflower Steaks. -
Maple Syrup Substitute: Use maple syrup in place of granulated sugar for a natural sweetener.
This will lend a deep, caramel flavor to your crisp and enhance that fall ambiance. -
Extra Crunch: Add crushed granola to the topping for even more texture and flavor.
This delightful twist elevates your Pumpkin Crisp, reminiscent of a comforting granola cluster, much like our Gnocchi Spinach Feta recipe!
Feel free to experiment and make the recipe your own!
How to Store and Freeze Pumpkin Crisp
Fridge: Store leftover Pumpkin Crisp covered with plastic wrap or in an airtight container for up to 3 days. This keeps the topping crisp and the filling fresh.
Freezer: If you’d like to freeze Pumpkin Crisp, let it cool completely, then wrap tightly in plastic wrap and foil. It can be stored in the freezer for up to 2 months for later enjoyment.
Reheating: To reheat, thaw in the refrigerator overnight, then warm in a preheated oven at 300°F until heated throughout, about 20-25 minutes. This ensures a delightful dessert experience every time!
Make-Ahead: You can prepare this easy pumpkin recipe a day in advance and store it in the refrigerator before baking, allowing the flavors to meld beautifully overnight.
What to Serve with Easy Pumpkin Crisp with Buttery Oat Topping
There’s nothing like pairing a warm, spiced dessert with complementary sides that elevate the entire meal experience.
-
Vanilla Ice Cream: A scoop of creamy vanilla ice cream provides a delightful contrast to the warm Pumpkin Crisp, melting into the spiced filling with each bite.
-
Whipped Cream: Light and airy, a dollop of whipped cream brings a dreamy texture, enhancing the flavors and making the dish even more indulgent.
-
Caramel Sauce: Drizzling warm caramel over the Pumpkin Crisp introduces a rich, buttery sweetness that beautifully harmonizes with the pumpkin spice flavors.
-
Cranberry Sauce: Adding tart cranberry sauce offers a refreshing contrast, balancing the sweetness of the dessert while brightening your plate with a pop of color.
-
Gingerbread Cookies: For a touch of nostalgia, serve with gingerbread cookies. Their warm spices echo the flavors in the Pumpkin Crisp, creating a delightful, themed dessert experience.
-
Hot Apple Cider: Sip on a glass of hot apple cider. Its fruity warmth enhances the autumn theme and complements the spiced notes of the dessert seamlessly.
-
Nutty Granola: A sprinkle of nutty granola on top adds an extra crunch and flavor burst, echoing the texture of the oat topping while adding another layer of complexity.
Pumpkin Crisp Recipe FAQs
What type of pumpkin puree should I use?
Absolutely! For the best results, use pure pumpkin puree. Canned varieties are very convenient, but make sure to avoid pumpkin pie filling, as it contains added sugars and spices that can alter the flavor of your Pumpkin Crisp.
How should I store leftover Pumpkin Crisp?
Store any leftovers in an airtight container or cover the dish with plastic wrap. Keep it in the refrigerator for up to 3 days. This keeps the topping nice and crisp while maintaining the creamy filling’s freshness!
Can I freeze Pumpkin Crisp?
Yes, you can! Allow the Pumpkin Crisp to cool completely after baking. Then, wrap it tightly in plastic wrap followed by aluminum foil. It can be frozen for up to 2 months. When you’re ready to enjoy it, simply thaw in the refrigerator overnight and reheat at 300°F until warmed through, about 20-25 minutes.
What should I do if my Pumpkin Crisp topping turns too brown?
If your topping is browning too quickly, don’t worry! Tent the dish with aluminum foil to shield it from direct heat. This will allow the filling to continue baking without burning the topping, ensuring a deliciously golden finish.
Is this Pumpkin Crisp suitable for people with nut allergies?
Definitely! If you or your guests have nut allergies, simply omit the chopped pecans from the topping. You can also substitute them with seeds like sunflower or pumpkin seeds for added crunch without the concern of nuts. This way, everyone can enjoy this fall treat!

Delicious Pumpkin Crisp with Crunchy Oat Topping Bliss
Ingredients
Equipment
Method
- Preheat your oven to 350°F (175°C) and grease a 9-inch square baking dish.
- In a mixing bowl, combine pumpkin puree, granulated sugar, eggs, vanilla extract, whole milk, and heavy cream. Whisk until smooth.
- Add ground cinnamon, ginger, nutmeg, cloves, and salt to the pumpkin mixture and stir until evenly distributed.
- In another bowl, combine all-purpose flour, old-fashioned oats, brown sugar, and chopped pecans. Mix until blended.
- Melt the unsalted butter and mix it into the dry topping mixture until it resembles coarse crumbs.
- Spread the topping evenly over the pumpkin filling in the baking dish.
- Bake for 40-45 minutes until the topping is golden and the filling is set.
- Allow to cool for 15 minutes before serving to enhance texture.
Leave a Reply