
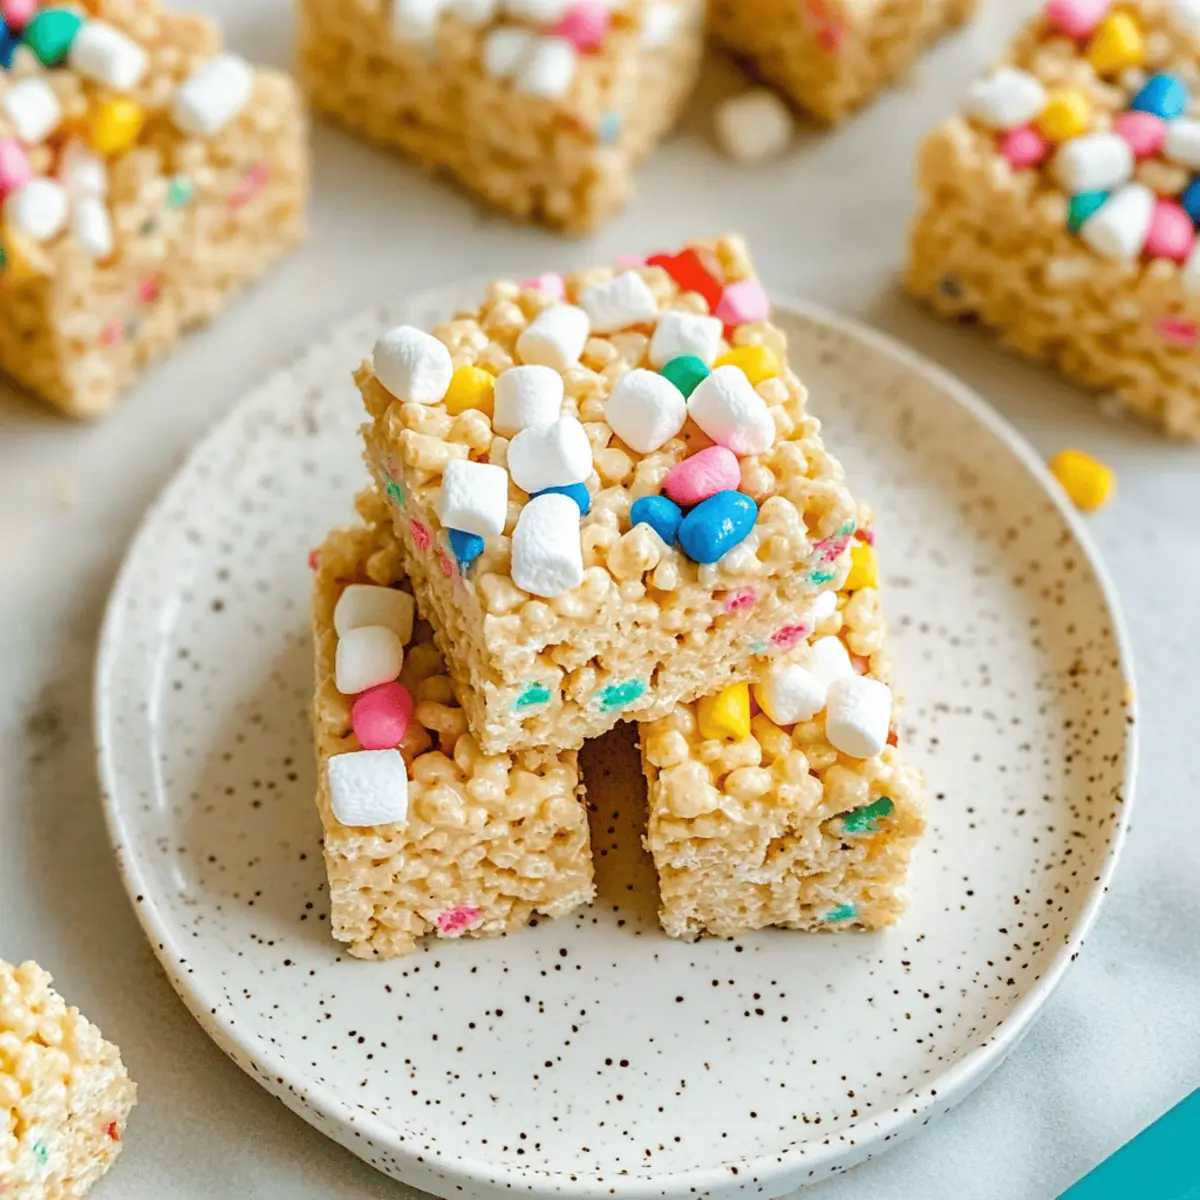
The unmistakable scent of melted marshmallows wafts through my kitchen, instantly transporting me back to carefree childhood days filled with sweet snacks. Today, I’m whipping up a delightful, healthier version of a classic favorite: Protein Rice Krispies Treats. These soft and gooey squares are not just a nostalgic treat; they pack a protein punch to keep you feeling satisfied and energized. The best part? They’re super quick to prepare and require no baking at all, making them perfect for busy schedules or spontaneous gatherings. With this recipe, you can indulge your sweet tooth while still fueling your body with wholesome goodness. Who wouldn’t want a tasty treat that’s both nostalgic and packed with benefits? Ready to bring this delightful twist to life in your own kitchen? Let’s dive in!
Why Love These Protein Rice Krispies?
Quick and Easy: You’ll whip these up in no time without any baking, making them perfect for last-minute cravings or busy days.
Nostalgic Twist: Enjoy the childhood classic you adore, now with a healthier, protein-packed punch!
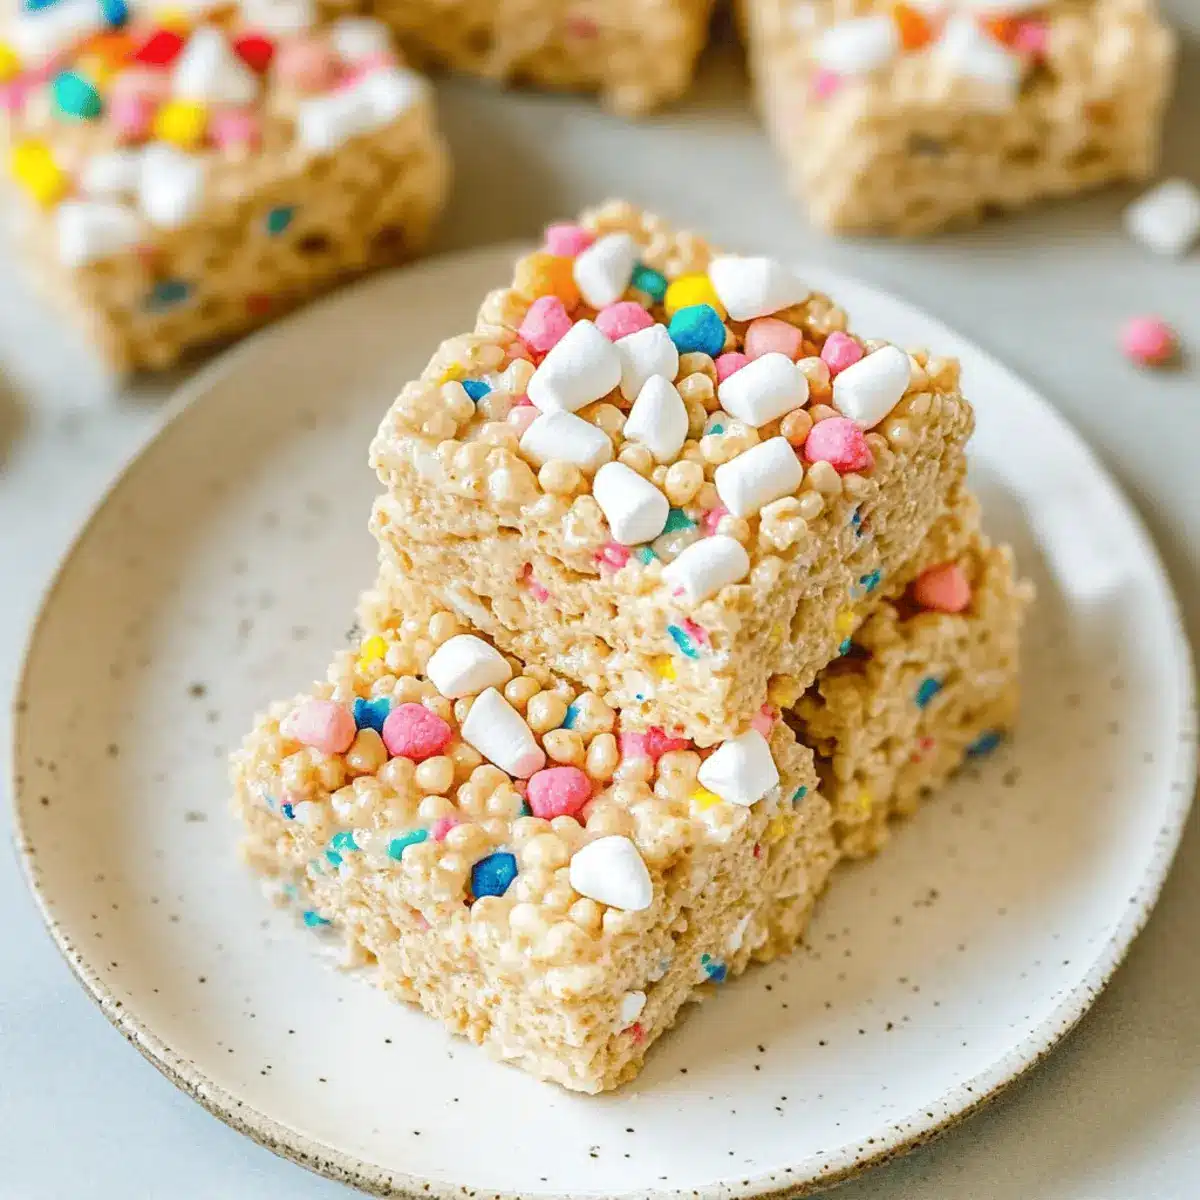
Gooey Texture: Each bite is wonderfully soft and chewy, loaded with marshmallows, giving you that comforting feel you crave.
Customizable Fun: Add your favorite mix-ins like chocolate chips or nuts, or switch up the cereals for a unique spin—try them with Corn Chicken Rice or a nut butter twist!
Crowd-Pleaser: These treats are perfect for parties, lunch boxes, or post-workout snacks, guaranteed to satisfy both kids and adults alike.
Nutritional Boost: With each treat featuring around 6g of protein, you can enjoy a guilt-free indulgence that also fuels your body.
Protein Rice Krispies Treats Ingredients
For the Base
- Rice Krispies or crispy rice cereal – This serves as the backbone of your Protein Rice Krispies Treats, giving them that classic crunch. Any brand works!
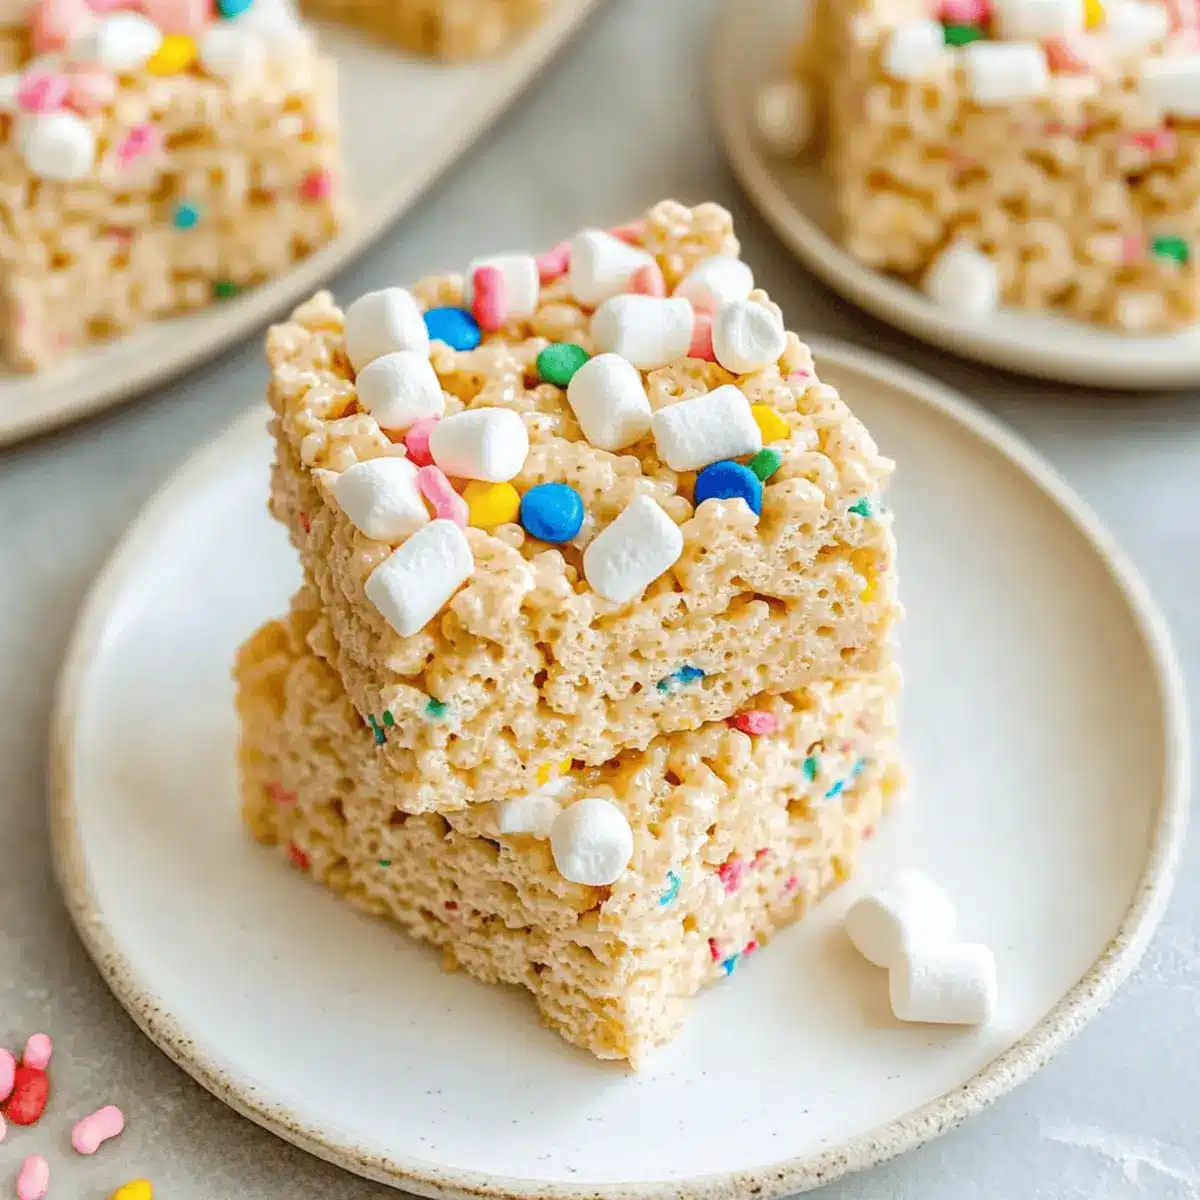
- Mini marshmallows – These are the magic ingredient for creating that soft, gooey texture; mini marshmallows melt better than large ones.
- Salted butter – Adds a rich flavor that balances the sweetness; you can also use unsalted butter or coconut oil for a dairy-free version.
For the Protein Boost
- Vanilla protein powder – Enriches the treat with a delightful protein boost; substitute it with an unflavored powder for a less sweet option.
- Milk (regular or almond) – Keeps the mixture moist and helps the treats stay soft; feel free to use any type of milk here.
Flavor Enhancement
- Vanilla extract – Adds an extra layer of flavor, although it’s optional; trust me, it makes a world of difference!
For Decoration (Optional)
- Sprinkles – These are purely for fun and visual appeal; don’t hesitate to use colorful sprinkles to enhance the treats!
Step‑by‑Step Instructions for Protein Rice Krispies Treats
Step 1: Prepare the Pan
Start by lining a 9×9 inch baking pan with parchment paper or aluminum foil, ensuring it extends over the edges for easy removal later. Lightly grease the lining with cooking spray or butter to prevent sticking. This step is essential for creating well-shaped Protein Rice Krispies Treats that won’t break apart when sliced.
Step 2: Mix Milk and Protein Powder
In a small bowl, whisk together your choice of milk and vanilla protein powder until fully smooth and well-combined. This mixture adds a creamy base and enhances the overall protein content of your treats. Set this mixture aside while you prepare the next steps, keeping it within arm’s reach for easy incorporation.
Step 3: Melt Butter
In a large pot, place over medium heat and add salted butter. Stir continuously until the butter is completely melted and starts to bubble slightly around the edges. Pay close attention to avoid browning; you want it just melted for a perfect texture in your Protein Rice Krispies Treats.
Step 4: Melt Marshmallows
Once the butter is melted, reduce the heat to low and add the mini marshmallows into the pot. Stir gently until the marshmallows are fully melted and smooth, which should take about 3-5 minutes. Add the vanilla extract and the milk mixture, stirring well to blend all ingredients into a gooey, cohesive mixture.
Step 5: Combine Cereal
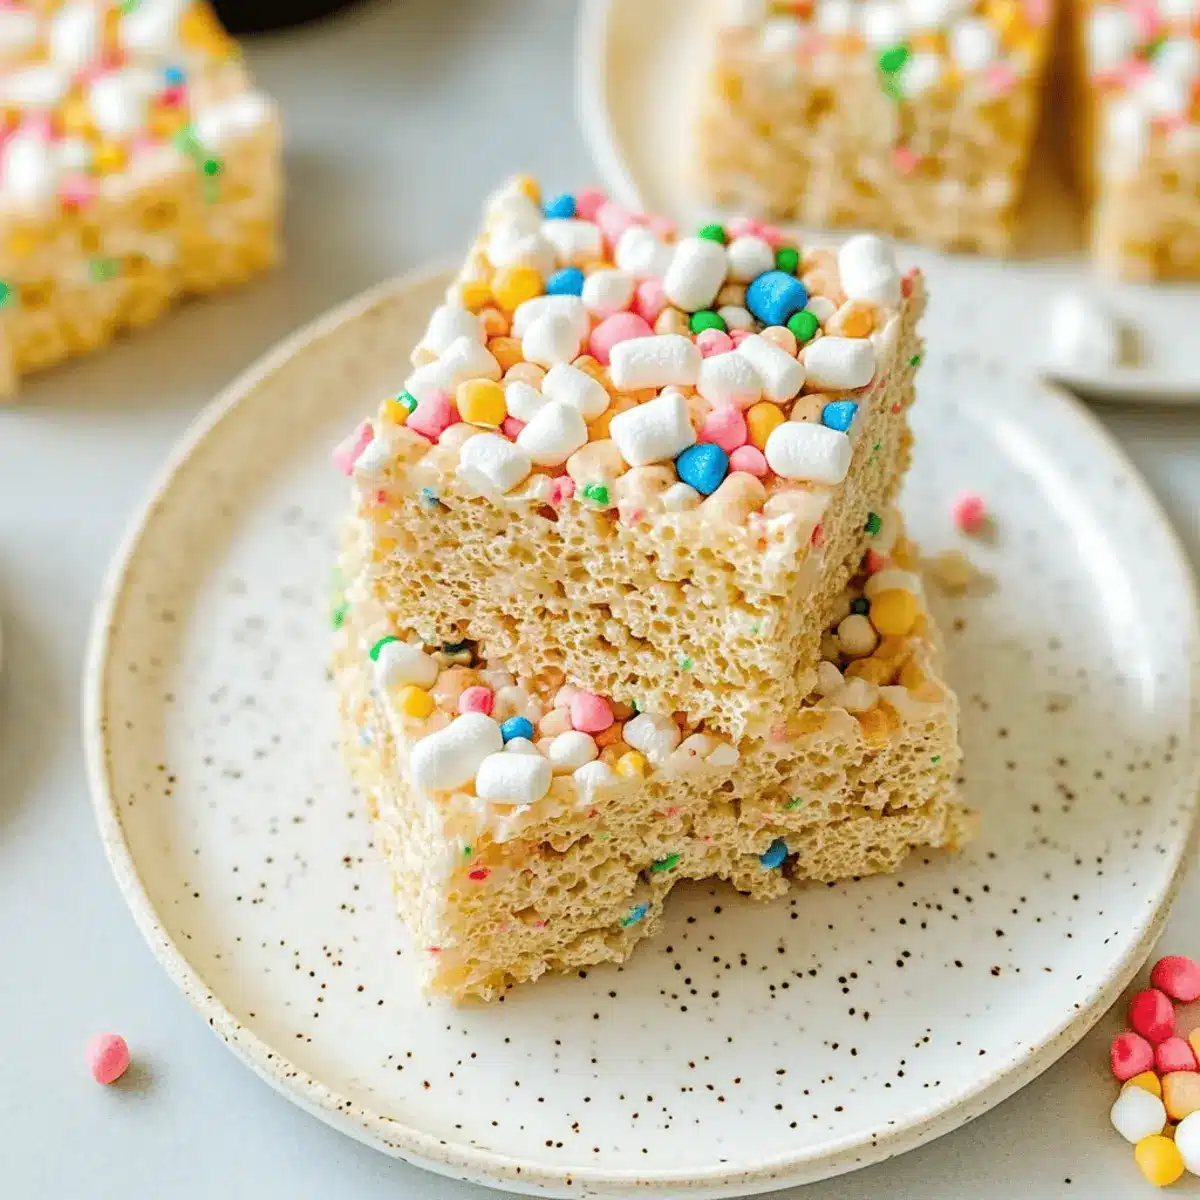
Remove the pot from heat and gradually stir in the Rice Krispies or crispy rice cereal. Mix just until all the cereal is evenly coated with the marshmallow mixture, being cautious not to over-mix which can lead to a denser result. You should see the cereal glimmer with the gooey goodness, ensuring your Protein Rice Krispies Treats will be delightfully chewy.
Step 6: Transfer to Pan
Carefully pour the mixture into the prepared baking pan, using a spatula to spread it evenly. Gently press down on the mixture using your hands or a piece of wax paper, but take care not to pack it too tightly to maintain a soft texture. If desired, sprinkle colorful sprinkles on top for added visual appeal, before letting the mixture rest.
Step 7: Allow to Set
Let the Protein Rice Krispies Treats cool at room temperature for 30-60 minutes. This resting time allows them to firm up a bit, making it easier to cut into squares. Once they seem set and no longer warm to the touch, you can proceed to slice them into your desired shapes and sizes.
What to Serve with Protein Rice Krispies Treats?
There’s nothing quite like enjoying a sweet treat paired with delightful sides that complement its flavors!
-
Fresh Fruit Salad: A vibrant mix of seasonal fruits provides a refreshing contrast to the sweetness of the treats. The natural acidity helps balance the gooeyness beautifully.
-
Yogurt Parfaits: Layered with creamy yogurt and fresh berries, this pairing adds a delightful creaminess and tang, enhancing the treat’s chewy texture while offering a deliciously contrasting flavor.
-
Nut Butter Dipping Sauce: Try a smooth almond or peanut butter dip for a richer experience. The nutty flavor amplifies the protein content, making for a satisfying, nutrient-rich snack.
-
Chocolate Milk or Smoothies: Creamy chocolate milk or a fruit smoothie complements the soft texture of the treats, making them fun to enjoy for kids and adults alike.
-
Dark Chocolate-Dipped Strawberries: The sweetness of the strawberries and the bitterness of dark chocolate create an elegant pairing, perfect for a special occasion or simply indulging yourself.
-
Coconut Macaroons: Their chewy texture and sweet coconut flavor will serenade your taste buds while maintaining a delightful balance with the soft, marshmallow treats.
-
Sparkling Water with Lime: A refreshing, bubbly drink adds a burst of acidity to cleanse your palate, enhancing the overall indulgent experience.
Protein Rice Krispies Variations
Feel free to get creative and customize your Protein Rice Krispies Treats with these fun variations!
- Gluten-Free Alternative: Switch to gluten-free rice cereal for a safe, tasty treat that everyone can enjoy.
- Nut Butter Boost: Stir in almond or peanut butter when melting the marshmallows for a rich, nutty flavor explosion. Trust me; it adds a luscious creaminess that’s simply irresistible!
- Chocolate Lover’s Delight: Fold in mini chocolate chips or drizzle melted dark chocolate over the top before slicing for a decadent twist.
- Fruity Twist: Swap regular cereal with Fruity Pebbles for a colorful, fun variation that adds a burst of fruity flavor to every chewy bite.
- Mallow Mania: Enhance the gooeyness by adding extra mini marshmallows into the mixture; it makes for an even more indulgent treat!
- Cocoa Craze: Mix in a few tablespoons of cocoa powder with the protein powder for a chocolate-centric version that’s truly delightful.
- Spiced Up: Add a teaspoon of cinnamon or pumpkin spice to the marshmallow mixture for a warm, comforting flavor that’s perfect for fall!
- Coconut Crunch: Incorporate unsweetened shredded coconut into the mixture for a tropical twist that pairs beautifully with the sweetness of marshmallows.
With these variations, you can easily adapt your Protein Rice Krispies Treats to suit your mood or dietary needs. Looking for inspiration? Try them alongside our delicious Pineapple Chicken Rice for a complete meal and a fun flavor journey!
Expert Tips for Protein Rice Krispies
-
Gentle Pressing: Avoid pressing the mixture too firmly in the pan; this helps maintain the soft, gooey texture we love in Protein Rice Krispies.
-
Monitor Heat: Always melt marshmallows over low heat to ensure they stay fluffy. High heat can cause them to clump or become hard.
-
Fresh Ingredients: Use fresh mini marshmallows for the best gooeyness. Stale marshmallows won’t provide the desired texture.
-
Customize Wisely: While mixing in add-ins like chocolate chips or nuts, remember not to over-mix, as this can lead to dense treats.
-
Proper Storage: Store slices in an airtight container at room temperature for up to a week. Refrigeration can make them hard and less enjoyable.
How to Store and Freeze Protein Rice Krispies
Room Temperature: Store your Protein Rice Krispies Treats in an airtight container at room temperature for up to 1 week. This keeps them soft and chewy, ready for you to enjoy.
Fridge: If you want to extend their freshness, you can refrigerate the treats for up to 2 weeks. Note that refrigeration may alter their gooey texture slightly, making them a bit firmer.
Freezer: To freeze, place the squares in a single layer on a baking sheet until firm, then transfer them to an airtight container or freezer bag. They can last up to 3 months in the freezer.
Reheating: When ready to enjoy, thaw the frozen Protein Rice Krispies Treats in the fridge overnight, or let them sit at room temperature for about 30 minutes before indulging.
Make Ahead Options
These Protein Rice Krispies Treats are perfect for meal prep enthusiasts! You can mix the cereal and protein powder up to 24 hours in advance and store them in an airtight container to maintain freshness. Additionally, you can melt the butter and marshmallows, then allow the mixture to cool and refrigerate for up to 3 days before mixing in the cereal (this helps maintain their gooey texture). When you’re ready to serve, simply combine everything and pour into your prepared pan, then let them set before cutting. You’ll enjoy delicious, homemade treats with minimal effort, making snacking easier on busy days!
Protein Rice Krispies Treats Recipe FAQs
What type of cereal should I use for this recipe?
You can use Rice Krispies or any crispy rice cereal brand that you like! Both options will provide the needed structure. If you’re looking for a gluten-free alternative, just double-check the cereal’s label to ensure it meets your dietary needs.
How long can I store Protein Rice Krispies Treats?
These tasty treats can be stored in an airtight container at room temperature for up to 1 week to maintain their optimal soft texture. If you prefer to extend their freshness, refrigerating them can keep them good for about 2 weeks, though the texture may become a bit firmer.
Can I freeze Protein Rice Krispies Treats, and if so, how?
Absolutely! To freeze your treats, first, cut them into squares and lay them out in a single layer on a baking sheet. Freeze until firm, then transfer the squares to an airtight container or freezer bag. They can last in the freezer for up to 3 months. When you’re ready to eat them, simply let them thaw in the refrigerator overnight or at room temperature for about 30 minutes.
What can I do if my treats are too dense or hard?
If your Protein Rice Krispies Treats turn out denser than expected, it might be due to pressing too hard when packing the mixture into the pan. For future batches, gently press the mixture down to avoid compacting it too much. If you encounter hard treats, you can microwave them for 5-10 seconds to soften them up a bit—just be sure to monitor closely to prevent melting!
Are these treats safe for kids with allergies?
These treats can be easily modified to accommodate various allergies. If you’re making these for kids with gluten or dairy allergies, be sure to use gluten-free crispy rice cereal and dairy-free milk. Also, check that your protein powder is allergen-free. As always, it’s best to consult with a healthcare provider regarding specific dietary restrictions.
Can I use different flavors of protein powder?
Definitely! The beauty of these Protein Rice Krispies Treats lies in their customization. Feel free to experiment with flavored protein powders—chocolate, peanut butter, or even fruity flavors can offer a delightful twist. Just remember that altering the flavor of the protein powder may change the overall taste of the treats slightly. Enjoy the creative process!
Protein Rice Krispies Treats: A Gooey, Guilt-Free Delight
Ingredients
Equipment
Method
- Prepare the pan by lining a 9x9 inch baking pan with parchment paper or aluminum foil, extending over the edges. Lightly grease to prevent sticking.
- In a small bowl, whisk together milk and vanilla protein powder until smooth. Set this mixture aside.
- In a large pot over medium heat, melt salted butter, stirring continuously until fully melted.
- Reduce heat to low and add mini marshmallows, stirring until fully melted and smooth. Add vanilla extract and milk mixture, mixing well.
- Remove from heat and stir in Rice Krispies, mixing until evenly coated. Avoid over-mixing.
- Pour mixture into prepared baking pan, spreading it evenly. Press down gently without packing too tightly.
- Let cool at room temperature for 30-60 minutes before slicing into squares.
Leave a Reply