
As I sat on my patio enjoying a sunny afternoon, I couldn’t shake the craving for something sweet yet nutritious. That’s when I decided to whip up a batch of Healthy Protein Banana Pudding, a dessert that wonderfully balances indulgence and wellness. This easy, no-bake treat layers creamy protein custard with fresh banana slices, making it the perfect guilt-free fix for those persistent sweet cravings. Packed with protein and sugar-free, it’s not just a delightful dessert but also a smart choice for anyone looking to maintain a healthy lifestyle. Plus, it takes just minutes to prepare! Curious about how this creamy dream can transform your dessert game? Let’s dive in!
Why is Protein Banana Pudding a Must-Try?
Indulgent, yet Healthy: This pudding offers a deliciously creamy texture without the guilt, combining rich flavors and high protein content.
No Bake Convenience: Save time with a fuss-free recipe that requires no baking, making it perfect for hot days or busy evenings.
Versatile Dessert Option: Whether you’re meal prepping or hosting a gathering, this pudding is a crowd-pleaser and adaptable with various fruits or toppings.
Satisfy Sweet Cravings: You’re getting all the sweetness without the added sugars, ensuring you can indulge without compromising your health goals.
Protein-Packed: With nearly 20g of protein per serving, it makes an ideal snack or post-workout treat that fuels your body.
Curious to explore more healthy dessert ideas? Check out our sugar-free treats for even more delicious options!
Protein Banana Pudding Ingredients
For the Pudding Base
• Non-fat Greek Yogurt – This is the creamy foundation that provides a protein-packed punch.
• Whey Vanilla Protein Powder – Enhances the flavor while boosting the protein content; feel free to swap in a vegan powder for a plant-based version.
• Banana Cream Flavor Instant Pudding Mix – Brings an extra layer of delightful banana flavor and silky texture to your dish.
• Unsweetened Almond Milk – The liquid hero that helps achieve the perfect pudding consistency; use any non-dairy milk as an alternative.
For Layering
• Crushed Vanilla Wafers (Sugar Free) – Adds a pleasant crunch and sweetness to balance the creamy layer; gluten-free options can be found for a dietary-friendly choice.
• Medium Banana (sliced) – Fresh fruit adds natural sweetness and nutritional value; any perfectly ripe banana will do!
Now that you have the essentials to whip up your delightful Protein Banana Pudding, let’s move on to creating this creamy masterpiece!
Step‑by‑Step Instructions for Healthy Protein Banana Pudding
Step 1: Prepare the Pudding Base
In a medium mixing bowl, combine 1 cup of non-fat Greek yogurt, 1 scoop of whey vanilla protein powder, and 1 package of banana cream flavor instant pudding mix. Gradually pour in 1 cup of unsweetened almond milk while whisking vigorously until the mixture is smooth and creamy, with no lumps remaining. This will be the luscious base for your Protein Banana Pudding.
Step 2: Achieve Desired Consistency
Continue adding almond milk, a little at a time, whisking constantly until your pudding reaches a thick, but pourable consistency. Aim for a texture that is rich and not too runny—this will create the perfect mouthfeel for your pudding layers. Set the pudding mixture aside briefly while you prepare the layering ingredients.
Step 3: Prepare Layering Ingredients
While the pudding is resting, take about ½ cup of sugar-free crushed vanilla wafers and set them aside in a small bowl. Next, slice one medium banana into thin rounds. These will add delightful texture and natural sweetness to your Healthy Protein Banana Pudding. Ensuring your banana slices are uniform helps them layer beautifully.
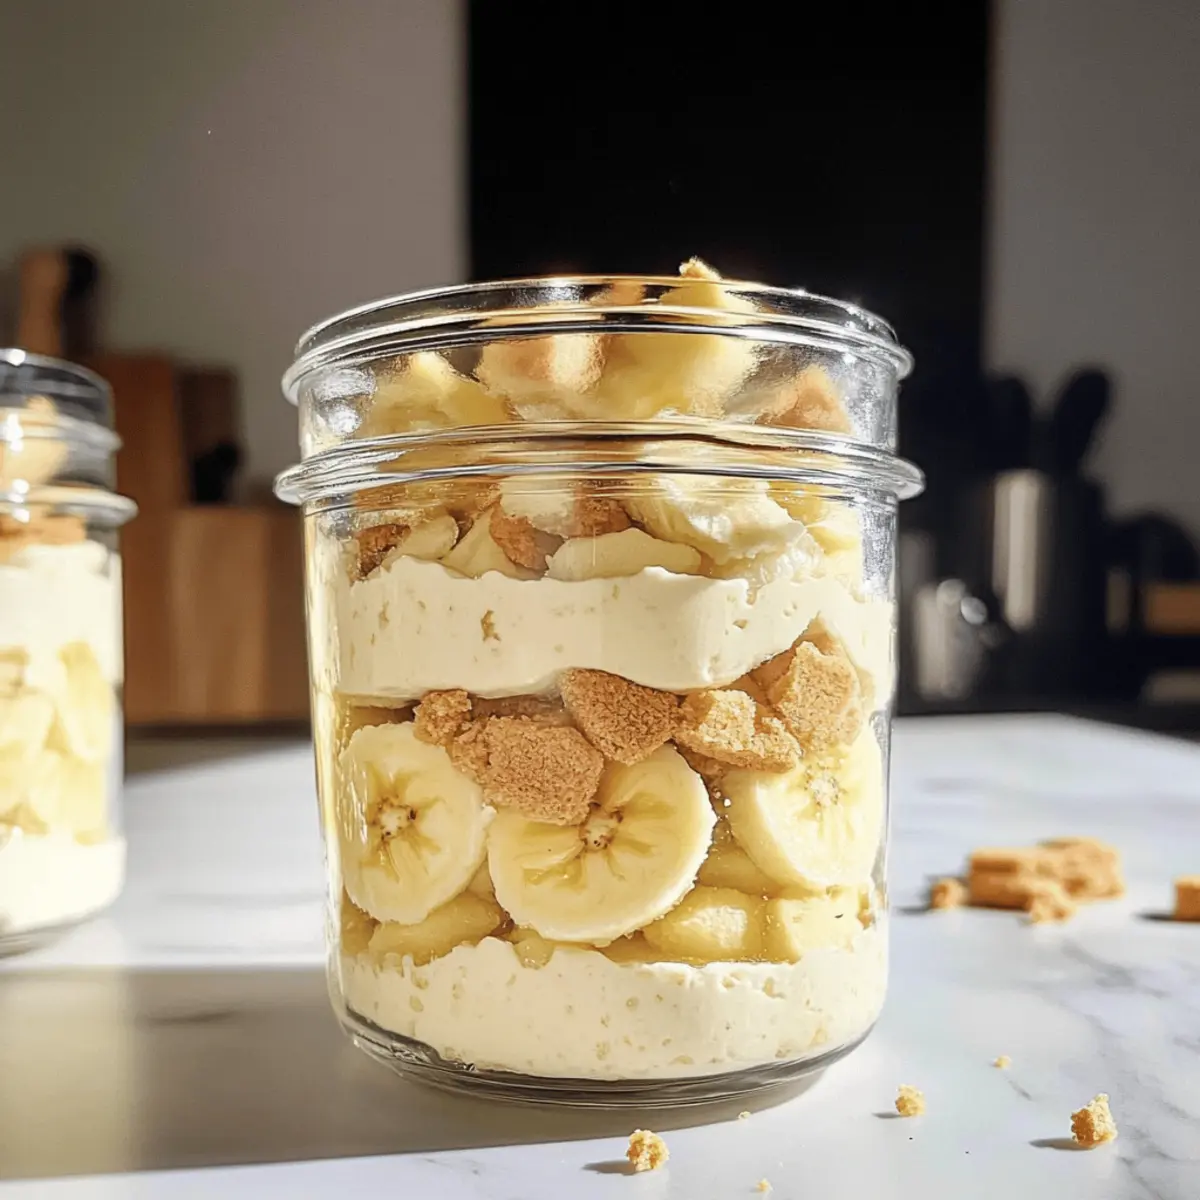
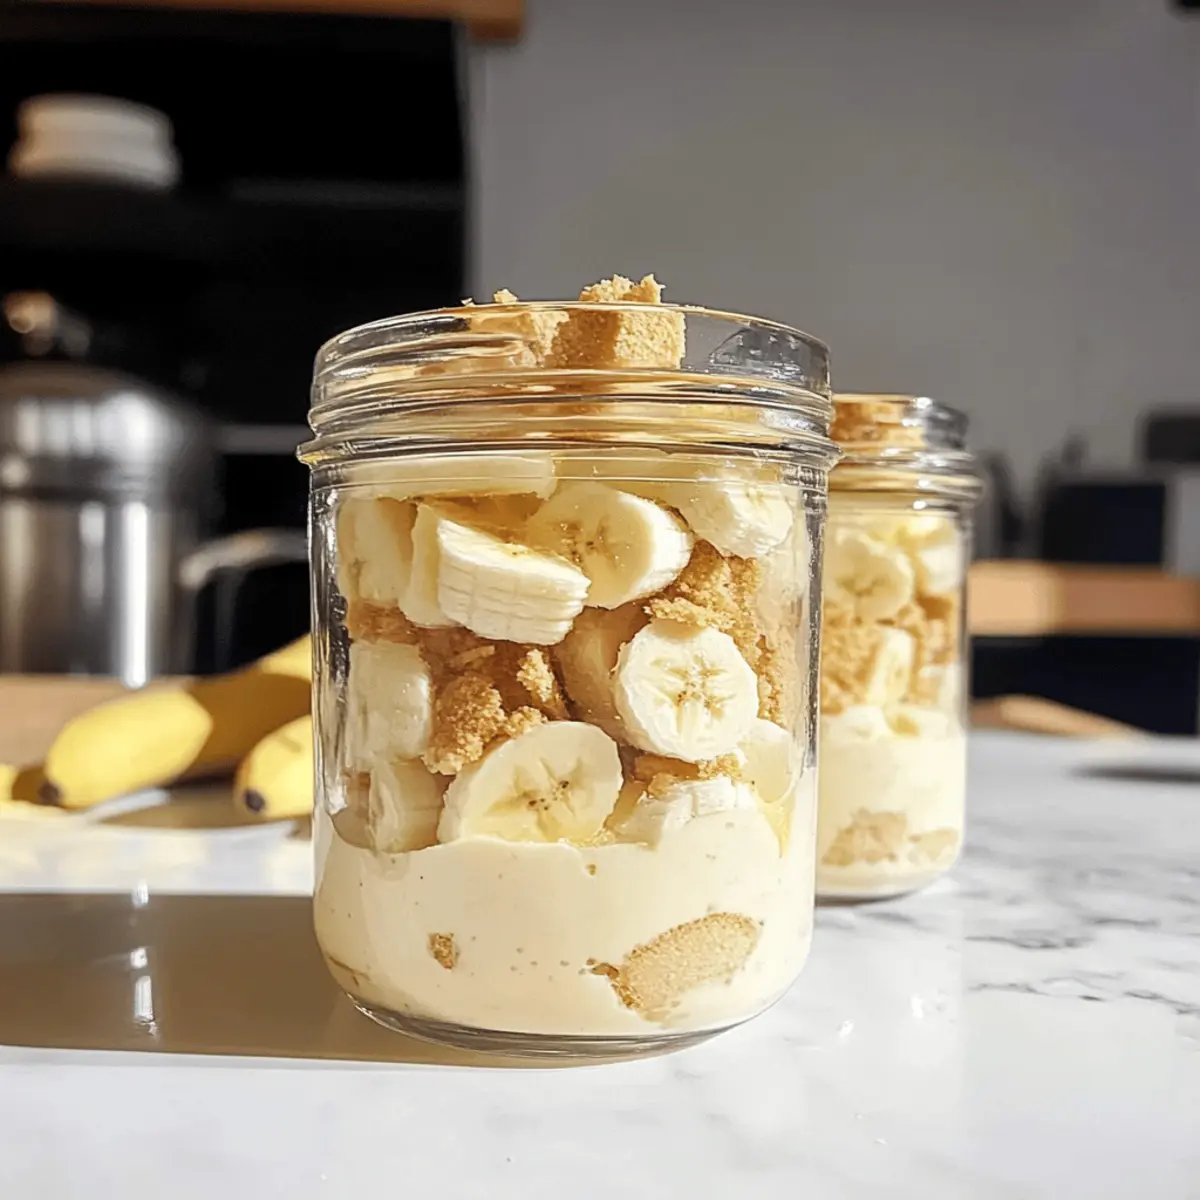
Step 4: Assemble the Pudding Layers
Grab your favorite serving jars or cups for this step. Start by adding a generous layer of the pudding mixture at the bottom of each jar. Next, spoon in an even layer of crushed vanilla wafers, followed by a layer of sliced bananas. Repeat this process to create two beautifully layered sections of pudding, wafers, and banana slices.
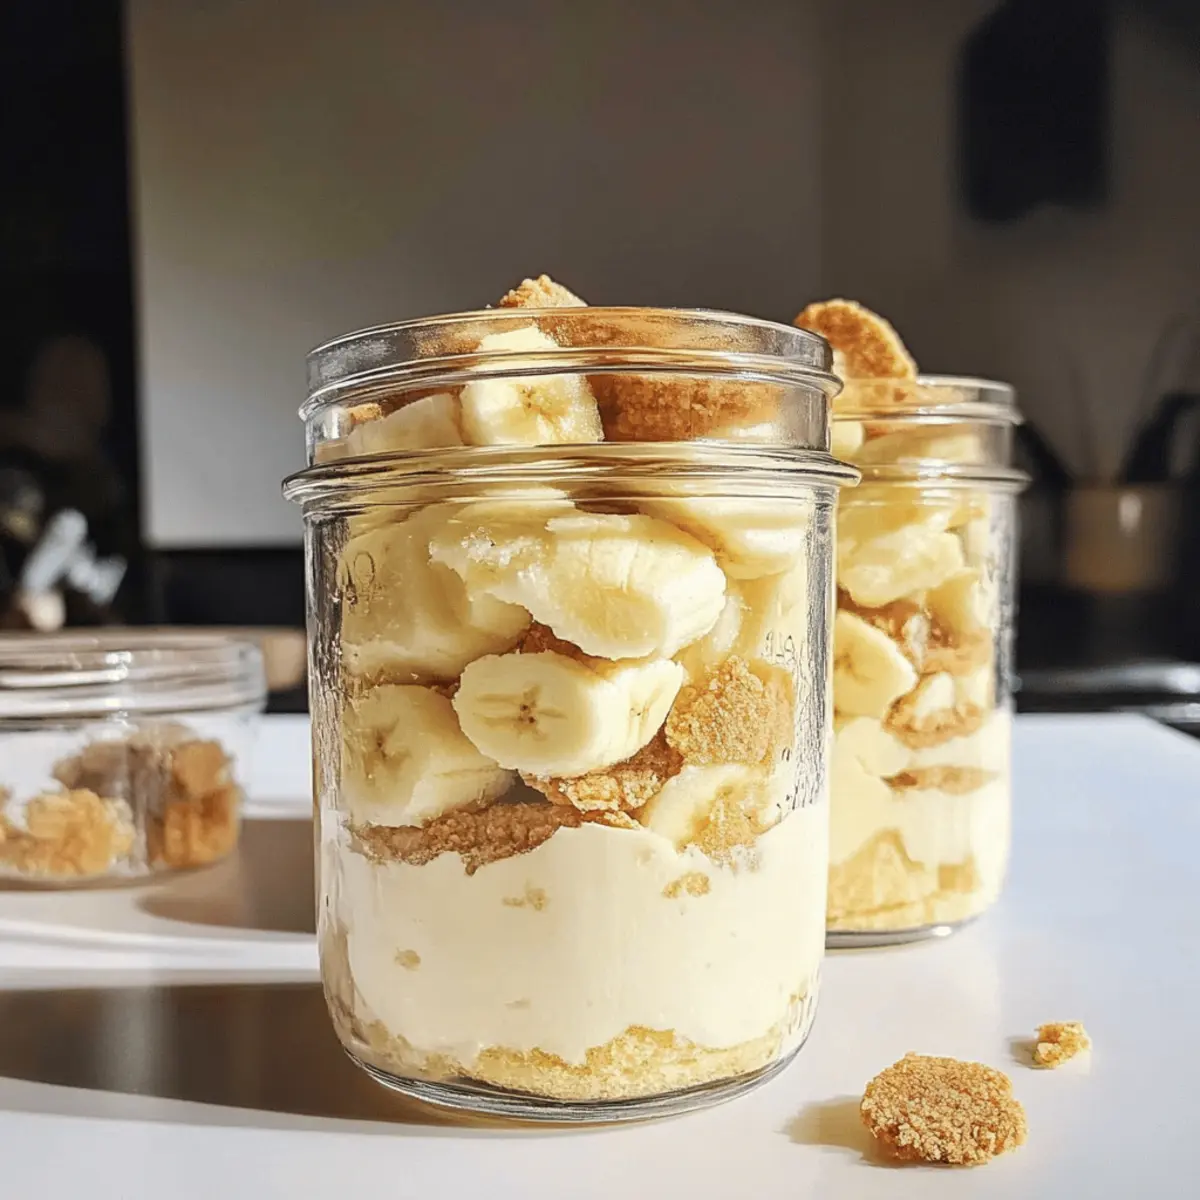
Step 5: Chill and Serve
Once your jars are assembled, place them in the refrigerator and chill for 15 to 30 minutes. This allows the wafers to soften slightly while keeping the bananas fresh and firm. After chilling, your Healthy Protein Banana Pudding is ready to delight your taste buds, offering a guilt-free dessert that is both nutritious and delicious.
How to Store and Freeze Protein Banana Pudding
Fridge: Store any leftover Protein Banana Pudding in an airtight container in the refrigerator for up to 1 week to maintain freshness and flavor.
Room Temperature: For best results, do not leave the pudding at room temperature for more than 2 hours, as it may affect the quality of the ingredients.
Freezer: While it’s not recommended to freeze the pudding due to the texture of the ingredients, you can freeze the layers separately. Upon thawing, remix the pudding for a smoother consistency.
Reheating: If you decide to serve the pudding slightly warmed, do so in short bursts in the microwave, stirring gently to avoid overheating and altering the texture.
Expert Tips for Protein Banana Pudding
-
Mix Thoroughly: Ensuring that the Greek yogurt, protein powder, and pudding mix are completely blended prevents any lumps in your Protein Banana Pudding, giving it a silky texture.
-
Chill Time Matters: Don’t rush the chilling step! Allowing your pudding to sit for at least 15 minutes enhances the flavors and improves the overall texture.
-
Refreshing Alternatives: If you’re out of vanilla wafers, consider using granola or crushed nuts. These can provide a delightful crunch while keeping your Protein Banana Pudding healthy.
-
Storage Smart: Store any leftovers in an airtight container in the fridge for up to a week. This keeps your pudding fresh without losing its flavor.
-
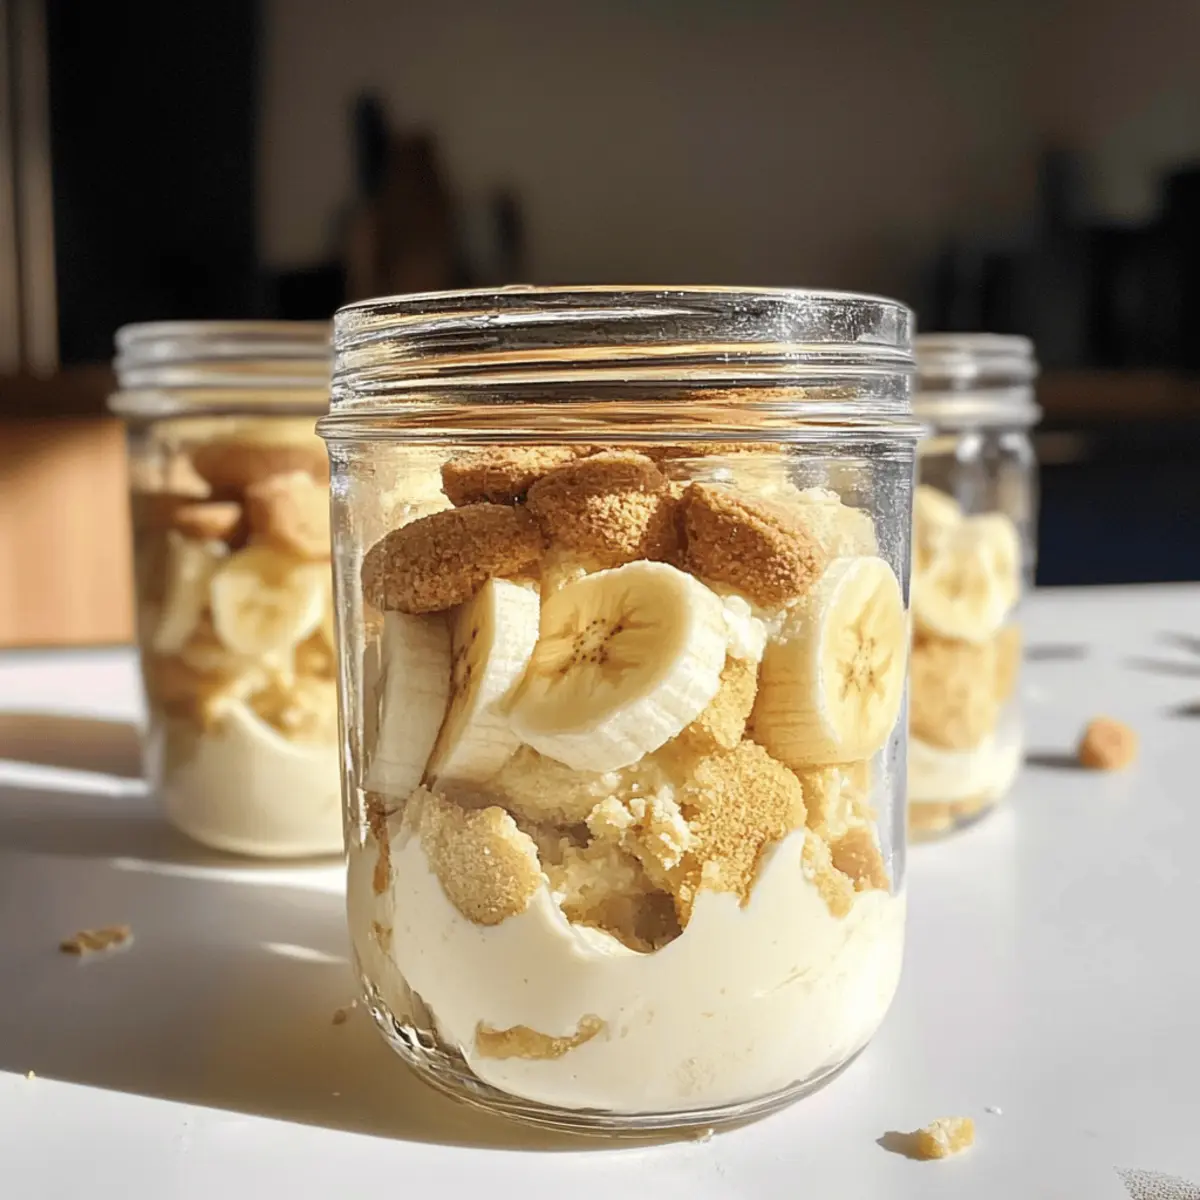
Layering Tip: For the best presentation, layer the pudding, wafers, and banana slices in clear jars. This makes it visually appealing and great for serving guests!
Make Ahead Options
These Healthy Protein Banana Pudding jars are perfect for meal prep, saving you time on busy weeknights! You can prepare the pudding base up to 24 hours in advance by mixing together the Greek yogurt, protein powder, pudding mix, and almond milk, then refrigerating it in an airtight container. Additionally, you can slice your bananas up to 3 hours beforehand and store them in a bowl, covered with plastic wrap to prevent browning. When you’re ready to serve, simply layer the pudding, crushed wafers, and bananas in your jars. This way, you’ll enjoy a refreshingly delicious, protein-packed treat that’s just as delightful as when you first made it!
Protein Banana Pudding Variations & Substitutions
Feel free to get creative with your Protein Banana Pudding—there are tons of delightful twists to explore!
- Dairy-Free: Use coconut yogurt instead of Greek yogurt for a rich, non-dairy version that still packs a creamy punch.
- Vegan Option: Swap whey protein for a plant-based protein powder and opt for almond or oat milk for the base.
- Flavor Boost: Experiment with different pudding mixes like chocolate or butterscotch to change up the flavor while maintaining that creamy texture.
- Crunchy Texture: Substitute crushed vanilla wafers with granola or crushed nuts for a heartier crunch and additional nutrients.
- Banana Variety: Try mixing in different fruits like strawberries or blueberries for a fruity twist that adds freshness and flavor. Enhance your pudding with a layer of sugar-free whipped cream on top for an extra touch!
- Sweetness Level: Adjust the sweetness by adding a drizzle of honey or maple syrup if desired; just keep in mind the sugar content you wish to maintain.
- Spicy Kick: For a surprising kick, add a dash of cinnamon or nutmeg to the pudding mix to warm up the flavor profile.
- Fruity Swirls: Fold in some berry puree or a fruit compote to the pudding mixture for swirls of fruity goodness that create a beautiful visual and taste harmony.
Every variation can make your pudding experience even more delightful—let your imagination run wild!
What to Serve with Healthy Protein Banana Pudding
Indulging in a creamy bowl of this delightful pudding sets the stage for a meal full of delicious and nutritious pairings.
-
Fresh Berries: These juicy fruits add a burst of flavor and antioxidants, enhancing the sweetness without extra sugars. Their vibrant colors make your dessert even more appealing!
-
Coconut Whipped Cream: A luxurious topping that complements the pudding’s creaminess with a hint of tropical flavor. It’s the perfect finishing touch for that indulgent feel.
-
Granola Topping: Sprinkle some crunchy granola on top for a delightful texture and a satisfying crunch, making each bite an exciting experience.
-
Chia Seed Pudding: Pair with another healthy dessert for a protein boost! It adds creaminess and contrasts beautifully with the banana flavor, making your meal even more wholesome.
-
Herbal Tea: Sip on a warm cup of chamomile or peppermint. The soothing flavors cleanse the palate beautifully after enjoying the sweetness of your pudding.
-
Nut Butter Drizzle: A drizzle of almond or peanut butter adds a nutty flavor and additional healthy fats. This transforms your dessert into a more decadent experience.
-
Ice Cold Almond Milk: A glass of this refreshing milk not only complements your pudding but also provides a satisfying nutty flavor that enhances the overall experience.
-
Honey Drizzle: If you’re looking to add a touch more sweetness, a light drizzle of honey complements the bananas beautifully while keeping it natural.
Enjoy these pairings to elevate your Healthy Protein Banana Pudding into a splendidly complete meal!
Protein Banana Pudding Recipe FAQs
What is the best way to choose ripe bananas for the pudding?
Absolutely! Look for bananas that are slightly speckled with dark spots, indicating they’re ripe and sweet. Avoid bananas that are too green, as they won’t provide the natural sweetness desired for this pudding. If you prefer, you can also use bananas that are just overripe, as they add even more sweetness!
How should I store leftover Protein Banana Pudding?
To maintain its delicious flavor and creaminess, store any leftover Protein Banana Pudding in an airtight container in the refrigerator for up to 1 week. This way, you’ll enjoy it just as much as the day you made it! Remember, it’s important to keep an eye on the freshness, as it can start to lose its flavor after a week.
Can I freeze Protein Banana Pudding?
While freezing is not ideal for the texture of this pudding, you can freeze the layers separately! Simply freeze the prepared pudding base in an airtight container for up to 3 months. For the best results upon thawing, let it sit in the fridge overnight, then whisk it gently before serving to restore the creamy texture. You can also freeze sliced bananas, but they may become mushy when thawed.
What should I do if my pudding mixture appears lumpy?
If you find your pudding mixture has lumps, don’t worry! This can happen if the dry ingredients weren’t fully incorporated with the wet ones. To fix it, switch to a whisk and mix it vigorously until smooth. If it’s still lumpy, consider using an immersion blender for about 10-15 seconds, which will create a perfectly creamy pudding in no time!
Are there any dietary concerns I should be aware of?
Definitely! Since this recipe uses Greek yogurt and whey protein powder, those with lactose intolerance may need to substitute these with lactose-free yogurt and non-dairy protein powder. If you have nut allergies, opt for oat or soy milk instead of almond milk. The recipe is naturally sugar-free, but always check labels for any hidden sugars in the products you choose!
Creamy Protein Banana Pudding That's Guilt-Free Delight
Ingredients
Equipment
Method
- In a medium mixing bowl, combine Greek yogurt, protein powder, and instant pudding mix. Gradually whisk in almond milk until smooth.
- Continue adding almond milk to reach a thick, pourable consistency. Set aside while preparing layering ingredients.
- In a small bowl, set aside crushed vanilla wafers and slice the banana into thin rounds.
- In serving jars, layer pudding, followed by crushed wafers and banana slices. Repeat for two layers.
- Refrigerate jars for 15 to 30 minutes before serving to allow flavors to meld.
Leave a Reply