
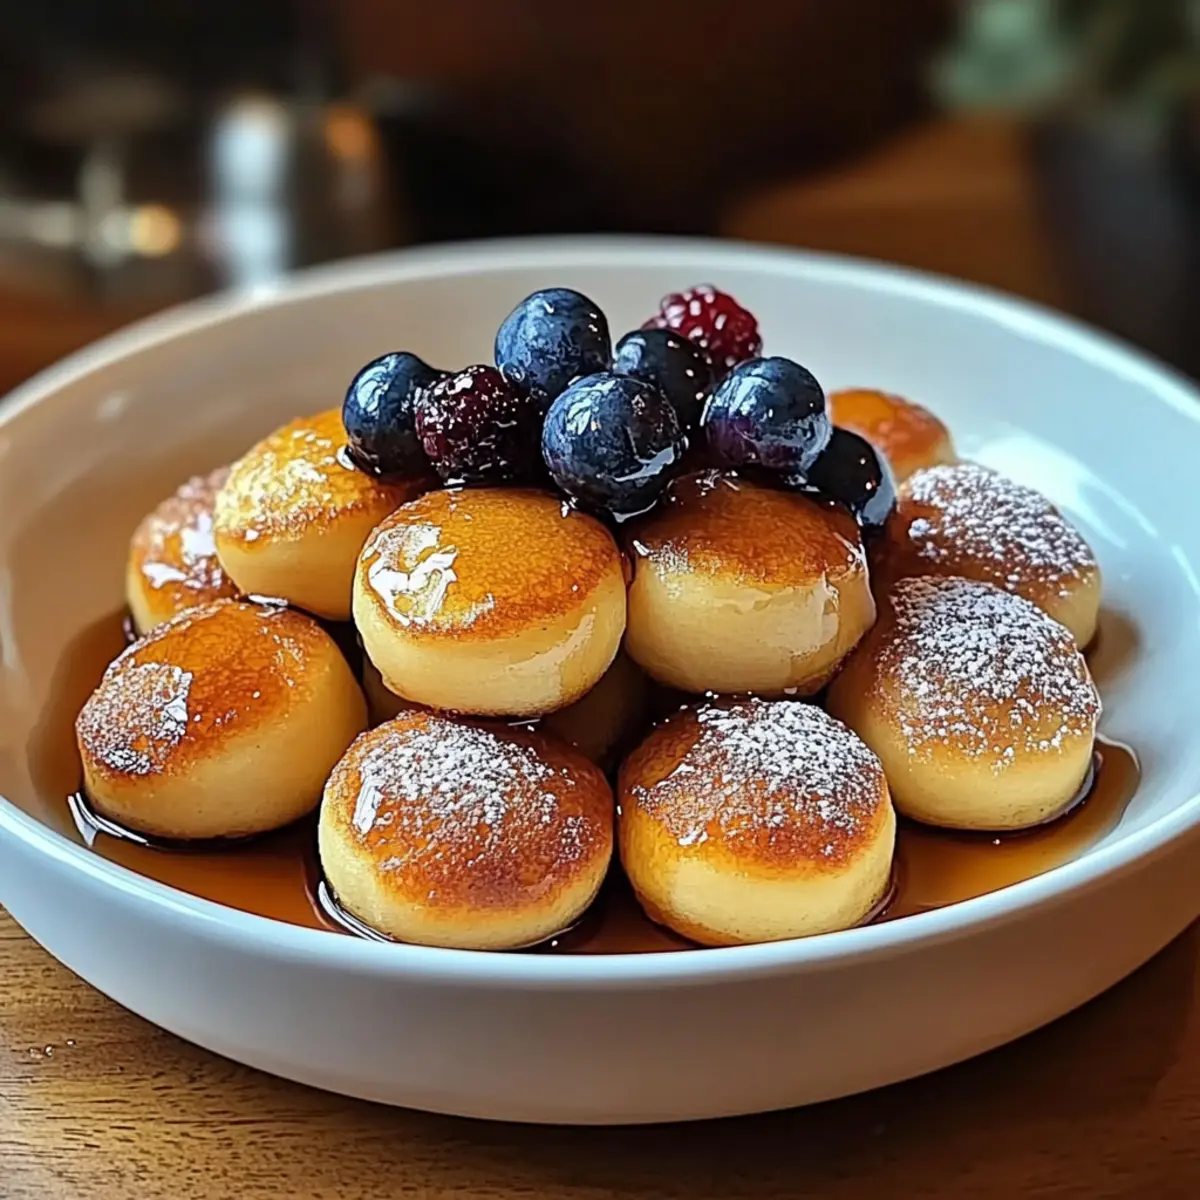
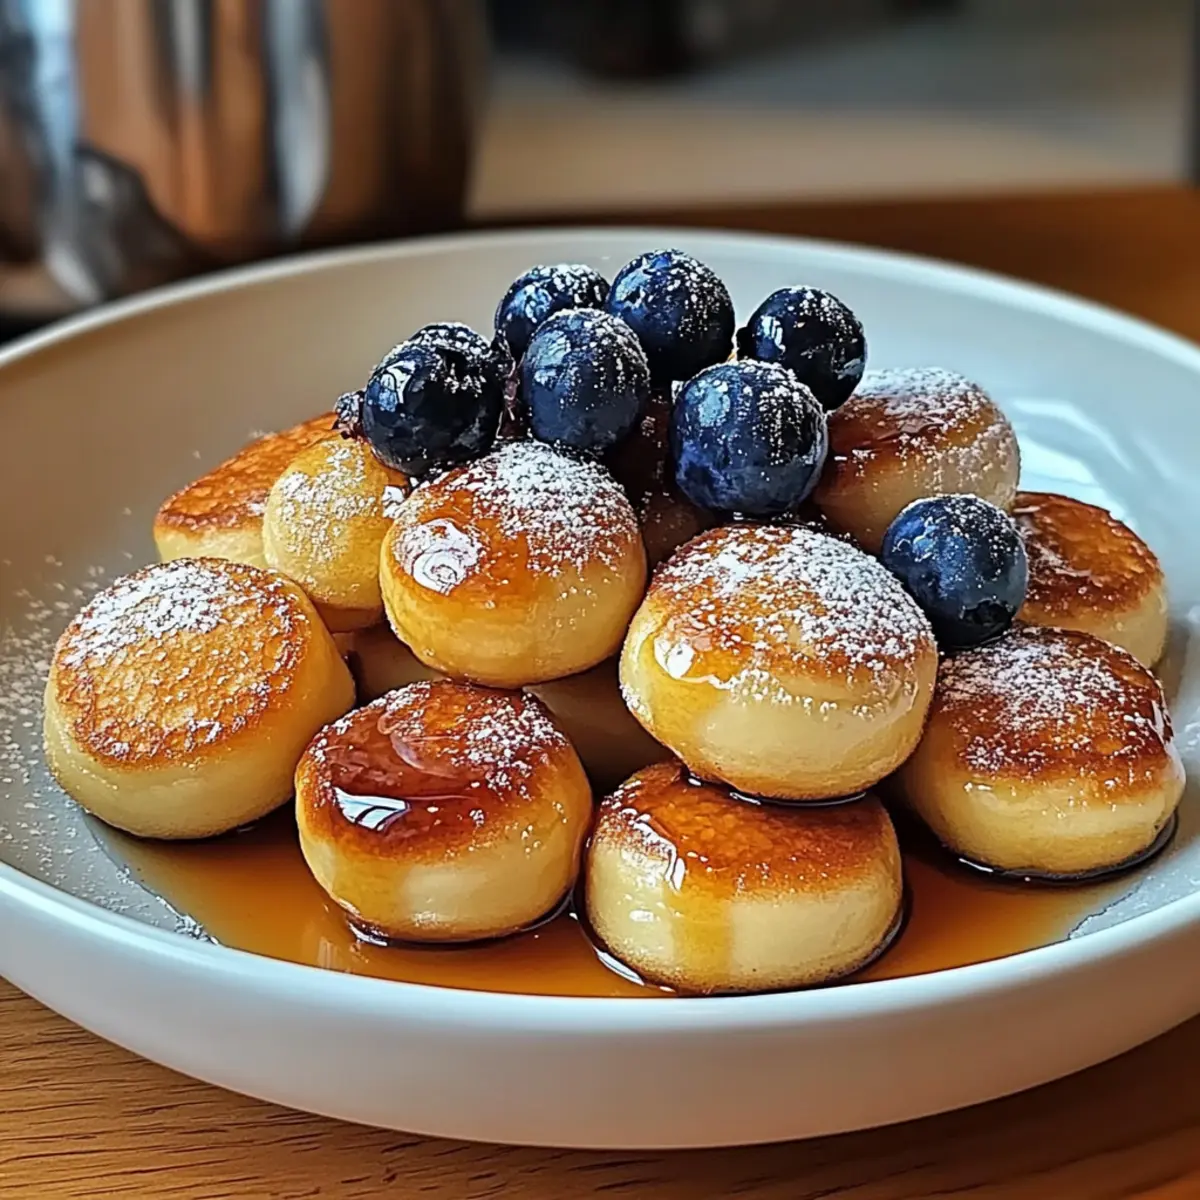
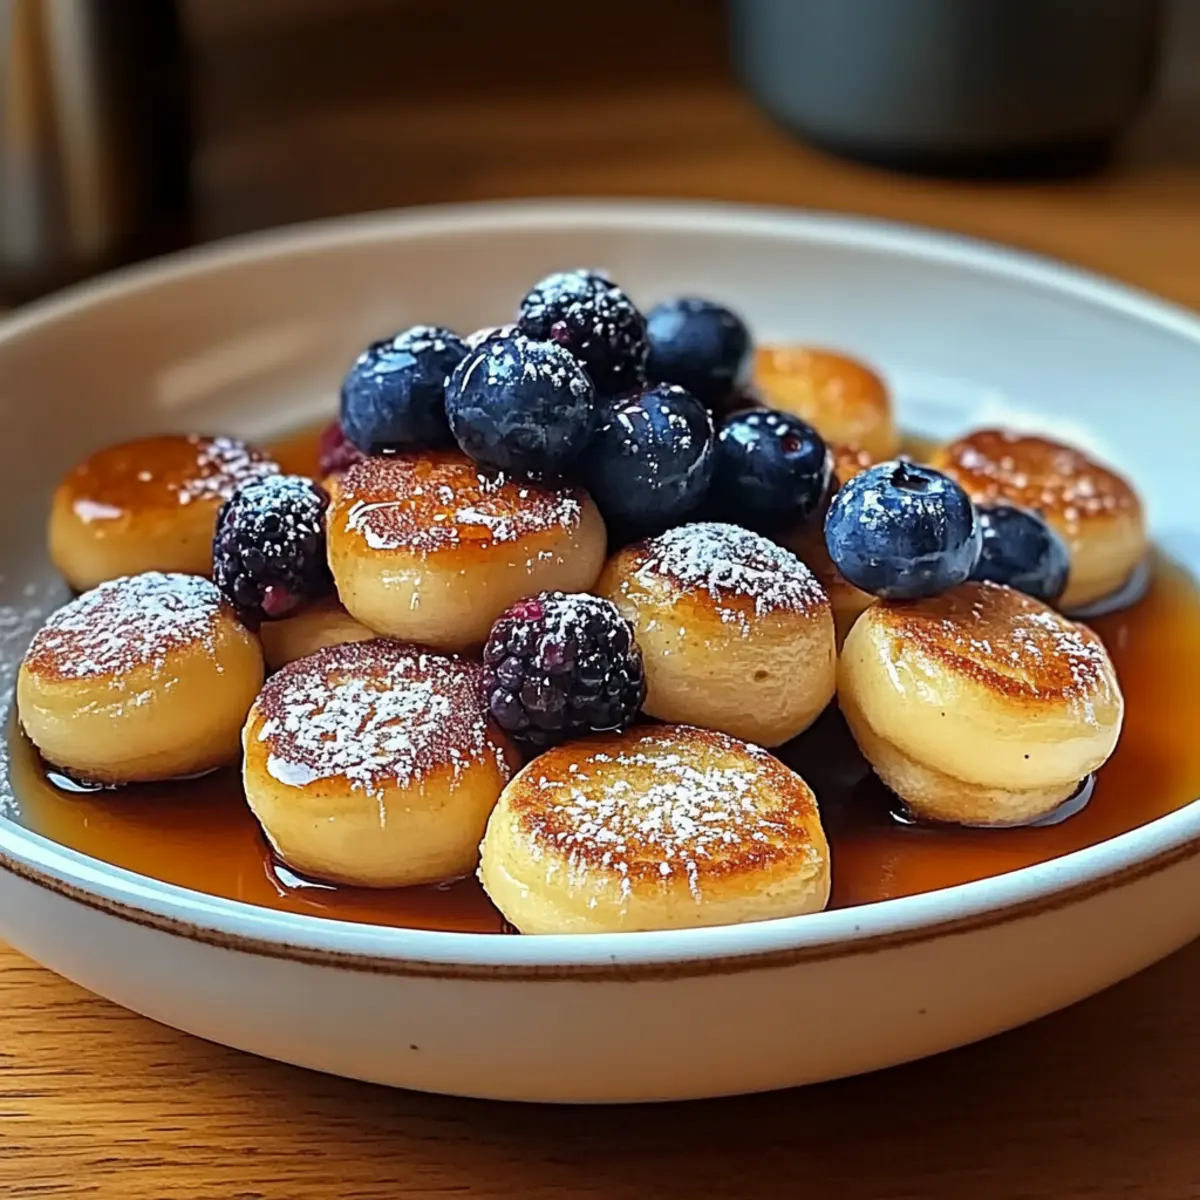
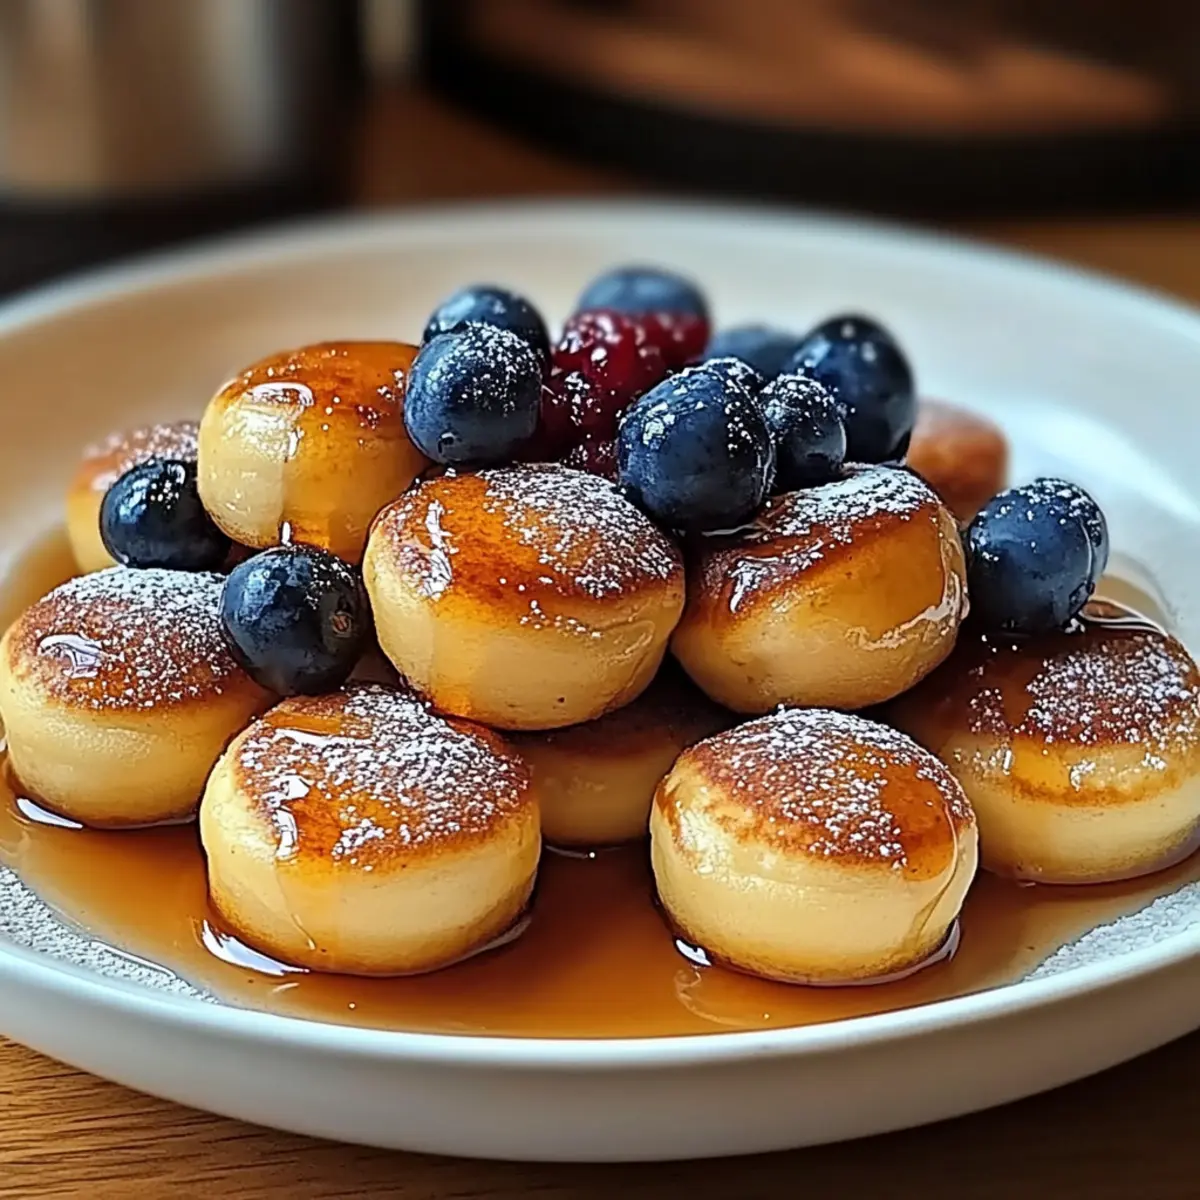
The moment you pull a tray of Pancake Poppers from the oven, it’s like you’ve captured breakfast magic in bite-sized form. These fluffy, golden morsels not only provide a delightful alternative to traditional pancakes but also promise a whirlwind of fun in the kitchen. With their quick prep time and endless customization options, these easy breakfast treats are a hit for both kids and adults alike. Imagine serving up a platter of mini pancake poppers adorned with fresh fruit or a drizzle of maple syrup, transforming your dining table into a cheerful morning feast. Could mornings get any more exciting with these delightful poppers at the center of your family breakfast?
Why Pancake Poppers Will Delight You?
Endless Customization: Create your own flavor sensation by adding chocolate chips, nuts, or fruit to the batter! Kid-Friendly Fun: These mini pancakes are a hit with kids, making breakfast an exciting adventure. Quick and Easy: With a simple prep and baking time, you can whip up these delicious bites in no time. Perfect for Meal Prep: Make a batch ahead and store for a quick breakfast option throughout the week! Pair them with toppings like whipped cream or try out Cinnamon Buttermilk Pancakes for a cozy morning spread. Whether it’s a weekday breakfast or a weekend treat, Pancake Poppers are sure to bring everyone to the table!
Pancake Poppers Ingredients
For the Batter
- All-Purpose Flour – Provides structure; substitute with whole wheat for added nutrition.
- Granulated Sugar – Adds sweetness; can substitute with brown sugar for a richer flavor.
- Baking Powder – Essential for the poppers’ fluffiness; a must-have for rise.
- Baking Soda – Works with baking powder to enhance the fluffiness of the poppers.
- Salt – Enhances flavor; feel free to omit for low-sodium diets.
- Milk – Adds moisture; swap for non-dairy milk if preferred.
- Large Egg – Acts as a binding agent; use a flax egg for a vegan option.
- Melted Butter – Adds a rich taste; substitute with coconut oil for a dairy-free version.
- Vanilla Extract – A flavor enhancer; optional but highly recommended.
For Greasing
- Cooking Spray/Butter – Use this to grease the muffin tin, preventing the pancake poppers from sticking.
These delightful Pancake Poppers are not just easy to make; they can be tailored to fit every palate and dietary need!
Step‑by‑Step Instructions for Easy Mini Pancake Poppers
Step 1: Preheat and Prepare
Begin by preheating your oven to 350°F (175°C). While it’s warming up, grab a mini muffin pan and generously grease each cavity with cooking spray or butter to ensure the pancake poppers release easily after baking. This step is crucial for achieving that perfect golden finish on your poppers.
Step 2: Mix Dry Ingredients
In a large mixing bowl, combine the all-purpose flour, granulated sugar, baking powder, baking soda, and salt. Whisk these together until there are no lumps, ensuring an even distribution of the leavening agents. This creates the foundation for light and fluffy pancake poppers, setting the stage for a delightful breakfast treat.
Step 3: Combine Wet Ingredients
In a separate bowl, blend together the milk, egg, melted butter, and vanilla extract until the mixture is creamy and well combined. It’s important to mix thoroughly to incorporate the ingredients, as this will contribute to the rich flavor and tender texture of your pancake poppers.
Step 4: Combine Mixtures
Pour the wet mixture into the bowl with the dry ingredients, using a spatula to gently fold them together. Be careful not to overmix; a few lumps in the batter are perfectly fine. This delicate blending helps maintain the fluffiness of the pancake poppers, ensuring they come out airy and light.
Step 5: Fill the Muffin Pan
Spoon the pancake batter into each greased mini muffin cavity until they are about two-thirds full. This will allow room for the batter to rise while baking. As you fill, look for a uniform distribution to ensure the mini pancake poppers bake evenly, resulting in beautifully shaped bites.
Step 6: Bake the Poppers
Place the filled muffin pan in the preheated oven and bake for 10-12 minutes. Keep an eye on them during the last few minutes; they should puff up and turn a lovely golden brown. A toothpick inserted into the center should come out clean, indicating they are fully baked and ready to pop out.
Step 7: Cool and Serve
Once baked, remove the mini pancake poppers from the oven and let them cool for a few minutes in the pan. After they’ve cooled slightly, gently pop each one out using a small spatula. Serve them warm with toppings like maple syrup or fresh fruit for a delightful breakfast that’s sure to please everyone at the table.
Storage Tips for Pancake Poppers
- Room Temperature: Store leftover Pancake Poppers in an airtight container for up to 2 days to maintain their delicious texture.
- Fridge: Keep them in the refrigerator for up to 4 days; reheat in a microwave or oven to restore fluffiness and warmth.
- Freezer: For longer storage, freeze the poppers for up to 2 months. Reheat in a preheated oven at 350°F (175°C) for about 10 minutes to enjoy them as if fresh out of the oven!
- Reheating: Always serve warm, adding toppings like syrup or fruit right before serving for a delightful breakfast experience.
What to Serve with Easy Mini Pancake Poppers?
These delightful bites are the perfect canvas for a creative breakfast spread that will awaken your senses!
-
Fresh Fruit Medley: Brighten up your plate with a colorful variety of strawberries, blueberries, or banana slices. The natural sweetness and tartness pair beautifully, enhancing the joy of each fluffy popper.
-
Maple Syrup Drizzle: A classic choice! The rich, warm sweetness of pure maple syrup will complement the soft, buttery flavors of the pancake poppers, turning each bite into a delicious experience.
-
Whipped Cream: For an indulgent touch, serve with a dollop of light, fluffy whipped cream. Its airy texture beautifully contrasts the pancake poppers, creating a delightful treat for kids and adults alike.
-
Nut Butter Spread: Try peanut butter or almond butter for added creaminess and protein. The nutty flavors provide a satisfying richness that rounds out your breakfast beautifully.
-
Yogurt Parfait: Layer some yogurt with granola and fresh fruit for a balanced breakfast. The creaminess of the yogurt and the crunch of granola balance the poppers’ soft texture, making for a truly varied breakfast experience.
-
Hot Chocolate or Coffee: A warm beverage completes your breakfast spread wonderfully. The rich flavors of hot chocolate or a smooth cup of coffee enhance the enjoyment of your pancake poppers, making each moment cozy and comforting.
-
Cinnamon Sugar Sprinkle: A light dusting of cinnamon sugar adds a warm, aromatic touch. The warmth of cinnamon pairs nicely with the sweet poppers, enveloping them in comforting flavor.
These pairings will help transform your pancake poppers into a full, delightful breakfast that your family will cherish!
Make Ahead Options
These Pancake Poppers are fantastic for meal prep, allowing you to enjoy a scrumptious breakfast with minimal effort on busy mornings! You can prepare the batter up to 24 hours in advance by mixing the dry and wet ingredients separately, then refrigerating them until ready to bake. When you’re ready to serve, just combine the mixtures, spoon the batter into the muffin tins, and bake as directed. To maintain quality, ensure you store the batter in an airtight container to prevent it from drying out. Alternatively, you can bake a batch and refrigerate the poppers for up to 3 days; simply reheat them in a preheated oven at 350°F (175°C) for about 5 minutes before serving for that just-baked taste!
Expert Tips for Pancake Poppers
- Mix It Gently: Avoid overmixing the batter to keep your pancake poppers light and fluffy. A few lumps are perfect!
- Mini Muffin Magic: Use a mini muffin tin for perfectly sized poppers. Larger pans may alter baking time and texture.
- Check Early: Start checking for doneness 1-2 minutes before the suggested baking time to prevent burning.
- Warm is Best: Serve your pancake poppers warm for the best taste and texture—add toppings like syrup or fruit for an extra treat!
- Creative Fillings: Experiment with fillings like chocolate chips or diced berries to elevate your pancake poppers and make them even more delightful!
Pancake Poppers Variations & Substitutions
Feel free to mix things up and make these Pancake Poppers your own with these fun and imaginative tweaks!
- Gluten-Free: Use a gluten-free flour blend to cater to gluten sensitivities while enjoying the same fluffy goodness. It ensures everyone can indulge!
- Plant-Based: Swap the milk with almond or oat milk, and use a flax egg in place of the regular egg for a delightful vegan twist. Your plant-loving friends will thank you!
- Fruit-Infused: Fold in blueberries, chocolate chips, or diced ripe bananas into the batter for an added burst of flavor. Each bite will burst with juicy sweetness!
- Nutty Finish: Add chopped nuts like walnuts or pecans to the batter for a delightful crunch that complements the soft interior of the poppers beautifully. It’s a texture boost you’ll love!
- Spiced Up: Sprinkle in some cinnamon or nutmeg to the dry ingredients for a warm, aromatic flavor explosion. This simple addition creates a comforting and inviting aroma in your kitchen!
- Savory Twist: For a savory alternative, try folding in shredded cheese and chopped herbs, like chives or spinach, into the batter for a delicious breakfast surprise. Perfect for those who love a little savory kick!
- Topping Ideas: Drizzle maple syrup, honey, or even a dollop of Greek yogurt on top for a refreshing garnish. Not to mention, a sprinkle of powdered sugar can turn these mini delights into an elegant brunch treat!
- Banana Flavored: Replace some of the milk with mashed banana for a softer texture that also adds natural sweetness—perfect for banana lovers wanting that extra flavor.
For even more delightful breakfast options, consider whipping up some tasty Cinnamon Buttermilk Pancakes or try these savory Potato Cheese Pancakes for a delightful change. Dive into these suggestions and create your own pancake popper perfection!
Pancake Poppers Recipe FAQs
What type of flour is best for Pancake Poppers?
All-purpose flour provides the perfect structure for pancake poppers. However, if you’re looking for a healthier alternative, whole wheat flour works beautifully, adding moisture and fiber. For gluten-free options, consider using a gluten-free flour blend, which can create equally delightful results!
How do I store leftover Pancake Poppers?
To keep your pancake poppers fresh, store them in an airtight container at room temperature for up to 2 days. If you want to extend their shelf life, refrigerate them for up to 4 days. Just remember to reheat before serving to enjoy their fluffy goodness again!
Can I freeze Pancake Poppers?
Absolutely! You can freeze pancake poppers for up to 2 months. To do this, let them cool completely, then place them in a single layer on a baking sheet and freeze. Once frozen, transfer them to an airtight container or freezer bag. When you’re ready to enjoy, simply reheat them in a preheated oven at 350°F (175°C) for about 10 minutes until warmed through.
What if my pancake batter is too thick?
If your batter seems too thick, don’t worry! You can easily thin it by adding a little more milk, one tablespoon at a time, until you reach your desired consistency. Just remember, some lumps in the batter are perfectly okay; they’ll still produce wonderfully fluffy poppers!
Are Pancake Poppers safe for kids with egg allergies?
For children with egg allergies, you can substitute a large egg with a flax egg (1 tablespoon of ground flaxseed mixed with 2.5 tablespoons of water, let sit for 5-10 minutes). This works great in pancake poppers and keeps them deliciously fluffy!
What toppings pair well with Pancake Poppers?
The possibilities are endless! You can top them with maple syrup, fresh fruit, whipped cream, or yogurt. For a twist, try a sprinkle of cinnamon or a drizzle of chocolate sauce. Let your creativity shine and make breakfast fun!
Delicious Pancake Poppers: A Fun Twist on Breakfast!
Ingredients
Equipment
Method
- Preheat your oven to 350°F (175°C) and grease the mini muffin pan with cooking spray or butter.
- In a large bowl, combine all-purpose flour, granulated sugar, baking powder, baking soda, and salt.
- In a separate bowl, blend together milk, egg, melted butter, and vanilla extract until creamy.
- Pour the wet mixture into the dry ingredients and gently fold until combined, leaving some lumps.
- Spoon batter into the muffin cavities, filling them about two-thirds full.
- Bake for 10-12 minutes until puffed and golden; a toothpick should come out clean.
- Let cool for a few minutes in the pan before gently removing and serving warm.
Leave a Reply