
As I flipped the last pancake, the kitchen filled with a delightful blend of savory aromas that transported me straight to a bustling street in Japan. Today, I’m excited to share my take on Okonomiyaki – Japanese Cabbage Pancakes that are not only quick to whip up but also pack a nutritious punch. The beauty of this dish lies in its versatility; you can customize it to use whatever veggies you have on hand, making it the perfect clean-out-the-crisper-drawer meal. With a golden-brown exterior that is lightly crispy and a soft, veggie-filled interior, these pancakes are a healthy alternative to fast food that will leave your taste buds satisfied. So, what unique twists will you put on your Okonomiyaki today?
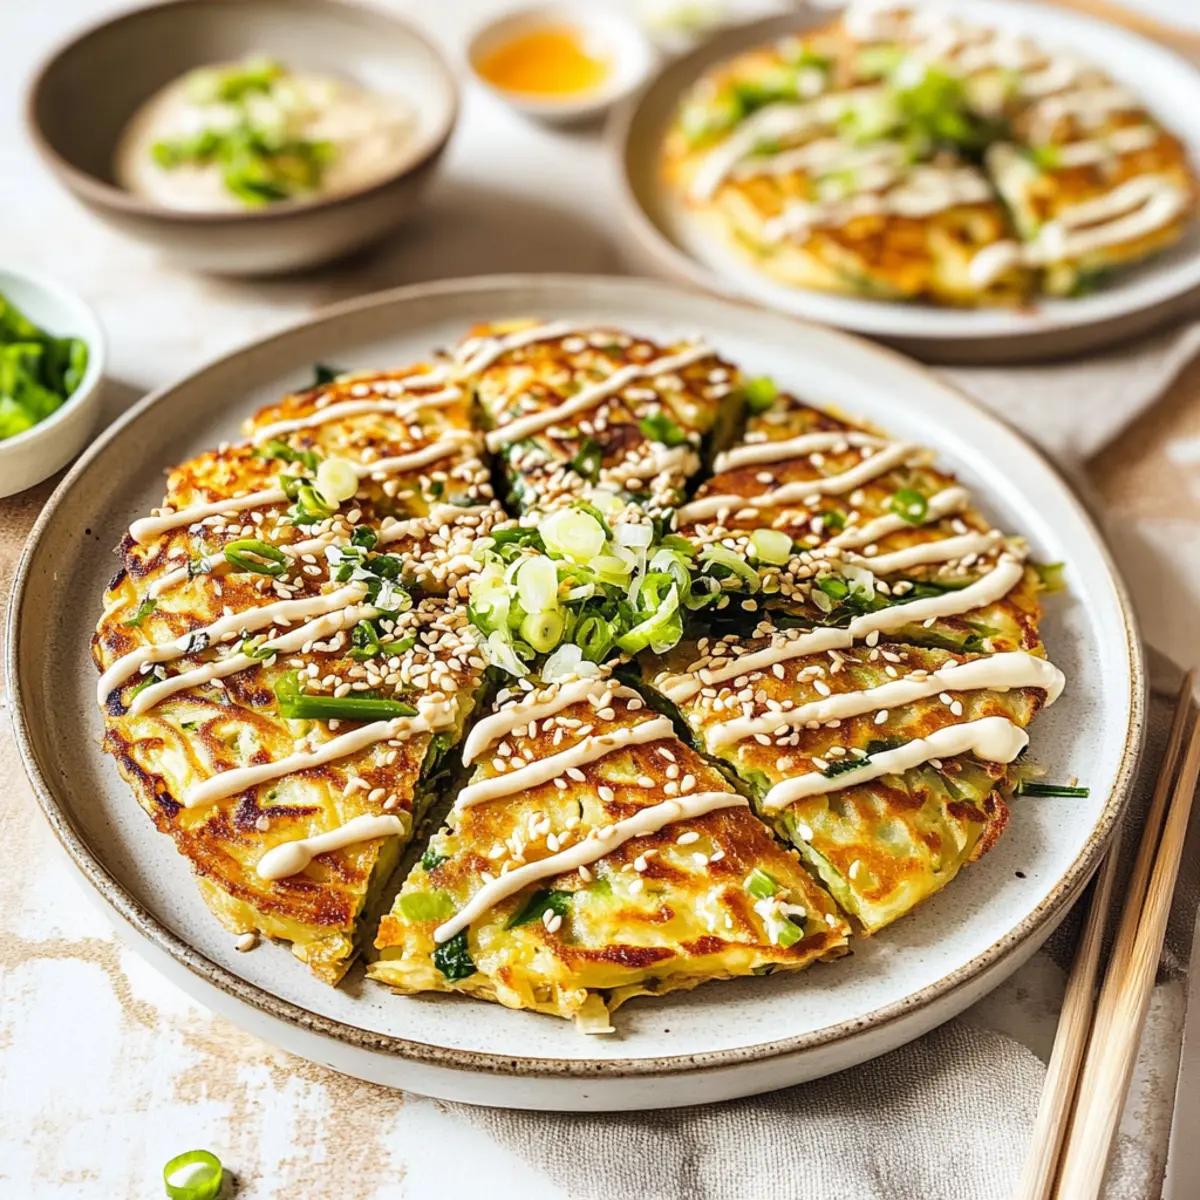
Why is Okonomiyaki So Popular?
Versatile in every sense, Okonomiyaki allows you to get creative by using whatever vegetables you have on hand, making it the ultimate clean-out-the-crisper-drawer dish. Quick and easy to prepare, you can whip up a satisfying meal in just minutes, perfect for busy weeknights. Crowd-pleaser? Absolutely! Its savory flavors and customizable toppings appeal to everyone, turning a simple pancake into a gourmet experience. Nutrient-rich and low in calories, each pancake is packed with fiber, making it a healthier alternative to store-bought fast food. For more delightful ideas, check out my recipes for Potato Cheese Pancakes and Cinnamon Buttermilk Pancakes.
Okonomiyaki Ingredients
Unlock the deliciousness of Okonomiyaki with these simple ingredients!
For the Pancake Mixture
- Cabbage – Provides bulk and texture; use sweet white cabbage for a milder flavor.
- Carrot – Adds sweetness and brightness; substitute with zucchini for a lighter option.
- Yellow Onion – Enhances flavor with subtle sweetness; scallions can be used for a milder taste.
- Fine-grain Salt – Helps draw moisture from vegetables for better texture; use less for lower sodium.
- Eggs – Acts as a binder and adds protein; swap for an egg replacer for a vegan version.
- Light Soy Sauce – Introduces umami flavor; tamari serves as a gluten-free alternative.
- Toasted Sesame Oil – Imparts a nutty taste; regular or any neutral oil will work in a pinch.
- All-purpose Flour – Provides structure to the pancakes; gluten-free flour can be a great substitute.
- Neutral Cooking Oil – Essential for frying; vegetable or canola oil works beautifully.
For Toppings
- Japanese Mayonnaise – A must for authentic flavor; can use plain yogurt in a pinch.
- Pickled Ginger – Adds a refreshing zing; try it for that extra burst of flavor.
- Sliced Scallions – Sprinkling these on top enhances color and taste.
- Sesame Seeds – Adds a nice crunch; use white or black for a nice contrast.
With these ingredients, you’re on your way to savoring Authentic Okonomiyaki – Japanese Cabbage Pancake magic in your kitchen!
Step‑by‑Step Instructions for Okonomiyaki – Japanese Cabbage Pancake
Step 1: Prepare Vegetables
Begin by shredding the cabbage and grating the carrot. In a colander, toss the cabbage, grated carrot, and sliced onion with a pinch of fine-grain salt. Allow the mixture to sit for about 10 minutes to draw out moisture, softening the vegetables, and making them ready to be combined in your Okonomiyaki batter.
Step 2: Make Batter
In a large mixing bowl, whisk together the eggs, light soy sauce, toasted sesame oil, and all-purpose flour until smooth. This will create a luscious batter that will bind the vegetables together. Aim for a consistency that is pourable but thick enough to hold the veggies, which you’ll soon fold in for your delicious Okonomiyaki.
Step 3: Combine Ingredients
Once the vegetable mixture has released some moisture, gently fold it into the prepared batter, ensuring that each piece of cabbage and carrot is well-coated. This crucial step allows for even distribution of the vegetables throughout the batter, providing delightful texture and flavor in every bite of your Japanese cabbage pancake.
Step 4: Heat Skillet
Preheat a large nonstick skillet over medium-high heat, adding a drizzle of neutral cooking oil along with a splash of sesame oil for extra flavor. When the oil shimmers, it’s a clear signal that your skillet is ready for the pancake batter. The aroma of the oil will greet you as you embark on cooking the Okonomiyaki.
Step 5: Cook Pancakes
Pour the batter into the skillet, forming either one large pancake or dividing it for smaller, bite-sized versions. Cook the pancake for about 5 minutes on one side or until it develops a golden-brown hue. Gently flip it over and cook the other side for an additional 4-5 minutes, ensuring it is golden and cooked through before removing it from the skillet.
Step 6: Rest and Serve
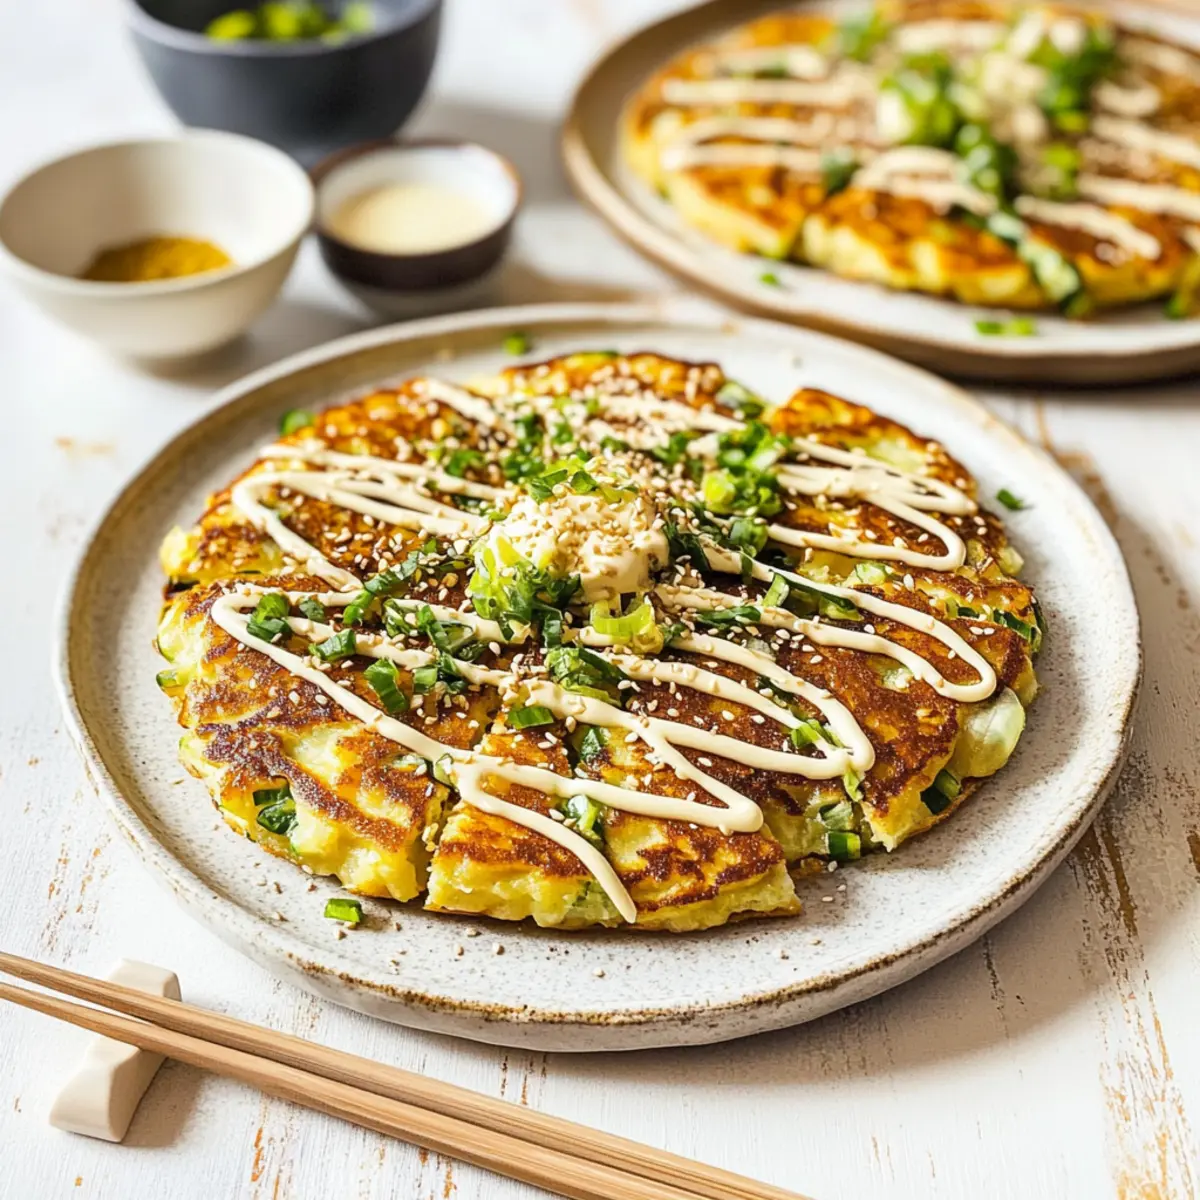
Once cooked, let the Okonomiyaki rest on a plate for about a minute before slicing it into wedges for serving. You can stylishly top it with Japanese mayonnaise, a sprinkle of sesame seeds, and sliced scallions for that authentic touch. This dish is delicious hot, warm, or even at room temperature!
Make Ahead Options
These Okonomiyaki – Japanese Cabbage Pancakes are perfect for meal prep enthusiasts! You can prepare the vegetable mixture (cabbage, carrot, and onion) up to 24 hours in advance by combining them with salt and storing in an airtight container in the refrigerator. The batter can also be made up to 3 days ahead; simply whisk together the eggs, flour, soy sauce, and sesame oil. When ready to cook, fold in the prepped vegetables and proceed with frying as instructed. This way, you’ll save time on busy weeknights while still enjoying deliciously fresh pancakes, just as scrumptious as if made immediately!
Okonomiyaki – Japanese Cabbage Pancake Variations
Feel free to unleash your culinary creativity as you customize each bite of these delightful pancakes!
- Hiroshima-Style: Layer ingredients with large cabbage pieces; add noodles for extra heartiness.
- Osaka-Style: Traditional method; combine everything in the batter for a uniform texture.
- Vegan Delight: Swap eggs for a flaxseed or chia seed mixture to bind the pancake.
- Spicy Kick: Mix in chili flakes or diced jalapeños to elevate the heat in your dish.
- Herb Infusion: Chop fresh herbs like cilantro or green onion into the batter for a flavor boost.
- Protein Power: Stir in cooked shrimp, tofu cubes, or even leftover chicken for added protein and substance.
- Cheesy Touch: Add shredded cheese to the batter before cooking for a gooey, tasty twist.
- Sweet Toppings: Try drizzling with a touch of honey or maple syrup for a sweet and savory experience.
The beauty of Okonomiyaki lies in its versatility. For even more variations, consider the comforting crunch of Potato Cheese Pancakes or the warm flavors of Cinnamon Buttermilk Pancakes. Enjoy your cooking adventure!
Expert Tips for Okonomiyaki
- Vegetable Coating: Ensure veggies are even: Well-coated vegetables ensure uniform cooking and a better texture in your Okonomiyaki, so fold gently but thoroughly into the batter.
- Space in the Skillet: Don’t overcrowd: Cooking too many pancakes at once can lead to uneven cooking and steaming instead of frying, so give them space to sizzle!
- Correct Heat Level: Control the temperature: Avoid high heat as it can brown the outside too quickly, leaving the center undercooked; medium-high should do nicely.
- Nonstick Success: Use quality cookware: A nonstick skillet or well-seasoned cast iron pan prevents sticking, making flipping pancakes easier and cleaner.
- Creative Additions: Experiment with ingredients: Mix in crumbled seaweed or spicy peppers for a unique twist on your Okonomiyaki, enhancing both flavor and nutrition!
Storage Tips for Okonomiyaki
Fridge: Store leftover Okonomiyaki in an airtight container in the refrigerator for up to 3 days, ensuring they retain their flavor and texture.
Freezer: These Japanese cabbage pancakes can be frozen for up to 1 month. Place them in a single layer on a baking sheet until firm, then transfer them to a freezer-safe bag or container.
Reheating: Thaw frozen Okonomiyaki overnight in the fridge. To reheat, warm them on a skillet over medium heat for 2-3 minutes on each side until heated through and crispy. Enjoy this easy and delicious Okonomiyaki any time!
What to Serve with Vegetarian Okonomiyaki?
Elevate your dining experience with complementary dishes that enhance the savory goodness of these delightful pancakes.
-
Soy-Glazed Edamame:
Sweet and salty, these poppable snacks add a fun touch and a burst of protein, perfect as a finger food side. -
Miso Soup:
Light and nourishing, a warm bowl of miso soup balances the richness of the pancakes and adds comforting warmth to your meal. -
Cucumber Salad:
Crisp and refreshing, this simple salad adds a cool crunch that contrasts beautifully with the warm pancakes. -
Pickles:
A mix of Japanese pickles (tsukemono) offers tangy bites that awaken the palate, balancing the savory flavors of the okonomiyaki. -
Vegetable Tempura:
Crispy and light, the delicate batter of tempura complements the texture of the pancakes, creating a satisfying feast. -
Fried Tofu:
Silken, lightly fried tofu provides a protein boost while soaking up the pancakes’ flavors. Serve it with soy sauce for added depth. -
Sake or Green Tea:
A glass of chilled sake or a warm cup of green tea can enhance the experience, rounding out the meal with traditional Japanese touches. -
Mocha or Matcha Ice Cream:
Finish with a dessert that offers a creamy contrast to the savory pancakes. The unique flavors will leave everyone wanting more!
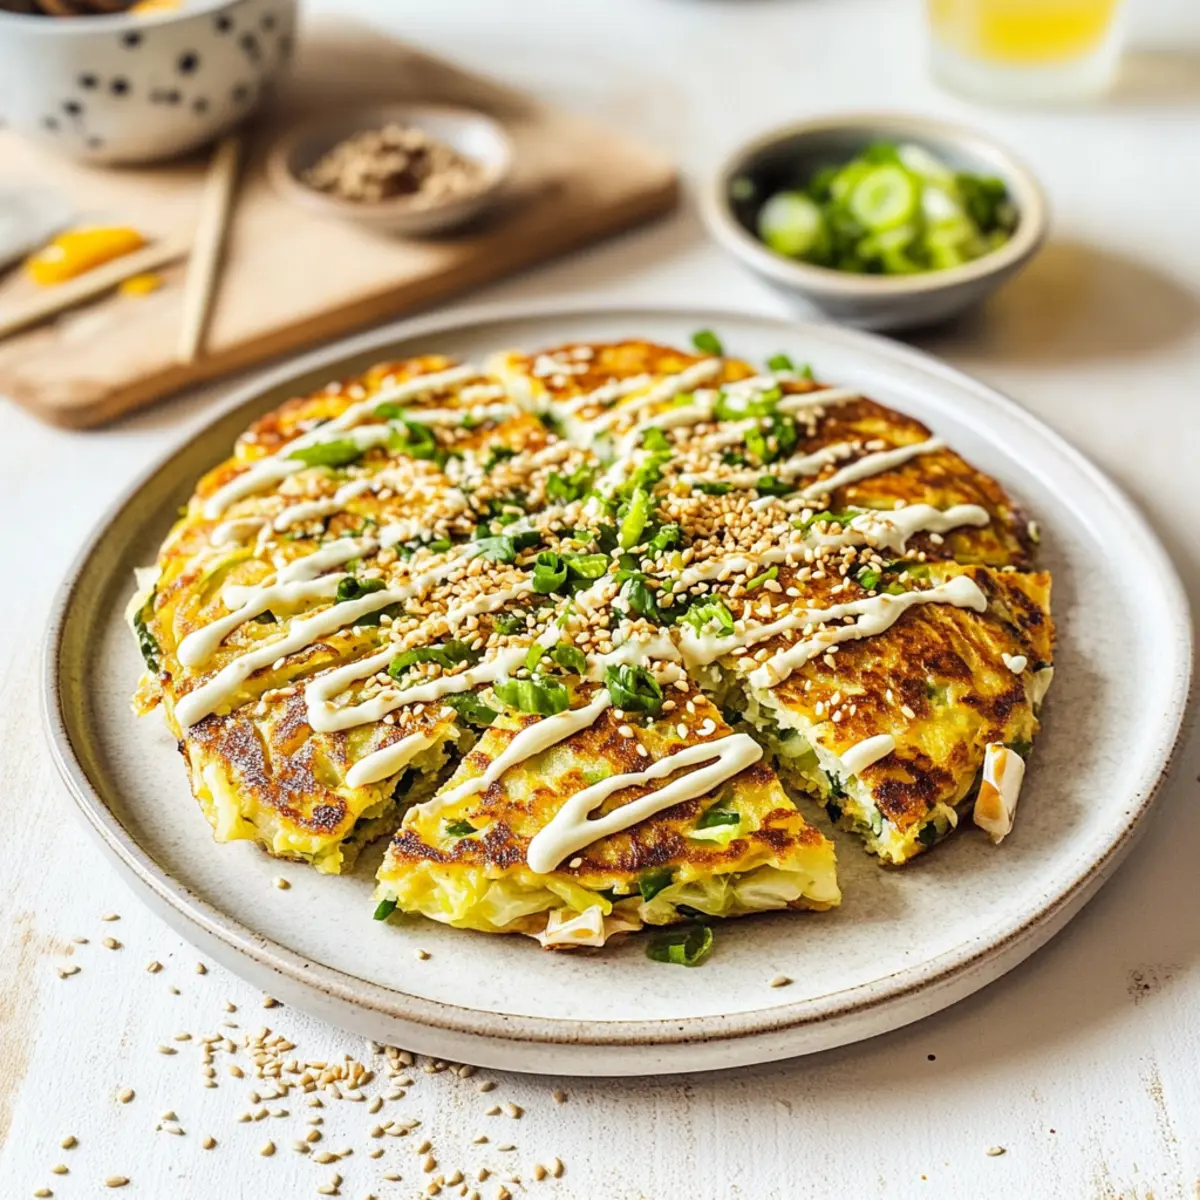
Okonomiyaki – Japanese Cabbage Pancake Recipe FAQs
What type of cabbage is best for Okonomiyaki?
Absolutely! For the best results, use sweet white cabbage as it offers a milder and delightful flavor. If you can’t find sweet white cabbage, feel free to use green cabbage or even savoy cabbage to add a little texture and variation to your dish.
How should I store leftover Okonomiyaki?
Leftover Okonomiyaki can be stored in an airtight container in the refrigerator for up to 3 days. Ensure they cool completely before sealing to maintain their deliciousness and texture. When reheating, try putting them in a skillet to restore some of their original crispiness!
Can I freeze Okonomiyaki?
Yes! You can freeze Okonomiyaki for up to 1 month. To do this, place the cooked pancakes in a single layer on a baking sheet and freeze until solid. Then transfer them to a freezer-safe bag or container. When you’re ready to enjoy them, simply thaw in the fridge overnight and reheat in a skillet for a few minutes on each side.
What can I do if my Okonomiyaki batter is too runny?
If your batter feels too runny, don’t fret! Simply add a little more flour, about 1 tablespoon at a time, until you reach a thicker consistency. A good way to check is to ensure it clings to the back of a spoon as you mix in your shredded veggies. That way, you’ll get those beautifully fluffy pancakes!
Are there any dietary considerations for Okonomiyaki?
Very! This recipe is inherently vegetarian, and you can easily make it vegan by substituting the eggs with a plant-based egg replacer like flaxseed meal or applesauce. For gluten-free options, simply swap regular flour for a gluten-free blend. Always double-check ingredient labels to avoid potential allergens, especially when choosing soy sauce or mayonnaise.
How can I make my Okonomiyaki healthier?
To give your Okonomiyaki a nutritious boost, consider adding more vegetables like spinach, bell peppers, or mushrooms. You can also incorporate some protein like tofu or cooked shrimp. The more the merrier!
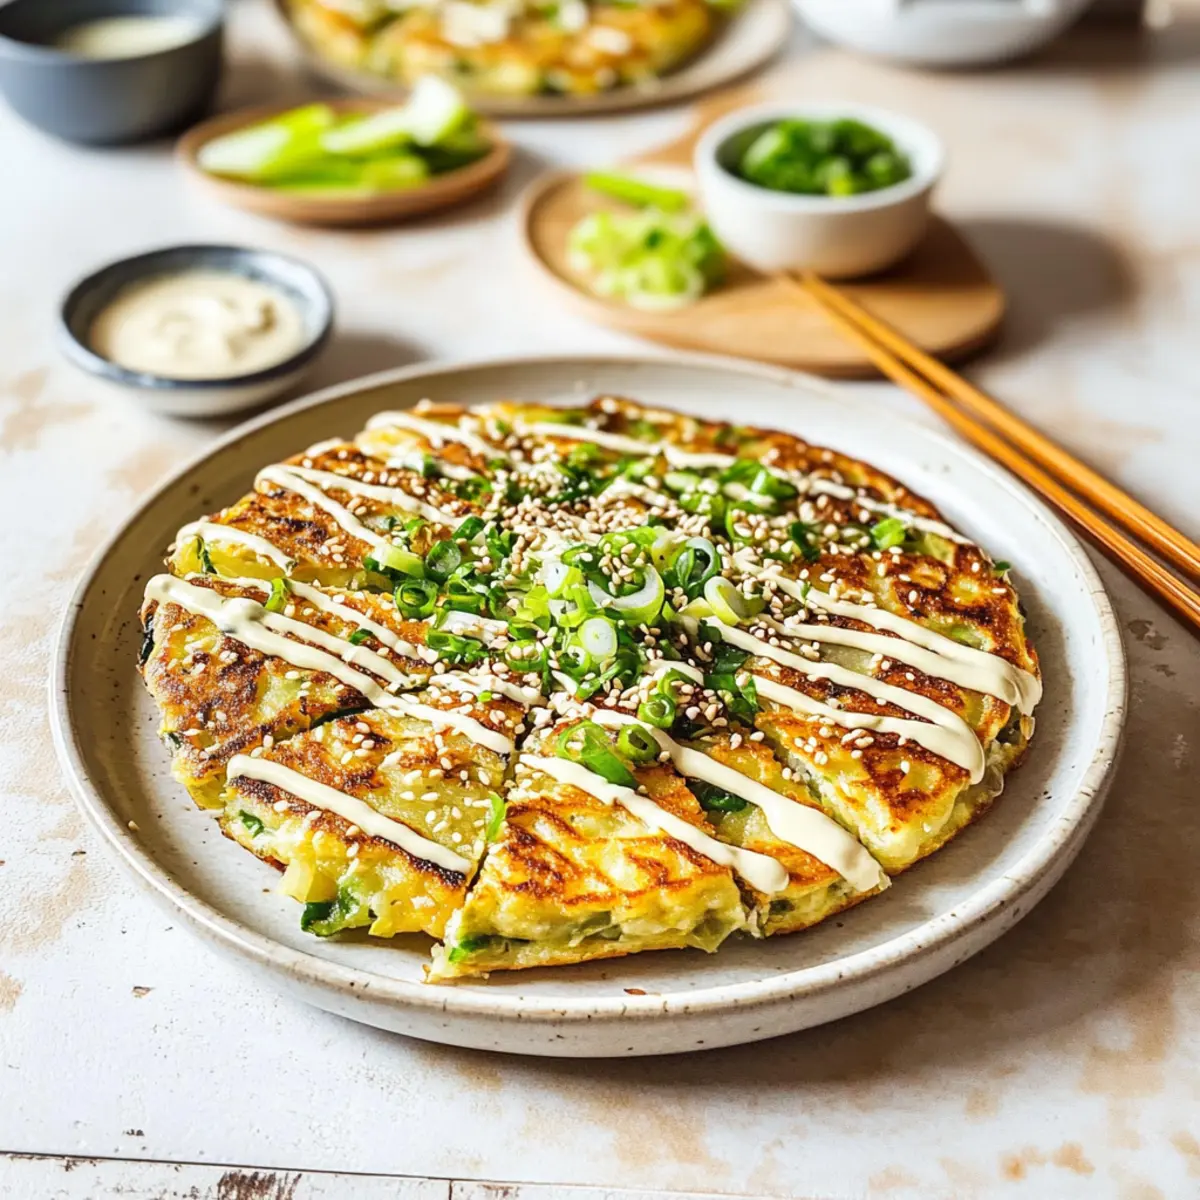
Easy Okonomiyaki - Japanese Cabbage Pancake Recipe Delight
Ingredients
Equipment
Method
- Begin by shredding the cabbage and grating the carrot. In a colander, toss the cabbage, grated carrot, and sliced onion with a pinch of fine-grain salt. Allow to sit for about 10 minutes.
- In a large mixing bowl, whisk together the eggs, light soy sauce, toasted sesame oil, and all-purpose flour until smooth.
- Once the vegetable mixture has released moisture, gently fold it into the prepared batter, ensuring even distribution.
- Preheat a large nonstick skillet over medium-high heat, adding cooking oil and sesame oil. Wait for the oil to shimmer.
- Pour the batter into the skillet, forming large or smaller pancakes. Cook for about 5 minutes on one side, then flip and cook for another 4-5 minutes.
- Let the Okonomiyaki rest for about a minute before slicing into wedges and adding toppings.
Leave a Reply