
As I stood in my kitchen, a moment of panic hit me—how can you whip up something impressive without turning on the oven? That’s when I stumbled upon the idea for a No-Bake Nutella Chocolate Cheesecake Mousse. This creamy delight comes together in a flash, making it the perfect go-to dessert for unexpected guests or a cozy night in. With an indulgent chocolate-hazelnut flavor and a texture so silky it practically melts in your mouth, it’s guilt-free luxuriance that you’ll want to share. Plus, this easy dessert means no fuss, no hassle, and no baking required! Are you ready to discover the secret to impressing your loved ones without heating up your kitchen?
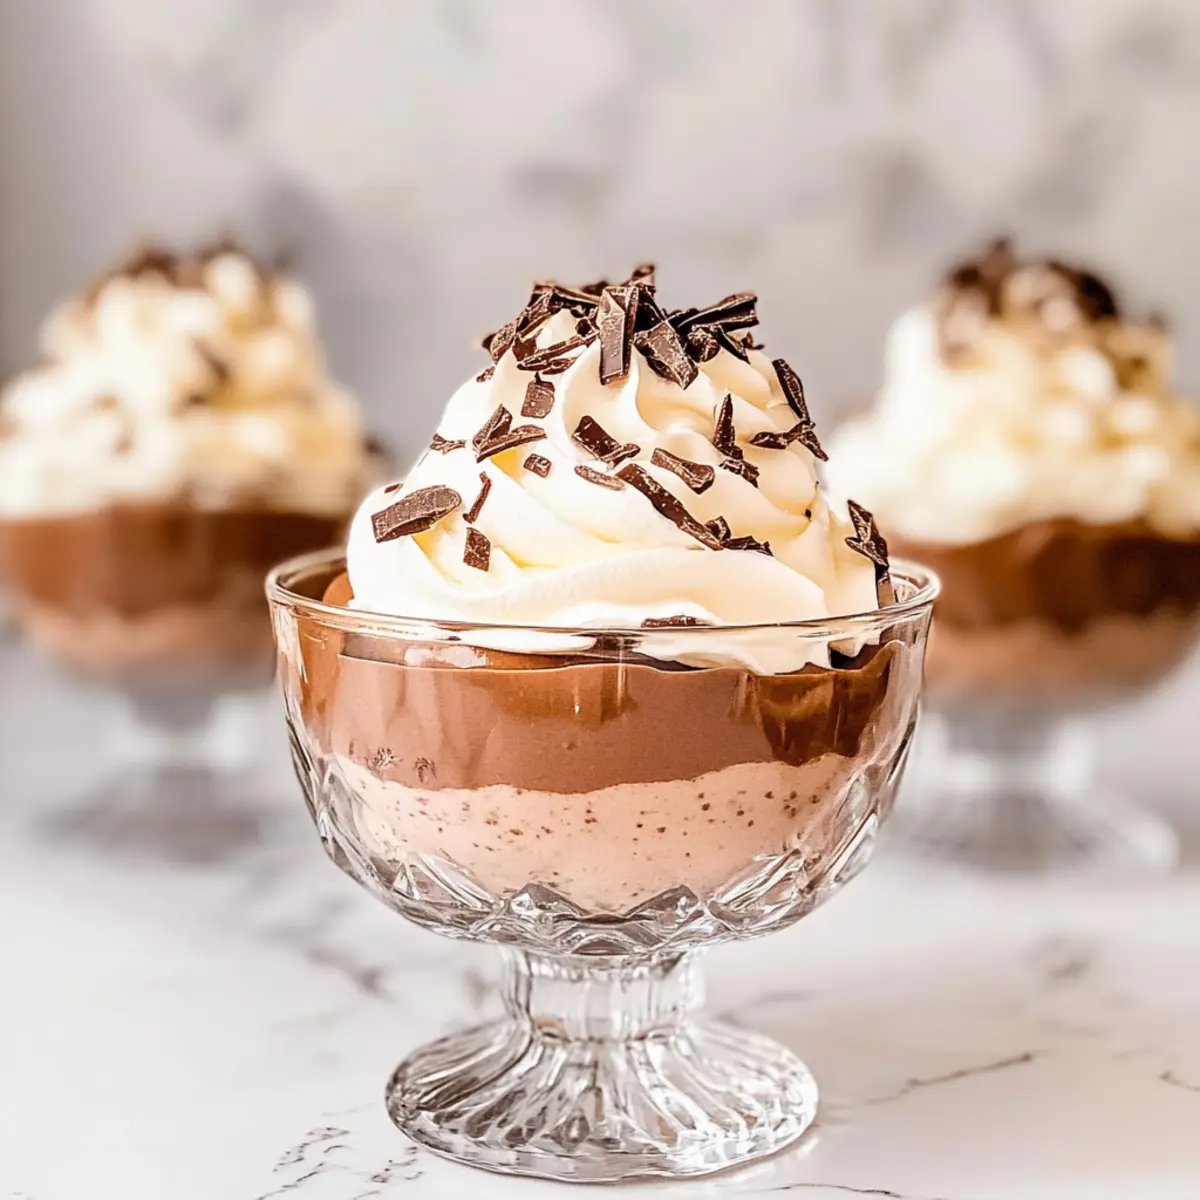
Why is this mousse the ultimate treat?
Irresistible creaminess: This No-Bake Nutella Chocolate Cheesecake Mousse offers a silky texture that melts in your mouth, creating a rich, decadent experience.
Quick and easy: With just a few straightforward steps, this recipe is perfect for those spontaneous cravings or unexpected guests.
Crowd-pleaser: Its delightful chocolate-hazelnut flavor guarantees satisfied smiles from family and friends alike.
Versatile dessert: Serve it in individual cups for a sophisticated presentation, or pair it with fruits and cookies for a fun dip! You can even add your favorite toppings, making it endlessly customizable. For more easy and impressive desserts, check out my Raspberry Chocolate Mousse and Velvet Strawberry Cheesecake recipes!
Nutella Chocolate Cheesecake Mousse Ingredients
For the Mousse Base
- Cream Cheese – Provides the base and structure; use full-fat for optimal creaminess.
- Nutella – Adds a rich chocolate-hazelnut flavor; substitute with chocolate spread for a similar taste.
- Unsweetened Cocoa Powder – Enhances chocolate flavor; optional if Nutella’s sweetness suffices.
- Heavy Cream – Creates a light and airy texture when whipped—ensure it’s cold for the best results.
For Sweetening and Flavoring
- Powdered Sugar – Sweetens the mousse; adjust based on sweetness preference.
- Vanilla Extract – Offers a depth of flavor; substitute with almond extract for a different taste profile.
For Garnishing
- Chocolate Shavings – Optional garnish for an appealing presentation; can swap with grated chocolate or chopped nuts.
- Extra Whipped Cream – Optional topping to enhance presentation and richness, making your Nutella Chocolate Cheesecake Mousse even more indulgent.
Step‑by‑Step Instructions for Nutella Chocolate Cheesecake Mousse
Step 1: Prepare the Cream Base
Begin by gathering a large mixing bowl and adding 1 cup of cold heavy cream, 1/2 cup of powdered sugar, and 1 teaspoon of vanilla extract. Beat the mixture on medium-high speed using an electric mixer for about 5 minutes until stiff peaks form. Once ready, place the whipped cream in the refrigerator to keep it chilled while you move on to the cream cheese mixture.
Step 2: Cream the Cheese
In another mixing bowl, take 8 ounces of softened cream cheese and beat it with an electric mixer on medium speed for approximately 3 minutes. The goal here is to achieve a smooth and creamy consistency free of lumps. Once it’s perfectly blended, this will serve as the luscious base for your Nutella Chocolate Cheesecake Mousse.
Step 3: Add the Richness
To the creamed cheese, incorporate 1 cup of Nutella and 2 tablespoons of unsweetened cocoa powder. Mix on low speed until the ingredients are well combined and the chocolate-hazelnut flavor is thoroughly integrated. This step enhances the mousse’s richness, making it irresistibly decadent while contributing to its signature flavor.
Step 4: Combine the Mixtures
Now, it’s time to gently fold in the chilled whipped cream you prepared earlier. Start by adding one-third of it to the Nutella mixture, using a spatula to combine until just blended. Repeat this folding process with the remaining whipped cream in two more additions, ensuring you maintain the airy texture of the mousse throughout.
Step 5: Spoon and Chill
Once fully combined, carefully spoon the rich mousse into individual serving cups, filling them about three-quarters full. For a more elegant presentation, consider piping the mousse into glasses using a piping bag. After portioning, cover the cups with plastic wrap and refrigerate them for at least 2 hours to allow the flavors to meld and the mousse to firm up.
Step 6: Garnish and Serve
After chilling, remove your Nutella Chocolate Cheesecake Mousse from the refrigerator. To elevate your presentation, you can top each cup with an extra dollop of whipped cream and sprinkle chocolate shavings on top. Serve immediately to your guests and watch their faces light up with delight as they dig into this creamy, chocolaty treat!
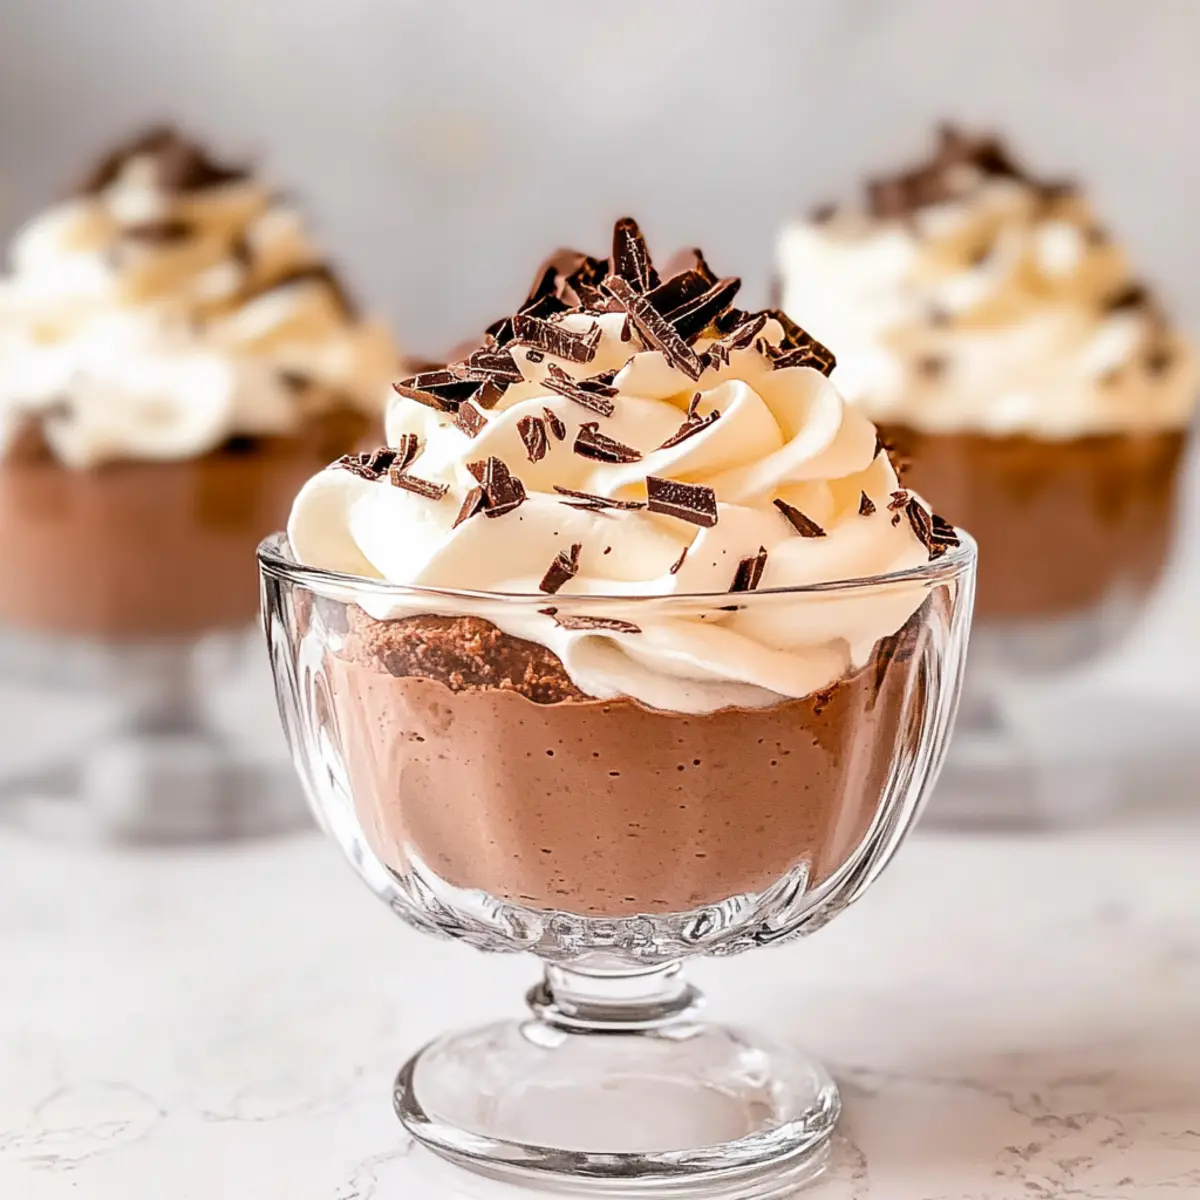
Make Ahead Options
These Nutella Chocolate Cheesecake Mousse cups are a dream for busy home cooks looking to save time! You can whisk and prepare the mousse mixture up to 24 hours in advance; just cover it tightly with plastic wrap and refrigerate. To maintain that luscious creamy texture, keep the mousse chilled and ensure it’s properly sealed to prevent any odors or moisture from seeping in. When it’s time to serve, spoon the mousse into individual cups, top with whipped cream and chocolate shavings, and enjoy the same delightful flavors as if you just made it! This way, you’ll have a stress-free and elegant dessert ready for any occasion.
How to Store and Freeze Nutella Chocolate Cheesecake Mousse
- Fridge: Store leftover mousse in an airtight container for up to 4 days. This ensures the mousse retains its creamy texture and rich flavor.
- Freezer: For longer storage, you can freeze the mousse in an airtight container for up to 2 months. Thaw overnight in the fridge before serving for the best texture.
- Serving Tips: Always serve chilled. If the mousse is too firm after freezing, give it a gentle stir or allow it to sit at room temperature for a few minutes before serving.
- Reheating: There’s no need to heat this dessert, simply enjoy it cold straight from the fridge or thawed from the freezer, letting the Nutella Chocolate Cheesecake Mousse shine in its delightful, silky form!
Expert Tips for Nutella Chocolate Cheesecake Mousse
-
Chill Your Ingredients: Always start with cold heavy cream to ensure that your mousse achieves the perfect airy texture when whipped.
-
Softened Cream Cheese: Make sure your cream cheese is at room temperature. This helps it blend smoothly with the Nutella, preventing lumps in your mousse.
-
Gentle Folding: Be cautious when folding in the whipped cream. This preserves the delicate airiness of the mousse, ensuring it remains light and fluffy.
-
Timing is Key: Allow your Nutella Chocolate Cheesecake Mousse to chill for at least 2 hours. This helps it firm up and develop richer flavors, truly enhancing your dessert experience.
-
Optional Mix-Ins: Feel free to get creative! Adding crushed nuts or a dash of espresso can elevate the flavor profile while maintaining the delightful creaminess of the mousse.
What to Serve with Nutella Chocolate Cheesecake Mousse
Bring a symphony of flavors to your table while savoring this luscious mousse with these delightful pairings.
-
Fluffy Whipped Cream: This light, airy topping enhances the mousse’s richness while adding a sweet and dreamy touch.
-
Fresh Berries: Juicy raspberries or strawberries provide a tart contrast, balancing the sweetness of the chocolate-hazelnut flavor perfectly.
-
Coffee or Espresso: A warm cup of coffee amplifies the rich chocolate notes, creating a marvelous end to your meal.
-
Chocolate Biscotti: Crunchy biscotti offers a satisfying texture, perfect for dipping into the creamy mousse for an elevated dessert experience.
-
Mini Fruit Tarts: These light tarts add an unexpected freshness, showcasing beautiful fruit on a crisp crust that complements the indulgence of the mousse.
-
Crushed Hazelnuts: Sprinkle on top for added crunch; the nutty flavor pairs beautifully with the Nutella, enhancing every bite.
-
Vanilla Ice Cream: Serve alongside this delectable mousse for a temperature contrast and an extra dose of creamy decadence.
-
Mint Chocolate Chip Cookies: The refreshing mint and chocolate combination creates a fun, delicious interaction with the mousse’s chocolatey sweetness.
Nutella Chocolate Cheesecake Mousse Variations
Feel free to explore these delightful twists on your Nutella Chocolate Cheesecake Mousse, creating a dessert that’s uniquely yours!
-
Dark Chocolate: Substitute Nutella with melted dark chocolate for a rich, less sweet option. This adds a sophisticated flavor to your mousse!
-
Nut-Free: Replace Nutella with a sunflower seed spread for a tasty nut-free version. Enjoy the same creamy consistency while accommodating allergy needs.
-
Coffee Lovers: Add a splash of brewed espresso or coffee to the mousse mix for a lovely mocha flavor. This twist marries chocolate and coffee perfectly!
-
Almond Extract: Swap out vanilla extract for almond extract to infuse a nutty layer of flavor. It gives a wonderful twist while remaining true to the mousse’s creamy base.
-
Fruit Fusion: Layer in fresh berries or pureed fruit like strawberries or raspberries for a fruity twist. This adds a refreshing contrast to the rich chocolate!
-
Texture Boost: Mix in crushed hazelnuts or almonds for an exciting crunchy texture. The added crunch beautifully contrasts with the smooth mousse!
-
Spicy Kick: For the adventurous, a pinch of cayenne pepper or chili powder can add just the right amount of heat. It’s an unexpected twist that pairs intriguingly with chocolate!
-
Decadent Toppings: Finish with fun toppings like crushed cookies, caramel sauce, or even a dash of sea salt. These will elevate your mousse’s presentation and flavor for a truly luxurious experience.
These variations will transform your Nutella Chocolate Cheesecake Mousse into a masterpiece that’s sure to impress your family and friends. Enjoy experimenting, and happy cooking!
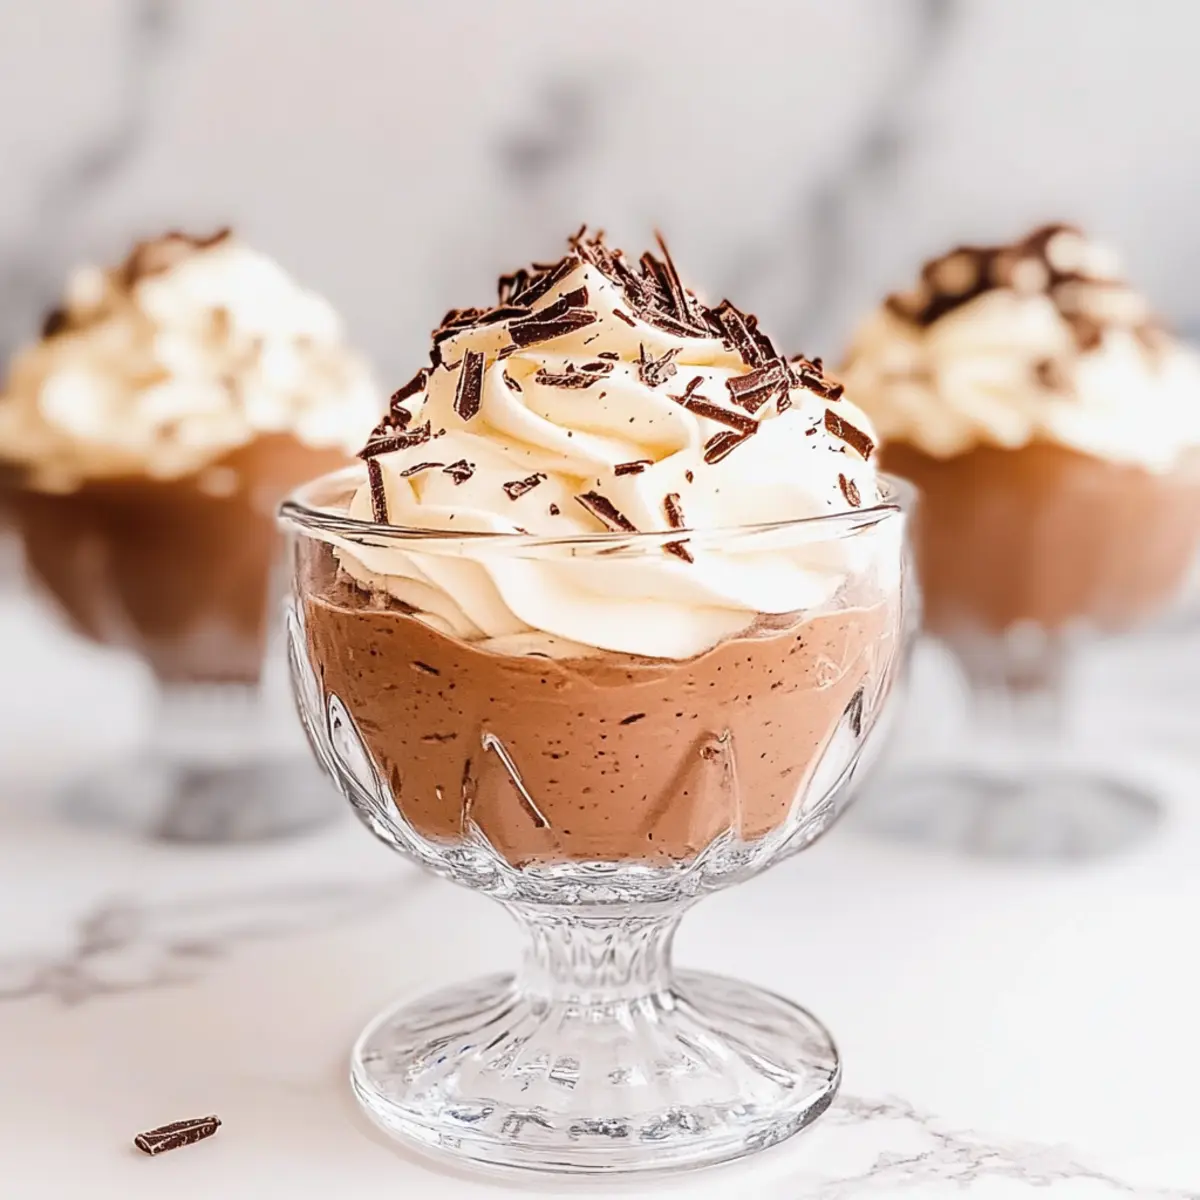
Nutella Chocolate Cheesecake Mousse Recipe FAQs
How should I select my cream cheese?
Absolutely! For the best results, choose full-fat cream cheese for an ultra-creamy texture. Look for packs that are well within their expiration date and avoid any that have dark spots or an off smell.
How long can I store leftover mousse?
You can store leftover mousse in an airtight container in the fridge for up to 4 days. This keeps its silky smooth texture and rich flavor intact, ensuring it’s just as delicious when you come back for more!
Can I freeze Nutella Chocolate Cheesecake Mousse?
Yes, you can! To freeze the mousse, spoon it into an airtight container, ensuring it’s sealed tightly. It can be frozen for up to 2 months. When you’re ready to enjoy it, simply thaw it overnight in the refrigerator. For the best texture, give it a gentle stir after thawing if it seems a bit too firm.
What should I do if my mousse isn’t thickening properly?
If your mousse isn’t thickening as expected, check if your heavy cream is cold enough before whipping. Additionally, ensuring that your cream cheese is softened and fully blended without lumps is key. If you find the mousse too runny, you may gently fold in an additional whipped cream prepared separately to help thicken it up further.
Are there any dietary considerations for pets or allergies?
Certainly! This mousse contains dairy ingredients, which aren’t suitable for pets, especially dogs. For those with allergies, be mindful of any nuts within the Nutella and your substitutes. Always check ingredient labels if you’re serving this to someone with food sensitivities. You can also consider using dairy-free cream cheese and heavy cream to create a vegan version that’s just as delightful!
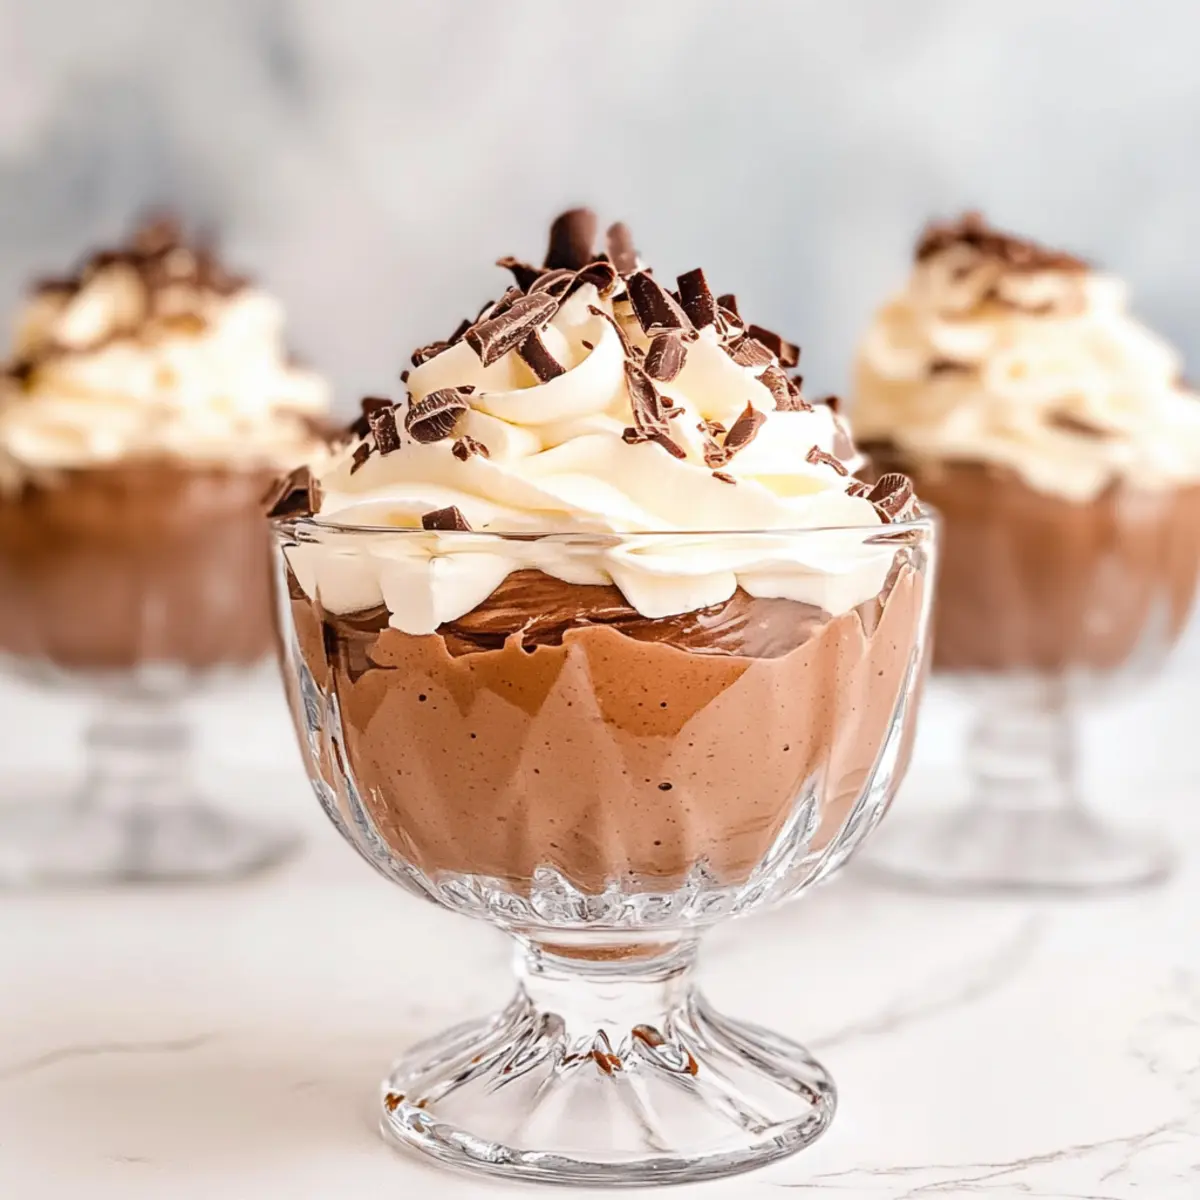
Creamy Nutella Chocolate Cheesecake Mousse for Instant Bliss
Ingredients
Equipment
Method
- In a large mixing bowl, add 1 cup of cold heavy cream, 1/2 cup of powdered sugar, and 1 teaspoon of vanilla extract. Beat until stiff peaks form, about 5 minutes.
- In another bowl, beat 8 ounces of softened cream cheese until smooth and creamy, approximately 3 minutes.
- Add 1 cup of Nutella and 2 tablespoons of unsweetened cocoa powder to the cream cheese. Mix on low speed until well integrated.
- Gently fold in the whipped cream in three additions, ensuring the mixture retains its airy texture.
- Spoon the mousse into individual cups, filling them 3/4 full. Cover with plastic wrap and refrigerate for at least 2 hours.
- Before serving, top each cup with whipped cream and chocolate shavings.
Leave a Reply