
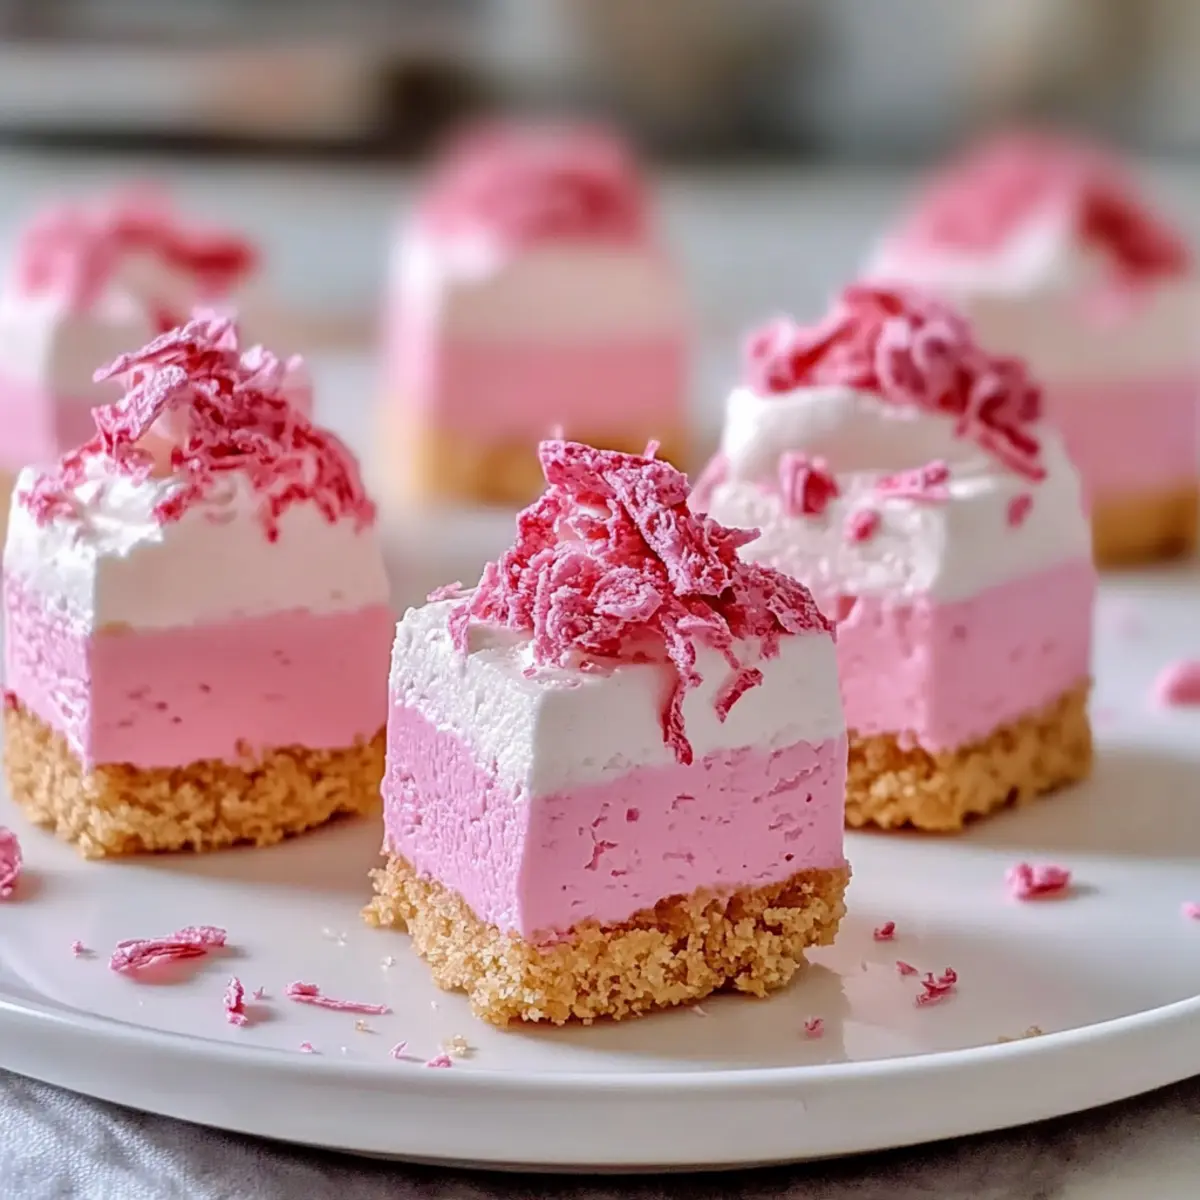
As I prepared for a recent gathering, I stumbled upon a delightful little secret that turned my dessert table into the highlight of the evening: No-Bake Pink Velvet Cheesecake Bites. With their creamy filling and cheerful hue, these bites offer a comforting touch of sweetness that’s perfect for any celebration. Even better, they come together effortlessly, making them an ideal solution for busy hosts or those who simply crave something delectable without the fuss. Plus, they can easily be customized to fit dietary preferences, whether you’re looking for a gluten-free treat or a dairy-free delight. As you dive into this simple and enchanting recipe, you’ll discover just how easy it is to impress your guests—and yourself. Ready to indulge in these charming bites? Let’s get started!
Why Are These Cheesecake Bites So Irresistible?
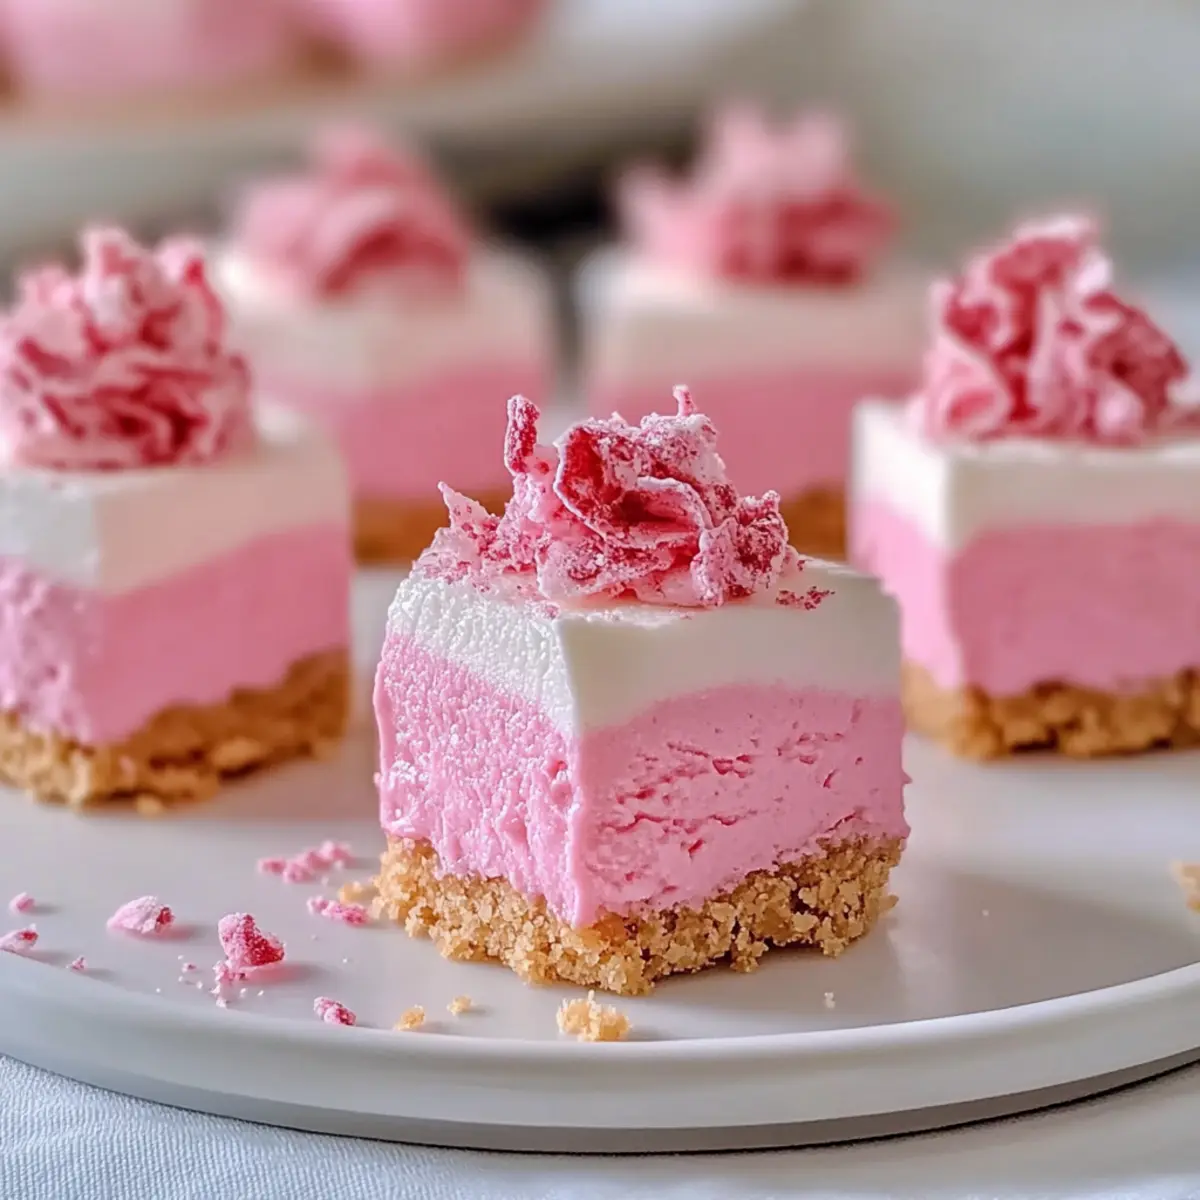
Creamy, Rich Indulgence: Every bite bursts with a velvety filling that melts in your mouth, delivering a dessert experience that’s simply unforgettable.
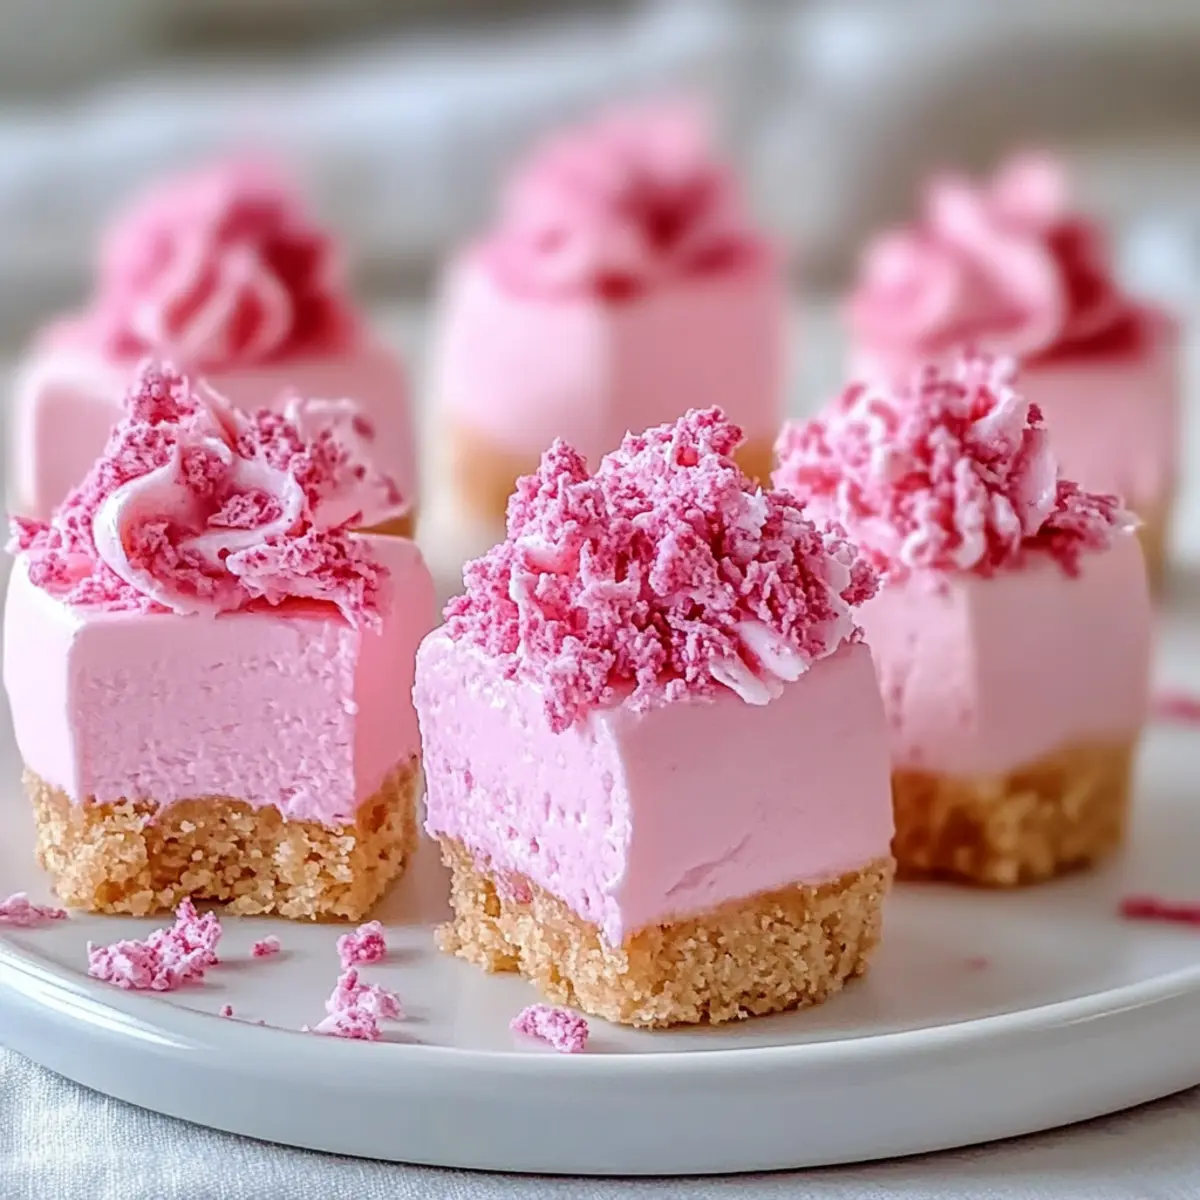
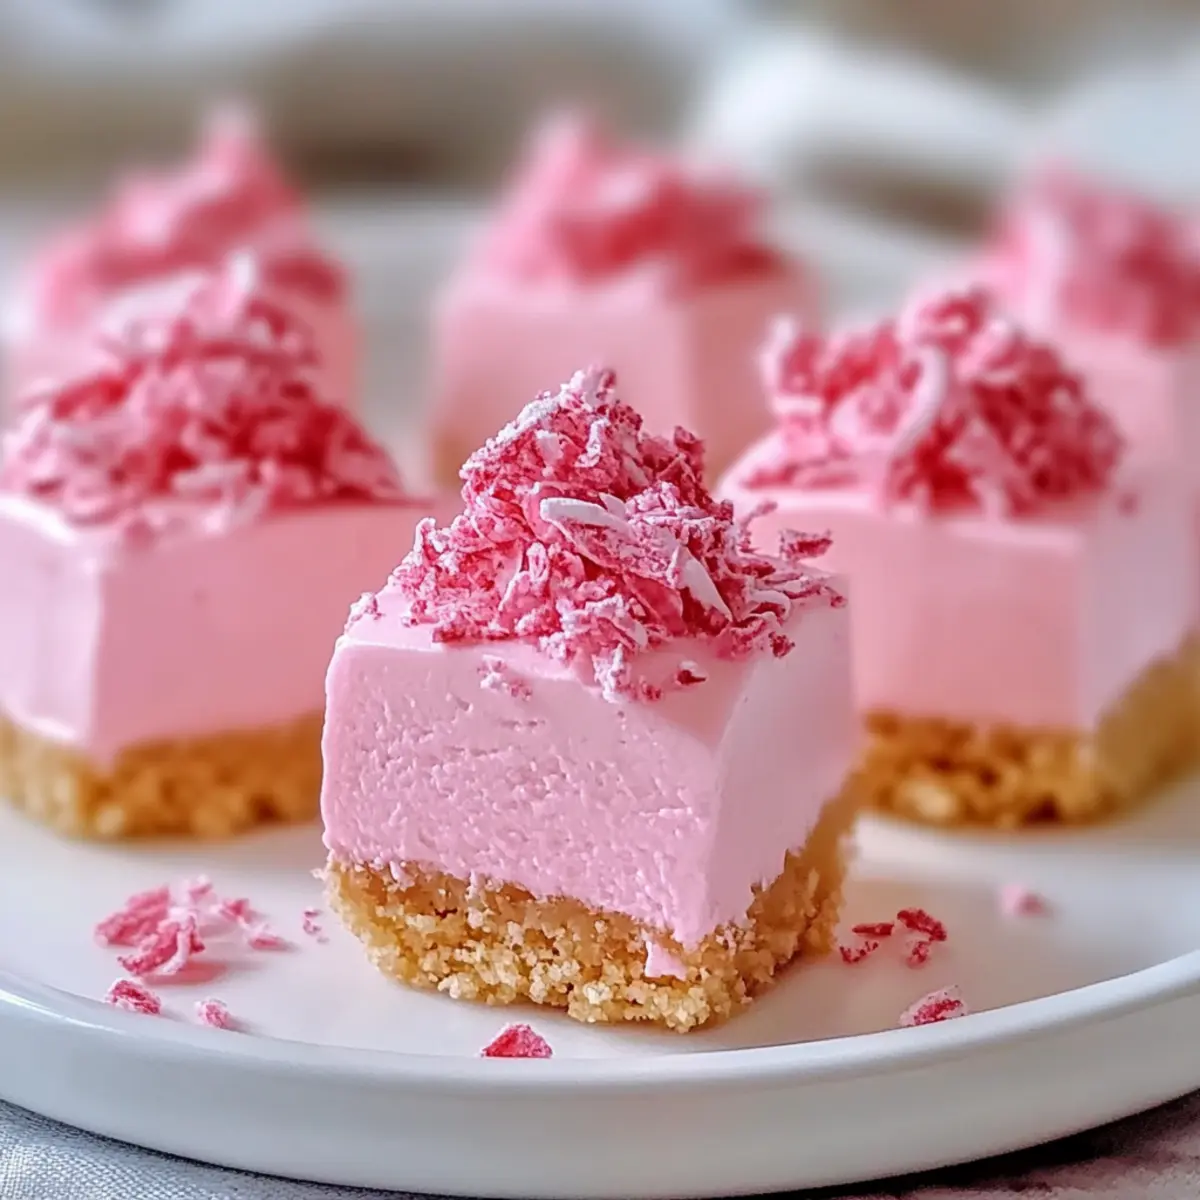
Eye-Catching Presentation: The vibrant pink hue adds a festive touch, making these cheesecake bites perfect for celebrations or just a cheerful treat at home.
Quick & Easy Prep: With minimal steps involved, you can whip up these delightful bites in no time—ideal for busy hosts or spontaneous sweet cravings.
Customizable Options: Tailor the recipe to your dietary needs—try using gluten-free graham crackers or substitute with dairy-free cream cheese for a delicious vegan option.
Crowd-Pleasing Appeal: Whether at parties or casual get-togethers, these bites are sure to impress, leaving your guests in awe and coming back for seconds! You’ll want to explore other quick treats like Baked Parmesan Zucchini or Apple Breakfast Bake for your next gathering, too!
No Bake Pink Velvet Cheesecake Bites Ingredients
For the Filling
• Cream Cheese – Provides creaminess and richness; opt for low-fat for a lighter version.
• Confectioners’ Sugar – Adds sweetness and helps achieve a smooth texture; granulated sugar can substitute.
• Vanilla Extract – Enhances flavor; consider almond extract for a unique twist.
• Pink Food Coloring – Creates visual appeal; natural coloring is a healthier alternative.
For the Crust
• Graham Cracker Crumbs – Forms the crust base that adds a crumbly texture; digestive biscuits can also work well.
• Unsalted Butter – Binds the crust ingredients together; coconut oil can be used as a great dairy-free alternative.
These No Bake Pink Velvet Cheesecake Bites are not only easy to prepare but also incredibly delicious!
Step‑by‑Step Instructions for No-Bake Pink Velvet Cheesecake Bites
Step 1: Prepare the Dish
Begin by lining an 8-inch square baking dish with parchment paper, allowing some overhang for easy removal later. This will help prevent sticking and make serving a breeze. Set the dish aside as you gather your ingredients for the filling.
Step 2: Mix the Filling
In a large mixing bowl, beat 8 ounces of softened cream cheese and 1 cup of confectioners’ sugar with a hand mixer at medium speed for about 2-3 minutes, until smooth and creamy. Then, add 1 teaspoon of vanilla extract and a few drops of pink food coloring, mixing until the mixture is beautifully combined and evenly tinted.
Step 3: Make the Crust
In a separate bowl, combine 1 and 1/2 cups of graham cracker crumbs with 1/4 cup of melted unsalted butter. Stir this mixture until it resembles wet sand, indicating it’s ready for pressing. This crust will provide a delightful crunch that complements the creamy filling of your No-Bake Pink Velvet Cheesecake Bites.
Step 4: Assemble
Firmly press the crust mixture into the bottom of your prepared baking dish, ensuring an even layer. This will form a sturdy foundation for the creamy filling. Then, pour the pink cheesecake filling over the crust, spreading it out with a spatula to create a smooth, even surface, ensuring that each bite will be deliciously balanced.
Step 5: Chill to Set
Cover the baking dish with plastic wrap and refrigerate your layered creation for at least 4 hours, or ideally overnight. This chilling time allows the cheesecake bites to firm up beautifully, making them easier to cut later. As they chill, the flavors meld together, enhancing the delightful taste of your No-Bake Pink Velvet Cheesecake Bites.
Step 6: Serve
Once set, remove the cheesecake from the dish using the parchment paper overhang, and place it on a cutting board. Slice into bite-sized squares for easy serving. These chilled bites are ready to impress, offering a delightful treat perfect for any gathering or just a sweet treat at home.
Make Ahead Options
These No-Bake Pink Velvet Cheesecake Bites are perfect for meal prep enthusiasts! You can prepare the crust and filling up to 24 hours in advance to save valuable time before your gathering. Simply mix the crust and press it into your lined baking dish, then blend the cheesecake filling and layer it on top. Cover and refrigerate for the best results. To maintain their quality, make sure to keep the bites well-covered as they chill—this prevents drying out and preserves flavor. When ready to serve, simply slice into bite-sized squares and treat your guests to these delightful, make-ahead treats that promise just as much deliciousness as if made fresh!
What to Serve with No-Bake Pink Velvet Cheesecake Bites
Elevate your dessert experience by pairing these delightful treats with complementary sides and drinks that enhance their creamy sweetness.
- Fresh Berries: Juicy strawberries, raspberries, or blueberries add a refreshing burst of flavor, balancing the richness of the cheesecake bites.
- Whipped Cream: A dollop of light, airy whipped cream creates a luscious topping that enhances the bites’ elegance and adds a delightful texture.
- Sparkling Lemonade: This refreshing drink’s citrus notes cleanse the palate, making each cheesecake bite feel even more indulgent and satisfying.
- Chocolate Drizzle: A sweet drizzle of warm chocolate sauce adds another layer of decadence, making these bites even more irresistible for chocolate lovers.
- Coffee or Tea: A warm cup of coffee or herbal tea complements the sweetness of the cheesecake bites perfectly, ideal for a cozy dessert experience.
- Vanilla Ice Cream: Scoop of creamy vanilla ice cream next to the cheesecake bites offers a wonderfully cool contrast, with a classic flavor that never fails to please.
- Mini Fruit Tarts: Serve a few mini fruit tarts alongside to bring in a variety of textures and flavors, providing an elegant touch to your dessert platter.
- Nutty Granola: For a surprising crunch, sprinkle some nutty granola on top of the bites. It adds a delightful contrast to the smooth and creamy filling.
How to Store and Freeze No Bake Pink Velvet Cheesecake Bites
Fridge: Keep your cheesecake bites in an airtight container in the refrigerator for up to 1 week. This will maintain their creamy texture and delightful flavor.
Freezer: For longer storage, freeze the bites for up to 3 months. Layer them between parchment paper in an airtight container to prevent sticking.
Thawing: When ready to enjoy, move the bites to the fridge for several hours or overnight to thaw, ensuring they return to their perfect creamy state.
Serving: After thawing, serve chilled for the best experience. You can even garnish with fresh berries or a drizzle of chocolate for an elegant touch!
Expert Tips for No-Bake Pink Velvet Cheesecake Bites
-
Room Temperature Cream Cheese: Ensure your cream cheese is at room temperature to blend smoothly and achieve a creamy filling.
-
Even Slices: For a professional look, use a sharp knife to cut your No-Bake Pink Velvet Cheesecake Bites into even squares.
-
Chilling Time: Don’t rush the chilling process. Allowing them to set overnight gives the bites a perfect texture and flavor.
-
Customization: Experiment with flavor by mixing in crushed berries or citrus zest for a refreshing twist—don’t be afraid to get creative!
-
Crust Texture: If your crust is too crumbly, add a bit more melted butter to bind it together; this helps avoid a dry texture in your bites.
No-Bake Pink Velvet Cheesecake Bites Variations
Feel free to get creative with these delicious bites, adding your special touch to make them uniquely yours!
-
Dairy-Free: Substitute cream cheese with a vegan cream cheese alternative for a completely dairy-free delightful treat that everyone can enjoy.
-
Gluten-Free: Swap out standard graham cracker crumbs for gluten-free versions or use crushed nuts to create a crunchy crust without the gluten.
-
Flavor Boost: Incorporate crushed berries, such as raspberries or strawberries, into the filling for a fruity burst that’s both vibrant and tasty.
-
Chocolate Drizzle: After spreading the cream cheese filling, drizzle melted chocolate on top for an indulgent touch that adds a rich flavor contrast.
-
Citrus Zest: Add a teaspoon of lemon or orange zest to the filling for a refreshing zing that brightens up the cheesecake bites.
-
Mini Bites: Use mini muffin tins instead of a baking dish for individual-sized treats that are perfect for parties or easy snacking.
-
Nuts & Crunch: Fold in crushed nuts, such as almonds or pecans, to the crust or filling for an added crunchy texture that complements the creamy layer.
For more delightful ideas, try pairing these bites with a warm Baked Cottage Cheese for an elegant dessert table, or enjoy as a accompaniment to Baked Cauliflower Steaks if you’re looking for something savory!
No-Bake Pink Velvet Cheesecake Bites Recipe FAQs
What type of cream cheese should I use for the filling?
I recommend using full-fat cream cheese for the creamiest texture, but low-fat versions work well too, providing you with a lighter option without compromising flavor. Make sure it’s at room temperature; this helps achieve a smooth filling when mixing.
How should I store leftover cheesecake bites?
Store your No-Bake Pink Velvet Cheesecake Bites in an airtight container in the refrigerator for up to 1 week. This keeps them fresh and maintains their delightful creamy texture. If you want to savor them later, you can also freeze them.
Can I freeze cheesecakes bites, and if so, how?
Absolutely! To freeze, layer your cheesecake bites between sheets of parchment paper inside an airtight container. They can be frozen for up to 3 months. When you’re ready to enjoy them, simply move them to the refrigerator to thaw—this typically takes several hours or overnight for the best texture.
What can I do if my filling is too soft after chilling?
If your filling is too soft, don’t worry! Simply add more confectioners’ sugar or a little more softened cream cheese. Return the mixture to the fridge for a bit longer. The additional chilling will help firm it up, giving you those perfectly set cheesecake bites.
Can I make these cheesecake bites gluten-free or dairy-free?
Of course! For gluten-free cheesecake bites, swap in gluten-free graham cracker crumbs or cookies for the crust. To cater to dairy-free diets, use a vegan cream cheese alternative, allowing everyone to enjoy this tasty treat without worry!
How can I enhance the flavor of my cheesecake bites?
One fun idea is to mix in crushed berries or a bit of citrus zest into your filling before spreading it on the crust. This gives your No-Bake Pink Velvet Cheesecake Bites a refreshing twist that’s perfect for summer gatherings or any time you want to elevate the flavor!
No Bake Pink Velvet Cheesecake Bites for Sweet Celebrations
Ingredients
Equipment
Method
- Line an 8-inch square baking dish with parchment paper.
- In a large mixing bowl, beat 8 ounces of softened cream cheese and 1 cup of confectioners' sugar until smooth.
- Add 1 teaspoon of vanilla extract and pink food coloring, mixing until combined.
- In another bowl, combine 1.5 cups of graham cracker crumbs with 1/4 cup of melted butter.
- Press the crust mixture into the bottom of the baking dish.
- Pour the cheesecake filling over the crust and spread it evenly.
- Cover and refrigerate for at least 4 hours to set.
- Remove from dish using parchment overhang, slice into squares, and serve chilled.
Leave a Reply