
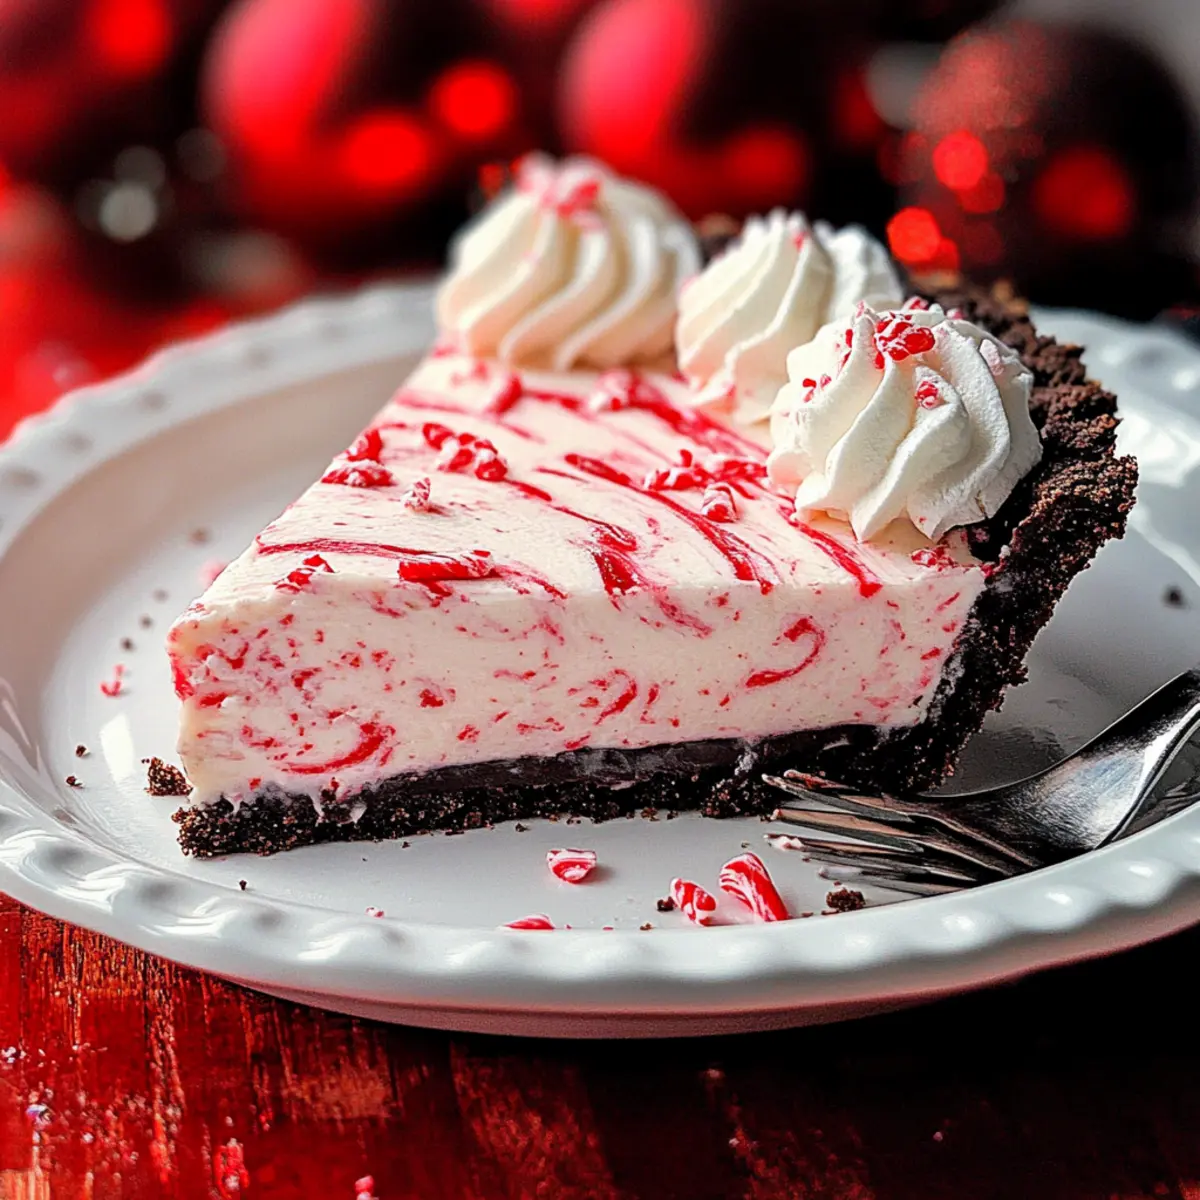
As I stirred the vibrant red and white swirls of my No Bake Christmas Peppermint Pie, I couldn’t help but feel a surge of holiday joy washing over me. This delightful dessert combines a smooth, creamy filling with a rich chocolate cookie crust, all while capturing the refreshingly festive essence of peppermint. It’s a breeze to whip together, making it an ideal make-ahead treat for all your holiday gatherings. In just a few minutes, you’ll have a visually stunning centerpiece that both children and adults will adore. Plus, there’s no need to crank up the oven—perfect for those cozy nights when the last thing you want is to heat up the kitchen. Ready to bring some festive flair to your table with this easy recipe? Let’s dive in!
Why is this pie a holiday must-have?
Effortless preparation: With no baking required, this pie comes together in just minutes, freeing up your time for other holiday festivities.
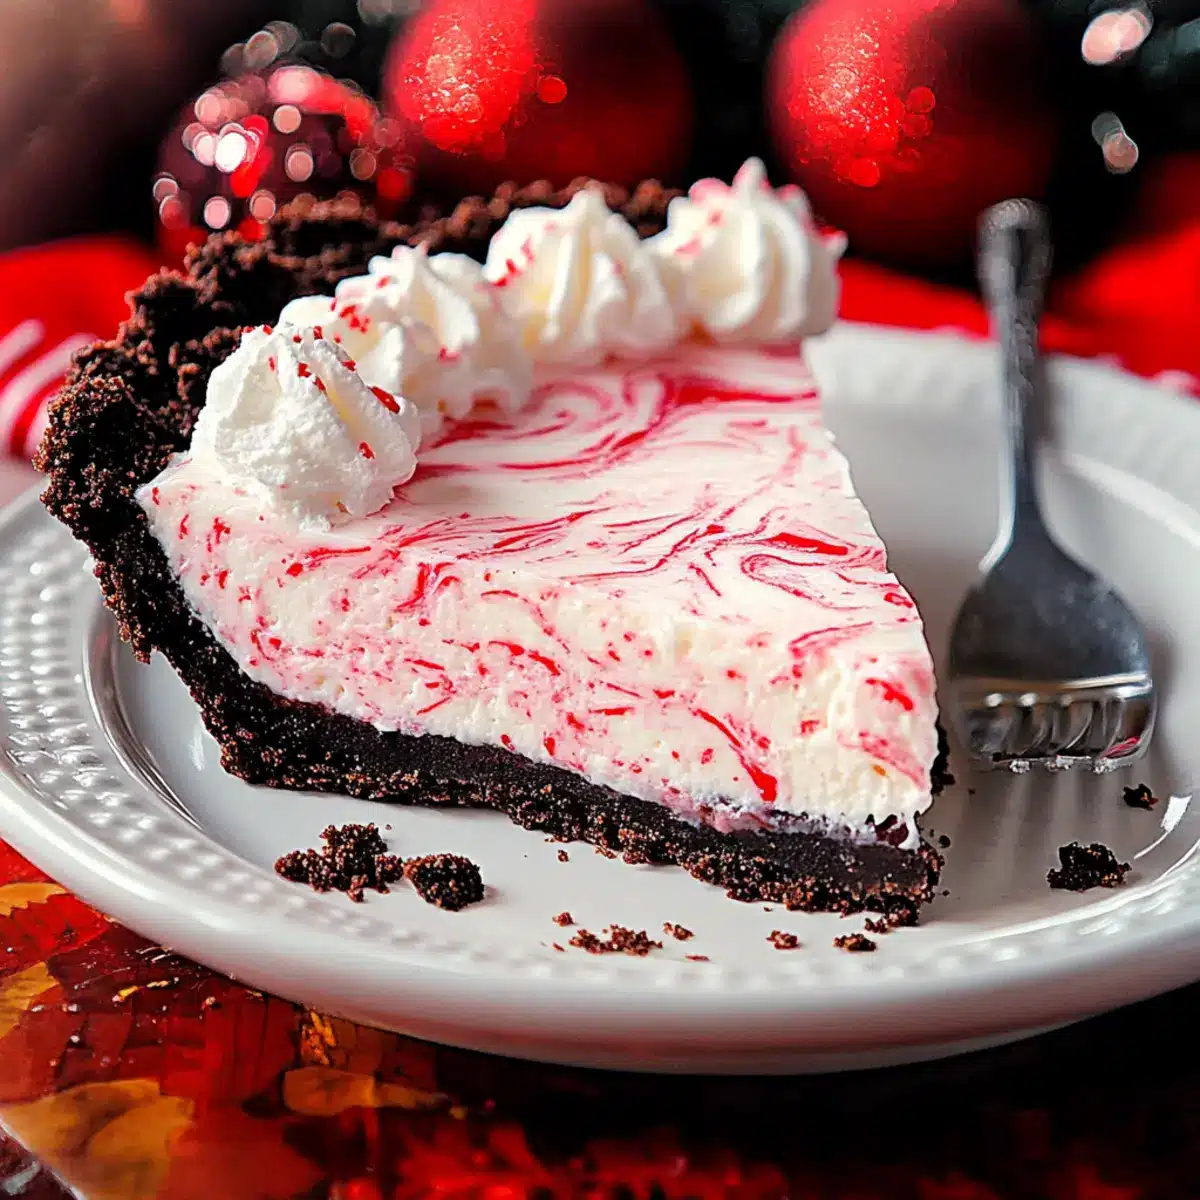
Visually stunning: The red and white swirls create a festive appearance that instantly elevates your dessert spread.
Crowd-pleaser: Both kids and adults love the refreshing peppermint flavor, making it the perfect addition to any gathering.
Make-ahead convenience: Ideal for busy holiday schedules, you can prepare this pie in advance and simply chill it until ready to serve.
Rich and creamy texture: The combination of cream cheese and whipped cream results in a super smooth filling that pairs beautifully with the crunchy Oreo crust.
Don’t forget to check out other delightful treats like Baked Cottage Cheese or Baked Parmesan Zucchini for more tasty inspiration!
No Bake Christmas Peppermint Pie Ingredients
For the Filling
- Cream Cheese – Essential for that creamy texture; use full-fat block cream cheese for best results.
- Powdered Sugar – Sweetens the filling and aids in achieving a smooth consistency.
- Heavy Cream – Important for whipping to stiff peaks, creating that light and airy texture essential for this pie.
- Vanilla Extract – Adds depth and richness to the flavor of the filling.
- Peppermint Extract – The star flavor; use sparingly to enhance and not overwhelm the pie.
- Food Coloring – Optional, but a dash of red can create lovely swirls for a festive appearance.
For the Crust
- Oreo Crust – A delicious chocolatey base; store-bought pre-made crusts make this recipe a breeze.
For the Garnish
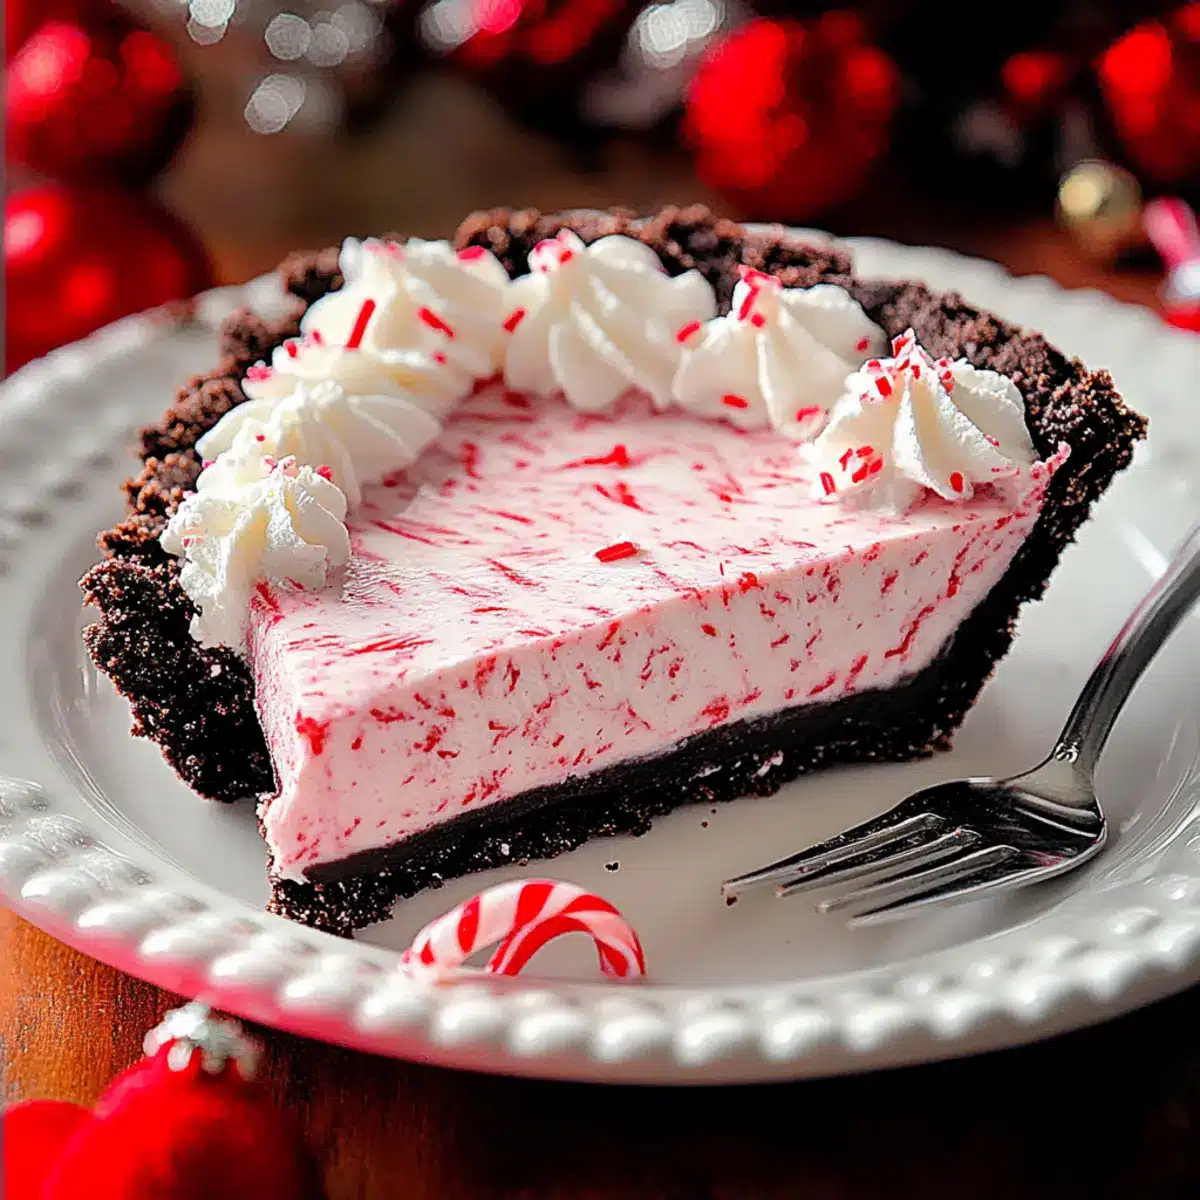
- Crushed Peppermint Candy – Provides a crunchy topping and a burst of holiday cheer; ensure they’re coarse for texture.
This No Bake Christmas Peppermint Pie is not only easy to prepare but also a delightful treat that will impress everyone at your holiday gathering!
Step‑by‑Step Instructions for No Bake Christmas Peppermint Pie
Step 1: Whip the Cream
Begin by pouring 1 cup of heavy cream into a large mixing bowl. Use an electric mixer on medium-high speed to whip the cream until stiff peaks form, which should take about 3-5 minutes. Once you achieve those lovely peaks, set the whipped cream aside while you prepare the filling, ensuring it remains airy and light for your No Bake Christmas Peppermint Pie.
Step 2: Prepare the Cream Mixture
In a separate medium bowl, beat together 8 ounces of softened cream cheese and 1 cup of powdered sugar until the mixture is smooth and creamy. This should take about 2-3 minutes. Then, add in 1 teaspoon of vanilla extract and 1 teaspoon of peppermint extract along with a dash of red food coloring if desired. Mix until all ingredients are well combined, creating a vibrant base for your pie.
Step 3: Combine Mixtures
Gently fold the whipped cream into the cream cheese mixture using a spatula. Start by adding a third of the whipped cream to lighten the mixture, then gradually incorporate the remaining whipped cream. Be careful to maintain the volume as you mix, ensuring that your filling stays fluffy and perfect for the No Bake Christmas Peppermint Pie. This process should take about 2-3 minutes.
Step 4: Fill the Crust
Take your pre-made Oreo crust and pour the creamy filling into it. Use a spatula to spread the filling evenly, smoothing the top to achieve a beautiful finish. The filling will be thick and luscious, so take your time to ensure it fills all the corners of the crust. This is the exciting part where your pie starts to take shape!
Step 5: Add the Topping
Next, spread a layer of Cool Whip over the top of your filled crust, creating a smooth finish. Sprinkle with approximately 1/4 cup of crushed peppermint candy to add a festive crunch and visually appealing touch. This colorful layer not only enhances the look of your No Bake Christmas Peppermint Pie but also elevates its delicious flavor profile.
Step 6: Chill the Pie
Finally, cover your pie with plastic wrap and refrigerate it for at least 4 hours, although overnight is even better! This chilling step allows the flavors to meld and the filling to set properly. When ready to serve, slice it up and admire your masterpiece—an irresistible No Bake Christmas Peppermint Pie that’s sure to delight your family and friends!
What to Serve with No Bake Christmas Peppermint Pie
As you prepare to wow your guests with this festive delight, consider these delightful pairings that enhance the flavors and create a memorable meal experience.
-
Warm Chocolate Chip Cookies: The gooey warmth of freshly baked cookies contrasts beautifully with the cold creaminess of the pie, creating a balanced dessert duo.
-
Hot Chocolate Bar: Set up a cozy hot chocolate station filled with marshmallows, sprinkles, and flavored syrups. The warmth of the drink perfectly complements the refreshing peppermint pie.
-
Mini Cheesecake Bites: Creamy, rich bites echo the smoothness of the pie while offering a delicious variety. These can be a fun surprise on the dessert table.
-
Chocolate Covered Strawberries: Fresh strawberries dipped in chocolate bring a burst of flavor and sweetness, enhancing the festive nature of the holiday gathering.
-
Gingerbread Cookies: The spicy, warm notes of gingerbread resonate well with the peppermint, evoking the full essence of the holiday season.
-
Pineapple Coconut Smoothie: A tropical twist in a creamy, smooth drink adds a refreshing contrast to the rich pie, cleansing the palate and balancing flavors beautifully.
Each option not only complements the No Bake Christmas Peppermint Pie but adds additional layers of joy and festivity to your holiday meals!
Storage Tips for No Bake Christmas Peppermint Pie
- Fridge: Store your No Bake Christmas Peppermint Pie covered in the refrigerator for up to 5 days to maintain its freshness and creamy texture.
- Freezer: If you want to keep it longer, wrap the pie tightly with plastic wrap and freeze for up to 2 months; just add the crushed peppermint garnish right before serving.
- Thawing: To enjoy frozen pie, thaw it in the fridge overnight, allowing it to return to its delightful creaminess, and let it sit at room temperature for 15-20 minutes before serving.
- Serving: For the best taste and texture, serve chilled slices with a dollop of whipped cream on top.
Helpful Tricks for No Bake Christmas Peppermint Pie
-
Room Temperature Cheese: Allow cream cheese to sit out for at least 2 hours. This helps achieve a smooth filling, preventing lumps in your No Bake Christmas Peppermint Pie.
-
Whipping Cream Tips: Be careful not to over-whip the cream; stop when you see stiff peaks. This ensures the pie’s filling retains its light, airy texture.
-
Gradual Flavoring: Add peppermint extract a little at a time, tasting as you go. This prevents overwhelming the pie, keeping the refreshing peppermint taste just right.
-
Chill Time Matters: For the best texture, allow your pie to chill for at least 4 hours, preferably overnight. This helps the flavors meld beautifully.
-
Peppermint Crunch: When crushing peppermint candy, aim for coarse pieces rather than fine dust. Larger bits add a satisfying crunch and visual appeal to your festive pie.
No Bake Christmas Peppermint Pie Variations
Feel free to experiment and make this No Bake Christmas Peppermint Pie truly your own!
-
Graham Cracker Crust: Swap out the Oreo crust for a graham cracker crust for a lighter flavor that still holds its own.
-
Nutty Delight: For added crunch, fold in some crushed nuts such as pecans or walnuts into the filling for a delightful texture twist.
-
Chocolate Ganache: Elevate the flavor by adding a layer of rich chocolate ganache underneath the pie filling. It creates a decadent surprise in every bite.
-
Alternative Flavors: Try using almond or vanilla extract instead of peppermint for a unique twist that still fits the festive vibe.
-
Dairy-Free Option: Substitute cream cheese with a non-dairy cream cheese alternative and heavy cream with coconut cream for a dairy-free version.
-
Minty Chocolate Swirl: Add melted chocolate to the cream filling to create a beautiful swirl effect—delicious and visually impressive.
-
Spicy Kick: If you love a bit of heat, add a pinch of cayenne pepper or chili powder to the cream for a surprising but delightful contrast to the mint.
-
Layer It Up: Create a layered dessert by serving the filling in individual cups, alternating layers of peppermint pie and crushed chocolate cookies for a fun presentation.
These variations not only allow you to personalize your No Bake Christmas Peppermint Pie but also ensure that every bite is bursting with flavor! Don’t miss out on pairing it with tasty options like Baked Parmesan Zucchini or Baked Cottage Cheese for an unforgettable holiday feast!
Make Ahead Options
These No Bake Christmas Peppermint Pies are perfect for busy holiday schedules! You can prepare the filling and store it in an airtight container in the refrigerator for up to 3 days. To maintain its fluffy texture, be sure to keep the whipped cream stored separately until just before serving. If you want to assemble the pie ahead of time, simply fill the Oreo crust and top it with Cool Whip and crushed peppermint, then cover and refrigerate for up to 24 hours. When you’re ready to serve, let the pie sit at room temperature for 15-20 minutes to restore its creamy texture and wow your guests with this festive treat!
No Bake Christmas Peppermint Pie Recipe FAQs
What kind of cream cheese should I use?
Absolutely use full-fat block cream cheese for the best texture! Avoid low-fat or spreadable versions, as they can lead to lumps in your filling and won’t provide the creamy richness needed for your No Bake Christmas Peppermint Pie.
How long can I store the pie in the fridge?
You can keep your No Bake Christmas Peppermint Pie securely covered in the fridge for up to 5 days. Just make sure it’s well-wrapped to prevent it from absorbing any odors from other foods!
Can I freeze the No Bake Christmas Peppermint Pie?
Yes, you can freeze this delightful pie! Wrap it tightly with plastic wrap and store it in the freezer for up to 2 months. To serve, let it thaw in the fridge overnight, then sit it at room temperature for 15-20 minutes to restore that creamy texture before slicing.
What should I do if the filling looks lumpy?
If your filling turns out lumpy, it’s usually due to the cream cheese not being at room temperature when mixed. To avoid this, allow the cream cheese to sit out for at least 2 hours before use. If you encounter lumps, try mixing it a bit longer until smooth, or you can add a splash of heavy cream to loosen the mixture as you whip it.
Is there a way to adjust the peppermint flavor for allergies?
Absolutely! If someone is sensitive to peppermint or has allergies, you can substitute the peppermint extract with a different flavor like vanilla or even almond extract for a unique twist. Just remember to adjust the quantity to maintain a balanced flavor; start with half the amount and taste as you go.
Can I substitute the Oreo crust with something else?
Very much so! If you’re looking for alternatives, consider using a crust made from crushed graham crackers or another type of cookie. Just make sure to use a sweet base that complements the creamy filling and adds that essential crunch to your No Bake Christmas Peppermint Pie!

No Bake Christmas Peppermint Pie That Will Wow Your Holidays
Ingredients
Equipment
Method
- Whip the Cream: Pour 1 cup of heavy cream into a large mixing bowl and whip until stiff peaks form.
- Prepare the Cream Mixture: Beat 8 ounces of cream cheese and 1 cup of powdered sugar until smooth. Add 1 teaspoon each of vanilla and peppermint extract, along with food coloring if desired.
- Combine Mixtures: Gently fold the whipped cream into the cream cheese mixture until well combined.
- Fill the Crust: Pour the creamy filling into the Oreo crust, smoothing the top evenly.
- Add the Topping: Spread Cool Whip over the top and sprinkle with crushed peppermint candy.
- Chill the Pie: Cover with plastic wrap and refrigerate for at least 4 hours, or overnight for best results.
Leave a Reply