
As I sifted through my pantry, I stumbled upon a jar of peanut butter staring back at me, reminding me of the delightful no-bake treats that never fail to bring smiles. That’s when I decided it was time to whip up a batch of No-Bake Chocolate Peanut Butter Bars. This quick and easy dessert requires no oven, making it perfect for those hectic afternoons when sweet cravings strike. Not only do these bars deliver a satisfying combination of rich chocolate and creamy peanut butter, but they also make for an impressive crowd-pleaser, perfect for gatherings or a cozy night in. With minimal prep time and gluten-free ingredients, they’re a delightful way to indulge without compromising on health. So, why not dive in and discover how these simple treats can elevate your snack game? What flavor combinations will you create?
Why Are These Bars So Irresistible?
Quick and Easy: These No-Bake Chocolate Peanut Butter Bars come together in just minutes, making them a fantastic choice for dessert lovers who want to skip the oven hassle.
Rich, Decadent Flavor: A delightful mix of velvety chocolate and creamy peanut butter creates a mouthwatering treat that satisfies every sweet tooth.
Gluten-Free Goodness: With naturally gluten-free ingredients, everyone can enjoy these bars, making them a great option for gatherings.
Endless Versatility: Feel free to experiment with variations, like swapping in almond butter or adding textures like shredded coconut.
Crowd-Pleaser: Whether you serve them at a party or enjoy them solo, they’ll impress family and friends alike. For more unique flavor combinations, check out my Korean Potato Cheese or Sweet Spicy Mango recipes!
No-Bake Chocolate Peanut Butter Bar Ingredients
For the Base
- Peanut Butter – Provides creaminess and flavor; you can use almond or cashew butter as a nut-free alternative.
- Oats – Adds structure and fiber; rolled oats work best for the perfect texture.
- Maple Syrup (or Honey) – Serves as a natural sweetener and binds the mixture together; agave syrup is a great vegan substitute.
- Cocoa Powder – Infuses rich chocolate flavor; consider Dutch-processed cocoa for a milder taste.
- Vanilla Extract – Enhances flavor depth; fresh vanilla beans can elevate the aroma for a special touch.
For the Topping
- Chocolate Chips (optional) – Provides additional sweetness and texture; using dark chocolate can make it less sweet.
These easy-to-prepare No-Bake Chocolate Peanut Butter Bars are a treat you won’t want to miss!
Step‑by‑Step Instructions for No-Bake Chocolate Peanut Butter Bars
Step 1: Mix Ingredients
In a large mixing bowl, combine 1 cup of creamy peanut butter, 2 cups of rolled oats, ½ cup of maple syrup, ¼ cup of cocoa powder, and 1 teaspoon of vanilla extract. Stir the mixture with a spatula until everything is well combined and holds together like a dough, approximately 3–5 minutes.
Step 2: Press Mixture
Line an 8×8-inch square baking dish with parchment paper, allowing some overhang for easy removal later. Transfer the peanut butter mixture into the dish and use your hands or a spatula to press it down firmly into an even layer. Aim for a compacted surface that reaches all corners, which should take about 2 minutes.
Step 3: Melt Chocolate
In a microwave-safe bowl, add ½ cup of chocolate chips. Heat in the microwave in 30-second intervals, stirring between each session until just melted and smooth, which should take about 1–2 minutes. Be cautious not to overheat to avoid seizing the chocolate.
Step 4: Top Bars
Pour the melted chocolate evenly over the pressed peanut butter mixture in the baking dish. Use a spatula to gently spread it out, ensuring every corner is covered. The melted chocolate should be glossy and create a nice contrast against the base, which will look beautiful once set.
Step 5: Chill
Cover the baking dish with plastic wrap and refrigerate for at least 2 hours, allowing the bars to firm up. The chocolate topping should harden nicely, making it easy to cut into squares later. After chilling, the mixture should maintain a solid structure while still being fudgy.
Step 6: Cut and Serve
Once set, lift the bars out of the dish using the parchment paper overhang and place them on a cutting board. Use a sharp knife to slice into even squares or rectangles. The No-Bake Chocolate Peanut Butter Bars should have a fudgy center topped with a shiny chocolate layer, ready to be enjoyed.
Step 7: Store Leftovers
If you have any leftovers, store the bars in an airtight container in the refrigerator for up to 2 weeks. They also freeze well for future cravings, allowing you to enjoy these delightful treats anytime with just a little thawing time.
Expert Tips for No-Bake Chocolate Peanut Butter Bars
- Smooth Peanut Butter: Ensure your peanut butter is creamy and well-mixed for a consistent texture throughout the bars. Avoid using overly chunky varieties.
- Proper Melting: When melting chocolate chips, use short intervals and stir frequently to prevent seizing. Stop heating once melted to maintain a smooth finish.
- Chilling Time: Be patient! Allow the bars to chill for at least 2 hours before cutting for a firmer texture. Rushing this step can lead to a gooey mess.
- Even Layering: When pressing the mixture into the baking dish, use a spatula or your hands to ensure an even, compact layer to prevent the bars from crumbling when sliced.
- Flavor Variations: Feel free to experiment with different nut butters or add-ins like shredded coconut. This allows you to customize your No-Bake Chocolate Peanut Butter Bars to your taste!
How to Store and Freeze No-Bake Chocolate Peanut Butter Bars
Fridge: Store your bars in an airtight container for up to 2 weeks. Keeping them chilled helps maintain their fudgy texture and delicious flavor.
Freezer: For longer storage, wrap each bar individually and place them in a freezer-safe container. They can last up to 3 months, ensuring a sweet treat is always at hand!
Thawing: When you’re ready to enjoy, simply remove the desired number of bars from the freezer and let them thaw in the fridge for a few hours or at room temperature for about 30 minutes.
Reheating: There’s no need to reheat these No-Bake Chocolate Peanut Butter Bars; they’re best enjoyed chilled for that creamy and satisfying texture!
What to Serve with No-Bake Chocolate Peanut Butter Bars
Treat yourself to a delightful experience by crafting a full meal that harmonizes with the rich allure of these classic no-bake bars.
-
Creamy Vanilla Ice Cream: A scoop of creamy ice cream adds a refreshing contrast to the rich, fudgy bars, enhancing their flavor with every bite.
-
Fresh Berries: Juicy strawberries or raspberries provide a burst of freshness, cutting through the richness and adding a vibrant color to your plate.
-
Coffee or Espresso: A warm cup of coffee or a shot of espresso complements the chocolatey goodness and elevates the overall experience with its bold flavor.
-
Whipped Cream: A dollop of freshly whipped cream serves as a delightful topping, adding lightness and an extra layer of sweetness to every bite.
-
Caramel Sauce Drizzle: Drizzling your bars with luscious caramel sauce creates a sweet, sticky contrast that pairs beautifully with chocolate and peanut butter.
-
Nutty Granola: Crunchy granola sprinkled on top or alongside your bars adds texture and a nutty flavor profile that enhances your dessert experience.
-
Milk Alternative: A chilled glass of almond or oat milk is a perfect drink choice, balancing the bars’ density with its creamy yet light texture, making for a satisfying treat.
-
Chocolate-Covered Fruits: Pairing these bars with chocolate-covered strawberries or bananas will amplify the chocolate flavor and offer a fun, indulgent touch.
-
Mochaccino: For those who love a good coffee treat, a mochaccino with hints of chocolate can be a perfect beverage complement, tying together the flavors beautifully.
Variations & Substitutions for No-Bake Chocolate Peanut Butter Bars
Feel free to get creative and customize these bars to match your taste buds!
- Nut-Free: Replace peanut butter with sunflower seed butter for a nut-free option while keeping that creamy goodness.
- Vegan Delight: Use agave syrup instead of honey and opt for dairy-free chocolate chips to keep things vegan-friendly.
- Coconut Twist: Add ½ cup of shredded coconut to the base for a tropical twist that enhances the bar’s chewy texture.
- Protein Boost: Mix in a scoop of your favorite protein powder along with the base ingredients for a healthy energy boost.
- Flavor Fusion: Swap vanilla extract for almond extract to infuse a delightful, nutty aroma that will elevate every bite.
- Spicy Kick: Sprinkle in a pinch of cayenne pepper or cinnamon for an unexpected heat level that complements the chocolate beautifully.
- Crunch Factor: Fold in chopped nuts, such as walnuts or pecans, for added crunch and a gratifying contrast to the soft texture.
- Chocolate Lovers: Drizzle extra melted chocolate or swirl in nut butter on top for an upscale presentation that speaks to the heart of every chocolate lover.
For additional ideas on tasty variations, be sure to check out my Baked Parmesan Zucchini or explore my delightful Mediterranean Potato Salad recipe!
Make Ahead Options
These No-Bake Chocolate Peanut Butter Bars are a fantastic option for meal prep, saving you time and hassle during busy weeks! You can mix the base ingredients (peanut butter, oats, maple syrup, cocoa powder, and vanilla) and press them into the baking dish up to 24 hours in advance. Just cover the dish with plastic wrap and refrigerate to keep everything fresh. When you’re ready to finish the bars, simply melt the chocolate and pour it on top, then chill for at least 2 hours before serving. This way, you’ll enjoy delicious bars that are just as fudgy and flavorful as if you made them on the spot!

No-Bake Chocolate Peanut Butter Bars Recipe FAQs
What type of peanut butter should I use?
Opt for creamy peanut butter for the best texture. I recommend avoiding chunky varieties as they can disrupt the smooth consistency of the bars. If allergies are a concern, almond or cashew butter can serve as delicious nut-free alternatives.
How should I store these bars and how long do they last?
Store your No-Bake Chocolate Peanut Butter Bars in an airtight container in the refrigerator for up to 2 weeks. Keeping them chilled not only preserves their flavor but also maintains the fudgy texture. If you’d like to store them longer, wrap each bar individually in plastic wrap and keep them in a freezer-safe container for up to 3 months.
Can I freeze the bars and how do I do it?
Absolutely! To freeze your bars, wrap each one in plastic wrap individually to prevent sticking, then place them in a freezer-safe container or bag. They will be good for up to 3 months. When you want to enjoy some, simply let them thaw in the fridge for a few hours or at room temperature for about 30 minutes.
What can I do if my bars don’t set properly?
If the bars are too soft and not setting, it might be due to insufficient chilling. I recommend leaving them in the refrigerator for an additional hour or two. Another tip is to ensure that your mixture was pressed down firmly into the baking dish; this helps maintain the structure once chilled.
Are there any common allergens in this recipe?
Yes, this recipe contains peanuts, which are a common allergen. If you need a nut-free option, feel free to substitute peanut butter with sunflower seed butter or a nut-free alternative. Always check product labels to ensure they are produced in allergen-free facilities to avoid cross-contamination.
Is there a way to make this recipe vegan?
Certainly! To make these No-Bake Chocolate Peanut Butter Bars vegan, simply substitute honey with maple syrup or agave syrup. All the other ingredients, including cocoa powder and chocolate chips, are naturally vegan, but always check for vegan labeling on the chocolate chips you choose.
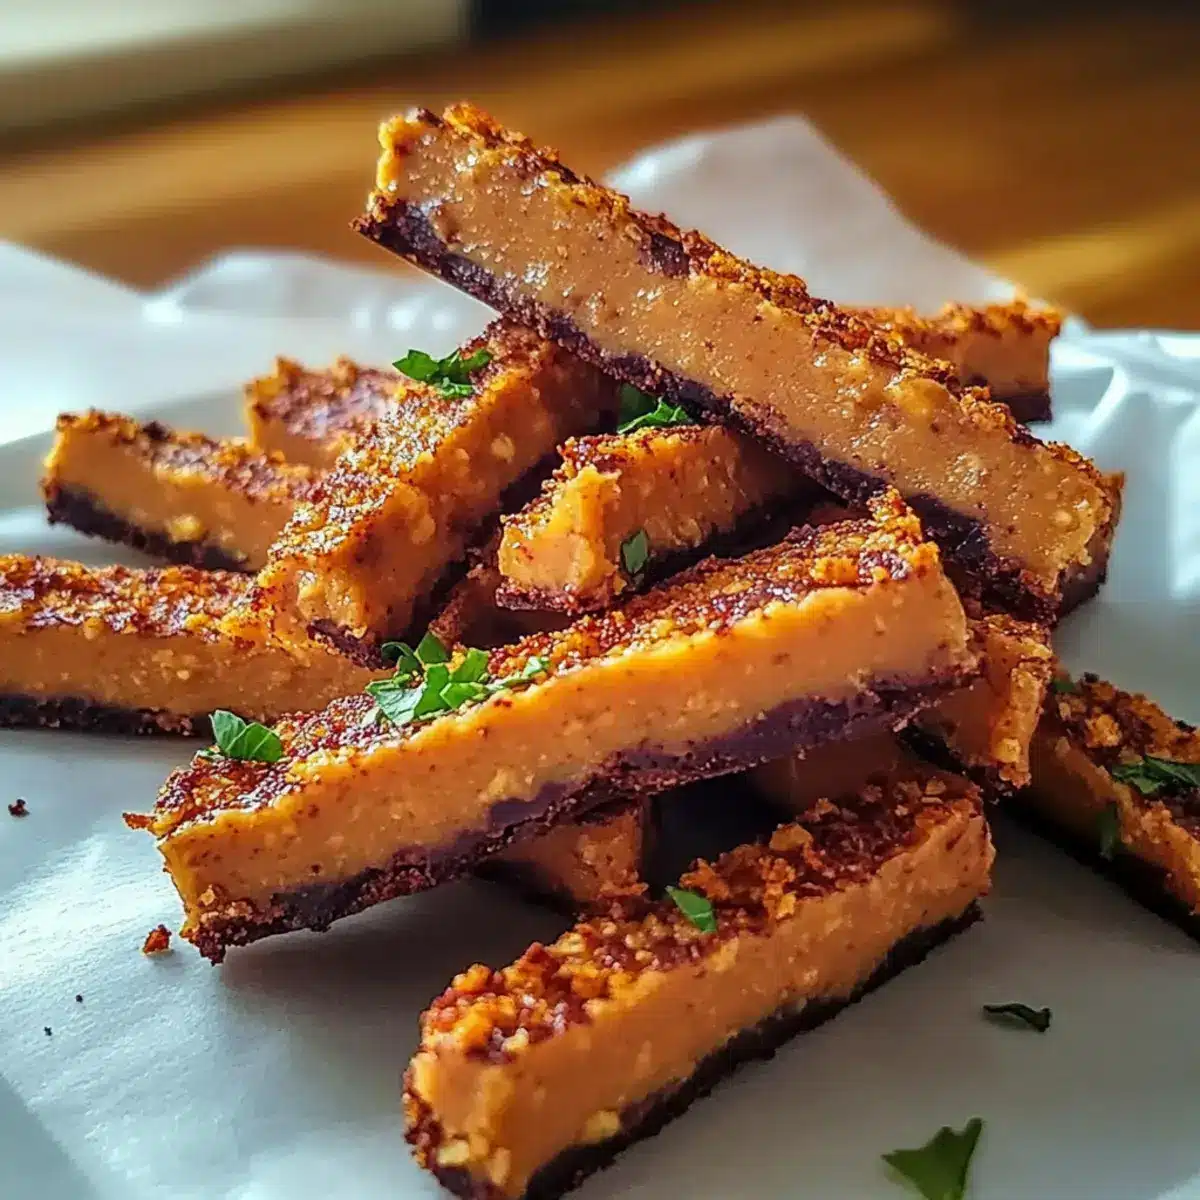
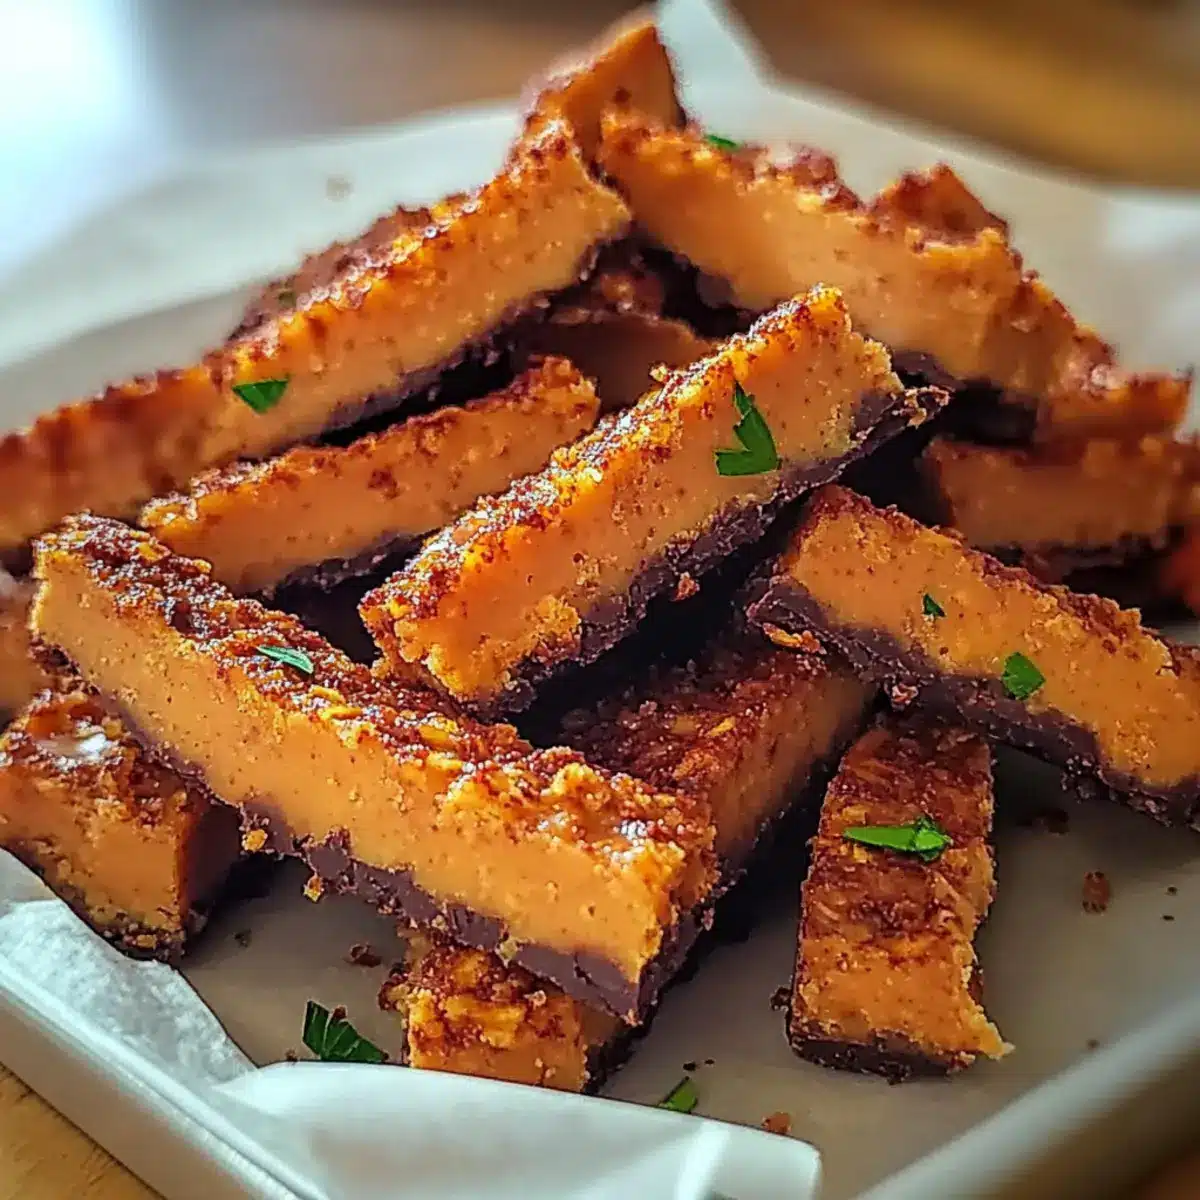
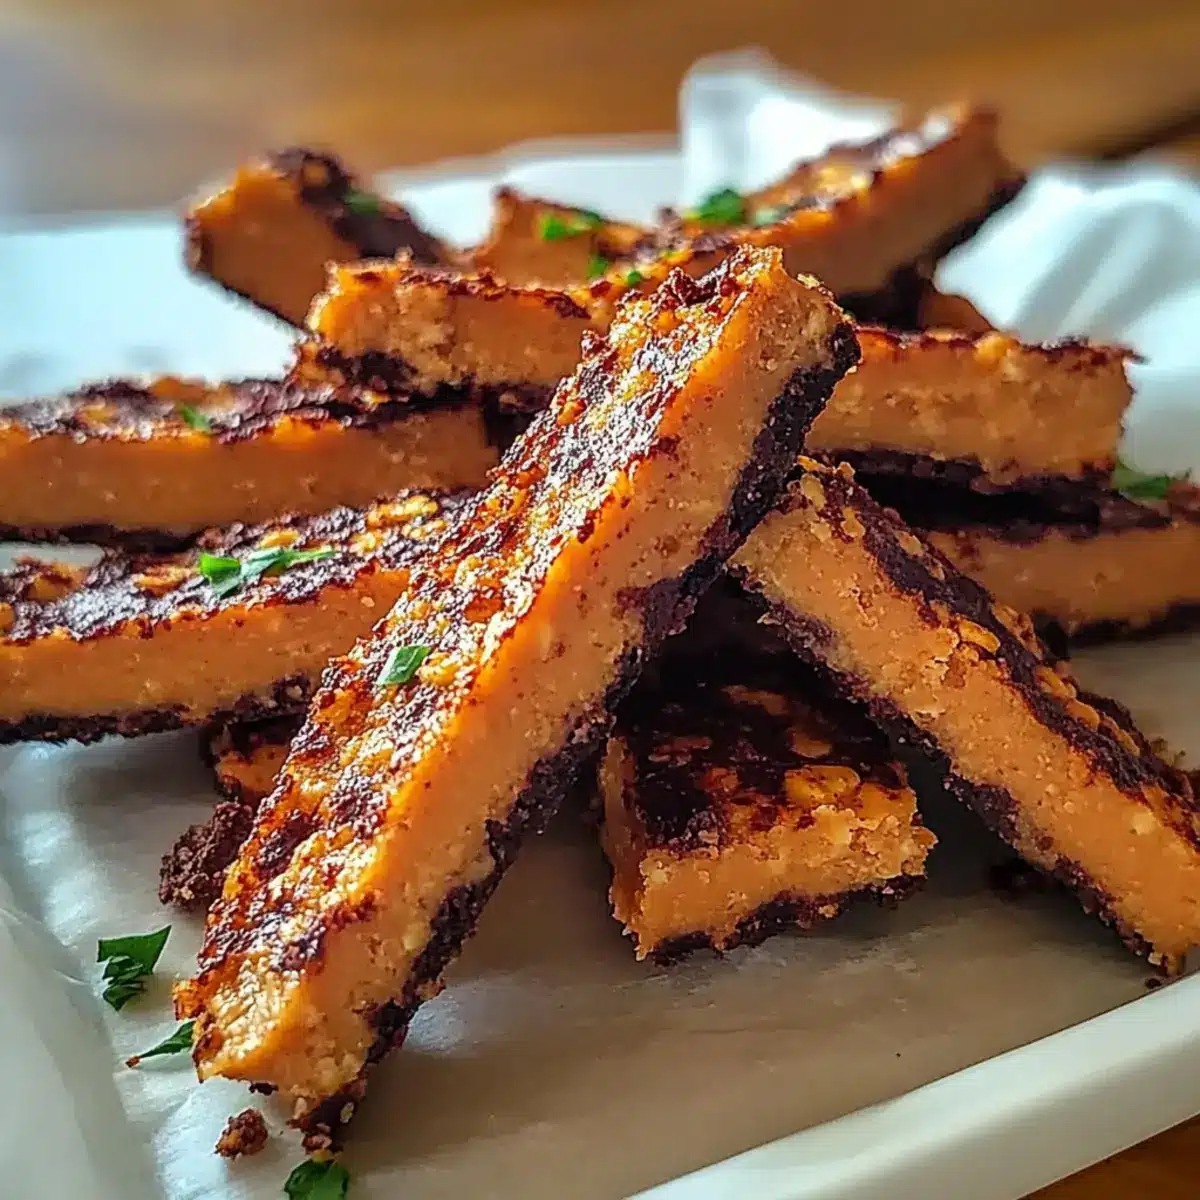
Crispy Oven Baked Sweet Potato Fries You Can't Resist
Ingredients
Equipment
Method
- In a large mixing bowl, combine peanut butter, rolled oats, maple syrup, cocoa powder, and vanilla extract. Stir until well combined, about 3–5 minutes.
- Line an 8x8-inch baking dish with parchment paper. Transfer the mixture into the dish and press down evenly.
- In a microwave-safe bowl, melt chocolate chips in 30-second intervals until smooth, stirring in between.
- Pour the melted chocolate evenly over the pressed mixture and spread to cover every corner.
- Cover with plastic wrap and refrigerate for at least 2 hours to firm up.
- Once set, lift the bars out and slice into squares.
- Store any leftovers in an airtight container in the refrigerator for up to 2 weeks.
Leave a Reply