
As I took my first bite of Mom’s Cream Puffs, the warm, sweet aroma transported me back to cozy kitchen afternoons spent together. These delightful pastries are not just a recipe but a heartwarming tradition, merging light, airy shells with a luscious vanilla cream that whispers comfort. Perfect for any gathering—whether joyous holidays or casual family dinners—these cream puffs are bound to impress with their elegance and simplicity. Best of all, they come together quickly, letting you skip the fast food and savor something homemade instead. Ready to find out how to create this nostalgic treat that can lighten any occasion?
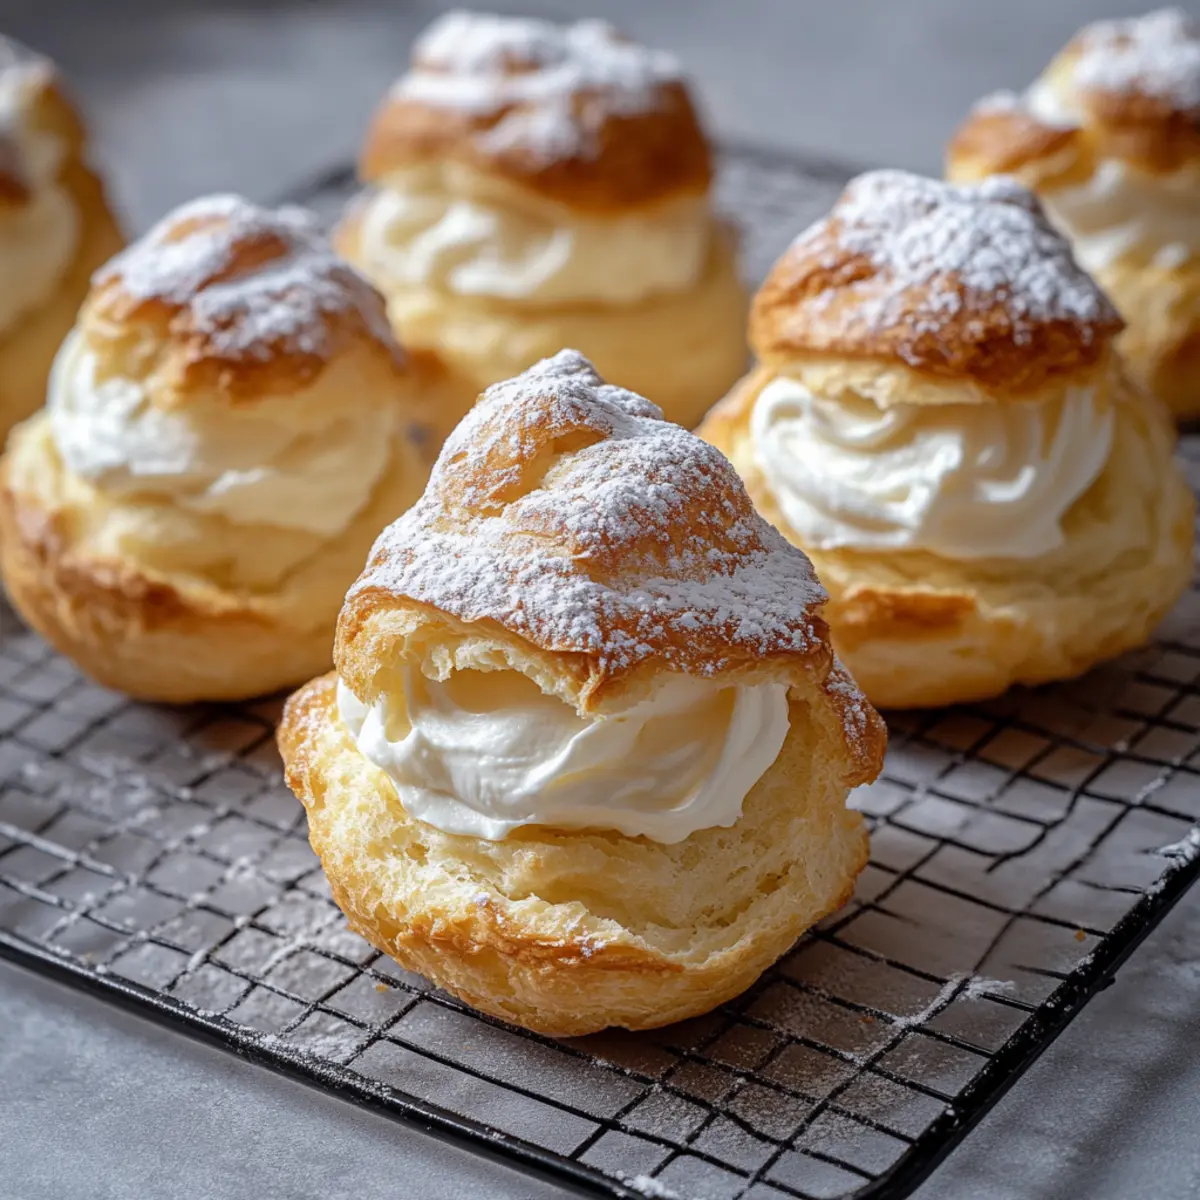
Why are Mom’s Cream Puffs a must-try?
Nostalgic Flavor: Each bite of these puffs takes you back to cherished memories in the kitchen with loved ones.
Quick and Easy: A straightforward recipe that anyone can master, making homemade treats accessible to all.
Impressive Presentation: Perfect for entertaining, they look as delightful as they taste—ideal for special occasions or just a sweet treat kick!
Versatile Filling Options: While the classic vanilla cream is unbeatable, consider fruity twists or even rich chocolate variations for added fun!
Crowd-Pleaser: Whether it’s a family gathering or a dinner party, these air-light delights are guaranteed to wow your guests. They are the perfect way to say goodbye to fast food and hello to warm, homemade goodness! Grab your apron and get started on these delightful bites that can brighten up any table!
Mom’s Cream Puffs Ingredients
For the Shells
• Water – Essential for creating steam that makes the puffs rise; for extra richness, try substituting part with milk.
• Unsalted Butter – Provides flavor and moisture; helps the dough cook evenly—feel free to use salted butter if you adjust the salt accordingly.
• Salt – Enhances the dough’s flavor; no substitutions recommended for the best taste.
• All-Purpose Flour – Creates structure in the pastry shells; proper measuring is crucial to avoid a heavy dough.
• Large Eggs – Key to the structure of the puffs; ensure they’re at room temperature for optimal results.
For the Filling
• Whole Milk – Serves as the base for the cream filling; any type of milk can be used, but whole yields a creamier texture.
• Instant Vanilla Pudding Mix – Thickens the filling and adds flavor; substitute with another flavor mix if you want to experiment!
• Heavy Whipping Cream – Creates a light, fluffy filling; non-dairy alternatives can substitute for a vegan option.
• Powdered Sugar – Sweetens the filling and gives a lovely finish when dusted on top; no substitutions recommended.
• Vanilla Extract – Enhances the cream’s flavor; always choose high-quality extract for the best results.
Enjoy the joy of making Mom’s Cream Puffs, the delicious bites that are sure to brighten any occasion!
Step‑by‑Step Instructions for Mom’s Cream Puffs
Step 1: Prepare the Oven and Baking Sheet
Preheat your oven to 400°F (200°C) and line a baking sheet with parchment paper. This step ensures that your Mom’s Cream Puffs bake evenly and don’t stick to the pan. Preparing your baking sheet while the oven heats up will save you precious time and keep the rhythm flowing in the kitchen.
Step 2: Make the Dough
In a medium saucepan, combine water, butter, and salt, bringing it to a boil over medium heat. Once boiling, add all-purpose flour at once, stirring vigorously with a wooden spoon until the dough pulls away from the sides and forms a ball, about 3-5 minutes. Remove from heat and let it cool slightly, so the eggs can be incorporated without cooking.
Step 3: Add the Eggs
Once the dough has cooled for about 5 minutes, add the large eggs one at a time, mixing well after each addition. This process is crucial for achieving the smooth, glossy texture that makes Mom’s Cream Puffs rise beautifully. Continue mixing until the dough becomes thick and silky, ready for shaping.
Step 4: Shape the Puffs
Using a spoon or a piping bag, drop mounds of the dough onto your prepared baking sheet, spacing them about 2-3 inches apart. This spacing is vital to allow the pastry to puff up as it bakes. Aim for uniform sizes to ensure they cook evenly and provide a polished look.
Step 5: Bake the Puffs
Place the baking sheet in the preheated oven and bake for 25-30 minutes. Avoid opening the oven door during this time to prevent the puffs from collapsing. Keep an eye on them; they should turn a beautiful golden brown when done, indicating their light and airy texture.
Step 6: Cool the Puffs
After baking, remove the puffs from the oven and pierce each with a toothpick to release steam. This ensures that your shells stay crisp rather than soggy. Transfer them to a wire rack and let them cool completely, which will prepare them for the delicious filling.
Step 7: Prepare the Cream Filling
In a bowl, whisk together whole milk and instant vanilla pudding mix until thick. In another bowl, beat heavy whipping cream, powdered sugar, and vanilla extract until stiff peaks form. Fold the whipped cream gently into the pudding mixture to create a light and airy filling that perfectly complements Mom’s Cream Puffs.
Step 8: Assemble the Cream Puffs
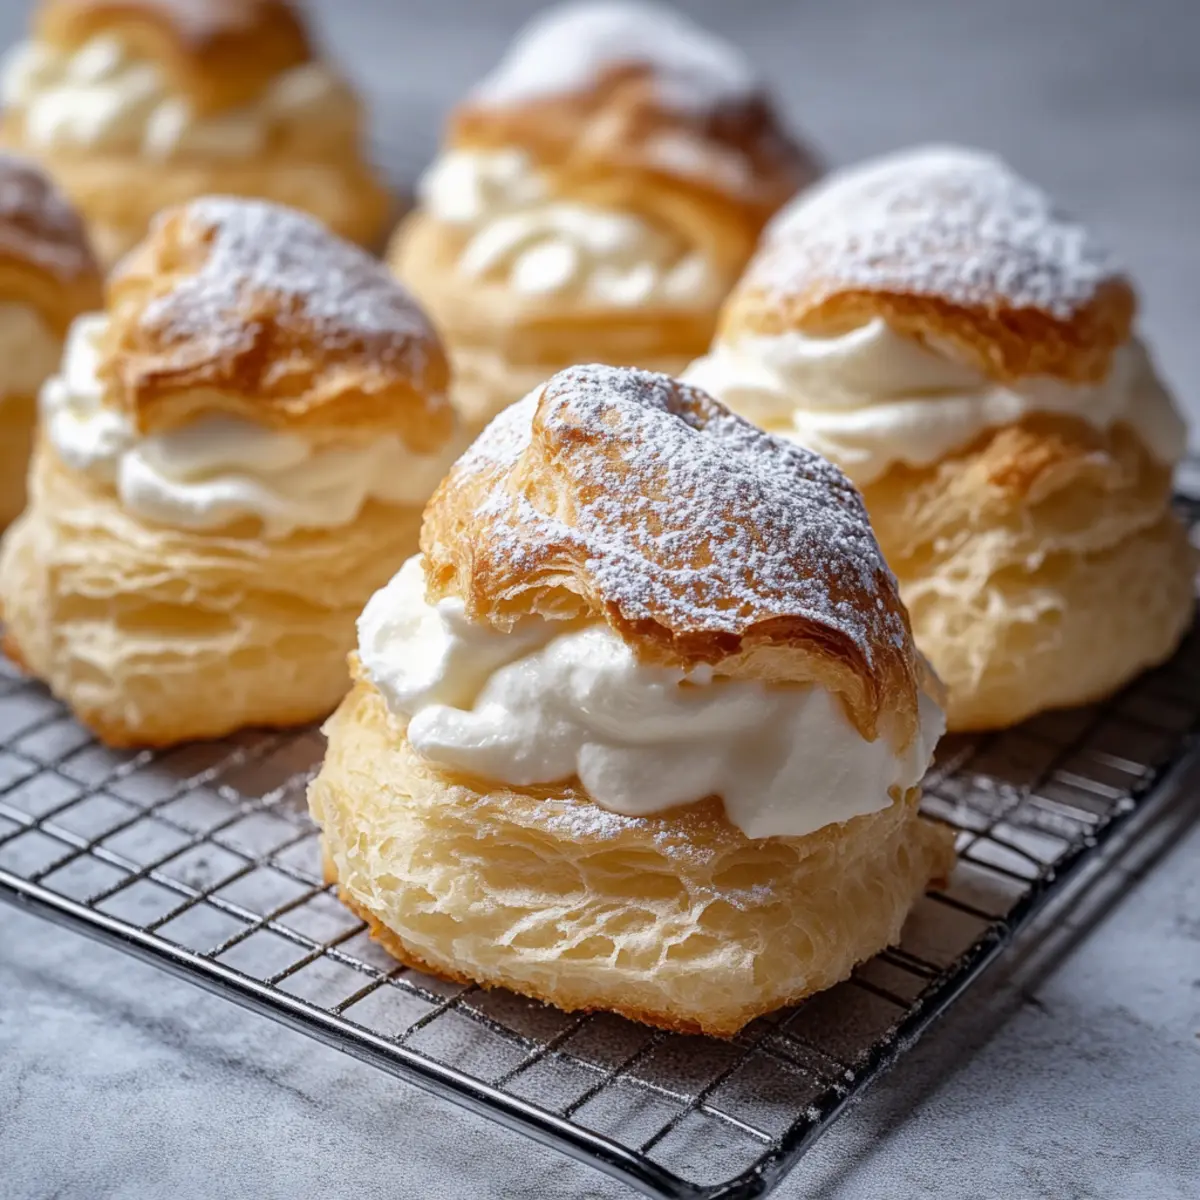
Once your puffs have cooled, slice them in half horizontally and fill each with the luscious cream filling. Be generous, as this is the heart of Mom’s Cream Puffs! After filling, dust them lightly with powdered sugar or drizzle with chocolate for an extra special touch before serving.
Make Ahead Options
These Mom’s Cream Puffs are perfect for meal prep enthusiasts! You can prepare the shells up to 24 hours in advance by baking and allowing them to cool completely. Store the unfilled puffs in an airtight container at room temperature to maintain their crispness. For the filling, you can mix the vanilla cream and refrigerate it for up to 3 days. To finish, simply slice the cooled shells and fill them with the chilled cream just before serving to ensure they stay light and airy. This way, you’ll have delightful homemade treats ready in a flash, perfect for busy weeknights or unexpected guests!
Mom’s Cream Puffs Variations & Substitutions
Feel free to get creative with this recipe and make it your own—you’ll be amazed at the delicious results!
-
Dairy-Free: Use a non-dairy milk and cream alternative for those avoiding dairy without compromising on creaminess.
-
Chocolate Delight: Mix cocoa powder into the filling for a rich and indulgent chocolate variation that transforms classic cream puffs into a decadent treat.
-
Fruity Twist: Fold in fresh diced strawberries or raspberries into your cream filling for a burst of flavor that adds a refreshing twist.
-
Savory Filling: For a unique appetizer, try filling the puffs with herbed cream cheese or a mix of savory cheeses for a delightful starter.
-
Citrus Zing: Add a hint of fresh lemon or orange zest to your cream filling for a bright and zesty kick that enhances the sweetness.
-
Nutty Flavor: Incorporate finely chopped nuts, such as pistachios or almonds, into the cream for a delightful crunch and depth of flavor.
-
Gluten-Free: Swap out all-purpose flour with a gluten-free blend for a version that everyone can enjoy without missing out on texture.
Experimenting with these variations not only spices up the classic Mom’s Cream Puffs but also opens the door to new family favorites. Just like with my Potatoes Rosemary Cream or a side of Street Corn Cucumber Salad, don’t hesitate to explore flavors that resonate with your taste buds!
Storage Tips for Mom’s Cream Puffs
Room Temperature: Unfilled shells can be kept at room temperature in an airtight container for up to 24 hours. This allows you to enjoy their crispness.
Fridge: Filled Mom’s Cream Puffs are best enjoyed on the day they are made but can be refrigerated for up to 2 days. Place them in a sealed container to prevent them from drying out.
Freezer: Unfilled cream puff shells freeze beautifully for up to 2 months. Wrap them tightly in plastic wrap, then place in a freezer-safe bag. Thaw at room temperature before filling.
Reheating: If you need to refresh the filled puffs, warm them in a 350°F (175°C) oven for about 5 minutes. This will bring back their delightful texture and warmth!
What to Serve with Mom’s Cream Puffs
Transform your gatherings into heartwarming experiences with perfect pairings that complement these delightful pastries.
-
Fresh Berries: The tartness of strawberries, raspberries, or blueberries balances the sweetness of the cream filling, adding vibrant color to your dessert table. They make each bite feel like a bite of summer.
-
Chocolate Sauce: A rich drizzle enhances the luxuriousness of the cream puffs, creating an indulgent treat that chocolate lovers will adore. Serve it on the side for a fun dipping experience!
-
Coffee: A warm cup of coffee or espresso contrasts beautifully with the lightness of the cream puffs. Its bold flavor enhances the vanilla notes, making it the perfect end to a meal.
-
Whipped Cream: For those who can’t get enough cream, add a dollop of freshly whipped cream alongside your puffs. It’s an extra layer of indulgence that screams decadence.
-
Lemon Sorbet: The refreshing citrus flavor offers a cleanse to the palate between bites. Its brightness pairs surprisingly well with the sweet and rich notes, providing a delightful balance.
-
Vanilla Ice Cream: A scoop of creamy vanilla ice cream beside your warm cream puffs creates a comforting dessert experience. The melty ice cream balances out the crispy shells and velvety filling.
-
Mint Tea: Cooling mint tea brings an aromatic touch that refreshes the senses while counteracting the creamy richness. It provides a lovely, delicate finish to your sweet feast.
-
Cheese Platter: A selection of mild cheeses can provide a savory contrast to your sweet pastries. Try brie or a soft goat cheese for a sophisticated twist to your dessert spread.
Tips for the Best Mom’s Cream Puffs
• Dough Consistency: Ensure your dough isn’t too runny. A thick dough helps create the right texture, allowing the Mom’s Cream Puffs to rise beautifully.
• Oven Door Etiquette: Avoid opening the oven door while baking. This key move prevents a collapse in your puffs, keeping them airy and light.
• Room Temperature Eggs: Let your eggs sit out to reach room temperature before mixing. This small step enhances the dough’s ability to rise and ensures a perfect puff.
• Even Sizing: Drop mounds of dough that are uniform in size. This guarantees that all Mom’s Cream Puffs bake evenly, creating a lovely, polished appearance.
• Cooling Time: Be patient! Allow the shells to cool completely before filling. This step keeps the filling from making the puffs soggy, ensuring a delightful crunch with every bite.
Mom’s Cream Puffs Recipe FAQs
How do I choose the right flour for Mom’s Cream Puffs?
I recommend using all-purpose flour for the best results, as it provides the perfect structure for the shells. Ensure that you measure it accurately—too much flour can lead to heavy dough, while too little might result in puffs that don’t hold up. For precision, use a kitchen scale or spoon the flour into a measuring cup and level it off.
How should I store unfilled Mom’s Cream Puffs?
Unfilled cream puff shells can be stored at room temperature in an airtight container for up to 24 hours. This method keeps them crisp and ready for filling later. If you want to keep them longer, freeze them for up to 2 months. Wrap the shells tightly in plastic wrap and place them in a freezer-safe bag. When you’re ready, simply thaw them at room temperature before adding your delicious filling.
Can filled Mom’s Cream Puffs be refrigerated?
Absolutely! Filled Mom’s Cream Puffs are best enjoyed fresh but can be refrigerated for up to 2 days. Make sure to store them in a sealed container to prevent dryness and maintain their delightful texture. However, I recommend consuming them within the first day for optimal freshness and taste.
What should I do if my cream puffs didn’t rise?
If your cream puffs didn’t rise, there could be a few reasons. First, ensure that you didn’t open the oven door while they were baking; this can cause them to collapse. Also, check that your dough was the right consistency—not too runny or too thick. Lastly, using room temperature eggs helps in achieving the proper texture, so make sure to let them sit out before mixing.
Can I make Mom’s Cream Puffs ahead of time?
Yes! You can make the unfilled cream puff shells ahead of time and store them as mentioned earlier. You could also prepare the filling a day in advance and store it in the refrigerator. When you’re ready to serve, simply fill the shells, and you’ll have freshly made treats that will impress your guests!
Are there any allergy considerations for the ingredients in Mom’s Cream Puffs?
Yes, if anyone in your gathering has allergies, be mindful of the ingredients. The recipe contains gluten from the flour, dairy from the butter, milk, and cream, and eggs, which are common allergens. You can consider making adjustments, such as using a gluten-free flour blend, non-dairy milk, and egg substitutes, but this will alter the texture and flavor of the cream puffs. Always inform your guests about the ingredients used.
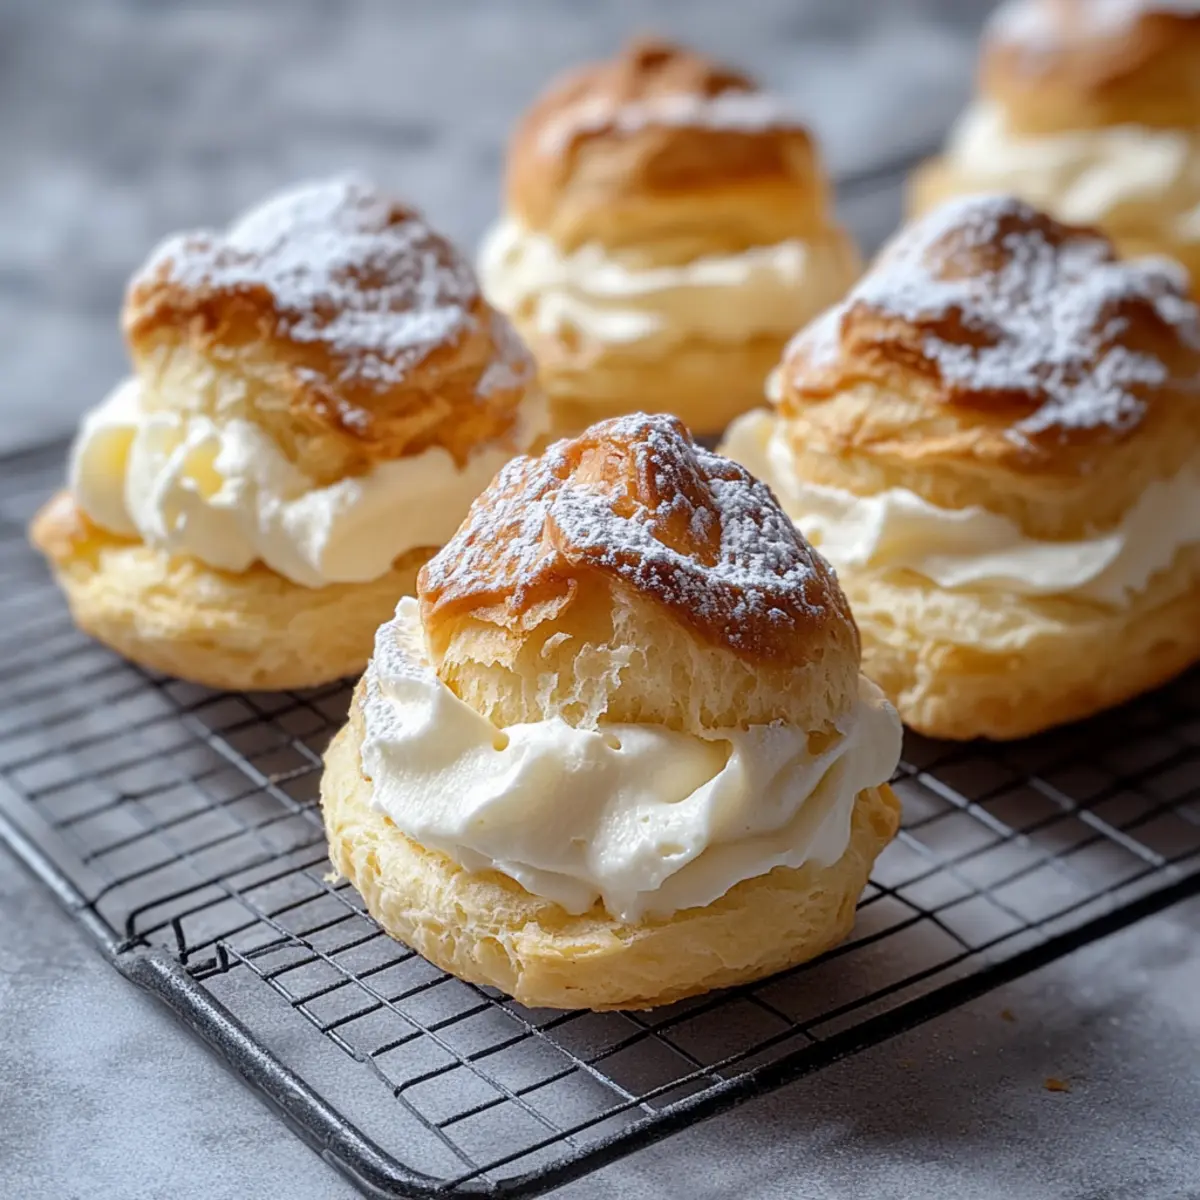
Mom’s Cream Puffs: Light, Airy Bites of Pure Joy
Ingredients
Equipment
Method
- Preheat your oven to 400°F (200°C) and line a baking sheet with parchment paper.
- In a medium saucepan, combine water, butter, and salt, bringing it to a boil over medium heat.
- Once boiling, add all-purpose flour at once, stirring until the dough pulls away from the sides.
- After cooling slightly, add the eggs one at a time, mixing until smooth and glossy.
- Drop mounds of dough onto the baking sheet, spacing them about 2-3 inches apart.
- Bake for 25-30 minutes until golden brown, avoiding opening the oven door.
- After baking, pierce each puff with a toothpick to release steam and cool on a wire rack.
- In a bowl, whisk together whole milk and pudding mix; beat cream with sugar and vanilla until stiff peaks form.
- Fold whipped cream into pudding mixture, then fill cooled puffs and dust with powdered sugar.
Leave a Reply