
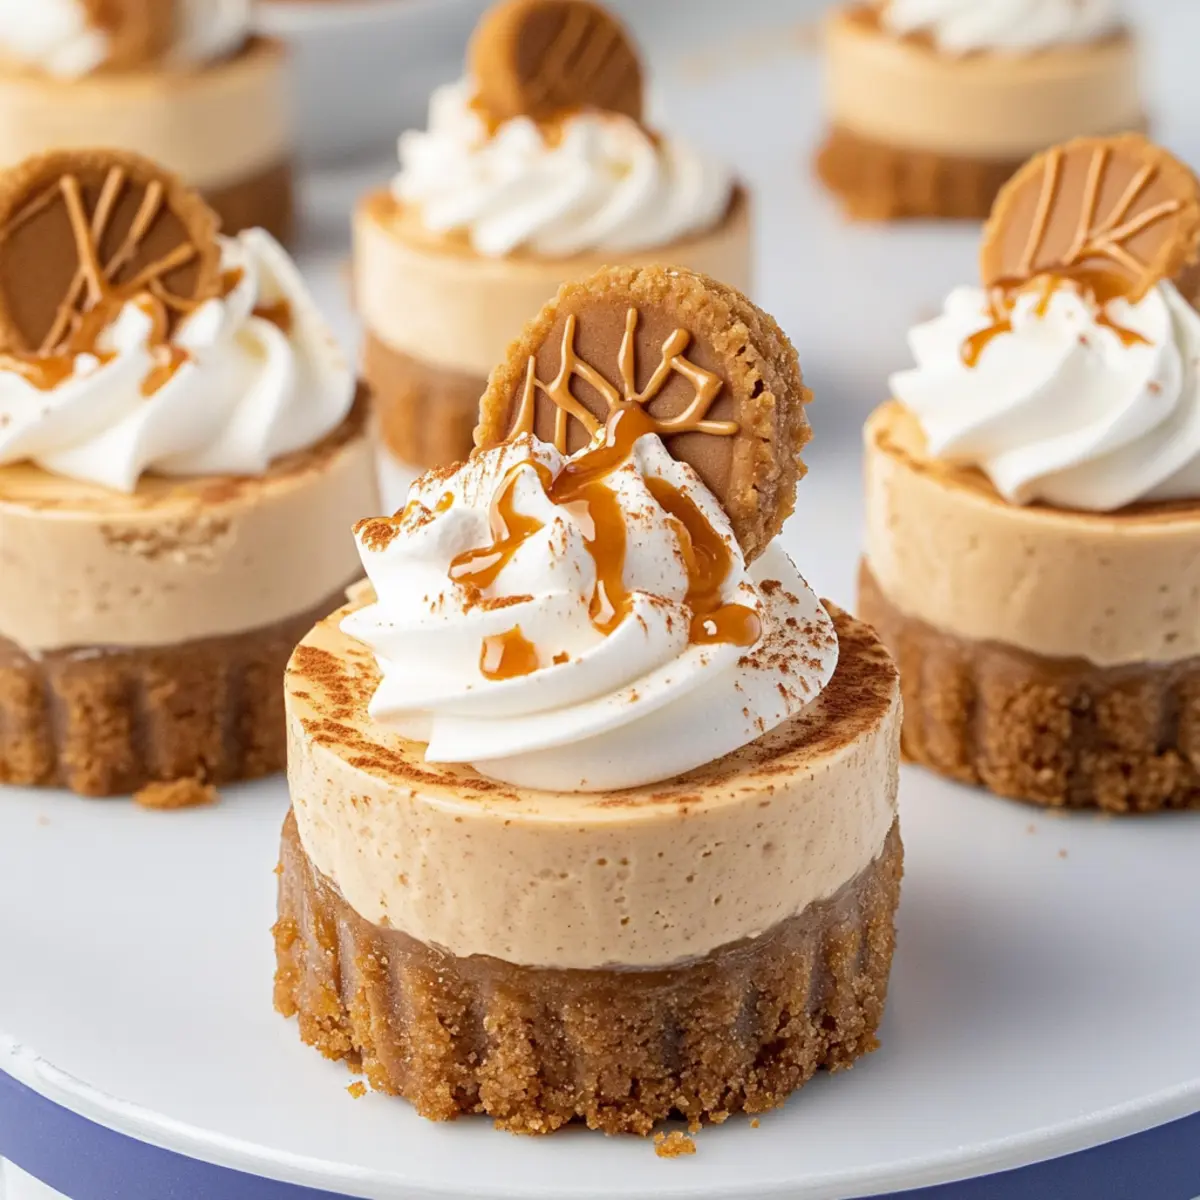
As I gathered my ingredients today, the rich aroma of cookie butter wafted through the kitchen, instantly transporting me to a cozy café where everything is sweet and indulgent. That’s the magic of these No-Bake Mini Biscoff Cheesecakes! With their irresistible combination of a crunchy Biscoff cookie crust and a creamy, dreamy cheesecake filling, they promise to sweep away any lingering thoughts of fast food. Not only are these mini masterpieces a quick and easy dessert to whip up, but they also serve as the perfect crowd-pleaser for gatherings or just a little treat after a long day. Curious about how to create these delightful bites? Let’s dive into the recipe and unlock the secret to your new favorite dessert!
Why are these cheesecakes so special?
Irresistible Flavor: These mini cheesecakes burst with the delicious taste of cookie butter that elevates them above ordinary desserts.
No-Bake Delight: With a simple no-bake method, they’ll save you precious time in the kitchen while still delivering gourmet satisfaction.
Perfect for Any Occasion: Whether it’s a cozy night in or a big celebration, these treats are crowd-pleasers that suit any gathering!
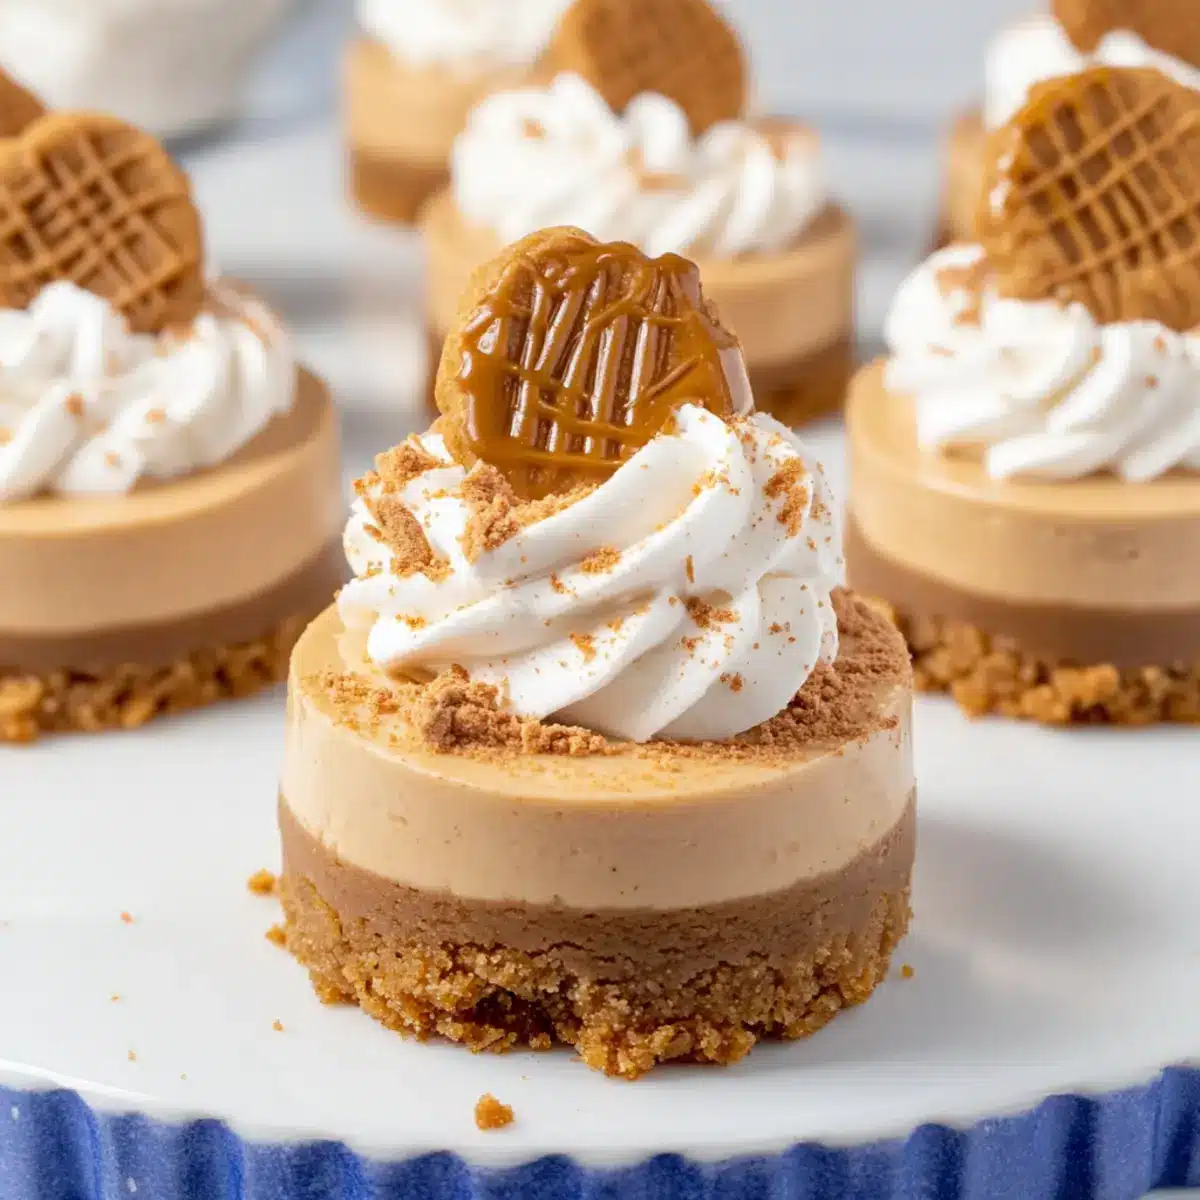
Uniquely Textured: Enjoy the crunchy crust paired with the smooth creaminess of the cheesecake filling, creating a delightful contrast in each bite.
Make Ahead Convenience: Prepare your cheesecakes a day in advance for optimal flavor and effortless entertaining. The only thing left to do? Sit back and relish the compliments from everyone at the table!
Mini Biscoff Cheesecake Ingredients
For the Crust
• Biscoff Cookie Crumbs – 2 cups (200 g); this crunchy base creates the perfect foundation for the cheesecakes, but feel free to substitute with graham cracker crumbs for variation.
• Granulated Sugar – 2 tbsp (24 g); adds sweetness to the crust, so no substitutions here if you want that classic taste.
• Salted Butter – 6 tbsp (84 g), melted; binds the cookie crumbs together; unsalted butter can be used if you’re adjusting for salt content.
For the Cheesecake Filling
• Cream Cheese – 16 oz (454 g), room temperature; it’s the key to a creamy filling, and using Neufchâtel cheese can lighten it up a bit.
• Powdered Sugar – 1¾ cups (210 g); sweetens the cheesecake filling beautifully, so using the freshest powdered sugar will yield the best flavor.
• Biscoff Spread (Cookie Butter) – 1 cup (237 g); infuses the filling with that delicious cookie butter flavor; don’t hesitate to swap with another favorite cookie butter brand if needed.
• Vanilla Extract – 2 tsp; enhances the overall flavor profile; opt for high-quality extract for a richer taste.
• Heavy Cream – 1 cup (237 ml) for cheesecake + ¾ cup (177 ml) for whipped cream; provides lightness and volume when whipped, with non-dairy alternatives also available for a whipped delight.
For Garnishing
• Additional Biscoff Spread – ¾ cup (177 g), melted; perfect for drizzling on top, enhancing the Biscoff flavor throughout.
• Biscoff Cookies – 12, halved; delightful for decoration and adds to the cheesecake’s texture—feel free to use any similar caramel-flavored cookie for a twist.
Step‑by‑Step Instructions for Mini Biscoff Cheesecakes
Step 1: Prepare the Crust
In a mixing bowl, combine 2 cups of Biscoff cookie crumbs, 2 tablespoons of granulated sugar, and 6 tablespoons of melted salted butter. Mix well until the crumbs are evenly coated. Firmly press this mixture into the bottom of mini cheesecake pans or tartlet molds to create a solid base. Aim for about ¼ inch thickness for a sturdy crust, then set aside.
Step 2: Make Cheesecake Mixture
In a large mixing bowl, beat 16 ounces of room temperature cream cheese until smooth using an electric mixer. Gradually add 1¾ cups of powdered sugar and 1 cup of Biscoff spread, along with 2 teaspoons of vanilla extract. Mix until fully combined and creamy. Slowly pour in 1 cup of heavy cream, continuing to mix until the mixture thickens and fluffs up, approximately 2-3 minutes.
Step 3: Fill Cheesecakes
Transfer the cheesecake mixture into a piping bag or a resealable plastic bag with one corner snipped. Carefully pipe the mixture into the prepared crusts, filling them just slightly above the edge for a delightful dome shape. Ensure even distribution among the mini cheesecake pans to create a uniform appearance, then smooth the tops with a spatula if necessary.
Step 4: Chill
Place the filled mini cheesecakes in the refrigerator to chill for at least 12 hours, or ideally overnight. This chilling step is crucial, as it allows the cheesecakes to firm up properly. You’ll know they’re ready when they feel set and slightly firm to the touch, ensuring a perfect texture for serving.
Step 5: Prepare Whipped Cream
In a clean mixing bowl, pour ¾ cup of heavy cream and add 2 tablespoons of powdered sugar along with ½ teaspoon of vanilla. Using an electric mixer, whip the mixture on medium speed until you achieve medium-stiff peaks, which should take about 3-5 minutes. This velvety whipped cream will add a lovely lightness to your Mini Biscoff Cheesecakes.
Step 6: Assemble
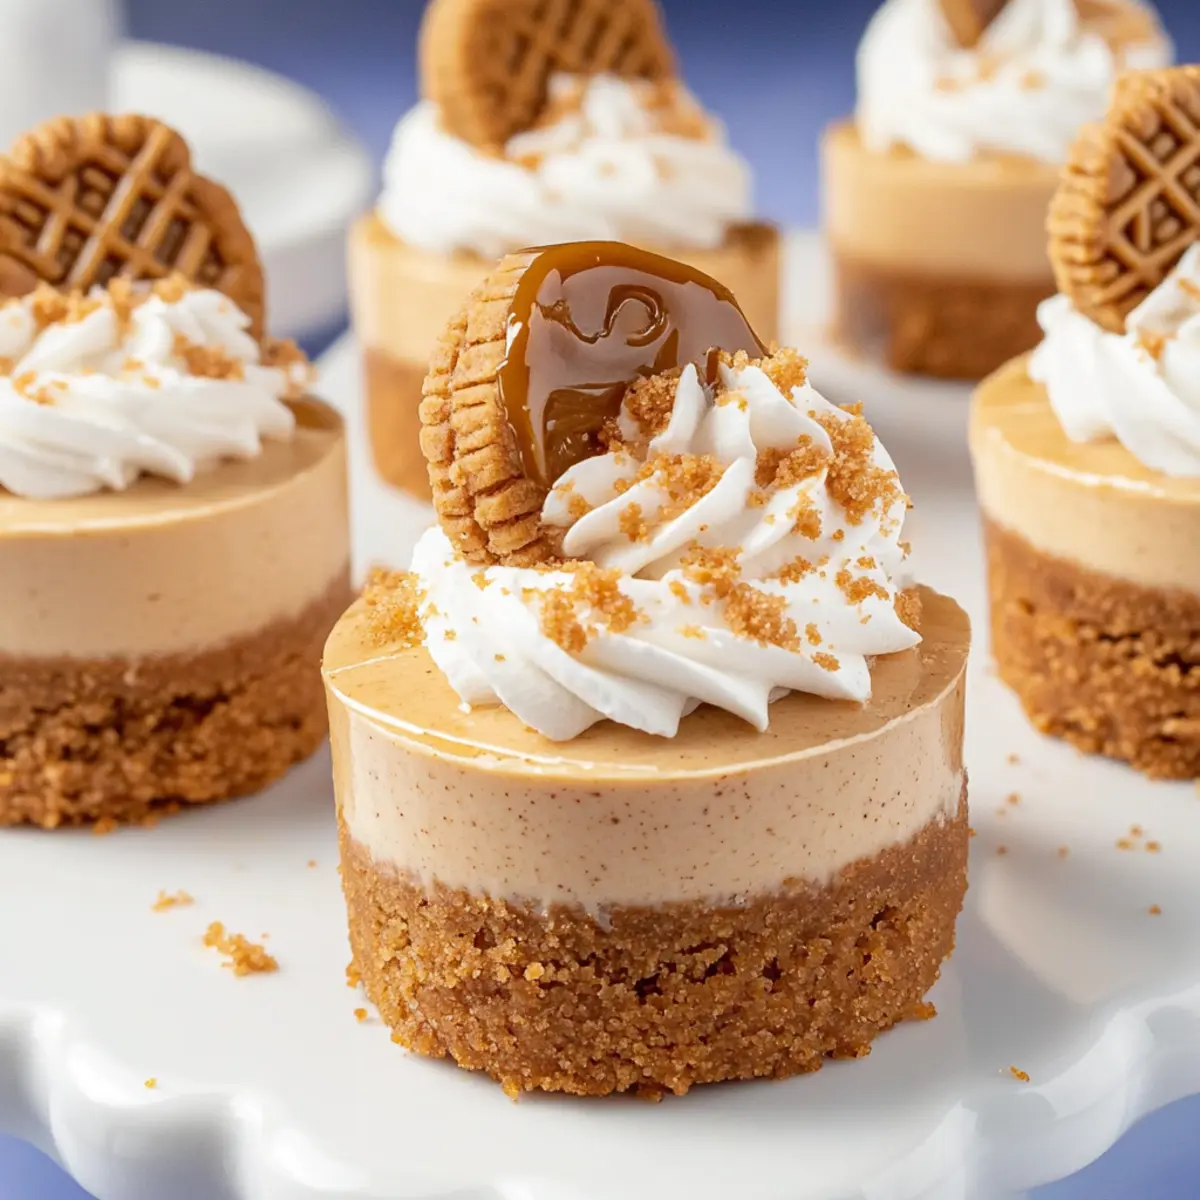
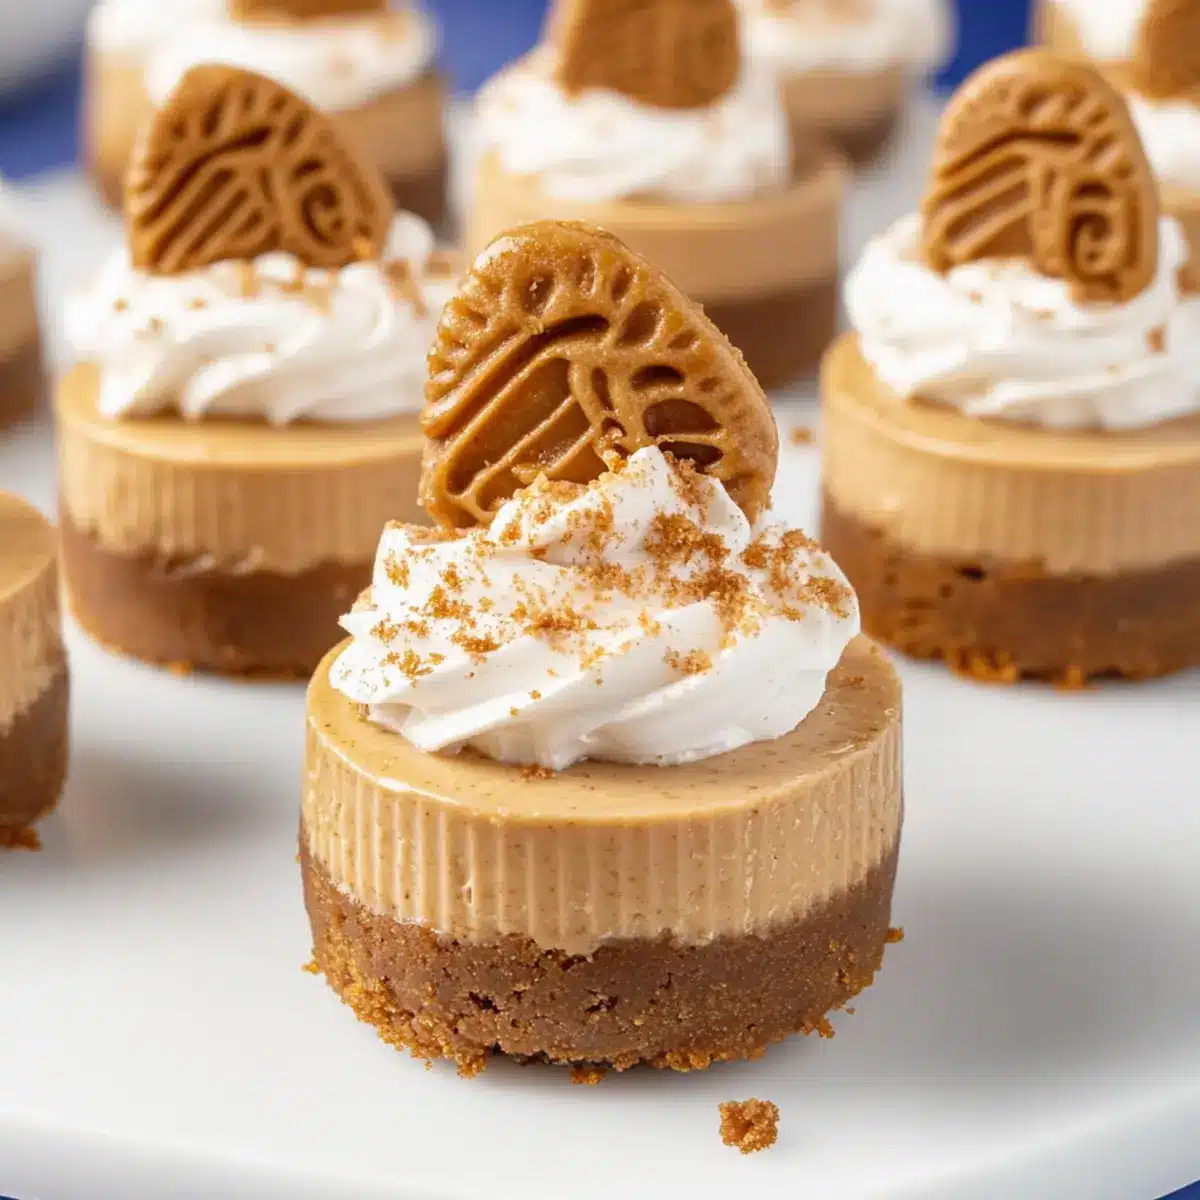
Once the cheesecakes have set, take out your melted Biscoff spread (¾ cup) and drizzle it generously over the tops of each cheesecake. Next, pipe a swirl of the whipped cream on top using a piping bag fitted with a decorative tip for a professional finish. Finally, sprinkle crushed Biscoff cookie crumbs over the whipped cream and decorate with half a Biscoff cookie on each cheesecake for an added touch of elegance.
How to Store and Freeze Mini Biscoff Cheesecakes
Fridge: Store your mini Biscoff cheesecakes in an airtight container in the refrigerator for up to 3 days. This keeps them fresh while maintaining their creamy texture.
Freezer: For longer storage, freeze the cheesecakes for up to one month. Place them in a single layer in a freezer-safe container, separating layers with parchment paper to prevent sticking.
Thawing: When ready to enjoy, thaw the mini cheesecakes in the refrigerator overnight for the best texture. Avoid defrosting at room temperature to preserve their creamy consistency.
Reheating: These treats are best served chilled, so no reheating is necessary. Instead, allow them to slowly come to room temperature before serving if desired.
Make Ahead Options
These Mini Biscoff Cheesecakes are perfect for meal prep enthusiasts! You can prepare the crust and cheesecake filling up to 24 hours in advance, allowing you to save valuable time on busy days. To do this, simply mix the crust ingredients and pack them into mini cheesecake pans, then prepare the filling and store it separately in the refrigerator in an airtight container. When you’re ready to serve, pipe the cheesecake mixture into the crust and chill for another hour for the best texture. This way, you’ll have restaurant-quality desserts ready effortlessly, just as delicious as when freshly made!
Mini Biscoff Cheesecakes Variations & Substitutions
Feeling adventurous? Let your creativity run wild by customizing these delightful treats to suit your taste buds!
- Nutty Crunch: Stir in ½ cup of crushed almonds or hazelnuts into the cheesecake mixture for a flavorful crunch. The added texture complements the creamy filling beautifully.
- Chocolate Ganache: Drizzle a rich layer of chocolate ganache over the cheesecake before adding whipped cream. It adds a decadent touch and satisfies any chocolate cravings!
- Dairy-Free Delight: Substitute cream cheese and heavy cream with vegan cream cheese and coconut whipped cream for a dairy-free version that everyone can enjoy.
- Flavorful Whipped Cream: Swap regular vanilla extract for espresso or hazelnut flavoring in the whipped cream. This adds a new layer of richness to your cheesecakes.
- Spice It Up: Mix in 1 teaspoon of cinnamon or ginger into the cheesecake mixture for a warm, spicy twist that pairs well with the cookie butter.
- Fruit Layer: Top with fresh berries or a layer of fruit preserves between the crust and the cheesecake. This adds a burst of freshness that cuts through the richness.
- Banana Cream: Swirl in mashed bananas into your cheesecake mixture for a fruity flair and extra creaminess. This combination creates a delightful dessert reminiscent of a beloved banana split!
- Toffee Crunch: Fold in crushed toffee bits into the filling for a sweet caramel crunch that elevates each bite. It’s the perfect indulgence if you love a bit of added sweetness!
Feel free to experiment with these variations or mix and match elements from them, making each batch of your mini cheesecakes uniquely yours! And if you’re looking for easy dessert options, check out some delicious ideas like my irresistible No-Bake Chocolate Cheesecake!
What to Serve with No-Bake Mini Biscoff Cheesecakes
Pairing these indulgent treats with complementary flavors will elevate your dessert experience to new heights.
-
Fresh Berries: Juicy raspberries or strawberries bring a tart contrast that beautifully balances the sweetness of the cheesecakes. Their vibrant color also adds a charming touch.
-
Chocolate Drizzle: A luscious chocolate sauce drizzled over each cheesecake will enhance the dessert with rich flavors, creating an enticing combination that chocolate lovers will adore.
-
Caramel Sauce: A drizzle of warm caramel adds a delightful richness that harmonizes wonderfully with the cookie butter flavor, creating a super indulgent treat.
-
Coffee or Espresso: Pairing with a robust cup of coffee or a shot of espresso can cut through the creaminess of the cheesecake, enhancing flavors and providing a delightful after-dinner feel.
-
Mint Leaves Garnish: A sprig of fresh mint not only adds a pop of color but also brings a refreshing note that elevates the entire dessert experience, making it feel sophisticated.
-
Whipped Cream: Extra whipped cream, lightly sweetened and flavored, provides lightness and texture that complements the richness of the mini Biscoff cheesecakes, making each bite a cloud of joy.
Expert Tips for Mini Biscoff Cheesecakes
-
Room Temperature Cream Cheese: Ensure it’s at room temperature for smooth blending; cold cream cheese will lead to lumps in your cheesecake filling.
-
Proper Chilling: Don’t skip the refrigeration time! It’s vital for the cheesecakes to set properly and achieve that delightful texture.
-
Professional Piping: Use a Wilton 1M piping tip when decorating with whipped cream for that beautiful, swirled presentation, making your mini cheesecakes eye-catching.
-
Flavor Boost: For a richer taste, opt for high-quality vanilla extract and fresh powdered sugar; they significantly enhance the overall flavor of your mini Biscoff cheesecakes.
-
Overfilling Caution: When filling the crusts, allow the cheesecake mixture to slightly exceed the edges, but avoid overfilling to prevent messy edges after chilling.
Mini Biscoff Cheesecakes Recipe FAQs
What type of Biscoff cookies should I use for the crust?
I recommend using the regular Biscoff cookies for the crust as they provide that signature flavor and crunch. However, if you’re looking for a twist, feel free to substitute with graham cracker crumbs or any other caramel-flavored cookie for a different taste experience.
How should I store leftover mini Biscoff cheesecakes?
To keep your mini Biscoff cheesecakes fresh, store them in an airtight container in the refrigerator for up to 3 days. For optimal texture, try to consume them within the first two days, as the creaminess is at its best right after making!
Can I freeze mini Biscoff cheesecakes? How do I do that?
Absolutely! If you want to freeze your treats, place the mini cheesecakes in a single layer in a freezer-safe container, making sure to separate layers with parchment paper. They can be stored for up to one month. When you’re ready to enjoy, just thaw them in the refrigerator overnight for the ideal texture.
What if my cheesecake mixture seems too runny?
If you find that your cheesecake mixture is too runny, it might be due to the heavy cream not being whipped enough. Ensure you’re whipping it until medium-stiff peaks form, which typically takes about 3-5 minutes. If it’s still not thickening, you can refrigerate the mixture for 15-30 minutes to help it firm up before filling the crusts.
Are there any dietary considerations to keep in mind?
Definitely! The main allergens in these mini Biscoff cheesecakes include dairy (from cream cheese and heavy cream) and gluten (from the Biscoff cookies). If you have dietary restrictions, consider using non-dairy cream cheese and whipped cream alternatives to make them suitable for a vegan diet. Always check the labels of the cookie butter for any potential allergens.
Irresistible Mini Biscoff Cheesecakes You'll Love to Devour
Ingredients
Equipment
Method
- In a mixing bowl, combine the Biscoff cookie crumbs, granulated sugar, and melted butter. Mix well until evenly coated. Press mixture into mini cheesecake pans to create a firm crust.
- In a large bowl, beat cream cheese until smooth. Gradually add powdered sugar, Biscoff spread, and vanilla extract. Mix until creamy and then gradually pour in heavy cream, mixing until thick and fluffy.
- Transfer the cheesecake mixture into a piping bag. Pipe the mixture into prepared crusts until slightly above the edges, then smooth the tops.
- Refrigerate the cheesecakes for at least 12 hours until firm.
- For whipped cream, whip heavy cream with powdered sugar and vanilla until medium-stiff peaks form.
- Once cheesecakes are set, drizzle melted Biscoff spread on top, pipe whipped cream, and decorate with Biscoff cookie halves.
Leave a Reply