
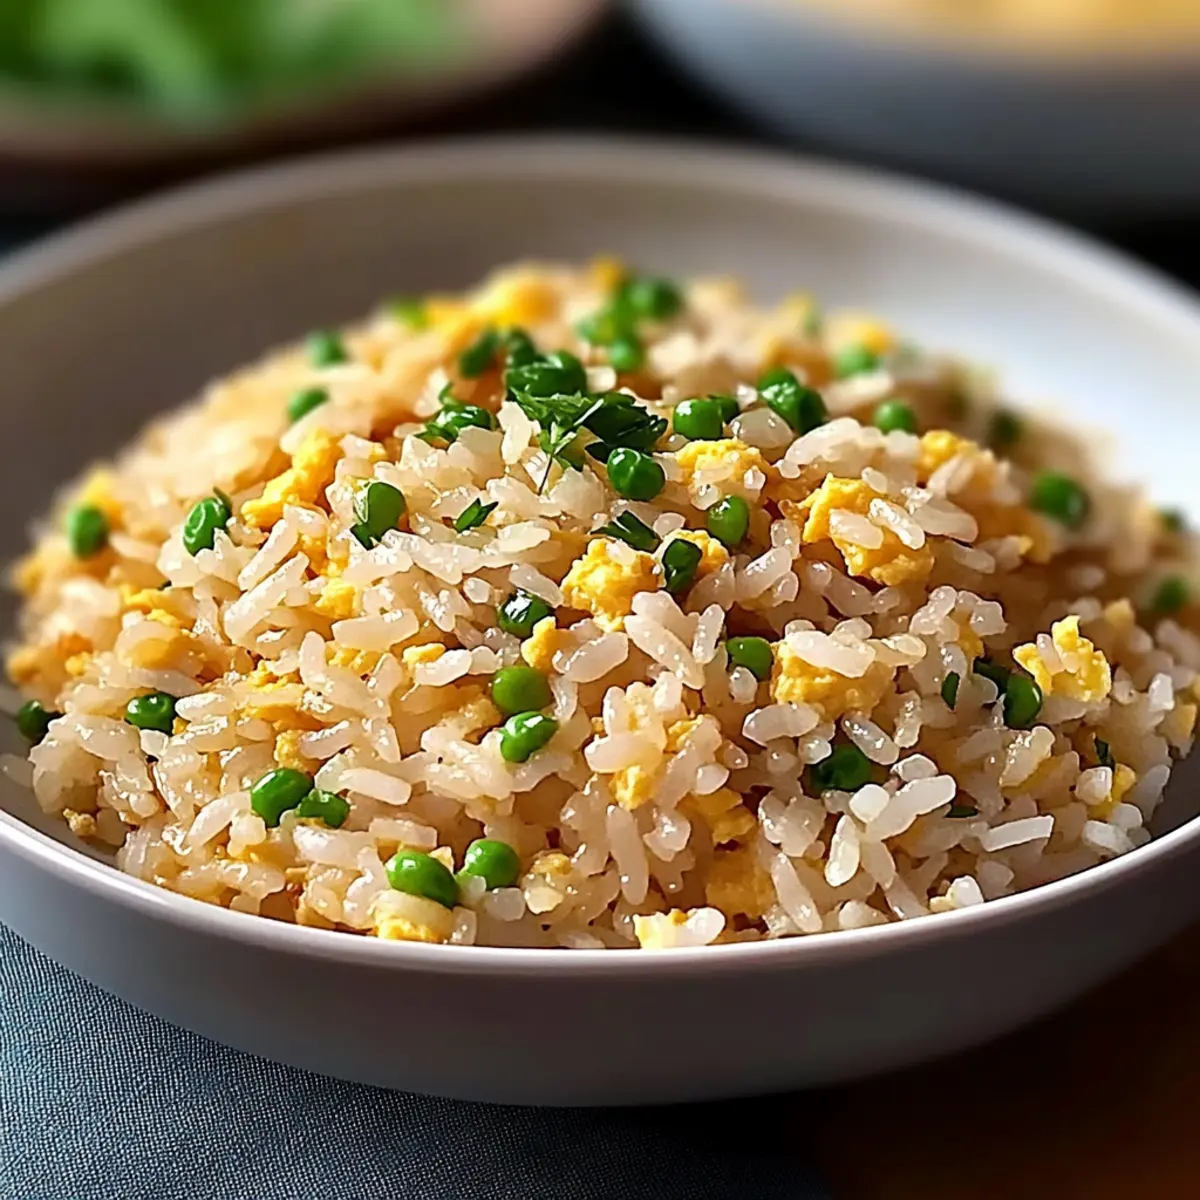
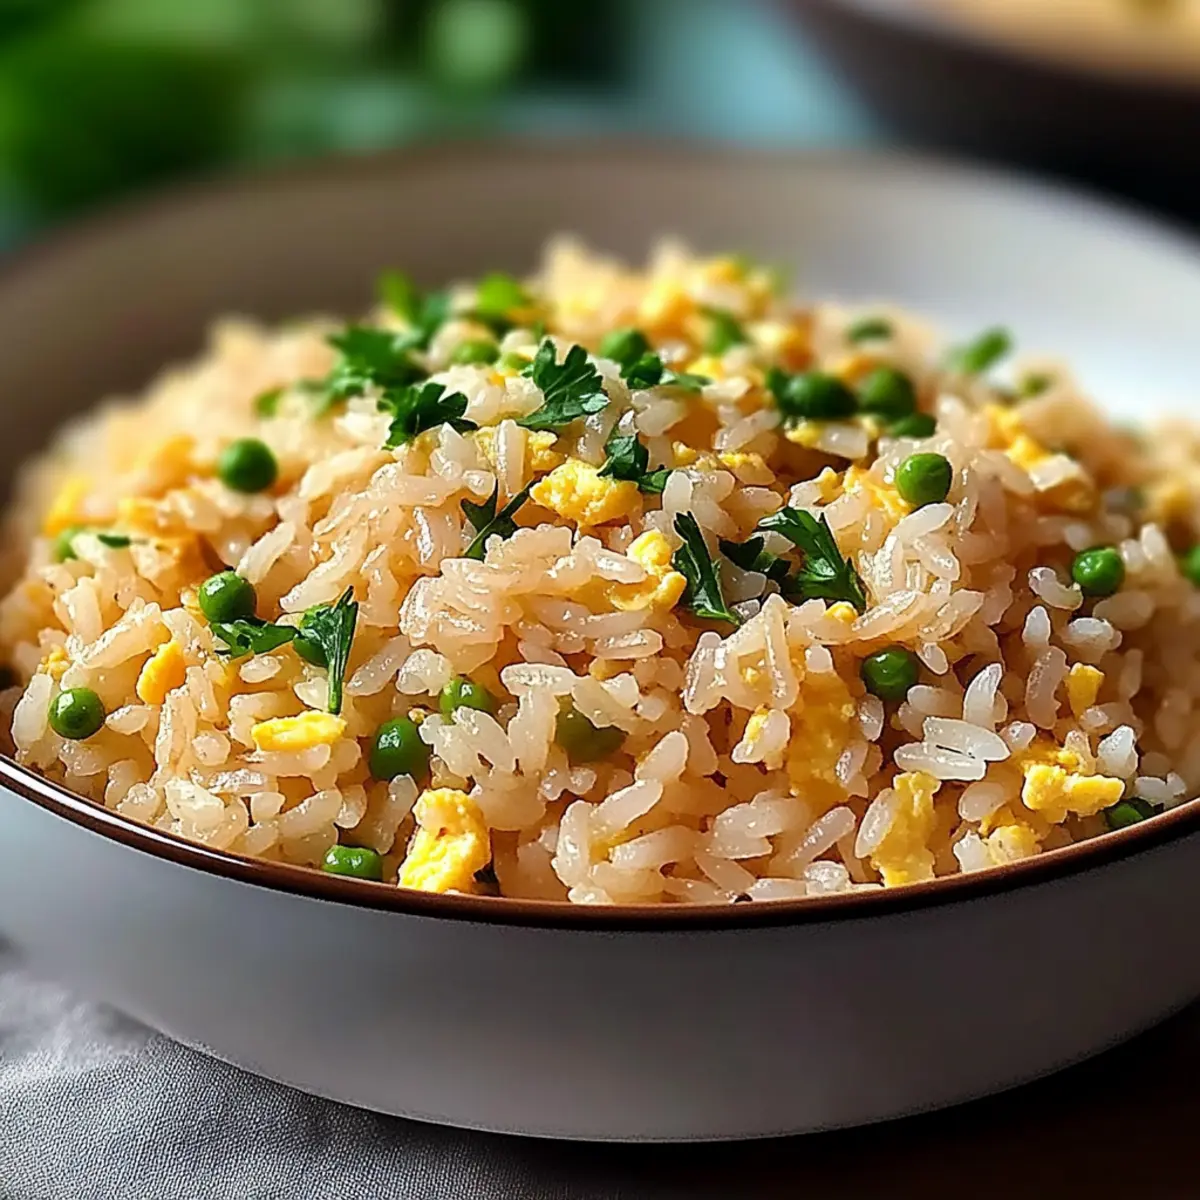
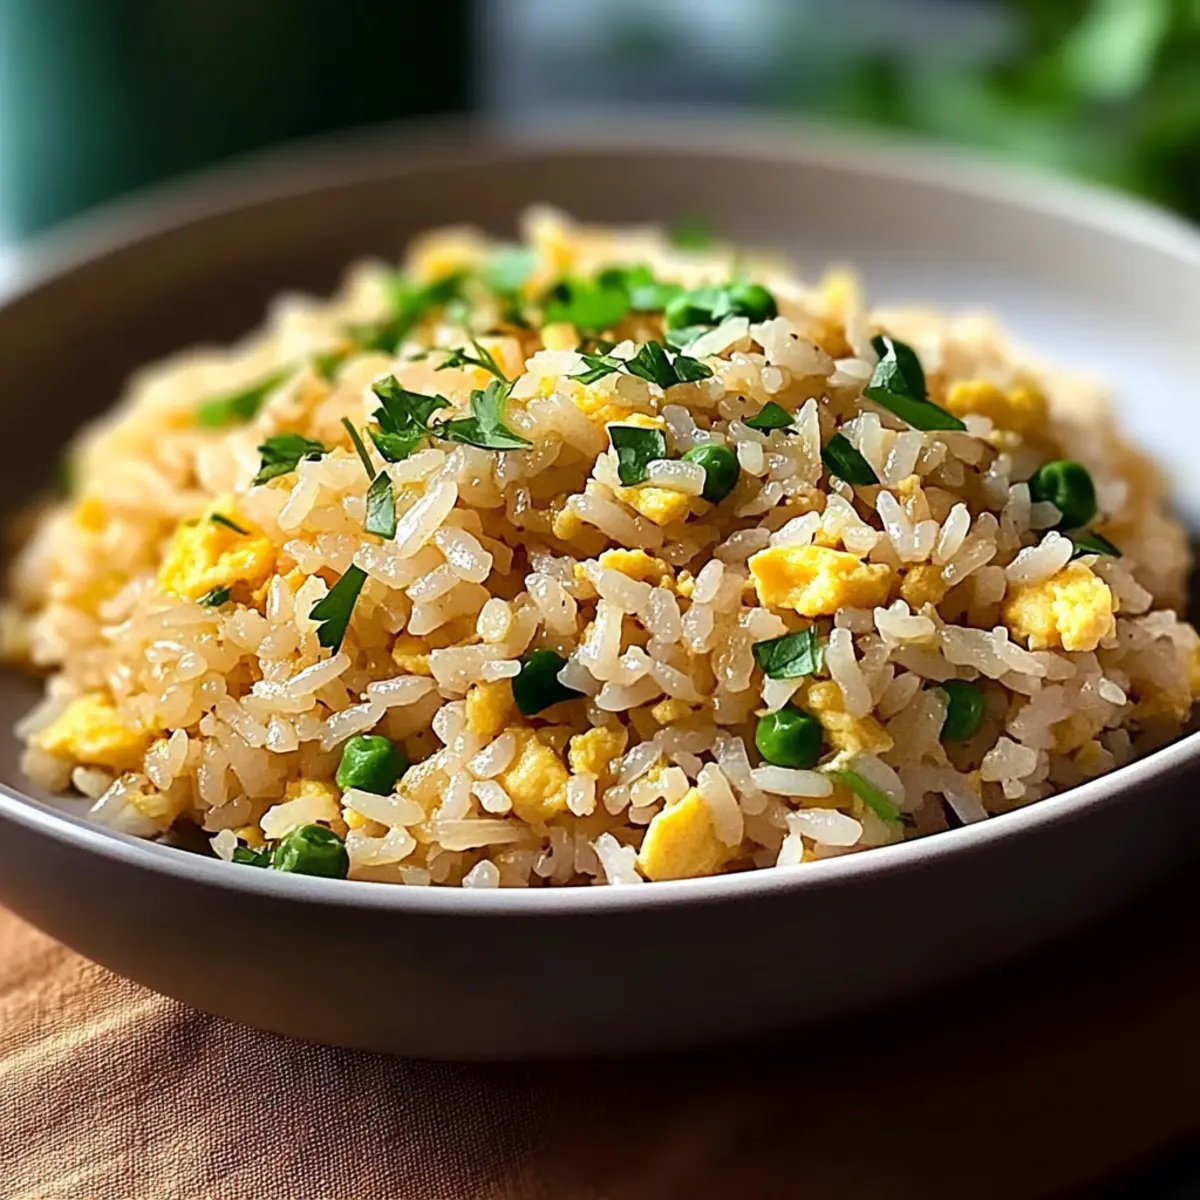
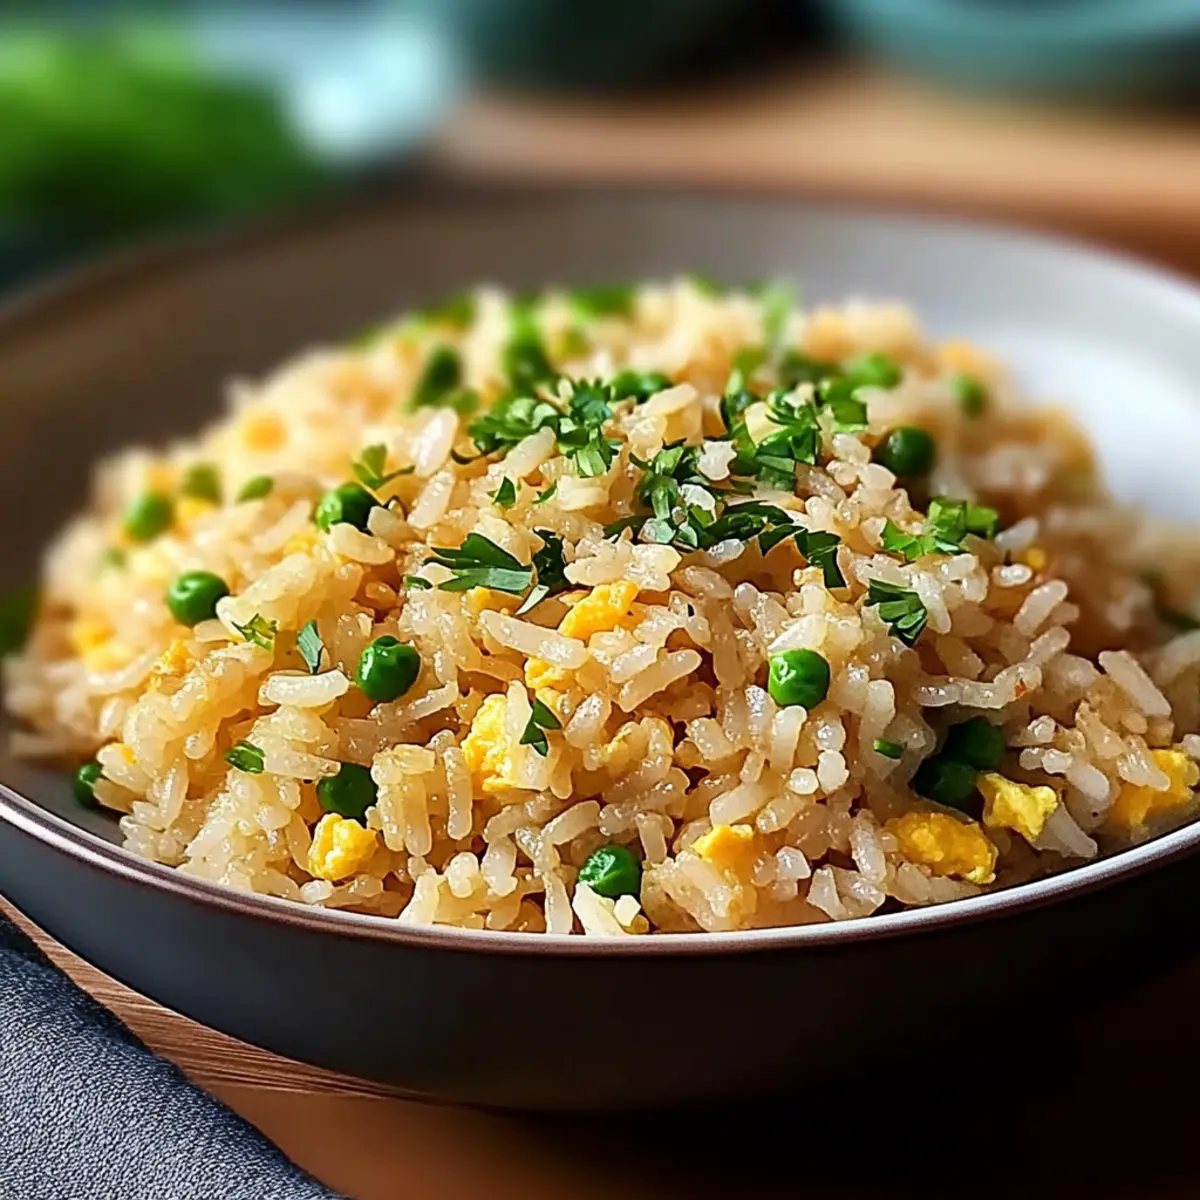
The savory aroma of garlic wafts through the kitchen, instantly transporting me to a bustling Japanese eatery. My heart races thinking of those comforting moments as I whip up a quick, easy, and utterly delicious Japanese Garlic Fried Rice right at home. This versatile dish isn’t just a fast fix for your weeknight meals; it’s a canvas for customization that can cater to any taste preference! With the rich creaminess of Kewpie mayonnaise blending harmoniously with fluffy rice, you’ll wonder why you ever reached for takeout. Plus, it’s perfect for both vegetarian and vegan diets—simply omit the eggs! Ready in under 30 minutes, this fried rice will become your new go-to for satisfying hunger without breaking a sweat. Curious about how to make it truly your own? Let’s dive in!
What Makes This Fried Rice Special?
Quick & Easy: With just 30 minutes, you transform pantry staples into a flavorful meal! No culinary skills required, making it ideal for weeknight dinners.
Versatile Customization: Tailor this dish to your preferences—add leftover proteins, vibrant vegetables, or your favorite herbs. It’s a perfect way to clean out your fridge!
Rich Creaminess: The incorporation of Kewpie mayonnaise elevates the dish to new heights, providing a delightful texture. If it’s unavailable, you can use regular mayonnaise without sacrificing flavor.
Perfect for Everyone: Whether you’re feeding a crowd or just yourself, this recipe is a hit. It’s easily adaptable for both vegetarian and vegan diets, catering to all dietary needs.
Savory Flavor Bomb: The aroma of freshly sautéed garlic blends perfectly with the soy sauce, ensuring each bite bursts with umami goodness.
You’ll not only satisfy your cravings but also impress your family and friends. For more delicious inspiration, don’t miss out on pairing it with Cheddar Garlic Herb Potato Soup or enjoying it alongside Sticky Garlic Chicken!
Japanese Garlic Fried Rice Ingredients
• Get ready to create a delicious dish!
For the Rice
- Japanese short grain rice – This rice provides the sticky texture essential for absorbing flavors; be sure to rinse and soak for optimal fluffiness.
For the Creaminess
- Kewpie mayonnaise – This adds rich creaminess; if you’re out, regular mayonnaise can be a good substitute!
- Unsalted butter – Used for sautéing garlic; olive oil is a healthier alternative if you prefer.
For Flavor
- Garlic (finely chopped) – It gives that signature savory taste; adjust the amount based on your garlic love!
- Soy sauce – This deepens the umami flavor; for a gluten-free version, try tamari.
For Protein
- Large eggs (lightly whisked) – They boost protein and texture; plant-based egg substitutes work well for a vegan option.
For Garnish
- Parsley (finely chopped) – A fresh touch to finish your dish; feel free to swap it with scallions or cilantro for added zest.
- Sea salt – A pinch to taste, enhancing the flavors beautifully in your Japanese Garlic Fried Rice.
Step‑by‑Step Instructions for Japanese Garlic Fried Rice
Step 1: Cook the Rice
Begin by rinsing 2 cups of Japanese short grain rice under cold water until the water runs clear. Soak the rice in water for 30 minutes, then combine it with 2¼ cups of fresh water in a medium saucepan. Bring the mixture to a boil over high heat, then reduce the heat to low, cover, and simmer for 10 minutes. After cooking, let the rice rest, covered, for another 10 minutes to ensure it’s fluffy and perfectly cooked.
Step 2: Mix in Mayonnaise
Once the rice has rested, transfer it into a large mixing bowl while it’s still warm. Gently fold in 3 tablespoons of Kewpie mayonnaise using a spatula or wooden spoon until the rice is evenly coated and creamy. The warmth of the rice will help the mayonnaise blend in beautifully, creating a rich and flavorful base for your Japanese Garlic Fried Rice.
Step 3: Sauté Garlic
Heat a large skillet or wok over medium-high heat and add 2 tablespoons of unsalted butter. Allow the butter to melt completely, then add 3 cloves of finely chopped garlic. Stir-fry the garlic for about 1 minute, or until it becomes fragrant and lightly golden. Be careful not to let it burn, as this will lead to a bitter taste in your dish.
Step 4: Stir-Fry Rice
Add the previously prepared mayonnaise-coated rice to the skillet with the sautéed garlic. Stir-fry the rice for about 30 seconds, ensuring it’s heated through and combined well with the garlic. Next, pour 1½ tablespoons of soy sauce over the rice, mixing it in thoroughly to infuse a deep umami flavor into your Japanese Garlic Fried Rice.
Step 5: Cook Eggs
To add protein and texture, push the rice to one side of the skillet. Pour the lightly whisked large eggs onto the empty side of the pan and let them set for about 30 seconds. Once slightly firm, use a spatula to scramble the eggs and mix them into the rice. Continue to stir everything together until the eggs are fully cooked and evenly distributed throughout the fried rice.
Step 6: Season and Serve
Taste the Japanese Garlic Fried Rice and adjust the seasoning with sea salt as needed. Finally, toss in 2 teaspoons of finely chopped parsley for a freshness boost. Serve the fried rice hot, either as a main dish or a delightful side, and revel in the savory aroma—it’s a comforting meal that everyone will love!
Make Ahead Options
Making Japanese Garlic Fried Rice ahead of time is a fantastic way to save precious minutes on busy weeknights! You can prepare the rice up to 24 hours in advance—just cook it, let it cool completely, and refrigerate it in an airtight container. If you’d like, you can also chop your garlic and measure out the other ingredients a day before, so everything is ready to go. When you’re ready to serve, simply reheat the rice with a splash of water to restore moisture, sauté the garlic until fragrant, and finish the dish by adding the prepared rice, mayonnaise, scrambled eggs, and soy sauce for that delicious umami flavor. This way, you’ll enjoy perfect Japanese Garlic Fried Rice, just as if you made it fresh!
Japanese Garlic Fried Rice Variations
With this recipe, the world of flavors is yours to explore! Don’t hesitate to make it your own and delight in every bite.
-
Vegetable Boost: Add 1 cup of peas or diced bell peppers for extra color and nutrition. They not only enhance the dish visually but also contribute vitamins that brighten your meal.
-
Protein Power: Incorporate cooked chicken, shrimp, or tofu for a heartier dish. The added protein makes it even more satisfying and perfect for a filling lunch or dinner.
-
Spicy Kick: Introduce chili paste or red pepper flakes for heat. Just a pinch can transform your fried rice into a fiery gourmet experience, making it perfect for spice lovers.
-
Herb Infusion: Swap parsley for scallions or cilantro for varied freshness. Each herb brings a unique flavor twist, allowing you to play with taste profiles based on what you have on hand.
-
Nutty Twist: Drizzle toasted sesame oil before serving for enhanced flavor. This finishing touch adds a deep, nutty aroma that elevates the dish to restaurant-quality!
-
Fruit Fusion: Mix in diced pineapple for a sweet and savory surprise. The tropical sweetness of the pineapple balances the savory elements, making every bite incredibly intriguing.
For more culinary inspiration, why not try pairing it with Fried Chicken Street Corn Tacos with Jalapeño Lime Ranch for a complete meal? Or savor some Sticky Garlic Chicken for an unforgettable flavor journey!
Expert Tips for Japanese Garlic Fried Rice
-
Rinse and Soak: Rinse the rice thoroughly and soak for at least 30 minutes. This step is essential for achieving the fluffy texture you crave in your Japanese Garlic Fried Rice.
-
Watch the Garlic: Sauté the garlic over medium-high heat, stirring constantly. Garlic can burn quickly, leading to a bitter flavor that detracts from the dish’s overall taste.
-
Use Warm Rice: Incorporating Kewpie mayonnaise into warm rice ensures a creamy texture. Cold rice won’t mix as well, resulting in clumps instead of a cohesive dish.
-
Don’t Rush the Cooking: Give the sautéing and stir-frying ample time. Cooking over low to medium heat allows the flavors to meld without overcooking any ingredient.
-
Taste and Adjust: Always taste before serving! Adjust the seasoning with sea salt, and remember that the soy sauce already adds saltiness; balance is key in your Japanese Garlic Fried Rice.
-
Customize Your Add-ins: Feel free to experiment with different vegetables or proteins for an extra nutritional boost. Tailoring this dish to your preferences makes it both fun and satisfying!
What to Serve with Savory Japanese Garlic Fried Rice
Warm up your dining experience with irresistible pairings that elevate your delicious fried rice into a complete meal.
-
Teriyaki Salmon: The sweet and savory glaze of teriyaki salmon complements the umami in garlic fried rice perfectly, enhancing each bite.
-
Asian Slaw: Crunchy and refreshing, this vibrant slaw adds a bright contrast to the creamy fried rice and balances the rich flavors wonderfully.
-
Miso Soup: A warm bowl of miso soup creates a comforting combination, bringing a light and brothy counterpoint to the richness of your rice dish.
-
Edamame: These tender, steamed soybeans offer a satisfying bite and a healthy dose of protein, rounding out your meal with a pop of green.
-
Spicy Soy Sauce: For those craving extra kick, a drizzle of spicy soy sauce brings an exciting heat that takes the garlic rice to another level.
-
Pickled Ginger: The tartness of pickled ginger cleanses the palate, making each bite of fried rice feel fresh and lively, while also paying homage to Japanese cuisine.
Whether you’re preparing a family dinner or hosting friends, these delightful accompaniments will transform your meal into an unforgettable culinary adventure!
How to Store and Freeze Japanese Garlic Fried Rice
- Fridge: Store leftovers in an airtight container for up to 3 days. Make sure to let it cool completely before sealing to avoid condensation.
- Freezer: If you want to save some for later, freeze the fried rice in a freezer-safe container for up to 2 months. Divide into portions for easy reheating.
- Reheating: When ready to enjoy, reheat in a skillet over medium heat with a splash of water to restore moisture, or microwave in short increments, stirring in between.
- Room Temperature: Avoid leaving the rice out for more than 2 hours to ensure safety and freshness.
Japanese Garlic Fried Rice Recipe FAQs
How should I select the best rice for this recipe?
Choosing Japanese short grain rice is vital for achieving that perfect sticky texture. Look for rice that is shiny and has no dark spots—this indicates freshness. To prepare it, rinse it under cool water until the water runs clear, and soak it for about 30 minutes before cooking to enhance fluffiness.
What’s the best way to store leftover Japanese Garlic Fried Rice?
Store the leftovers in an airtight container for up to 3 days in the fridge. Make sure the fried rice has cooled completely before sealing it to prevent condensation, which can make the rice soggy.
Can I freeze Japanese Garlic Fried Rice?
Absolutely! You can freeze the fried rice for up to 2 months. Just divide it into single-serving portions in freezer-safe containers. When you’re ready to enjoy it, thaw it overnight in the fridge and reheat gently in a skillet with a splash of water to restore some moisture.
What should I do if my rice is too sticky or clumpy?
If your rice turns out too sticky or clumpy, it’s likely due to overcooking or not rinsing it thoroughly before cooking. Next time, soak the rice longer and ensure you stick to the cooking times. If you end up with clumpy rice, try fluffing it with a fork after cooking to separate the grains!
Are there any dietary considerations for this recipe?
Yes! If you have allergies or dietary restrictions, this recipe can easily be modified. For a vegan version, simply omit the eggs and use plant-based mayonnaise instead of Kewpie mayonnaise. Make sure to use tamari instead of soy sauce if you need a gluten-free alternative.
Can this recipe be made in advance?
Definitely! You can prepare the components in advance; cook the rice and store it in the fridge, then stir-fry with garlic and mix in the eggs just before serving. This way, you can save time on busy nights while still enjoying a fresh and flavorful Japanese Garlic Fried Rice!
Flavorful Japanese Garlic Fried Rice in Under 30 Minutes
Ingredients
Equipment
Method
- Rinse the rice under cold water until the water runs clear, soak for 30 minutes, then combine with fresh water in a saucepan. Boil, reduce heat, cover, and simmer for 10 minutes, then let it rest for another 10 minutes.
- Transfer the warm rice to a mixing bowl and fold in Kewpie mayonnaise until evenly coated.
- Melt butter in a skillet over medium-high heat, add and sauté garlic for 1 minute or until fragrant and golden.
- Add the mayonnaise-coated rice to the skillet and stir-fry for 30 seconds, then mix in soy sauce thoroughly.
- Push rice to the side, pour in eggs on the empty side, let set for 30 seconds, then scramble and mix into the rice.
- Adjust seasoning with sea salt, add parsley, and serve hot.
Leave a Reply