
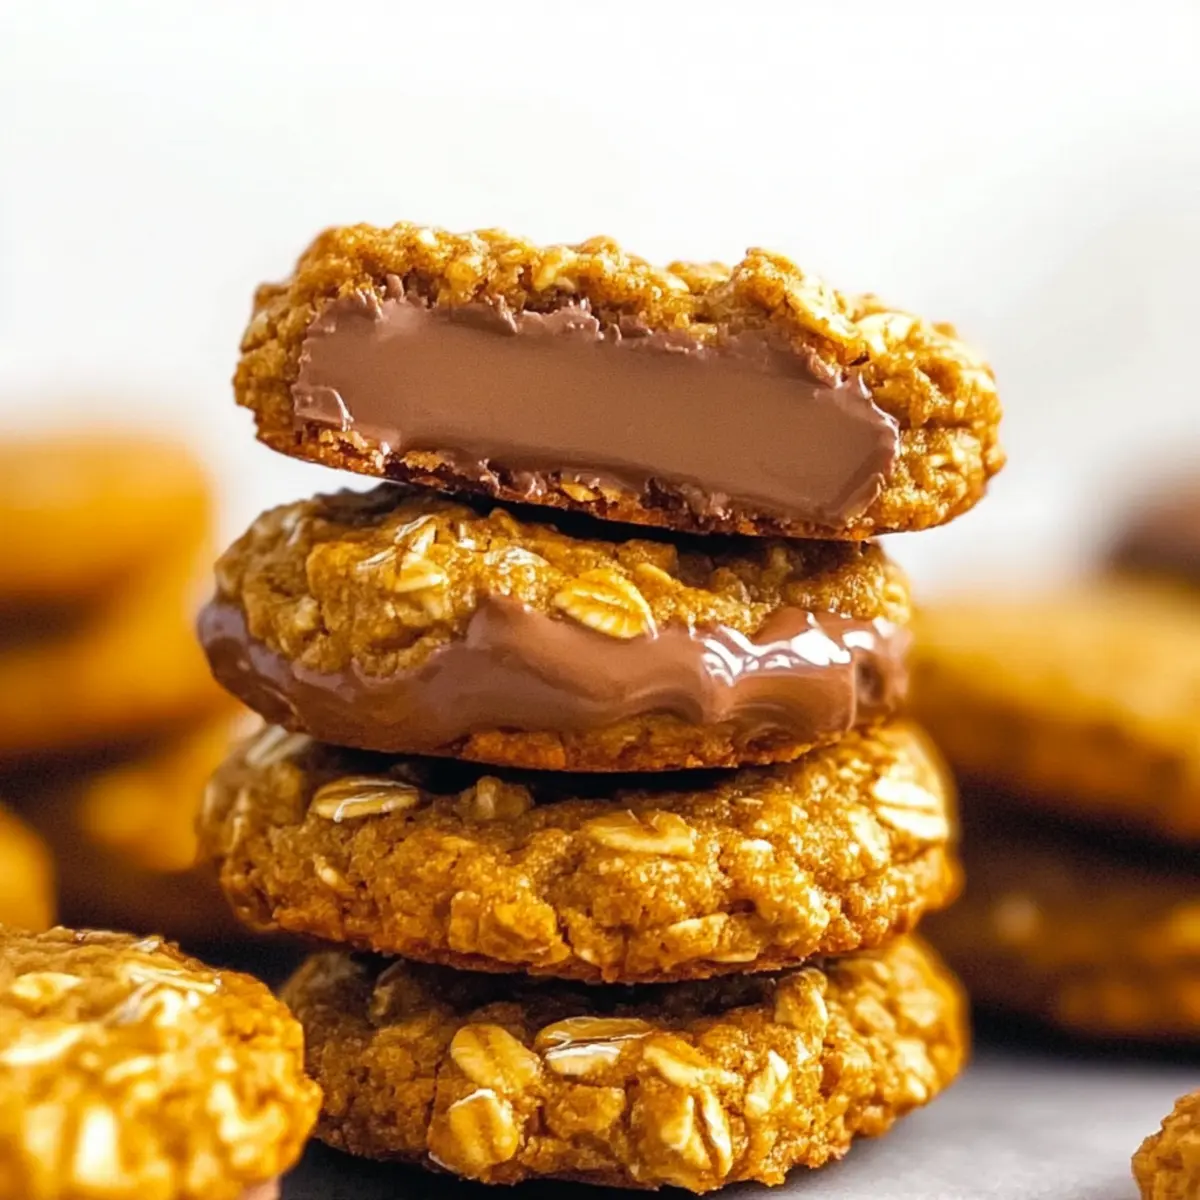
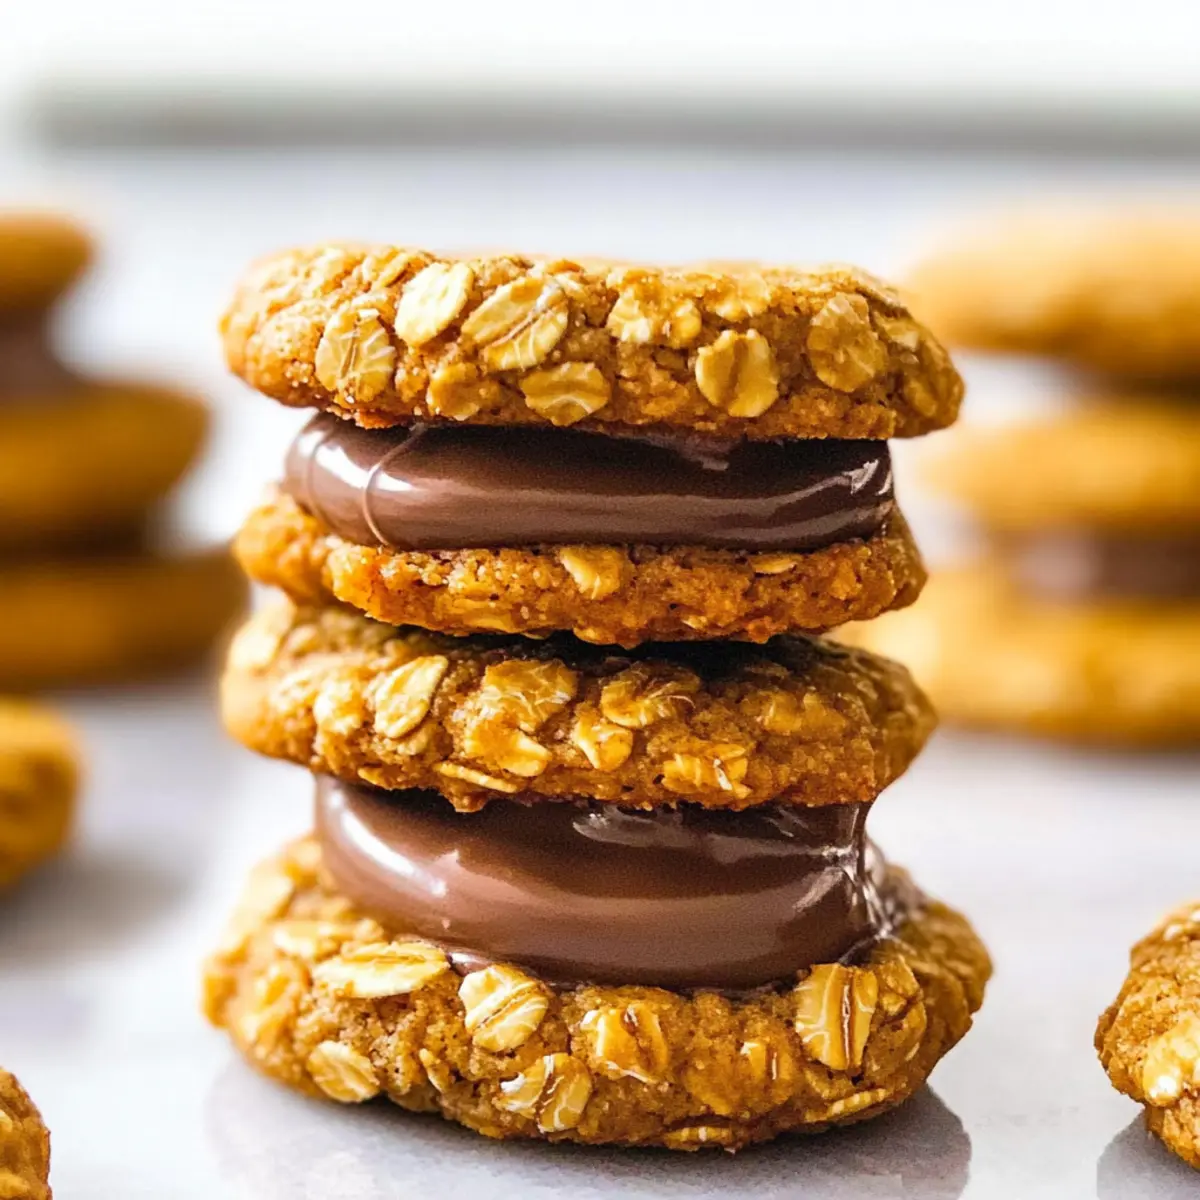
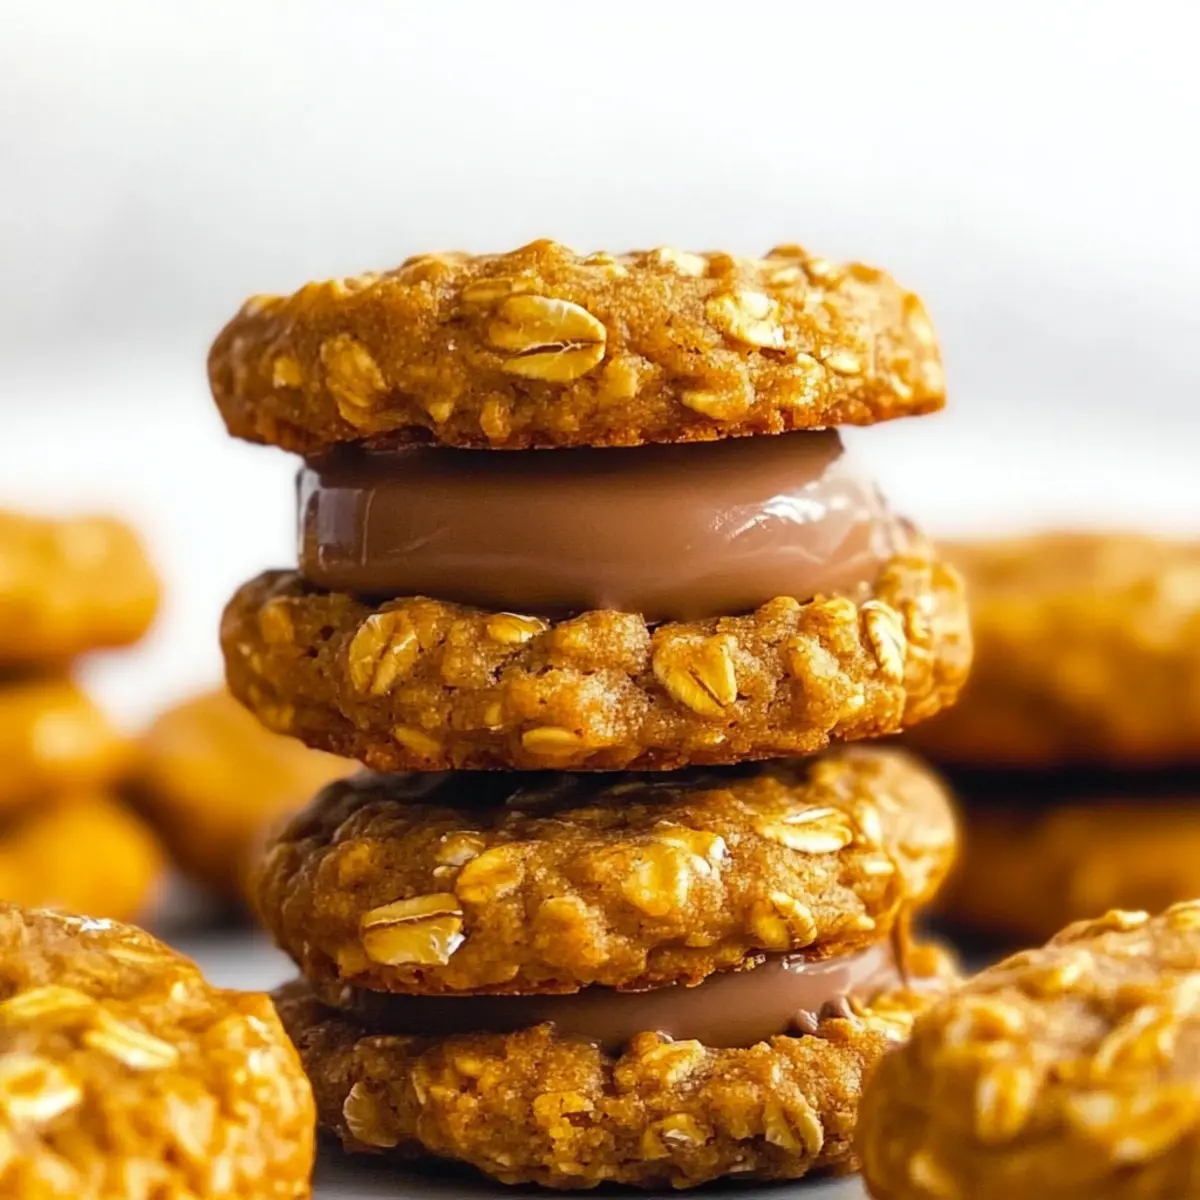
You won’t find this heavenly treat on any fast-food menu! Kingston biscuits are a delightful taste of Australia that transformed my afternoon snacks forever. These easy homemade Kingston biscuits boast a crunchy oat and coconut exterior, perfectly enveloping a silky layer of rich milk chocolate. Whipping up a batch takes only 30 minutes, making them an effortless yet impressive dessert or snack. They are not only ideal for sharing at gatherings but also perfect for a cozy night in or gifting to a friend who appreciates homemade goodies. Curious about how to make these tasty morsels? Let’s dive into this simple recipe that’s bound to brighten your day!
Why Make Homemade Kingston Biscuits?
Irresistible and easy to whip up, these homemade Kingston biscuits are a true delight! Nostalgic flavors transport you straight to an Aussie afternoon tea. Decadent milk chocolate filling adds a luscious touch to the chewy oat texture. Quick preparation means you can share these with friends or enjoy them solo in just 30 minutes. Looking for more delicious chocolate treats? Check out our guide on the best no-bake desserts. You’ll love the simplicity and flavor of these cookies!
Homemade Kingston Biscuits Ingredients
For the Cookies
• Plain Flour (All-Purpose Flour) – Provides structure and texture to the biscuits; substitute with gluten-free flour for a gluten-free version.
• White Granulated Sugar – Adds sweetness and enhances the overall flavor; caster sugar works as an alternative.
• Salt – Balances sweetness and enhances overall flavors; a key ingredient for taste.
• Quick Oats – Adds chewiness and texture; ensure they’re plain without any added flavors.
• Desiccated Coconut – Introduces a rich, chewy element; can be swapped with finely chopped nuts if preferred.
• Golden Syrup – Acts as a sweetener and moisture agent; maple syrup or honey can be used for a different taste.
• Unsalted Butter – Provides richness and moisture; can be replaced with margarine or a vegan alternative for a dairy-free option.
• Baking Soda (Bicarb Soda) – A leavening agent that helps the cookies rise; be sure it’s fresh for best results.
• Water – Activates baking soda with syrup; do not omit this ingredient.
• Milk Chocolate – Fills the biscuit for sweetness and richness; use dark chocolate for a bolder flavor profile.
For Assembly
• Melted Milk Chocolate – Use for sandwiching the cookies; adds a delightful sweetness and creamy texture.
Step‑by‑Step Instructions for Homemade Kingston Biscuits
Step 1: Preheat and Prepare
Preheat your oven to 180°C (350°F) and line two baking sheets with parchment paper. This ensures easy removal of the cookies later. While the oven heats up, gather all your ingredients for the homemade Kingston biscuits, ensuring your workspace is tidy and organized for a smooth cooking experience.
Step 2: Mix Dry Ingredients
In a large mixing bowl, whisk together the plain flour, white granulated sugar, desiccated coconut, quick oats, and salt until evenly combined. This dry mix is essential for creating the right texture in your biscuits. Aim for a uniform blend, which will help the flavors meld beautifully in your homemade Kingston biscuits.
Step 3: Melt the Wet Ingredients
In a medium saucepan over low heat, melt the butter and golden syrup together, adding water once melted. Stir continuously to prevent burning. Once fully combined and smooth, sprinkle in the baking soda, and watch it foam. This reaction is key for the light, chewy texture of your Kingston biscuits.
Step 4: Combine Wet and Dry Mixtures
Pour the melted mixture into the bowl with the dry ingredients. Stir until everything is fully incorporated and the dough comes together, showing a lovely golden color. The dough will be thick and slightly sticky at this point, indicative of the perfect consistency for forming your homemade Kingston biscuits.
Step 5: Let the Dough Rest
Allow your dough to rest for 5-10 minutes. This brief pause enhances the biscuit texture, allowing it to thicken as the oats absorb moisture. When you return, the dough should feel firm yet pliable, ready for forming into delightful cookie shapes that will bake into yummy Kingston biscuits.
Step 6: Form Cookie Balls
Scoop approximately 2 teaspoons of dough and roll them into small balls using your hands. Place the dough balls about 2 inches apart on the lined baking sheets for even baking. Make sure to have enough space, as they will spread slightly while baking and transform into delicious homemade Kingston biscuits.
Step 7: Bake to Perfection
Flatten each dough ball slightly with your palm and place the baking sheets in the preheated oven. Bake for 12-14 minutes, or until the edges turn golden brown. Keep an eye on them, as the baking time may vary; 12 minutes will yield chewy centers, while 14 minutes gives a crunchier texture.
Step 8: Cool and Transfer
Once the biscuits are baked, remove them from the oven and let them cool on the baking sheets for about 5 minutes. This allows them to firm up a bit. Then, carefully transfer the cookies to a wire rack to cool completely, giving you that perfect crunchy-chewy texture in your homemade Kingston biscuits.
Step 9: Assemble with Chocolate
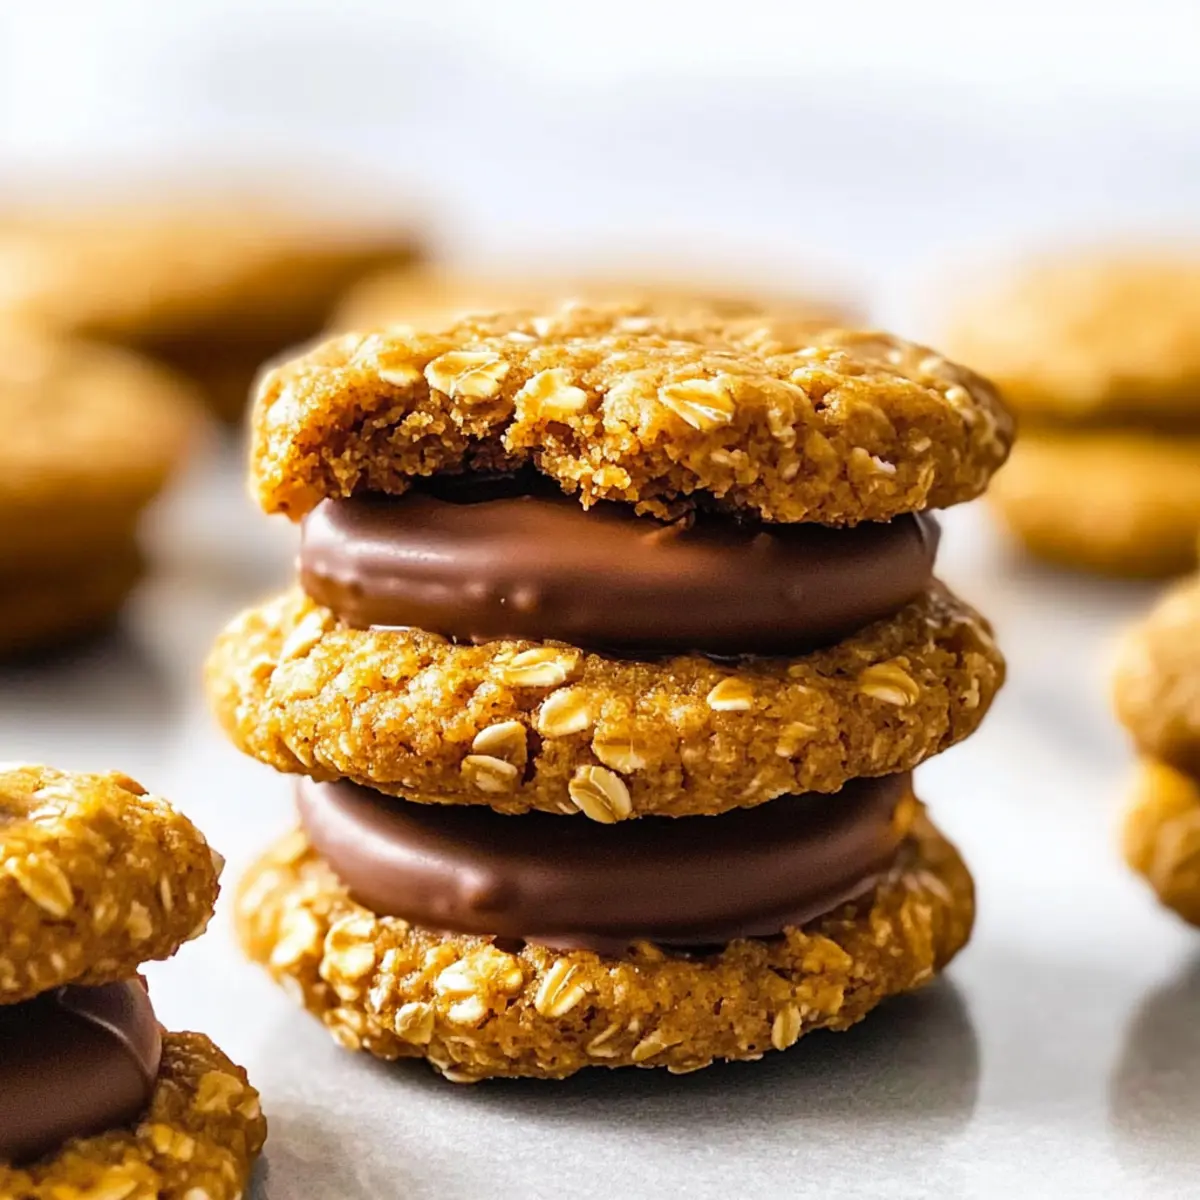
When the cookies are cool, melt the milk chocolate until luscious and smooth. Spread a generous dollop between two cookies to create sweet sandwiches. Allow the chocolate to set before serving, as this step gives your homemade Kingston biscuits that delightful reveal of rich chocolate goodness with every bite.
What to Serve with Easy Kingston Biscuits?
Nothing pairs better with these delightful treats than a cup of something warm or a fresh, fruity side to enhance their sweetness.
-
Fresh Berries: The tartness of strawberries or raspberries contrasts beautifully with the biscuit’s sweetness, adding a vibrant touch to your plate.
-
Vanilla Ice Cream: A scoop of creamy vanilla ice cream complements the crunchy cookies perfectly, turning them into an indulgent dessert.
-
Homemade Chai Tea: The warm spices of chai offer aromatic depth, creating a cozy pairing that’s perfect for afternoon tea.
-
Coffee or Espresso: The rich bitterness of coffee pairs well with the sweet layers of chocolate, striking a perfect balance for a delightful afternoon treat.
-
Coconut Whipped Cream: This light and airy topping enhances the coconut flavor in the biscuits, creating a tropical flourish.
-
Chocolate Dipping Sauce: For true chocolate lovers, a drizzle of warm chocolate sauce adds extra decadence and a fun twist when indulging your sweet tooth.
Embrace these pairings to create a well-rounded experience that showcases the captivating flavors of homemade Kingston biscuits!
Make Ahead Options
These delicious homemade Kingston biscuits are perfect for meal prep enthusiasts looking to save time during busy weeks! You can prepare the cookie dough up to 24 hours in advance; simply scoop and roll the dough into balls, then cover tightly with plastic wrap and refrigerate. This way, you can bake fresh cookies whenever the craving hits. The assembled biscuits can also be stored in an airtight container for up to 3 days after filling them with chocolate, ensuring they remain just as delightful and fresh. When you’re ready to enjoy, if they’ve been refrigerated, you can pop them in the oven for a couple of minutes for that freshly baked taste that’s impossible to resist!
Homemade Kingston Biscuits Variations
Feel free to let your creativity shine by giving these delightful treats your own spin!
-
Gluten-Free: Substitute all-purpose flour with a gluten-free flour blend, ensuring your oats are certified gluten-free.
-
Nutty Twist: Replace desiccated coconut with finely chopped almonds or hazelnuts for a savory crunch that enhances the flavor.
-
Dairy-Free: Use margarine or a plant-based butter alternative to make your homemade Kingston biscuits dairy-free, maintaining that rich texture.
-
Dark Delight: Swap out milk chocolate for dark chocolate for a deep, rich flavor that pairs beautifully with the oat base.
-
Coconut-Free: If you’re not a fan of coconut, you can use an equal amount of rolled oats or finely ground nuts to maintain that chewy texture.
-
Flavor Boost: Add a teaspoon of vanilla extract or a pinch of cinnamon to your dough for a warm, aromatic touch.
-
Chili Kick: For those who dare, add a dash of cayenne pepper or chili powder to create an unexpected and exciting contrast to the sweetness.
-
Crunchy Add-Ins: Toss in some chopped chocolate or mini chocolate chips for extra bursts of sweetness and texture in each bite.
If you love experimenting, enjoy making variations of these Kingston biscuits that fit your taste and mood! And if you’re eager for more delightful recipes, don’t miss our guide on fun dessert twists.
How to Store and Freeze Homemade Kingston Biscuits
Room Temperature: Keep your homemade Kingston biscuits in an airtight container at room temperature for up to 6 days to maintain freshness and flavor.
Fridge: If you prefer a chewy texture, storing them in the refrigerator can extend their shelf life, although they may lose some crunchiness.
Freezer: For long-term storage, freeze your biscuits in airtight containers for up to 2–3 months. To enjoy them later, simply thaw at room temperature.
Reheating: To refresh the texture before serving, pop them in a preheated oven at 175°C (350°F) for about 5 minutes, restoring their delightful crunch!
Expert Tips for Homemade Kingston Biscuits
-
Watch Baking Time: Keep an eye on your biscuits while baking. Adjusting your time to 12 minutes for a chewy center or 14 for crunch can make all the difference!
-
Dough Resting: Don’t skip the resting step! Allowing the dough to rest for 5-10 minutes helps achieve the perfect chewy texture in your homemade Kingston biscuits.
-
Uniform Sizes: Use a small cookie scoop to ensure even sizes for each cookie. This will guarantee uniform baking and a delightful look!
-
Crisp Storage: For extra crispness, store your biscuits with a small bowl of baking soda in the container. It helps absorb any moisture, keeping them crunchy.
-
Chill Dough: If you plan to bake later, you can refrigerate the raw cookie dough for up to 24 hours. This allows for flexible baking and delicious fresh cookies whenever you desire.
Homemade Kingston Biscuits Recipe FAQs
How do I choose ripe ingredients for Kingston biscuits?
Absolutely! Selecting your ingredients is key to making the best homemade Kingston biscuits. For the oats, choose plain quick oats without additives for the right texture. When selecting desiccated coconut, look for a fresh, white color; it shouldn’t be discolored or have any rancid smell. Also, ensure your baking soda is fresh—check the expiration date on the package for optimal results.
What is the best way to store homemade Kingston biscuits?
To keep your homemade Kingston biscuits fresh, store them in an airtight container at room temperature for up to 6 days. This method helps retain their delightful texture and flavor. You can also keep them in the fridge for a chewier bite. Don’t forget to layer them with parchment paper to prevent sticking!
Can I freeze homemade Kingston biscuits?
Yes, you can definitely freeze your homemade Kingston biscuits! To do so, place them in airtight containers or freezer bags, separating layers with parchment paper. They can be kept frozen for up to 2–3 months. When you’re ready to enjoy them, thaw at room temperature, and if you want them to regain their crispiness, pop them in a preheated oven at 175°C (350°F) for about 5 minutes.
What should I do if my cookies spread too much?
If your biscuits are spreading excessively while baking, it could be due to one of a few factors. Firstly, ensure your butter is softened but not melted; overly melted butter can cause cookies to spread. Additionally, a very warm dough can also lead to spreading, so refrigerate the dough for 15-30 minutes before baking if you notice this issue. Finally, using a kitchen scale to measure your ingredients accurately can make a significant difference on your next batch!
Are there any dietary considerations for making Kingston biscuits?
Certainly! If you’re making homemade Kingston biscuits, keep in mind any allergies or dietary restrictions. For those with gluten sensitivities, substitute the plain flour with a certified gluten-free blend. Similarly, if someone is dairy-free, you can swap the unsalted butter with a vegan butter alternative without compromising the taste. Just be sure to check all ingredients for hidden allergens to ensure everyone enjoys this delightful treat!
Mouthwatering Homemade Kingston Biscuits in 30 Minutes
Ingredients
Equipment
Method
- Preheat your oven to 180°C (350°F) and line two baking sheets with parchment paper.
- In a large mixing bowl, whisk together the plain flour, white granulated sugar, desiccated coconut, quick oats, and salt until evenly combined.
- In a medium saucepan over low heat, melt the butter and golden syrup together, adding water once melted.
- Pour the melted mixture into the bowl with the dry ingredients. Stir until fully incorporated.
- Allow your dough to rest for 5-10 minutes.
- Scoop approximately 2 teaspoons of dough and roll them into small balls.
- Flatten each dough ball slightly with your palm and place the baking sheets in the preheated oven.
- Bake for 12-14 minutes, until the edges turn golden brown.
- Once the biscuits are baked, let them cool on the baking sheets for about 5 minutes, then transfer to a wire rack.
- When the cookies are cool, melt the milk chocolate and spread a dollop between two cookies to create sandwiches.
Leave a Reply