
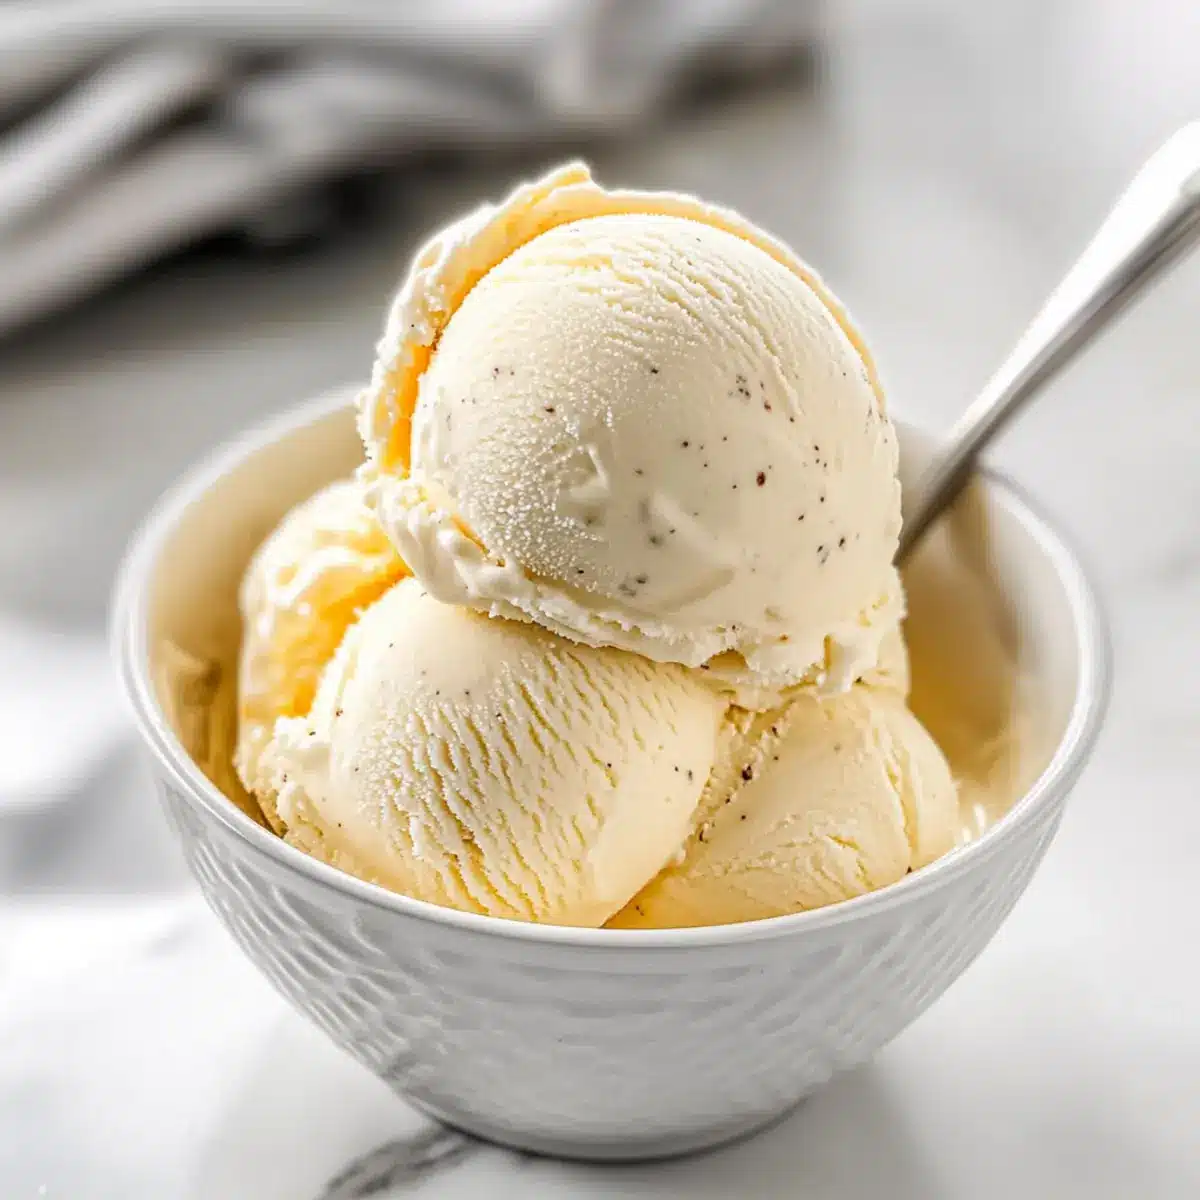
On a sunny afternoon, as I was enjoying a simple scoop of vanilla ice cream, I couldn’t help but think of the joy homemade versions bring. That creamy texture and charming simplicity of Homemade Ice Cream is truly unmatched, and it’s a delightful reminder that not everything great requires complicated steps. This recipe not only whips up a classic creaminess that rivals your favorite ice cream shop but also allows for personal twists, whether you prefer no-churn options or dreamy flavor variations like chocolate or strawberry. Plus, knowing you crafted it from scratch adds a special touch that makes each scoop memorable. Are you ready to dive into the world of homemade ice cream and create your own sweet adventures?
Why Make Homemade Ice Cream?
Creaminess at Its Finest: There’s nothing quite like the rich, velvety texture of homemade ice cream, which you can customize to your heart’s content!
Easy to Master: This straightforward recipe, whether following the classic method or no-churn version, makes it accessible for all skill levels.
Flavorful Creativity: Mix it up with different flavors like chocolate or strawberry to keep your taste buds excited.
Healthier Alternative: Skip the preservatives found in store-bought brands and enjoy a guilt-free treat made with simple, wholesome ingredients.
Crowd-Pleaser: Perfect for gatherings or cozy nights in, everyone will adore this creamy delight, just like our Coconut Chicken Rice or Street Corn Cucumber recipes!
Homemade Ice Cream Ingredients
For the Base
- Heavy Cream – Provides richness and creaminess; substitute with full-fat coconut milk for a dairy-free version.
- Milk – Balances the cream to achieve the perfect texture; whole milk is recommended for creaminess.
- Granulated Sugar – Sweetens and lowers the freezing point for a smooth texture; brown sugar can add a delightful caramel flavor.
- Vanilla Extract – Adds classic flavor; using real vanilla will elevate the taste.
- Egg Yolks (optional) – Enriches the custard-like consistency; omit for a lighter treat, but the recipe works well without them.
For Additional Flavor
- Cocoa Powder or Melted Chocolate – Mix in this for a chocolate version; it creates a delightful twist on the classic.
- Almond or Mint Extract – Swap the vanilla for these extracts for a refreshing alternative flavor.
- Fresh Fruits or Nuts – Add during the last few minutes of churning for extra texture and bursts of flavor.
Enjoy making your Homemade Ice Cream, a delightful treat that brings joy with every scoop!
Step‑by‑Step Instructions for Classic Creamy Vanilla Homemade Ice Cream
Step 1: Prepare Ice Cream Base
In a large mixing bowl, combine 2 cups of heavy cream, 1 cup of whole milk, and ¾ cup of granulated sugar. Whisk thoroughly until the sugar is completely dissolved, which should take about 2-3 minutes. The mixture should be smooth and creamy, with no visible granules of sugar remaining—this will ensure a perfectly sweetened base for your homemade ice cream.
Step 2: Incorporate Flavor
Stir in 1 tablespoon of pure vanilla extract and, if desired, 3 egg yolks for a richer custard-like texture. Use a whisk to blend these ingredients until the mixture is homogenous, which usually takes about 1-2 minutes. The addition of vanilla will enhance the classic flavor of your homemade ice cream, making it truly delightful.
Step 3: Chill Mixture
Cover the bowl with plastic wrap and refrigerate the mixture for at least 1 hour, or until it’s completely chilled. This chilling step is crucial; it allows the flavors to meld and ensures that your ice cream base is cold enough for churning, which helps prevent the formation of ice crystals in your final product.
Step 4: Churn Ice Cream
After chilling, pour the cold mixture into your ice cream maker, following the manufacturer’s instructions. Churn the ice cream for about 20-30 minutes, or until it reaches a soft-serve consistency. You’ll know it’s ready when the mixture thickens and starts to cling to the sides of the machine, filling your kitchen with a delicious aroma.
Step 5: Freeze
Transfer the churned ice cream into an airtight container, smoothing the surface with a spatula for even freezing. Seal the container tightly and place it in the freezer for an additional 3-4 hours to harden. This step will achieve the firm, scoopable texture that makes your classic creamy vanilla homemade ice cream irresistible.
Expert Tips for Homemade Ice Cream
- Chill Everything: Ensure that your ice cream base and equipment are thoroughly chilled before churning; this prevents unwanted ice crystals in your homemade ice cream.
- Whisk Well: Take your time when whisking the sugar into the cream and milk; undissolved sugar can lead to an uneven texture.
- Mix-In Timing: Add any mix-ins or flavors during the last few minutes of churning to keep them from sinking to the bottom.
- Storage Matters: Store your homemade ice cream in an airtight container with plastic wrap pressed against the surface to reduce ice crystal formation.
- Egg Yolk Optional: While egg yolks enrich the custard-like consistency, they’re not necessary for great flavor—feel free to omit them for a lighter treat.
How to Store and Freeze Homemade Ice Cream
Fridge: Keep homemade ice cream in the refrigerator for up to 2 weeks, but it’s best enjoyed fresh. Store in an airtight container to maintain flavor.
Freezer: For optimal freshness, freeze your homemade ice cream for up to 2 months. Ensure it’s in an airtight container to prevent freezer burn.
Wrapping: To avoid ice crystals, press plastic wrap directly onto the surface of the ice cream before sealing the container. This keeps it creamy and delicious.
Reheating: If your ice cream is too hard to scoop, let it sit at room temperature for about 10-15 minutes before serving. Enjoy the creamy bliss!
Homemade Ice Cream Variations
Feel free to get creative with your ice cream and tailor it to your taste buds!
- Dairy-Free: Swap heavy cream with full-fat coconut milk for a creamy, vegan delight.
- Chocolate Dream: Add ½ cup of cocoa powder or melted chocolate to the base for a rich chocolate ice cream.
- Minty Fresh: Substitute vanilla extract with peppermint extract for a refreshing mint-flavored twist.
- Fruity Fun: Blend in fresh strawberries or mango puree for a burst of fruity flavor during the last minutes of churning. This adds a beautiful color and a refreshing taste.
- Cookie Crumble: Toss in crushed cookies, like Oreos or chocolate chip, in the last few minutes of churning for a delightful texture contrast and flavor surprise.
- Nutty Addition: Stir in toasted nuts like pecans or almonds before freezing for a satisfying crunch. The combination of creaminess and nutty texture is simply divine!
- Cinnamon Swirl: Mix in a teaspoon of cinnamon and a drizzle of honey for a cozy fall-inspired flavor twist. It transforms your classic scoop into something special.
- Spicy Kick: Experiment with a pinch of cayenne pepper or chili powder for an unexpected heat. This will create a unique flavor that pairs wonderfully with chocolate!
Embrace these variations to personalize your homemade ice cream experience! Each twist and flavor allows you to relive the joys of summer, just like our comforting Coconut Chicken Rice or our refreshing Street Corn Cucumber recipes. Enjoy the endless possibilities!
Make Ahead Options
These Homemade Ice Cream options are perfect for busy weeknights when you want a creamy treat without the last-minute scramble! You can prepare the ice cream base up to 24 hours in advance; simply follow the initial steps to mix the heavy cream, milk, sugar, and vanilla, then chill it in the refrigerator. This not only enhances the flavor but allows you to have a ready-to-churn mixture. When you’re ready to indulge, pour the chilled mixture into your ice cream maker and churn as directed. To maintain the creamy texture, always ensure the base is well-chilled before churning and store the finished ice cream in an airtight container to prevent ice crystals from forming. This way, your homemade ice cream stays just as delicious and ready to serve whenever you desire!
What to Serve with Classic Creamy Vanilla Homemade Ice Cream
On a warm summer evening, the joy of enjoying homemade ice cream can be elevated with delightful pairings that enhance its creamy sweetness.
-
Chocolate Sauce: Drizzle warm chocolate sauce over your ice cream for a luscious, gooey treat that everyone will love. The combination of cool and warm creates a fantastic contrast that makes each bite irresistible.
-
Fresh Berries: Top with strawberries, blueberries, or raspberries for a burst of tartness and vibrant color. These fresh fruits add a refreshing balance to the rich creaminess of your homemade ice cream.
-
Brownie Bites: Serve alongside fudgy brownie bites to satisfy any sweet tooth. The chewy, chocolatey goodness complements the smoothness and provides a delightful texture contrast.
-
Waffle Cones: Scoop the ice cream into waffle cones for a fun, classic presentation. The crispiness of the cone adds an enjoyable crunch while capturing every last bit of the delicious ice cream.
-
Coconut Cream: A dollop of coconut cream brings a tropical twist that pairs perfectly with vanilla. Its rich, creamy texture enhances the overall indulgence, making it feel like a special occasion.
-
Caramel Swirl: Add a swirl of salted caramel for a sweet and salty flavor explosion. The depth of the caramel pairs wonderfully with the vanilla, creating an unforgettable dessert experience.
-
Coffee: Enjoy a cup of freshly brewed coffee alongside to awaken your senses. The bitter notes of the coffee beautifully contrast the sweetness of the ice cream, creating a balanced flavor profile.
-
Peanut Butter Sauce: Drizzle warm peanut butter sauce over your scoop for a nutty richness that will make each bite extraordinary. This combination creates a flavor harmony that’s hard to resist.
-
Shortbread Cookies: Serve with buttery shortbread cookies for a delightful dipping pairing. The crumbly texture of the cookies complements the silky ice cream perfectly, enhancing the overall dessert experience.
Each of these options elevates your homemade ice cream, transforming it into a memorable treat that’s perfect for sharing with loved ones.
Classic Creamy Vanilla Homemade Ice Cream Recipe FAQs
What should I look for when selecting heavy cream?
When choosing heavy cream, look for a product labeled as “whipping cream” or “heavy whipping cream” with a fat content of at least 36%. Select cream that is fresh and free of any dark spots or curdled consistency. For a dairy-free version, opt for full-fat coconut milk, which provides a delicious richness.
How should I store homemade ice cream?
To store homemade ice cream, transfer it to an airtight container and press plastic wrap directly onto the surface to minimize air exposure and prevent ice crystals from forming. It will stay fresh in the freezer for up to 2 months, but it is best enjoyed within 1-2 weeks for optimal texture and flavor.
Can I freeze homemade ice cream for long-term storage?
Absolutely! You can freeze homemade ice cream for up to 2 months. To do this, ensure it’s placed in an airtight container. Press plastic wrap onto the surface to prevent freezer burn, which can ruin the texture. When ready to enjoy, allow it to sit out at room temperature for about 10-15 minutes for easier scooping.
What if my ice cream turns out icy instead of creamy?
If your homemade ice cream is icy, it may not have been chilled enough before churning or lacked enough fat in the base. To avoid this, be sure to chill your mixture for a full hour and ensure you’re using heavy cream. If you encounter ice crystals, try whisking your ice cream a bit before serving, or consider blending it again before refreezing to create a smoother texture.
Are there any dietary considerations for homemade ice cream?
Yes, homemade ice cream can accommodate various dietary needs. To make it gluten-free, ensure all your ingredients are certified gluten-free, particularly the vanilla extract. If you’re concerned about allergies, be cautious with add-ins like fruits or nuts. For a dairy-free option, use coconut milk instead of heavy cream. Additionally, always check for any allergens in your flavorings or mix-ins before serving to guests.
Can I make a no-churn version of homemade ice cream?
Definitely! To create a no-churn version, whip 2 cups of heavy cream until stiff peaks form, then fold in the mixture of 1 cup of sweetened condensed milk and 1 tablespoon of vanilla extract. Pour it into a container and freeze for about 4-6 hours. This method is simple and yields a wonderfully smooth ice cream without the need for an ice cream maker!
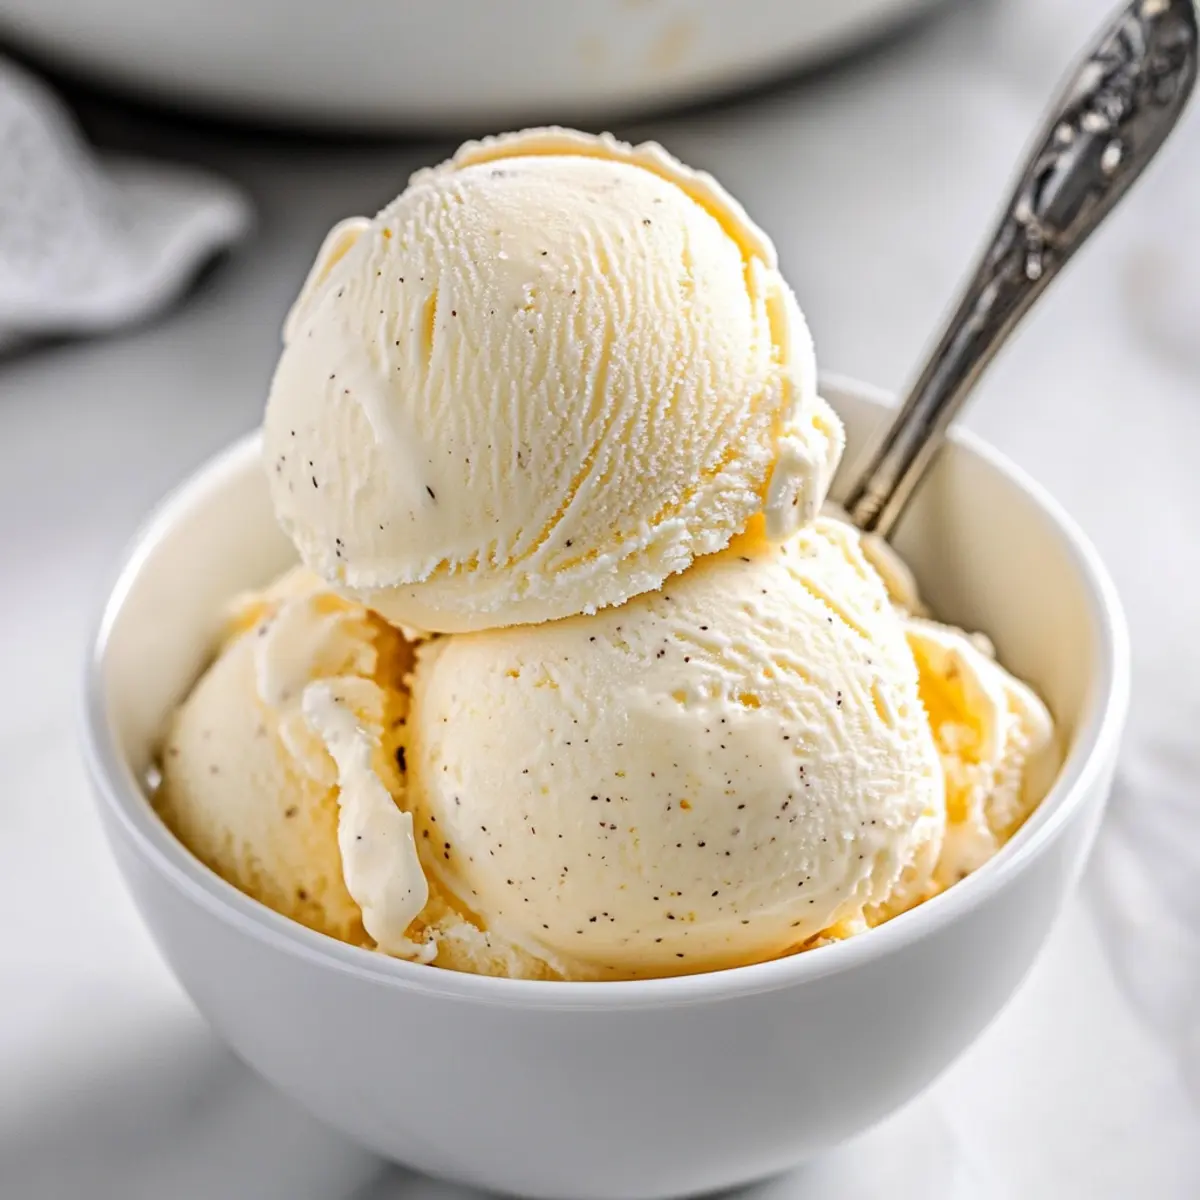
Delightful Homemade Ice Cream: Creamy Bliss in Every Scoop
Ingredients
Equipment
Method
- In a large mixing bowl, combine 2 cups of heavy cream, 1 cup of whole milk, and ¾ cup of granulated sugar. Whisk thoroughly until the sugar is completely dissolved, about 2-3 minutes.
- Stir in 1 tablespoon of pure vanilla extract and 3 egg yolks for a custard-like texture. Whisk to blend until homogenous for 1-2 minutes.
- Cover the bowl with plastic wrap and refrigerate the mixture for at least 1 hour, until chilled.
- Pour the cold mixture into your ice cream maker. Churn for about 20-30 minutes, until it reaches a soft-serve consistency.
- Transfer the churned ice cream into an airtight container, smooth the surface, seal tightly, and freeze for 3-4 hours to harden.
Leave a Reply