
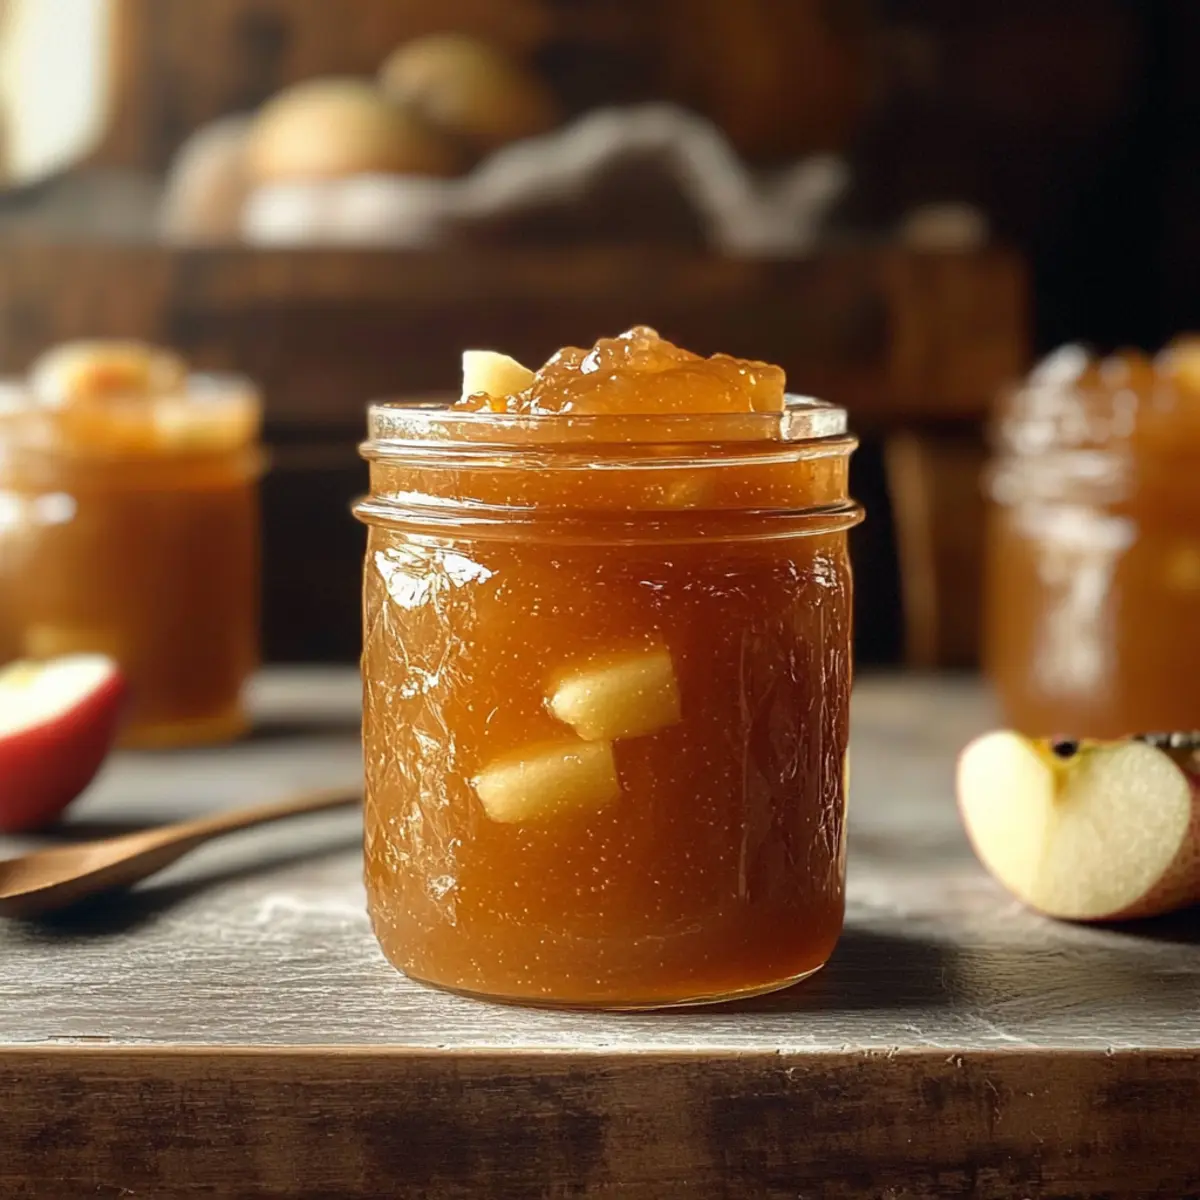
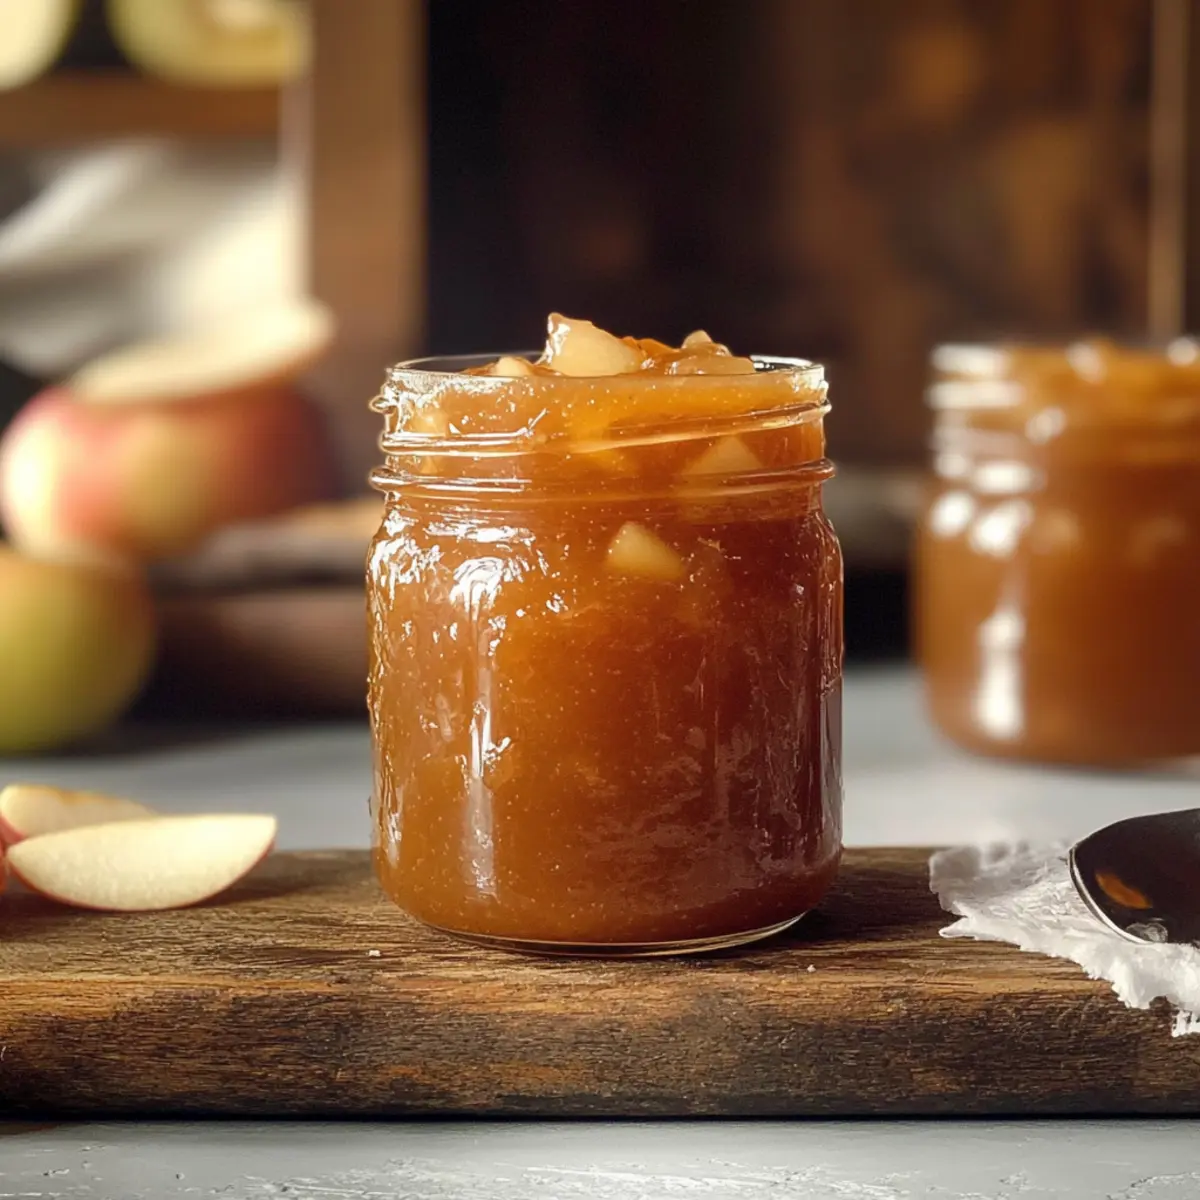
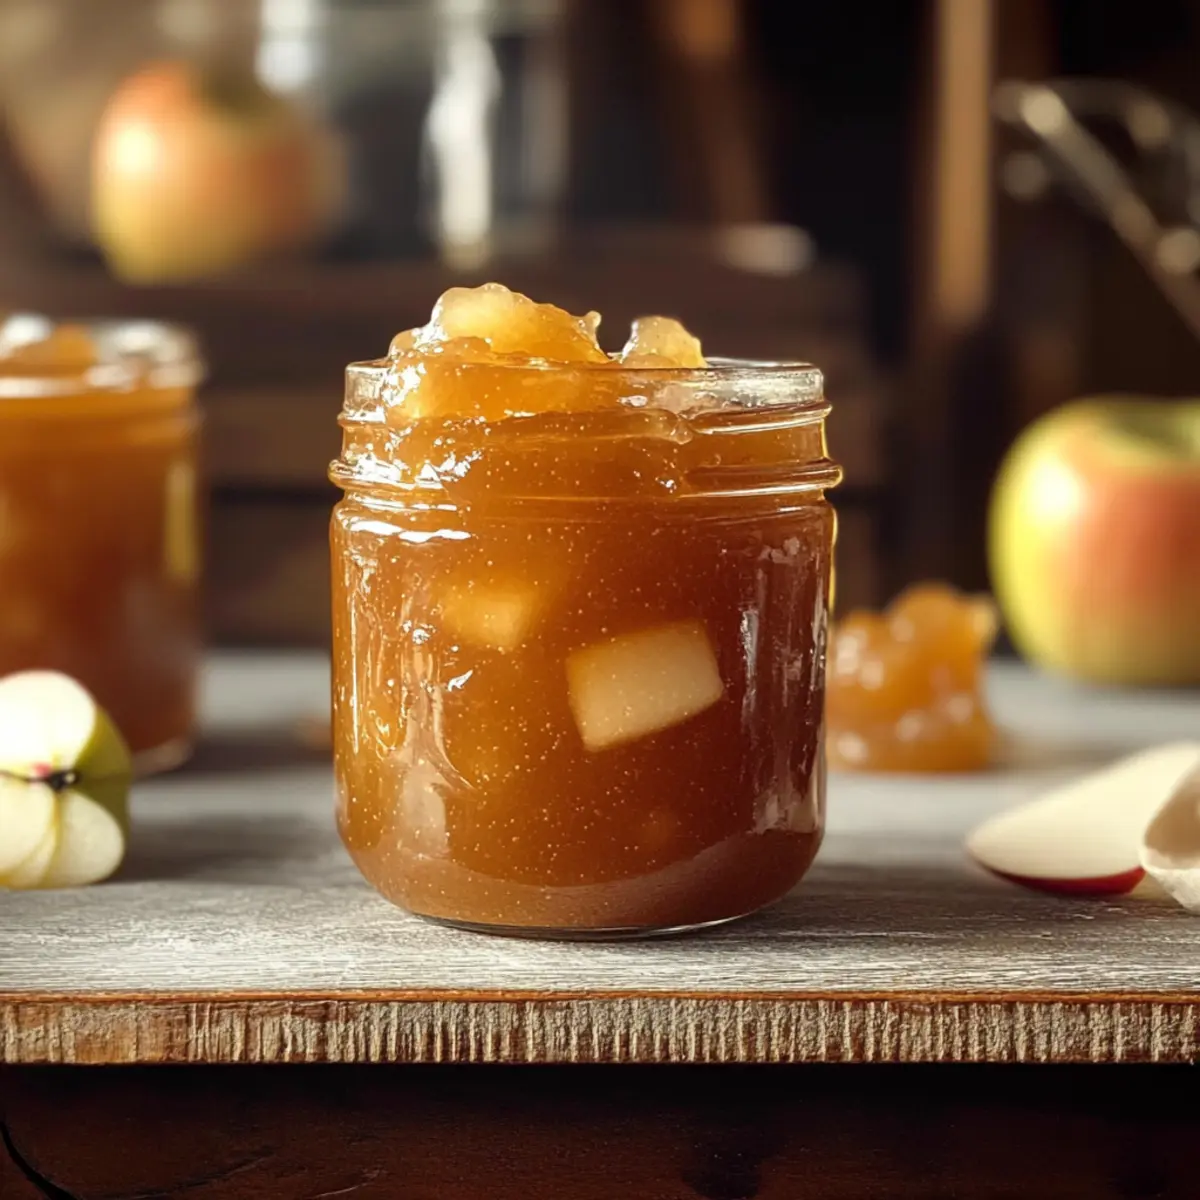
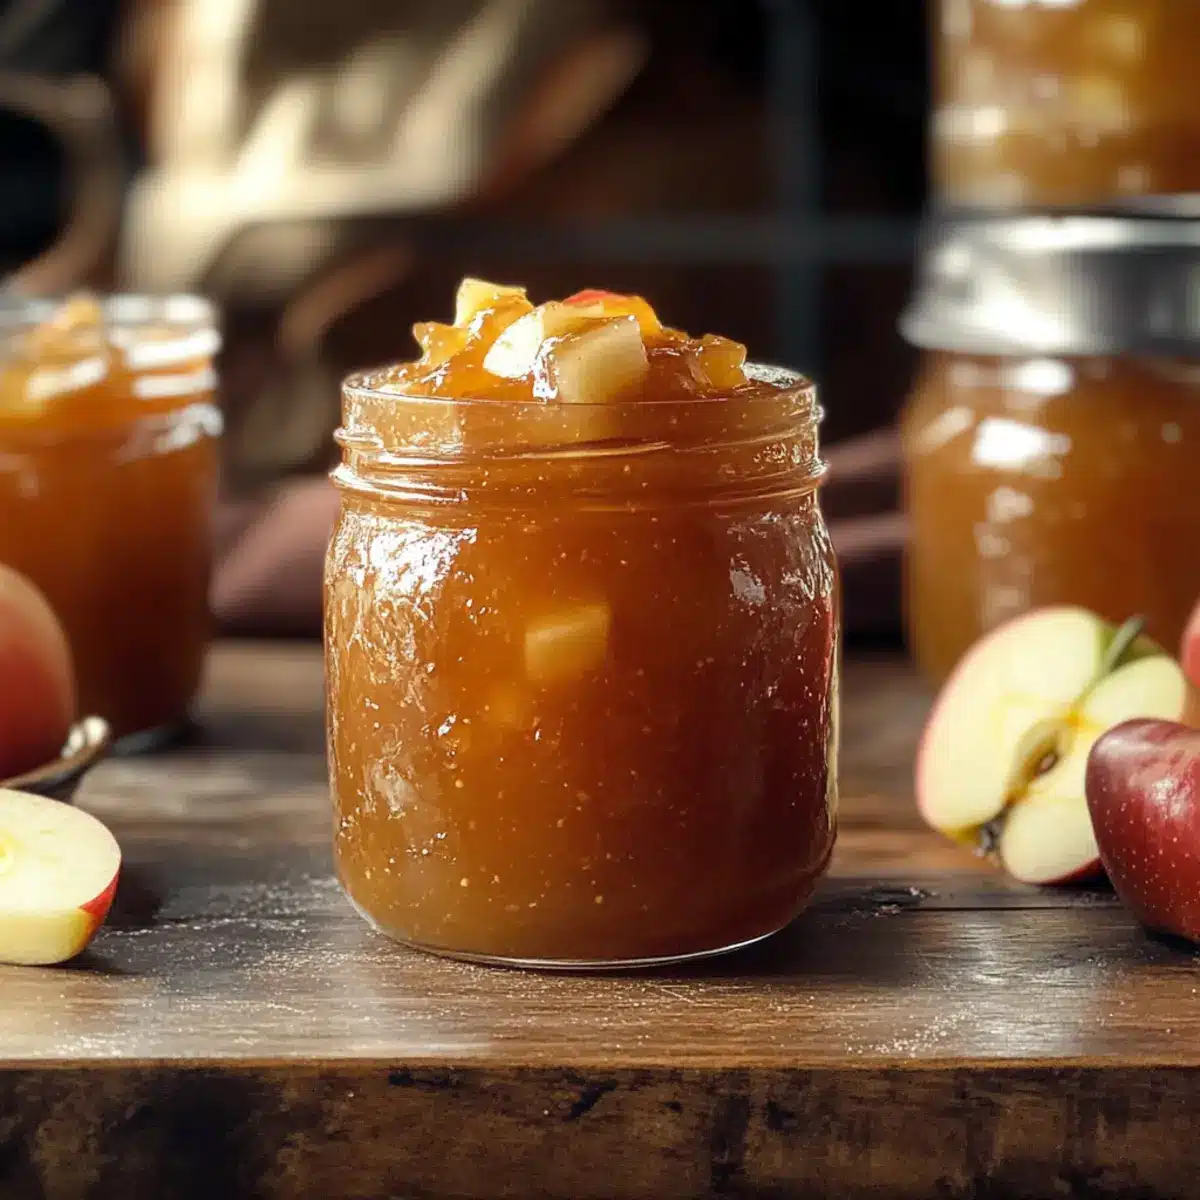
As the leaves turn crisp and golden, there’s nothing quite like the aroma of homemade apple jam simmering on the stove. In just three simple ingredients—apples, sugar, and a splash of lemon juice—you can capture the essence of autumn in a jar. This Homemade Apple Jam not only brings a delightful sweetness to your breakfast table but also allows you to savor the warmth of the season all year round. With a quick prep time and the ability to make a big batch, it’s the perfect way to transform a bushel of apples into a versatile spread that pairs beautifully with toast, yogurt, or even as a glaze for your favorite roasted meats. Curious about how to whip up this seasonal sensation? Let’s dive into the delightful process that will elevate your homemade food game!
Why Will You Love Homemade Apple Jam?
Simplicity at Its Best: With just three ingredients, this recipe showcases how easy it is to achieve homemade goodness without fuss.
Rich, Natural Flavor: The fresh apples combined with the tartness of lemon juice create a vibrant balance that’s bursting with seasonal taste.
Versatile Spread: This jam isn’t just for toast! Use it to elevate yogurt, create pastries, or even glaze your favorite proteins for an instant upgrade.
Perfect for Gifting: Homemade goodies like this apple jam make thoughtful gifts for loved ones, especially during the autumn months.
Healthier Choice: Packed with nutrients and free from artificial preservatives, it’s a wholesome alternative to many store-bought spreads.
By the way, if you’re a fan of seasonal flavors, be sure to check out my Apple Cinnamon Oatmeal Cups for a cozy breakfast idea!
Homemade Apple Jam Ingredients
• Discover the delightful components!
For the Jam
- Chopped Apples – 4 lbs, providing natural sweetness and chunky texture; any apple variety works, so experiment with your favorites!
- Granulated Sugar – 4 cups, sweetening the jam and helping with preservation; feel free to substitute with honey or maple syrup for a twist.
- Lemon Juice – 1/2 cup, enhances flavor and acts as a natural preservative; always opt for freshly squeezed for the best taste!
This simple homemade apple jam will effortlessly brighten your breakfast and desserts, giving you a taste of autumn all year round.
Step‑by‑Step Instructions for Homemade Apple Jam
Step 1: Mix Ingredients
Begin by placing your chopped apples in a large mixing bowl. Add the sugar and lemon juice, mixing thoroughly to coat the apples. Cover the bowl with plastic wrap and refrigerate the mixture for at least 4 hours or overnight. This maceration process allows the apples to release their juices, creating a flavorful base for your homemade apple jam.
Step 2: Prepare for Cooking
Before you start cooking, take a small plate and place it in the freezer. This plate will be essential for testing the consistency of your jam later. Make sure all your equipment, including pots and jars, are clean and ready to go. This preparation will ensure a smooth and efficient cooking process.
Step 3: Strain Mixture
Once the apples have macerated, remove the bowl from the refrigerator. Carefully strain the mixture using a colander, ensuring you reserve the liquid that has accumulated. The strained apple pieces will be combined with the jam liquid later, so take care to keep everything separate while you prepare your homemade apple jam.
Step 4: Cook Jam
In a saucepan, bring the reserved liquid to a boil over medium-high heat. Once boiling, add the strained apple pieces and stir well. Reduce heat slightly and maintain a robust simmer for 20 to 30 minutes, stirring occasionally to prevent sticking. Keep a watchful eye as the mix transforms into a jam, noting how the texture thickens and aroma fills your kitchen.
Step 5: Test Consistency
After cooking, retrieve the small plate from the freezer. Spoon a small amount of the bubbling jam onto it and return it to the freezer for one minute. Afterward, gently push the jam with your finger; if it wrinkles and holds its shape, it’s ready. If not, continue to simmer, testing every 5 minutes until you achieve the desired consistency for your homemade apple jam.
Step 6: Jar and Process
Once your jam has reached the perfect texture, fill sterilized jars with the hot mixture, leaving about 1/4-inch of headspace at the top. Secure the lids tightly and process the jars in a boiling water bath for 10 minutes, ensuring they are submerged. After processing, let them sit in hot water for an additional 5 minutes before removing and allowing them to cool completely at room temperature.
What to Serve with Homemade Apple Jam
As the aroma of homemade apple jam wafts through your kitchen, consider these delightful pairings to create a full, comforting meal.
- Creamy Yogurt: A dollop of yogurt adds a creamy counterpoint to the sweet and tangy jam, perfect for breakfast or as a snack.
- Flaky Biscuits: Soft, buttery biscuits are the ultimate canvas for apple jam, inviting rich flavors that melt in your mouth.
- Cheddar Cheese Platter: The sharpness of aged cheddar wonderfully balances the sweetness of the jam, making for an exquisite cheese board addition.
- Savory Toast: Spread on whole-grain bread, this jam enhances toppings like ricotta or goat cheese, presenting a deliciously complex flavor profile.
- Roasted Chicken Glaze: Brush the jam over chicken thighs before roasting for a sweet, sticky glaze that elevates your main dish.
- Apple Cinnamon Oatmeal: Stirring in a spoonful of jam into your morning oatmeal enriches each bite with an essence of autumn, offering warmth and comfort.
- Warm Muffins: Freshly baked muffins, ideally cinnamon or bran, paired with jam offer a delightful treat that’s hard to resist.
- Chai or Herbal Tea: A warm cup of spiced chai or soothing herbal tea complements the jam’s flavors, creating a cozy afternoon moment.
- Frozen Yogurt Parfaits: Layer jam with frozen yogurt and granola for a refreshing dessert that bursts with seasonal flavor.
- Spiced Cakes: Apple jam makes an excellent filling for layer cakes, bringing moisture and a pop of flavor that enhances every bite.
Homemade Apple Jam Variations
Customize your homemade apple jam with these delightful twists that will take your taste buds on an adventure!
- Pear Fusion: Substitute half of the apples with pears for a lusciously sweet and buttery flavor. The combination creates a beautiful texture and taste that complements the apple jam perfectly.
- Spiced Delight: Add cinnamon or nutmeg for a warm, aromatic kick. Just a teaspoon of your favorite spice can turn your jam into a cozy autumn treat!
- Berry Burst: Incorporate dried cranberries or chopped figs to create a unique jam with a chewy texture and hint of tartness. These fruity additions bring an unexpected surprise to each bite.
- Nutty Crunch: Fold in toasted walnuts or pecans right before jarring. The added crunch and nutty flavor create an interesting contrast to the soft jam, making your spread even more delightful.
- Citrus Zing: Enhance the tartness by adding a bit of orange zest or even a splash of fresh orange juice into the mix. The citrus notes brighten up the jam’s flavor profile and offer a fresh twist.
- Chili Heat: For the adventurous, try adding a pinch of red pepper flakes or a dash of jalapeño for a spicy zing. This unexpected heat perfectly balances the sweetness of the jam.
- Seasonal Variation: Use autumn spices like allspice and cloves to make your jam more festive. The warm flavors evoke cozy holiday memories and will have everyone coming back for more!
Once you’ve created your homemade apple jam, why not try it out as a filling for pastries or as a delicious glaze for roasted meats? If you’re in the mood for something sweet, consider pairing it with my Apple Brownies Deliciously for a comforting dessert!
How to Store and Freeze Homemade Apple Jam
Room Temperature: Store sealed jars in a cool, dark place for up to a year to maintain freshness and flavor, perfect for enjoying your homemade apple jam year-round.
Fridge: Once opened, refrigerate your apple jam to keep it fresh for up to one month. Make sure to use a clean spoon each time to avoid contamination.
Freezer: For long-term storage, freeze the jam in airtight containers or freezer bags for up to one year. This way, you can savor that autumn flavor anytime!
Reheating: When ready to use, simply thaw in the fridge overnight or heat gently in a saucepan over low heat until spreadable.
Make Ahead Options
Preparing homemade apple jam is perfect for busy home cooks looking to save time! You can macerate the chopped apples with sugar and lemon juice up to 24 hours in advance, allowing flavors to meld beautifully. Simply cover the mixture and refrigerate it overnight. On the day you wish to make the jam, strain the mixture and continue with the cooking process as per the recipe. This ensures your jam is just as delicious, with a fresh and appealing taste. Additionally, after jarring, processed apple jam can be stored in a cool, dark place for up to a year, making it an excellent option for meal prep and gifting alike!
Expert Tips for Homemade Apple Jam
• Maceration Magic: Let the apple mixture macerate overnight for the best flavor infusion. This extra time ensures a richer, more complex taste in your homemade apple jam.
• Consistency Check: Use a candy thermometer for precise temperature control while cooking. Aim for 220°F to achieve the perfect jam consistency without overcooking.
• Jar Sterilization: Always sterilize your jars and lids before filling to ensure longer shelf life and food safety. A quick boil will do wonders!
• Watch the Clock: Avoid overcooking, which can lead to undesired thickness. Regularly test the jam’s consistency as it simmers to achieve your ideal spreadability.
• Mix It Up: Feel free to experiment with different apple varieties to find your favorite flavor profile in this homemade apple jam, balancing sweetness and tartness just right.
Homemade Apple Jam Recipe FAQs
What type of apples should I use for this jam?
Absolutely! You can use any variety of apples for your homemade apple jam. Each type offers a unique flavor profile—Granny Smith for tartness, Fuji for sweetness, or Honeycrisp for a balance of both. Mixing types can also yield a more complex taste!
How do I store homemade apple jam properly?
Very! Store sealed jars of your homemade apple jam in a cool, dark place for up to a year. Ensure the jars are tightly sealed to prevent air exposure, which can lead to spoilage. Once opened, refrigerate the jam and enjoy it within one month for optimal freshness.
Can I freeze homemade apple jam, and if so, how?
Yes, you can! To freeze, simply transfer your cooled jam into airtight containers or freezer bags, ensuring to leave some headspace for expansion. Label them with the date, and they can last in the freezer for up to a year. To use, just thaw them in the fridge overnight or warm them gently in a saucepan.
What should I do if my apple jam doesn’t thicken?
Don’t worry! If your jam isn’t thickening as desired, return it to the heat after testing it. Continue cooking on medium-high heat while stirring regularly. To test for thickness, use the frozen plate method: spoon some jam onto the plate, freeze it for a minute, and check the consistency. If it doesn’t wrinkle, keep cooking and testing every few minutes until it thickens.
Is homemade apple jam safe for pets or people with allergies?
While homemade apple jam is generally safe, always consult your veterinarian if you plan to share with pets. The sugar content can be high for some animals. For allergies, ensure that the ingredients you use do not contain known allergens; for example, some people might have sensitivities to citric acid in lemon juice. Always label your jars clearly to avoid any adverse reactions.
Homemade Apple Jam: A Sweet and Simple Autumn Treat
Ingredients
Equipment
Method
- Begin by placing your chopped apples in a large mixing bowl. Add the sugar and lemon juice, mixing thoroughly to coat the apples. Cover the bowl with plastic wrap and refrigerate the mixture for at least 4 hours or overnight.
- Before you start cooking, take a small plate and place it in the freezer. Ensure all your equipment is clean and ready to go.
- Once the apples have macerated, remove the bowl from the refrigerator. Carefully strain the mixture using a colander, reserving the liquid.
- In a saucepan, bring the reserved liquid to a boil over medium-high heat. Once boiling, add the strained apple pieces and stir well. Reduce heat slightly and maintain a robust simmer for 20 to 30 minutes.
- After cooking, retrieve the small plate from the freezer. Spoon a small amount of the bubbling jam onto it and return it to the freezer for one minute. Test the consistency.
- Once your jam has reached the perfect texture, fill sterilized jars with the hot mixture, leaving about 1/4-inch of headspace. Secure the lids tightly and process the jars in a boiling water bath for 10 minutes.
Leave a Reply