
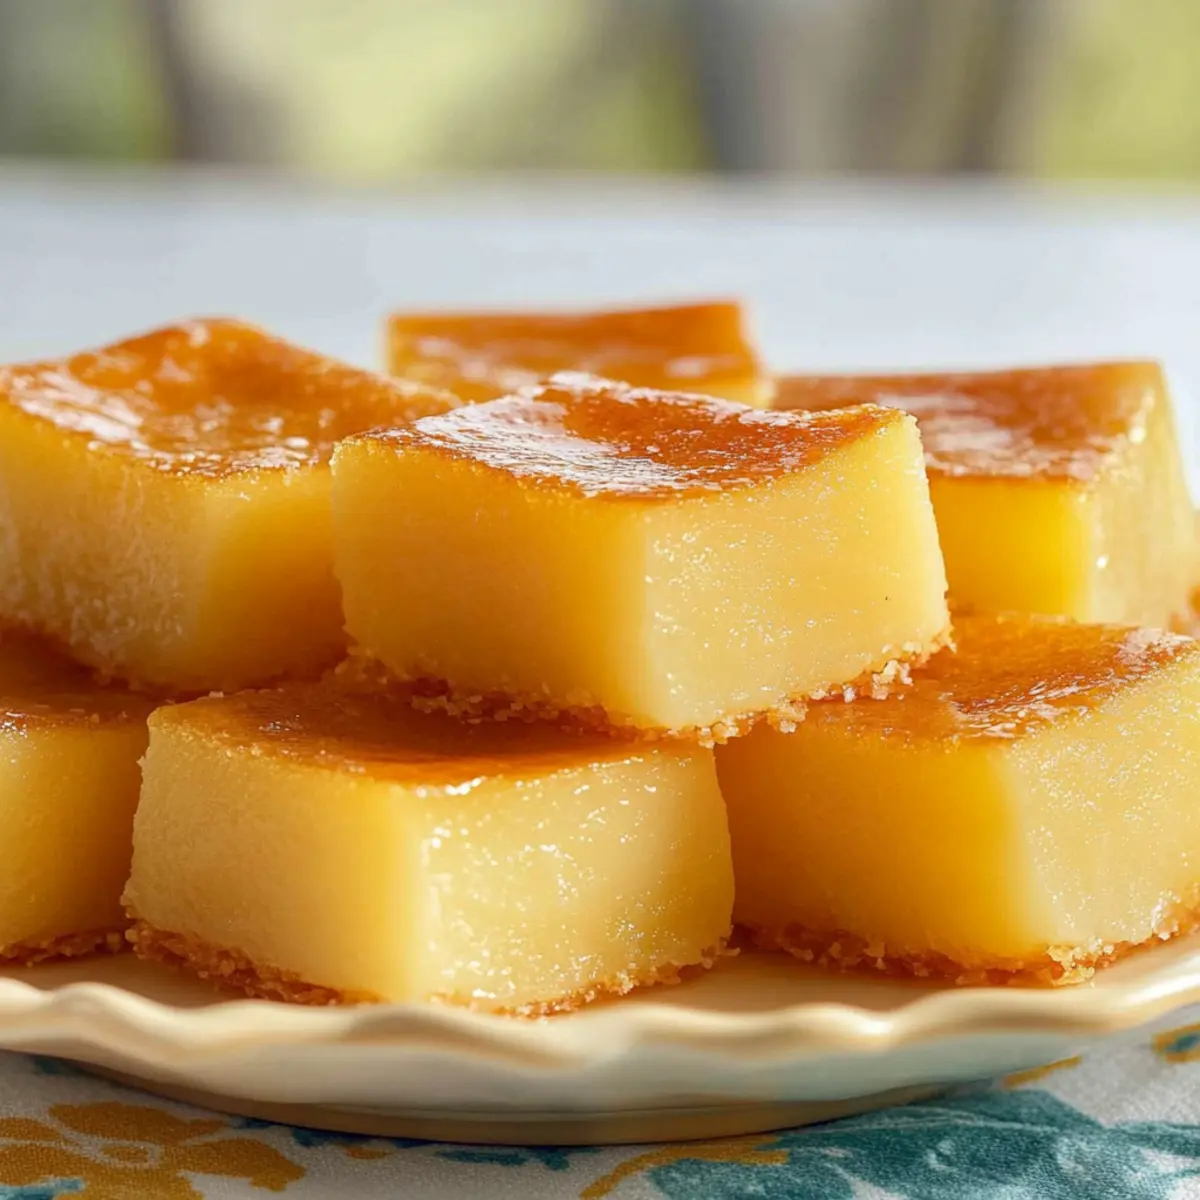
As I stepped into the kitchen, the scent of coconut and vanilla wafted through the air, instantly transporting me to a sunny Hawaiian beach. This Gorgeous Hawaiian Butter Mochi recipe blends the delightful chewiness of mochi with a buttery richness that will have everyone coming back for more. Not only is this dessert a cinch to whip up, but it’s also a gluten-free treat that captures those tropical flavors ever so perfectly. Whether you’re celebrating a special occasion or just treating yourself, this mochi is a fun, crowd-pleasing addition to your baking repertoire. Are you ready to turn your kitchen into a slice of paradise? Let’s dive into this deliciously easy recipe!
Why is Hawaiian Butter Mochi a Must-Try?
Irresistible Flavor: The magical blend of coconut and vanilla creates a taste that’s reminiscent of sun-soaked beaches and tropical vibes.
Effortless Preparation: With just a handful of ingredients, you can create this gluten-free delight in no time—perfect for busy bakers!
Chewy Goodness: The unique texture gives you that delightful chew you crave, making it feel indulgent yet comforting.
Versatile Serving Options: Pair it with whipped cream, a scoop of vanilla ice cream, or even enjoy it plain—the choice is yours! For similar tropical treats, check out my Vanilla Cinnamon Buttermilk Pancakes or the Bowl Peanut Butter Cup Dump Cake.
Crowd-Pleasing Treat: Whether it’s a family gathering or a potluck, this Hawaiian Butter Mochi is sure to be a hit with everyone who tries it!
Hawaiian Butter Mochi Ingredients
• Get ready to create a tropical treat!
For the Mochi Batter
- Mochiko Flour – Provides that signature chewy texture of mochi; don’t substitute with regular flour.
- Granulated Sugar – Adds the sweetness that balances the rich flavors perfectly.
- Baking Powder – Helps the mochi rise slightly, ensuring a light and airy bite.
- Salt – Enhances all the flavors in the dessert for a more complex taste.
- Large Eggs – Essential for structure and moisture; ensure they are at room temperature for best mixing.
- Whole Milk – Adds creaminess; you can switch to any plant-based milk for a dairy-free version.
- Coconut Milk – Infuses the dish with tropical flavor and moisture.
- Butter – Contributes richness and a soft texture; feel free to use a dairy-free alternative.
- Vanilla Extract – Adds a warm, aromatic flavor; it can be omitted for a more straightforward taste.
Optional Ingredients for Extra Flavor
- Shredded Coconut – Incorporate it for a delightful texture and an extra hit of tropical goodness.
- Chocolate Chips – Add them for a sweet twist that pairs beautifully with the mochi’s texture.
- Almond or Coconut Extract – Experiment with these for a fun variation on the classic flavors.
Step‑by‑Step Instructions for Hawaiian Butter Mochi
Step 1: Preheat and Prepare
Begin by preheating your oven to 350°F (180°C). While it heats, take a 9×13-inch baking pan and grease it with butter to prevent sticking. Line the bottom and sides of the pan with parchment paper for easy removal once your Hawaiian Butter Mochi is baked. Set the prepared pan aside as you move on to the next steps.
Step 2: Mix the Dry Ingredients
In a large mixing bowl, combine 2 cups of mochiko flour, 1 cup of granulated sugar, 2 teaspoons of baking powder, and a pinch of salt. Whisk these dry ingredients together until they’re evenly blended. The combination will create the foundation of your Hawaiian Butter Mochi by ensuring it has the perfect chewy texture and sweetness.
Step 3: Combine the Wet Ingredients
In a separate bowl, beat 4 large eggs and then mix in 1 cup of whole milk, 1 cup of coconut milk, ½ cup of melted butter, and 1 teaspoon of vanilla extract. Whisk these wet ingredients until smooth and well combined. This rich mixture will add moisture and flavor to your Hawaiian Butter Mochi, creating a delightful balance with the dry ingredients.
Step 4: Mix Wet and Dry Ingredients
Pour the wet ingredients into the bowl containing the dry mixture. Stir gently until just combined, taking care not to overmix. Once the batter is smooth and has a consistent texture, it’s time to prepare it for baking. This step is crucial for achieving the soft, chewy consistency that makes Hawaiian Butter Mochi so irresistible.
Step 5: Strain the Batter
To ensure a completely smooth batter, strain your mixture through a fine sieve directly into the prepared baking pan. This step helps eliminate any lumps, resulting in an even texture for your Hawaiian Butter Mochi. Gently spread the batter to ensure it reaches all corners of the pan, ready for the oven.
Step 6: Bake the Mochi
Place the baking pan in your preheated oven and bake for 50-60 minutes. The Hawaiian Butter Mochi is done when the top is golden and set, with a slight bounce when lightly touched. Keep an eye on it during the last few minutes for perfect doneness, and remember that the edges may brown slightly more than the center.
Step 7: Cool and Cut
Once baked, remove the mochi from the oven and let it cool completely in the pan on a wire rack. This cooling process is essential for achieving clean cuts. After about an hour or so, gently lift the mochi out of the pan using the parchment paper, and then cut it into 24 squares.
Step 8: Serve and Enjoy
Your Hawaiian Butter Mochi is now ready to serve! You can enjoy it warm right away, or at room temperature. For an extra treat, consider serving with a dollop of whipped cream or a scoop of vanilla ice cream. This delightful dessert is sure to please everyone with its chewy texture and tropical flavors!
What to Serve with Gorgeous Hawaiian Butter Mochi
Transform your dessert experience with these delightful pairings that complement the vibrant flavors of this tropical treat.
- Whipped Cream: Light and airy, it adds a creamy touch that balances the mochi’s chewy texture beautifully.
- Vanilla Ice Cream: The cold, creamy vanilla provides a delightful contrast to the warmth of the mochi, enhancing every bite.
- Fresh Coconut Slices: Elevate the tropical vibes with fresh coconut, adding a light crunch and a refreshing burst of flavor.
- Mango Sorbet: This fruity delight offers a refreshing contrast, perfect for cutting through the richness of the butter mochi.
- Tropical Fruit Salad: A medley of crisp, juicy fruits like pineapple and kiwi creates a vibrant, refreshing side that’s perfect for balancing sweetness.
- Iced Green Tea: This subtly flavored drink offers a soothing counterpart, cleansing the palate without overshadowing the mochi’s delightful flavors.
- Coconut Milk Drink: For those who want to stay in the tropical spirit, a chilled coconut milk drink serves as a perfect pairing.
- Pineapple Upside-Down Cake: This classic dessert pairs wonderfully, with its sweet caramelized fruit echoing the flavors found in Hawaiian cuisine.
- Lime or Lemon Sorbet: The zesty citrus notes cut through the richness, refreshing your palate and enhancing the tropical flavors.
Make Ahead Options
Hawaiian Butter Mochi is a fantastic option for meal prep, allowing you to enjoy this tropical delight with minimal effort during busy weeknights. You can prepare the batter up to 24 hours in advance by mixing the dry ingredients and combining them with the wet mixture, then store it in the refrigerator. This helps meld the flavors while also keeping the mochi’s texture just right. When you’re ready to bake, simply pour the mixture into the prepared pan and bake as directed. For optimal quality, don’t cut the mochi until it’s completely cooled, and store any leftovers in an airtight container at room temperature for up to two days. You’ll have a deliciously chewy dessert ready to enjoy at a moment’s notice!
How to Store and Freeze Hawaiian Butter Mochi
Room Temperature: Store your Hawaiian Butter Mochi in an airtight container at room temperature for up to 2 days to maintain its delightful chewiness and freshness.
Fridge: If you need to keep it longer, refrigerate in an airtight container for up to a week. Note that refrigeration may change the texture slightly, making it firmer.
Freezer: For longer storage, freeze the mochi in an airtight container for up to 3 months. To thaw, leave it at room temperature for a few hours or microwave it briefly.
Reheating: Enjoy the mochi warm! To reheat, use a microwave for about 10-15 seconds, ensuring not to overheat so it stays soft and chewy.
Expert Tips for Hawaiian Butter Mochi
-
Perfect Temperature: Always use room temperature eggs and milk for better mixing and a smoother batter. This ensures your Hawaiian Butter Mochi will rise beautifully.
-
Avoid Overmixing: Gently combine wet and dry ingredients until just mixed. Overmixing can lead to a dense texture, which we want to avoid for that chewy mochi experience.
-
Strain for Smoothness: Don’t skip straining the batter. This eliminates lumps and creates a uniform texture that enhances the final product, making your Hawaiian Butter Mochi irresistibly smooth.
-
Cool Completely: Allow the mochi to cool completely in the pan before cutting. Using a wet knife makes cutting clean squares easier and prevents sticking.
-
Storage Tips: Store any leftovers in an airtight container at room temperature for up to two days. Refrigeration can alter the texture, making it less chewy.
Hawaiian Butter Mochi Variations & Substitutions
Feel free to get creative and make this Hawaiian Butter Mochi truly yours with these fun and easy variations!
- Dairy-Free: Substitute butter and whole milk with coconut oil and almond milk for a deliciously light version.
- Chocolate Lovers: Add 1 cup of semi-sweet chocolate chips to the batter for a delightful twist that pairs wonderfully with the chewy texture.
- Nutty Flavor: Include ½ cup of chopped macadamia nuts or walnuts for an added crunch that complements the buttery mochi.
- Enhanced Coconut: Double the coconut milk and add 1 cup of shredded coconut to amplify that tropical flavor in every bite.
- Extract Exploration: Swap vanilla extract with almond or coconut extract for a unique aromatic experience that takes you straight to Hawaii.
- Spiced Delight: Experiment by adding a pinch of cinnamon or nutmeg to the batter for an unexpected warmth that works beautifully.
- Vegan Version: Use flax eggs in place of regular eggs (1 tablespoon of ground flaxseed mixed with 3 tablespoons of water per egg) and opt for coconut cream instead of butter for a completely plant-based treat.
- Fruity Fusion: Incorporate 1 cup of diced fresh pineapple or mango into the batter for a juicy tropical burst with each chewy piece.
As you customize this dessert, consider pairing it with whipped cream or enjoying it alongside a scoop of vanilla ice cream for an indulgent experience. And if you’re curious about other delightful tropical-inspired treats, don’t miss out on my Bowl Peanut Butter Cup Dump Cake or Vanilla Cinnamon Buttermilk Pancakes!
Hawaiian Butter Mochi Recipe FAQs
What is the best way to select ripe ingredients for Hawaiian Butter Mochi?
Absolutely! When choosing ingredients like fresh eggs and milk, always opt for ones that are free from cracks and have the freshest labels. For coconut milk, look for cans that don’t have any bulging or bloating, which can indicate spoilage.
How should I store leftover Hawaiian Butter Mochi?
Leftover Hawaiian Butter Mochi can be stored in an airtight container at room temperature for up to 2 days. This keeps it fresh and chewy! If you need to keep it longer, refrigerate it for up to a week, although be mindful that refrigeration may firm up the texture.
Can I freeze Hawaiian Butter Mochi?
Absolutely! To freeze, first let the mochi cool completely, and then cut it into squares. Place the squares in an airtight container or sealable freezer bag, separating layers with parchment paper. It can be frozen for up to 3 months. When you’re ready to enjoy it, thaw at room temperature for a few hours or microwave a piece for 10-15 seconds to gently warm it.
What if my Hawaiian Butter Mochi is too dense or chewy?
No worries! If your mochi turns out to be too dense, it might be an issue of overmixing the batter or using cold ingredients. To achieve that delightful chewiness, remember to gently combine your wet and dry ingredients until just mixed. Use room temperature eggs and milk to help create a lighter texture.
Any dietary considerations for Hawaiian Butter Mochi, especially for allergies?
Yes! Hawaiian Butter Mochi can be made dairy-free by substituting whole milk and butter with plant-based alternatives. For those with gluten allergies, ensuring the use of mochiko flour, which is gluten-free, is essential. Always check labels for potential allergens, especially with coconut milk and butter substitutes.
Gorgeous Hawaiian Butter Mochi: Chewy Bliss in Every Bite
Ingredients
Equipment
Method
- Preheat oven to 350°F (180°C) and grease a 9x13-inch baking pan with butter, lining with parchment paper.
- In a bowl, combine Mochiko flour, granulated sugar, baking powder, and salt. Whisk until blended.
- In another bowl, beat eggs, then mix in whole milk, coconut milk, melted butter, and vanilla extract. Whisk until smooth.
- Pour wet ingredients into dry ingredients, stirring gently until just combined. Do not overmix.
- Strain the batter through a fine sieve into the greased baking pan.
- Bake in preheated oven for 50-60 minutes, until the top is golden and set.
- Cool completely in the pan before lifting out and cutting into 24 squares.
- Serve warm or at room temperature, optionally topped with whipped cream or ice cream.
Leave a Reply