
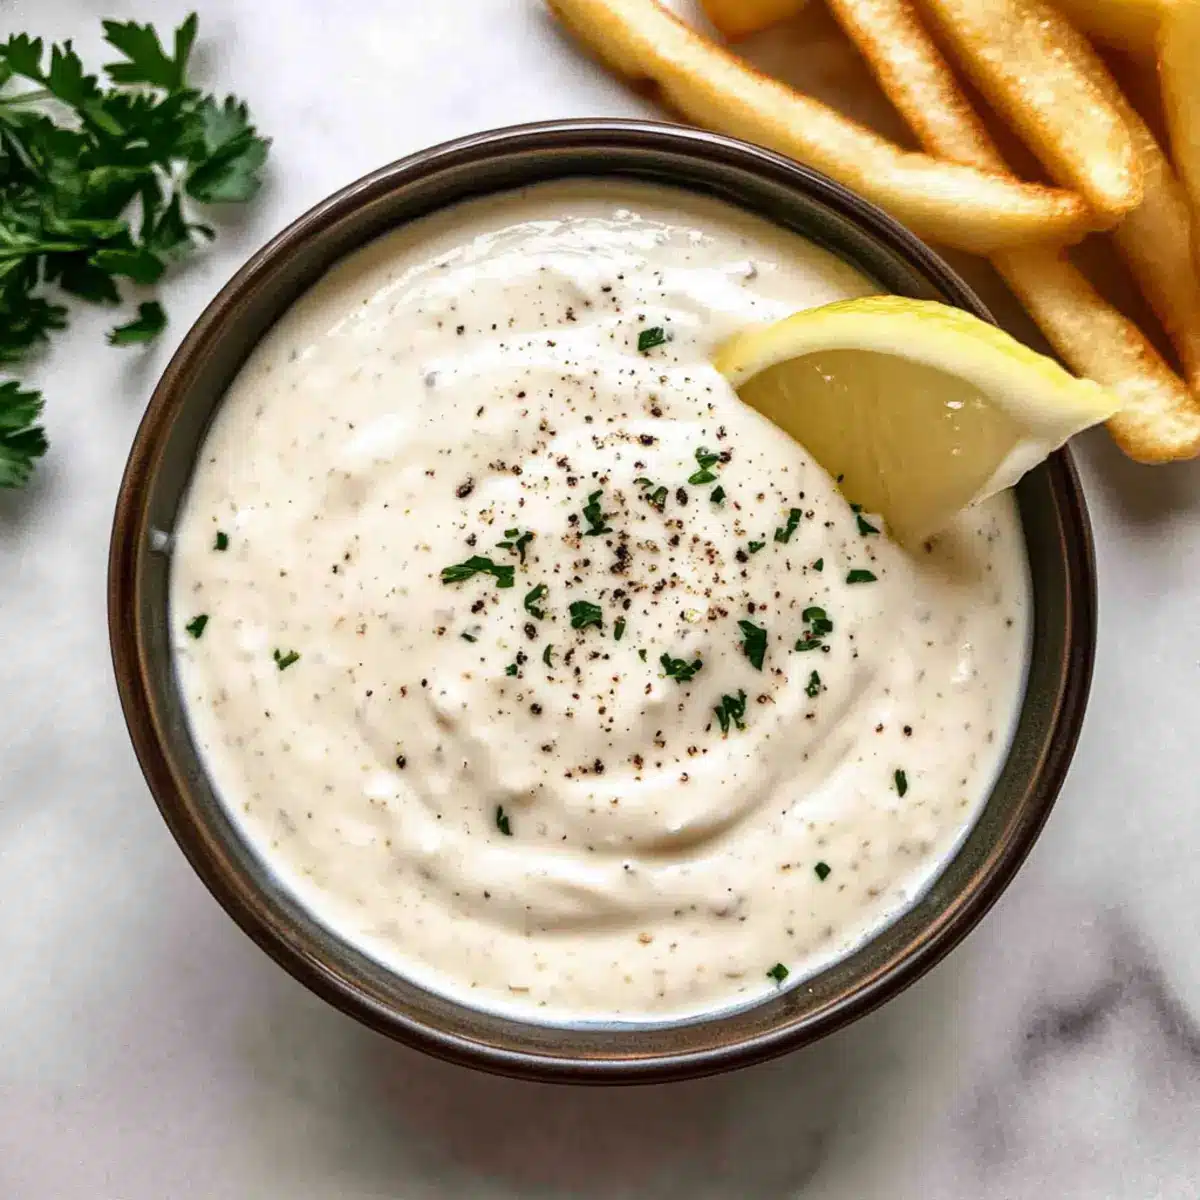
As I was whipping up dinner last week, I found myself in a situation almost all home chefs can relate to: my family kept asking for something creamy to dip their fries into. Enter my savior: Garlic Aioli! This easy sauce recipe comes together in just five minutes, transforming humble meals into gourmet delights with its smooth, tangy, and garlicky goodness. From crisping fries to slathering on sandwiches, this aioli is a quick, versatile addition that will impress anyone at your table. Plus, you can make it ahead of time and store it in the fridge for up to five days—perfect for busy weeknights or surprise guests. So, are you ready to elevate your snacking game with this stunning dip? Let’s get started!
Why is Garlic Aioli a Must-Try?
Quick Preparation: Whipping up this garlic aioli takes just 5 minutes, making it a fantastic go-to sauce when time is tight.
Flavor Explosion: The combination of fresh garlic and zesty lemon creates a bold flavor that will have everyone reaching for more.
Versatile Dip: Perfect for pairing with crispy fries, veggies, or as a flavorful spread on sandwiches and wraps, making it ideal for any occasion.
Make-Ahead Magic: Prepare it in advance and store it in the fridge, ready for impromptu gatherings or busy weeknights.
Crowd Pleaser: Everyone loves a creamy dip, and this aioli elevates everyday meals, just like my favorite Garlic Parmesan Chicken or Sticky Garlic Chicken recipes!
Garlic Aioli Ingredients
For the Aioli Base
• Mayonnaise – Forms the creamy base of the aioli; use Hellman’s for best flavor.
• Garlic – Freshly grated for a strong, aromatic punch; for a milder taste, use less or roast it first.
• Fresh Lemon Juice – Adds essential tanginess; substituting with bottled lemon juice may alter freshness.
Seasoning
• Salt – Enhances overall flavor profile and balances richness; adjust to taste based on dietary needs.
• Sugar – Balances out the acidity of the lemon; optional for a less sweet version, omit if desired.
• Ground Black Pepper – Adds mild spice and depth; substitute with white pepper for a subtler flavor.
Step‑by‑Step Instructions for Garlic Aioli
Step 1: Combine Ingredients
In a medium mixing bowl, combine 1 cup of mayonnaise, 2 tablespoons of freshly grated garlic, 2 tablespoons of fresh lemon juice, ½ teaspoon of salt, ½ teaspoon of sugar, and ¼ teaspoon of ground black pepper. Using a whisk, ensure all the ingredients are evenly mixed. This will create the creamy base of your garlic aioli.
Step 2: Whisk to Smoothness
Continue whisking the mixture for about 1-2 minutes until it becomes smooth and cohesive. As you do this, the garlic will infuse its robust flavor throughout the aioli, creating a luscious texture that’s perfect for dipping. The mixture should appear glossy and bright; this indicates it’s ready for chilling.
Step 3: Chill to Enhance Flavor
Cover the bowl with plastic wrap and place it in the refrigerator. Allow the garlic aioli to chill for at least 15 minutes, giving the flavors time to meld beautifully. This step is crucial as the cool temperature will intensify the garlic and lemon zest, making your aioli even more delicious.
Step 4: Serve and Enjoy
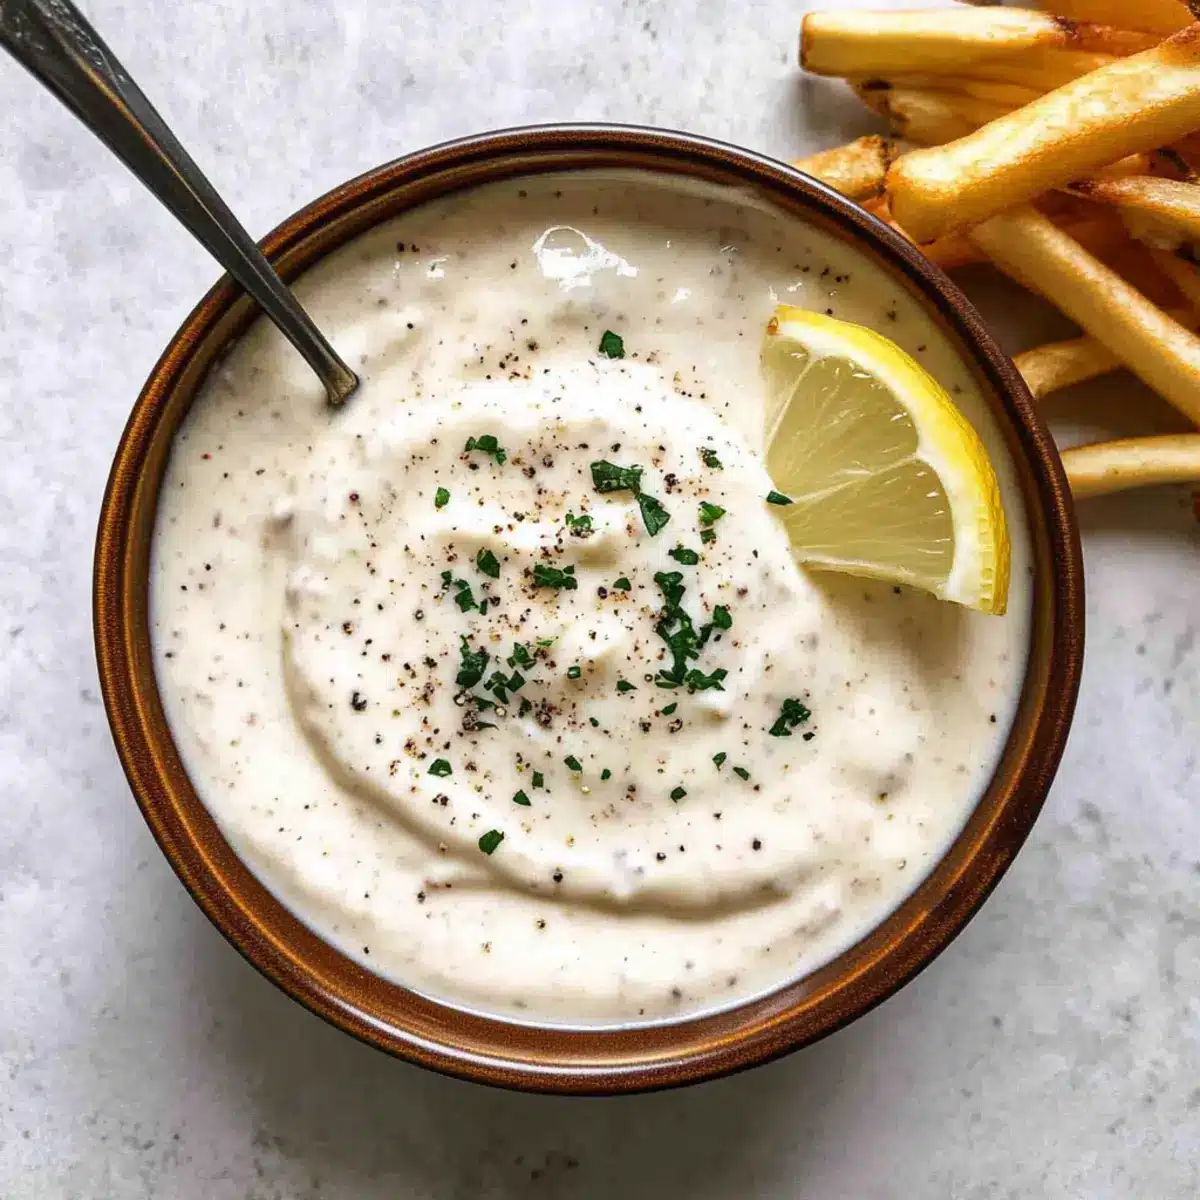
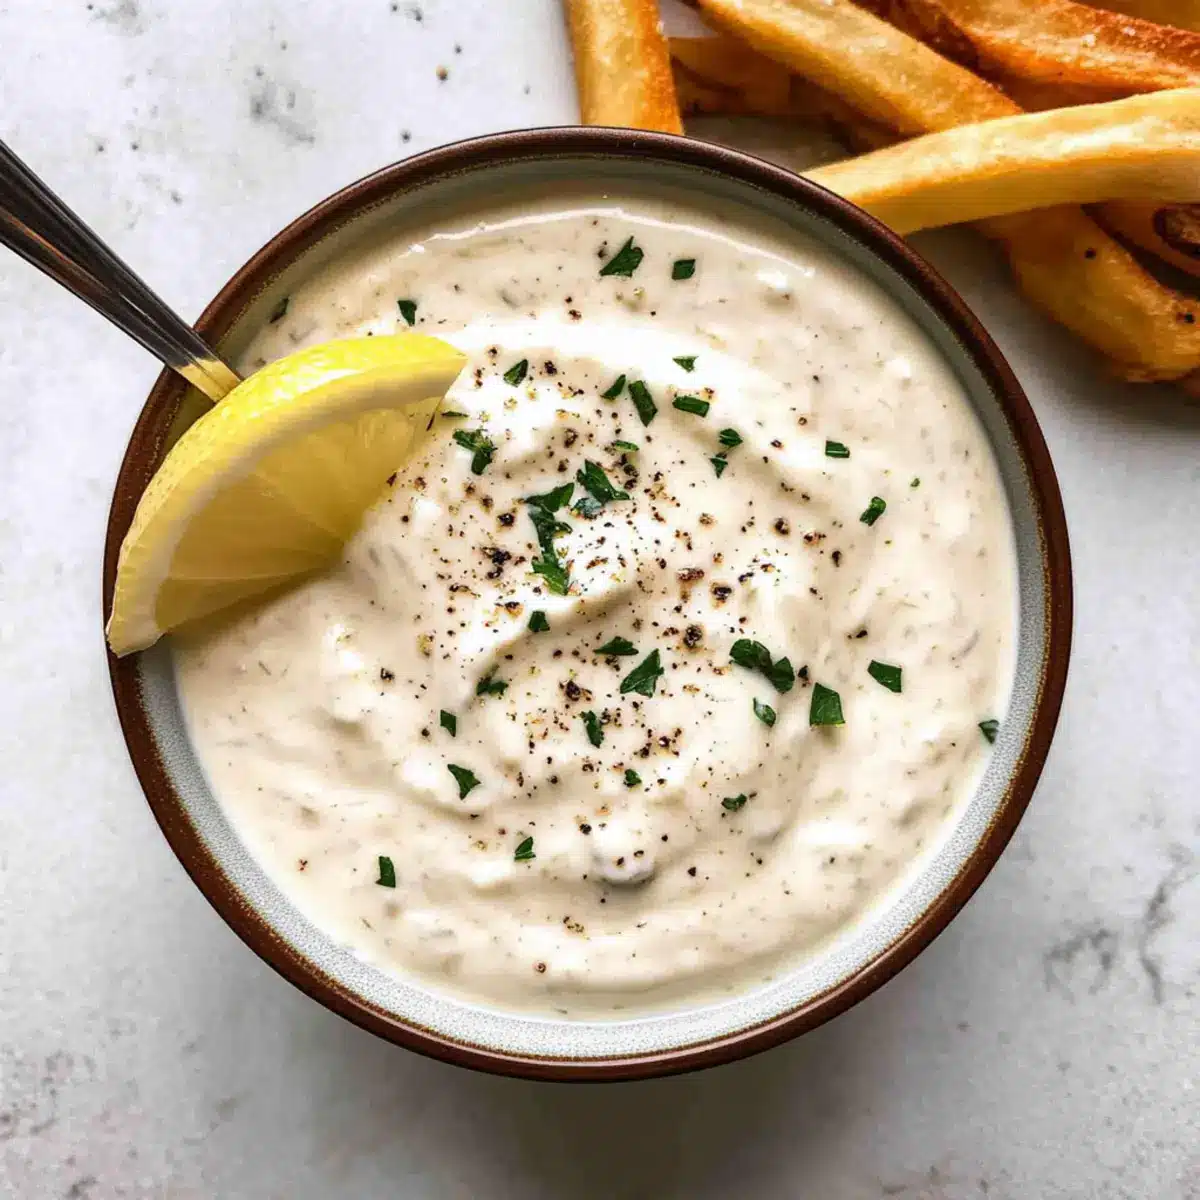
Once chilled, give the garlic aioli a quick stir before transferring it to a serving bowl. You can serve it alongside crispy fries, crunchy vegetables, or use it as a zesty spread on sandwiches and wraps. The creamy garlic aioli is not only flavorful but also a crowd-pleaser at any gathering.

Make Ahead Options
These Garlic Aioli preparations are perfect for busy home cooks looking to save time! You can make the aioli up to 5 days in advance, storing it in an airtight container in the refrigerator. Simply prepare all the ingredients as directed, whisk them together, and let the flavors meld in the fridge for a minimum of 15 minutes before serving. To maintain the creamy texture and vibrant flavor, ensure the container is tightly sealed and refrigerate immediately after mixing. When you’re ready to serve, just give it a quick stir, and you’ll have a fresh and delicious dip that elevates any meal with minimal effort. This make-ahead strategy is perfect for impromptu gatherings or busy weeknights!
What to Serve with Easy Garlic Aioli
Elevate your homemade meals with delightful pairings that make your garlic aioli truly shine.
-
Crispy French Fries: The rich creaminess of the aioli pairs beautifully with the salty crunch of fries, creating an addictive combo.
-
Grilled Vegetables: Charred veggies offer a smoky contrast to the tangy sauce, enhancing flavors and adding nutrition to your plate.
-
Savory Onion Rings: Their crispy texture and sweetness balance the robust garlic notes, turning an ordinary snack into a gourmet treat.
-
Roasted Chicken Wings: The garlic aioli acts as a perfect dipping sauce, adding a creamy zing that will have everyone reaching for more.
-
Zesty Fish Tacos: A dollop of garlic aioli complements the fresh flavors of the taco, adding a creamy, tangy touch.
-
Crisp Salad Greens: Use the aioli as a dressing to bring a rich, garlic-infused flavor to your fresh salads.
-
Mouthwatering Burgers: Spread this aioli on your favorite burger for a decadent twist that elevates every bite.
-
Chilled Shrimp Cocktail: The zesty garlic aioli serves as a delightful dip, balancing the sweetness of the shrimp.
-
Artisan Bread: Serve it as a dip alongside warm, crusty bread, and watch your guests savor every creamy bite.
Garlic Aioli: Exciting Variations
Feel free to get creative with this creamy garlic aioli—there are so many delightful twists to explore!
- Spicy Kick: Add a pinch of cayenne or paprika for a fiery burst of flavor. This will elevate your aioli to new heights.
- Greek Yogurt Twist: Substitute half the mayonnaise with Greek yogurt for a lighter, tangy version that’s just as satisfying.
- Herb-Infused: Mix in fresh herbs like basil or parsley for an herbaceous touch that brings freshness to every bite.
- Smoky Flavor: Incorporate smoked paprika for a deep, smoky flavor that adds a unique twist. It’s a great way to enhance your dips!
- Nutty Variation: Blend in a tablespoon of tahini for a creamy, nutty flavor that provides a wonderful depth to your aioli.
- Vegan Option: Use a vegan mayonnaise and skip the sugar for a delicious, plant-based alternative that everyone will love.
- Umami Boost: A teaspoon of soy sauce can add a savory punch that pairs perfectly with many dishes. This versatile option is great for those who crave that extra flavor!
- Lemon Zest Burst: Grate in some lemon zest for an added citrusy brightness that enhances the tangy lemon juice. This will make the aioli sing!
Whichever variation you choose, you can elevate your next meal effortlessly. Whether dipping alongside your favorite fries or topping off a sandwich, this garlic aioli remains a star, much like my beloved Healthy Garlic Parmesan Chicken! Enjoy your culinary adventure!
Expert Tips for Garlic Aioli
• Garlic Greatness: Always use freshly grated garlic for the best flavor; pre-minced garlic can taste bland and lose its aromatic properties.
• Chill Time Counts: Don’t skip the chilling step! Allowing the aioli to chill for at least 15 minutes enhances its flavor profile beautifully.
• Smooth Texture: Whisk thoroughly until the aioli is completely smooth; chunky garlic can detract from the creamy experience.
• Taste Adjustments: Be sure to taste and adjust seasoning to your preference, especially the salt and sugar in this garlic aioli recipe.
• Storage Savvy: Store your garlic aioli in an airtight container in the fridge to maintain freshness for up to 5 days.
Storage Tips for Garlic Aioli
Fridge: Store your garlic aioli in an airtight container in the refrigerator for up to 5 days to keep it fresh and flavorful.
Freezer: While it’s best fresh, you can freeze garlic aioli for up to 1 month in a freezer-safe container; just remember to thaw it in the fridge overnight before use.
Serving: Give the aioli a quick stir after chilling; the ingredients will meld beautifully, enhancing its rich and creamy texture—perfect for dipping or spreading!
Reheating: There’s no need to reheat garlic aioli; simply enjoy it chilled for the best flavor experience!
Garlic Aioli Recipe FAQs
How do I select the best garlic for my aioli?
Absolutely! When selecting garlic, look for firm, unblemished heads with no dark spots or soft areas. Fresh garlic should feel heavy in your hand and have tight, intact skins. If you see any garlic that has sprouted green shoots, it may be a sign that it’s past its prime—opt for fresher cloves instead!
How should I store leftover garlic aioli?
The more the merrier! Store your garlic aioli in an airtight container in the refrigerator, where it will stay fresh and flavorful for up to 5 days. Make sure to cover it well to prevent it from absorbing other odors in the fridge. If you want a tip, give it a quick stir before serving to revive its creamy texture.
Can I freeze garlic aioli for later use?
Certainly! To freeze your garlic aioli, spoon it into a freezer-safe container, leaving some headspace for expansion, and seal tightly. It can be stored in the freezer for up to 1 month. When you’re ready to use it, just thaw it in the fridge overnight. Give it a good stir before serving to blend the ingredients back together!
What should I do if my aioli is too thick?
Very! If your garlic aioli ends up too thick for your liking, simply whisk in a teaspoon of fresh lemon juice or a little water to reach your desired consistency. This not only adjusts the texture but also adds a delightful zing to the flavor. Remember to start with just a little at a time until it’s perfect!
Is garlic aioli safe for pets?
It’s important to note that garlic can be toxic to dogs and cats in significant amounts. While a small taste of garlic aioli won’t harm them, I wouldn’t recommend letting them indulge. Always check with your veterinarian if you have concerns about specific ingredients in your meals!
What are some common variations I can try with garlic aioli?
For sure! If you’re feeling adventurous, consider adding a pinch of cayenne or smoked paprika for a kick of heat. Another great option is to swap half the mayonnaise for Greek yogurt, which gives it a light, tangy twist. You can also stir in fresh herbs like parsley or cilantro for an herb-infused flair—there’s no wrong way to get creative with your garlic aioli!
Creamy Garlic Aioli: Your 5-Minute Flavor Boost
Ingredients
Equipment
Method
- In a medium mixing bowl, combine 1 cup of mayonnaise, 2 tablespoons of freshly grated garlic, 2 tablespoons of fresh lemon juice, ½ teaspoon of salt, ½ teaspoon of sugar, and ¼ teaspoon of ground black pepper. Using a whisk, ensure all the ingredients are evenly mixed.
- Continue whisking the mixture for about 1-2 minutes until it becomes smooth and cohesive.
- Cover the bowl with plastic wrap and place it in the refrigerator for at least 15 minutes.
- Once chilled, give the garlic aioli a quick stir before transferring it to a serving bowl.
Leave a Reply