
In a quaint Parisian bistro, the air was sweet with promise; every table held a shimmering soufflé or a luscious tart, but the true star of the evening was the Dreams Creme Brulee. This classic French dessert captivates with its silky vanilla-infused custard, harmoniously topped with a crackling caramel shell. The beauty of making Dreams Creme Brulee at home is that it transforms an ordinary evening into a gourmet affair without spending hours in the kitchen. With just a handful of simple ingredients, you’ll create a dessert that’s both indulgent and utterly impressive. Plus, this delightful treat can be prepped ahead of time, making it the perfect finale to any meal or a sweet gift for a friend. Are you ready to indulge in this culinary masterpiece?
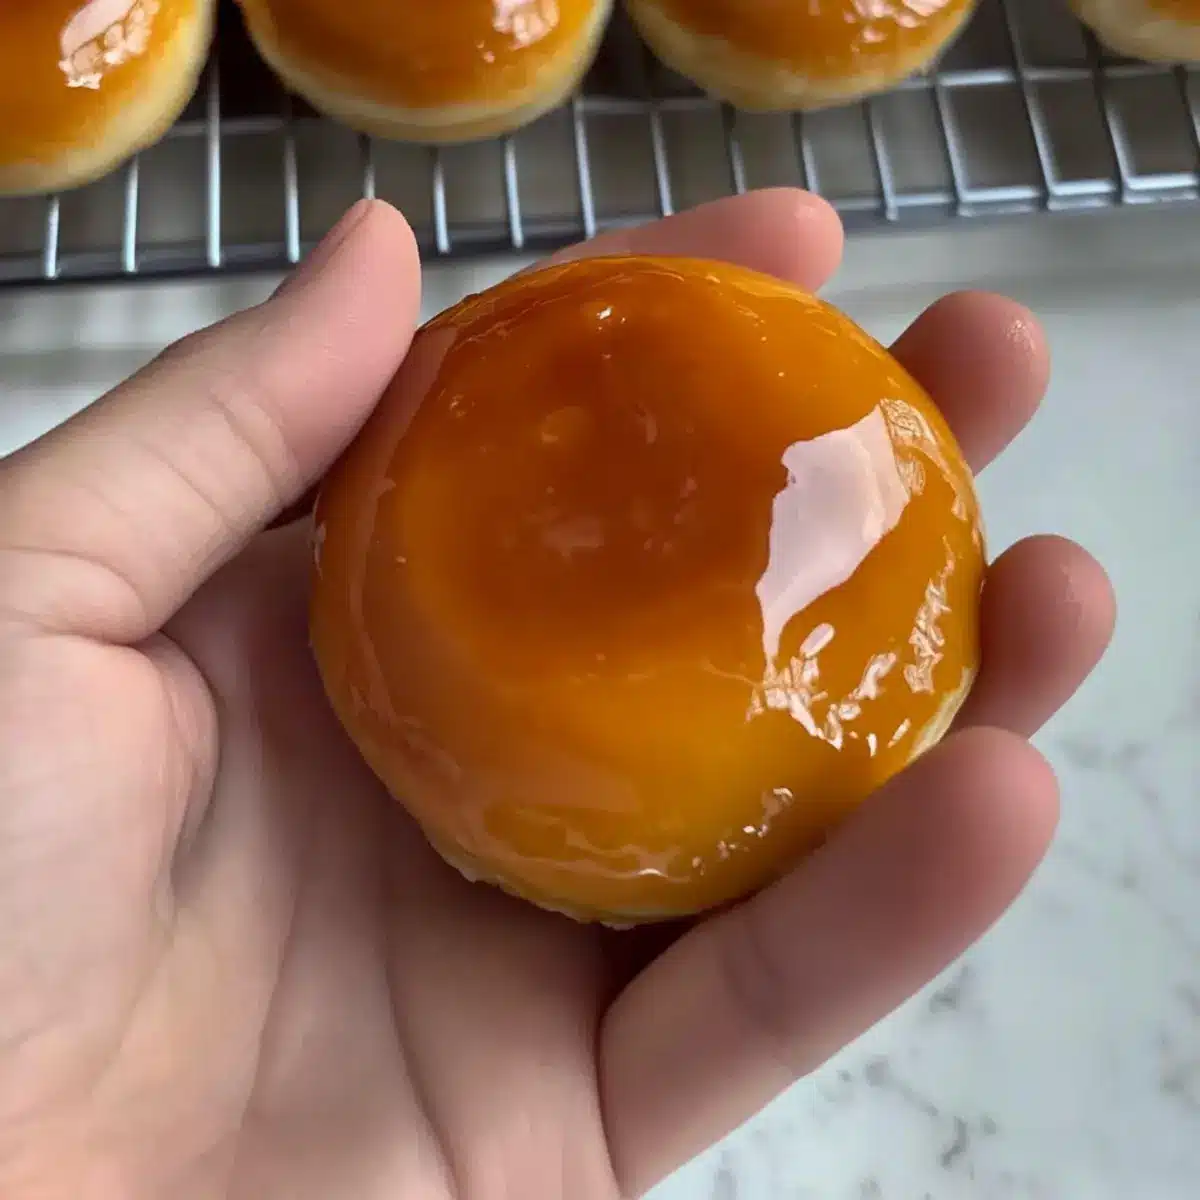
Why is Dreams Creme Brulee a Must-Try?
Indulgent Delight: This Dreams Creme Brulee combines the richness of vanilla-infused custard with a perfectly crisp caramel topping, ensuring every bite is a moment of pure bliss.
Effortless Elegance: Making this classic French dessert at home requires only a few simple steps, turning any gathering into a culinary celebration without the stress.
Versatile Flavor: Add your unique twist by infusing the cream with flavors like espresso or citrus zest, creating a personalized dessert that’s sure to impress!
Perfect for Any Occasion: Whether it’s a cozy dinner or a fancy soirée, this dessert serves beautifully and leaves guests raving. It’s the ideal sweet treat to elevate any meal.
Make-Ahead Convenience: Prepping your Dreams Creme Brulee a day in advance allows you to savor the moment with your guests rather than stressing in the kitchen. Enjoy it alongside fresh berries for a delightful finish!
Dreams Creme Brulee Ingredients
Create this classic French dessert effortlessly with just a few key ingredients.
For the Custard
• Heavy Cream – Adds richness and a creamy texture; you can substitute with coconut cream for a dairy-free option.
• Egg Yolks – Provide structure and creaminess; do not substitute, as whole eggs will alter the texture.
• Granulated Sugar – Sweetens the custard and is also used for caramelizing the top; brown sugar can give a deeper flavor.
• Vanilla Bean (or Extract) – Essential for flavoring; use Madagascar vanilla for best results, or substitute with pure vanilla extract (1 tsp).
• Salt – Balances sweetness; a very small pinch enhances the flavors beautifully.
For the Caramel
• Granulated Sugar – Use a fine layer for caramelizing to achieve a crunchy topping without burning; this is crucial for the perfect Dreams Creme Brulee experience.
Step‑by‑Step Instructions for Dreams Creme Brulee
Step 1: Preheat the Oven
Begin by preheating your oven to 325°F (160°C). This temperature is essential for creating that perfect Dreams Creme Brulee texture. As your oven warms up, you can gather your ramekins, ensuring they’re ready for the creamy custard that will soon fill them.
Step 2: Prepare the Cream
In a medium saucepan over medium heat, combine the heavy cream and vanilla bean (or extract). Heat the mixture until it just begins to boil, being careful not to let it boil over, which could alter the custard’s richness. Once heated, promptly remove it from the heat and set aside, allowing the flavors to meld beautifully.
Step 3: Whisk Egg Yolks
In a large mixing bowl, vigorously whisk together the egg yolks, granulated sugar, and a pinch of salt. Continue whisking until the mixture becomes pale and slightly thickened, creating a creamy consistency. This step is crucial for developing the smooth texture of your Dreams Creme Brulee custard.
Step 4: Temper the Eggs
Next, take the hot cream and slowly pour it into the egg mixture, whisking continuously. This gentle process, called tempering, prevents the eggs from scrambling upon contact with the heat. Once fully combined, your custard mixture will be silky and aromatic, ready for the next step.
Step 5: Strain the Mixture
To ensure a flawless and velvety custard, strain the combined mixture through a fine sieve into a clean bowl or measuring cup. This step removes any potential lumps, resulting in the smooth custard base that’s characteristic of a classic Dreams Creme Brulee.
Step 6: Prepare for Baking
Carefully distribute the strained custard evenly into your ramekins. Then, place these filled ramekins in a baking dish. Pour hot water into the dish until it reaches halfway up the sides of the ramekins. This water bath provides gentle, even cooking, essential for the custard to set perfectly.
Step 7: Bake to Perfection
Transfer the baking dish to the preheated oven and bake for approximately 40-45 minutes. The custard should be set but still slightly jiggly in the center when done. Keep an eye on it, as over-baking could affect the texture you desire in your Dreams Creme Brulee.
Step 8: Chill the Custard
Once baked, carefully remove the ramekins from the water bath and allow them to cool at room temperature. After about 30 minutes, cover each ramekin with plastic wrap and refrigerate for at least 2 hours. Chilling not only sets the custard but enhances the flavor of your Dreams Creme Brulee.
Step 9: Caramelize the Top
When you’re ready to serve, take the chilled custards out of the fridge. Sprinkle a thin, even layer of granulated sugar on top of each ramekin. Using a kitchen torch, caramelize the sugar until it forms a golden, crisp crust. This delightful crackly layer will perfectly complement the creamy custard below.
Step 10: Serve and Enjoy
Once the sugar has caramelized, let it cool for a minute to harden before serving. The Dreams Creme Brulee is now ready to be enjoyed! Serve it in its individual ramekins, allowing everyone to delight in the textural contrast of the creamy custard and the crunchy caramel topping.
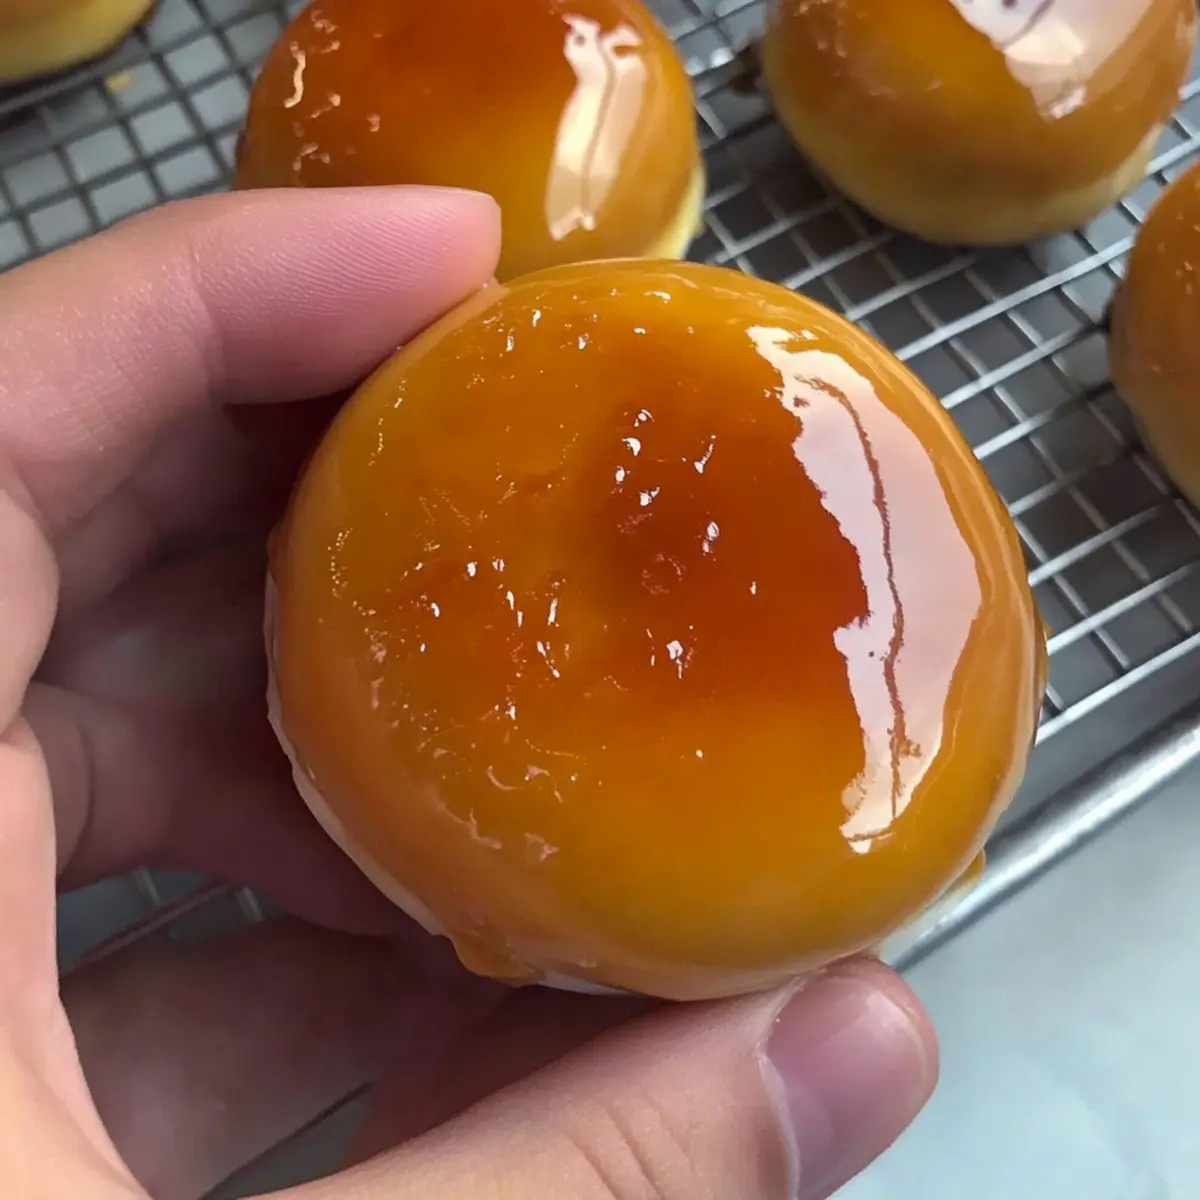
How to Store and Freeze Dreams Creme Brulee
Fridge: Store your uncooked Dreams Creme Brulee custard covered in the refrigerator for up to 2 days before baking for optimal freshness.
Chilled Custard: Once baked, you can keep the cooled custard in the fridge for up to 3 days. Just make sure to cover them well to maintain their creamy texture.
Caramelization: It’s best to caramelize the sugar topping right before serving. If stored, the caramel will get soggy, so wait to achieve that perfect crisp.
Freezing: Although not recommended, if needed, you can freeze the unbaked custard in an airtight container for up to 1 month. Thaw in the fridge overnight before baking.
What to Serve with Dreams Creme Brulee
Elevate your dining experience with these delightful pairings that complement the rich and creamy nature of this French dessert.
-
Fresh Berries: Juicy strawberries or vibrant raspberries add a burst of freshness, perfectly contrasting the sweet, silky custard.
-
Whipped Cream: A dollop of lightly sweetened whipped cream brings a fluffy texture that balances the dense creaminess of the creme brulee.
-
Espresso: The bold, rich notes of a freshly brewed espresso cut through the sweetness, creating a harmonious end to your meal.
-
Chocolate Bonbons: Elegant chocolate treats provide a decadent pairing, while the bittersweet chocolate enhances the flavors of the custard.
-
Lemon Tart: The zesty brightness of a lemon tart cleanses the palate and leaves taste buds dancing after the indulgence of creme brulee.
-
Sparkling Wine: A chilled glass of sparkling wine elevates the occasion, with its bubbles brightening up the richness of the dessert and making each bite feel special.
-
Candied Ginger: The spicy sweetness of candied ginger introduces a delightful zing that pairs beautifully with the vanilla notes of the custard.
-
Poached Pears: Soft, subtly spiced poached pears add a sophisticated touch, enhancing the overall elegance of your dessert presentation.
-
Dark Chocolate Sauce: A drizzle of rich, dark chocolate sauce adds depth and an indulgent twist, creating a luscious experience that complements the caramel topping.
Dreams Creme Brulee Variations & Substitutions
Feel free to explore these delightful twists on your Dreams Creme Brulee to make it your own!
-
Dairy-Free: Substitute heavy cream with coconut cream for a rich, non-dairy version that still delivers creamy delight. The coconut flavor subtly enhances the dessert without overpowering it.
-
Flavor Infusions: Infuse the cream with unique flavors such as espresso, orange zest, or lavender for a creative spin. Each infusion brings a new layer of flavor, exciting your taste buds with every bite.
-
Brown Sugar Bliss: Swap granulated sugar for brown sugar to give the custard a deeper, caramel-like taste. The slight richness of brown sugar beautifully complements the vanilla.
-
Decadent Chocolate: Add melted dark chocolate to the custard for a chocolate Dreams Creme Brulee that’s simply irresistible. This luscious twist makes for a divine dessert that chocolate lovers will adore!
-
Spice It Up: Incorporate a pinch of cinnamon or cardamom into the custard for a warm, aromatic note that surprises your palate. These spices harmonize beautifully with the sweetness for an unexpected twist.
-
Cracker Crust: For added texture, sprinkle crushed graham crackers on top before caramelizing. This creates a crunch that contrasts delightfully with the smooth custard beneath.
-
Frozen Treat: Pour your custard mixture into popsicle molds for a frozen Dreams Creme Brulee dessert. A delightful treat for hot days, simply caramelize the sugar once removed from the mold!
-
Serving Style: Instead of ramekins, serve your Dreams Creme Brulee in martini glasses for a stylish presentation. This twist can elevate any gathering or special occasion!
Try these variations to create a personalized experience, and enjoy a little piece of gourmet right in your home! If you’re interested in more delightful desserts, check out my Decadent Chocolate Mousse or my flavorful Vanilla Bean Panna Cotta recipes.
Make Ahead Options
These Dreams Creme Brulee are perfect for busy home cooks looking to streamline their dessert prep! You can easily prepare the custard up to 24 hours in advance; simply follow the instructions up to Step 8, letting them cool and refrigerating. To maintain their silky texture, make sure to cover each ramekin with plastic wrap to prevent any odors from the fridge. When you’re ready to serve, just sprinkle the sugar on top and use a kitchen torch to caramelize it until golden and crisp. This way, you’ll save time and impress your guests with a delightful dessert that tastes just as delicious as if made fresh!
Expert Tips for Dreams Creme Brulee
-
Perfect Temperature: Ensure your cream is hot but not boiling when mixing with the egg yolks; this will maintain the custard’s smooth texture.
-
Watch the Bake Time: Avoid over-baking by watching for a slight jiggle in the center. The residual heat will complete the cooking for your Dreams Creme Brulee.
-
Strain Thoroughly: Always strain your custard mixture to eliminate lumps, ensuring a silky texture that melts in your mouth.
-
Sugar Layer: Use a very fine layer of granulated sugar for caramelizing, which will ensure a crisp shell without burning on your Dreams Creme Brulee.
-
Chill Properly: Make sure to chill the custard for at least 2 hours before caramelizing; this helps enhance the flavors and ensures it’s perfectly set.
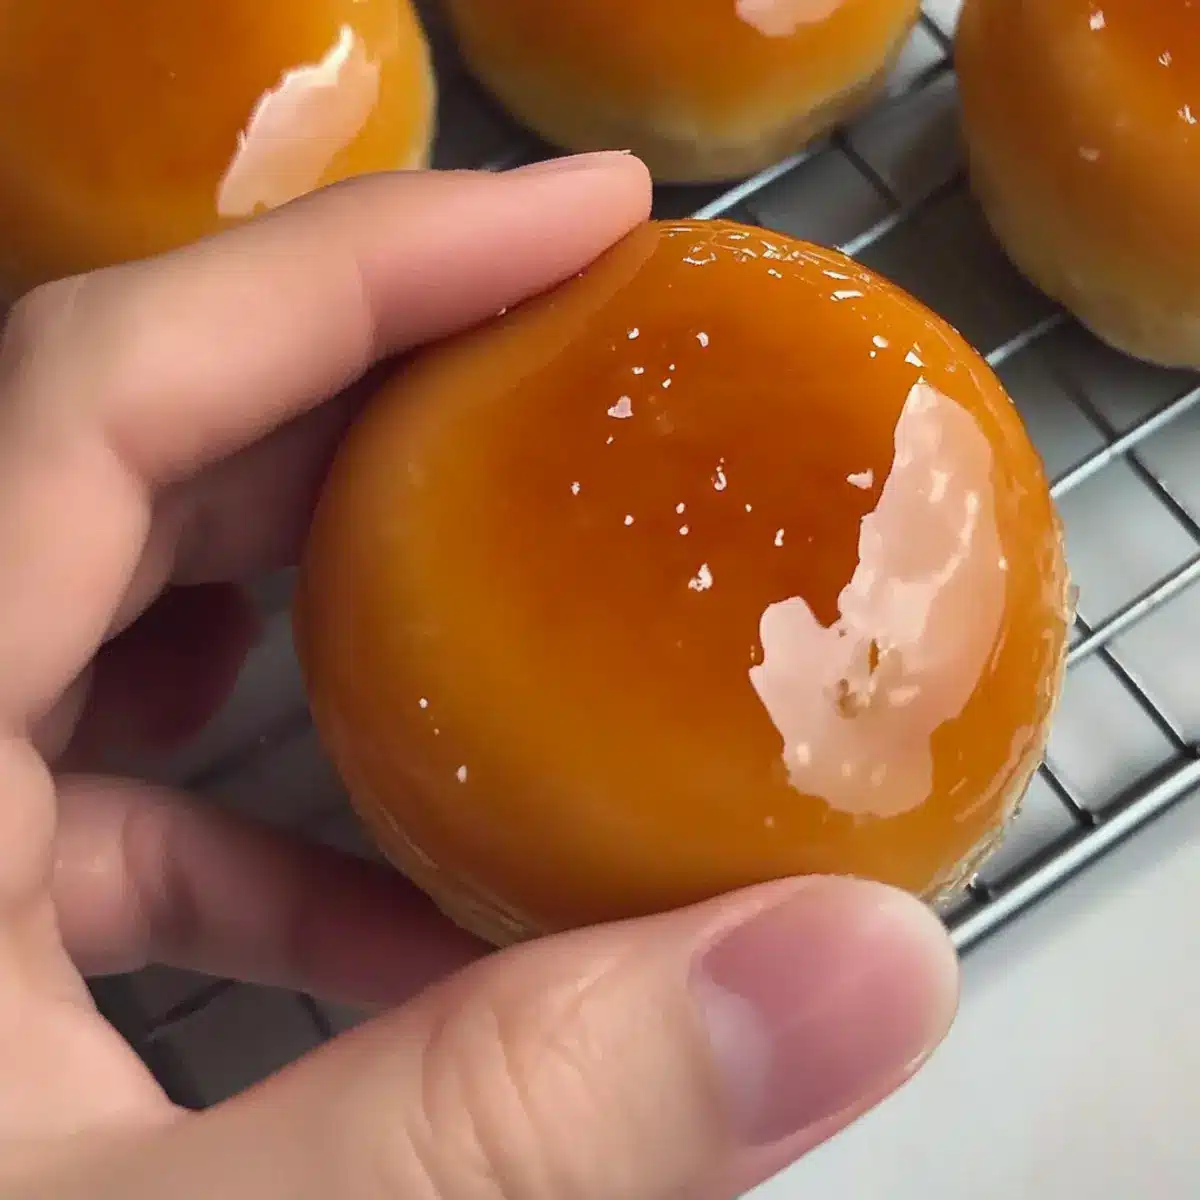
Dreams Creme Brulee Recipe FAQs
How do I choose the right vanilla for my Dreams Creme Brulee?
Absolutely! For the best flavor, I recommend using a Madagascar vanilla bean. The aromatic richness it brings to your custard is unmatched. If you can’t find beans, opt for pure vanilla extract—1 teaspoon works perfectly! Avoid imitation vanilla to truly capture the essence of this classic dessert.
How should I store my Dreams Creme Brulee?
Once baked, your Dreams Creme Brulee can be stored in the refrigerator for up to 3 days. Make sure to cover your ramekins with plastic wrap to maintain that luscious creamy texture. Remember, resist the urge to caramelize the sugar topping until just before serving for that satisfying crunch!
Can I freeze Dreams Creme Brulee?
While it’s not the ideal choice, you can freeze the uncooked custard mixture in an airtight container for up to 1 month. To do this, just pour the mixture into the container, seal tightly, and label with the date. When you’re ready to bake, thaw the custard in the fridge overnight before proceeding with the baking instructions. This way, you can still enjoy that delightful taste!
What should I do if my custard is too runny after baking?
Very good question! If your Dreams Creme Brulee turns out runny, it likely didn’t bake long enough. The perfect texture should be slightly set but still jiggle a bit in the center. Next time, try increasing your baking time by 5 minutes, checking back frequently. You can also ensure that your water bath is hot enough to promote even cooking.
Are there any dietary concerns I should consider?
If you’re cooking for guests, make sure to check if anyone has egg allergies, as the egg yolks are critical for the custard’s texture. For a dairy-free alternative, you can use coconut cream instead of heavy cream, but note that the flavor and texture will differ slightly. Always ask about dietary restrictions to keep everyone safe and happy!
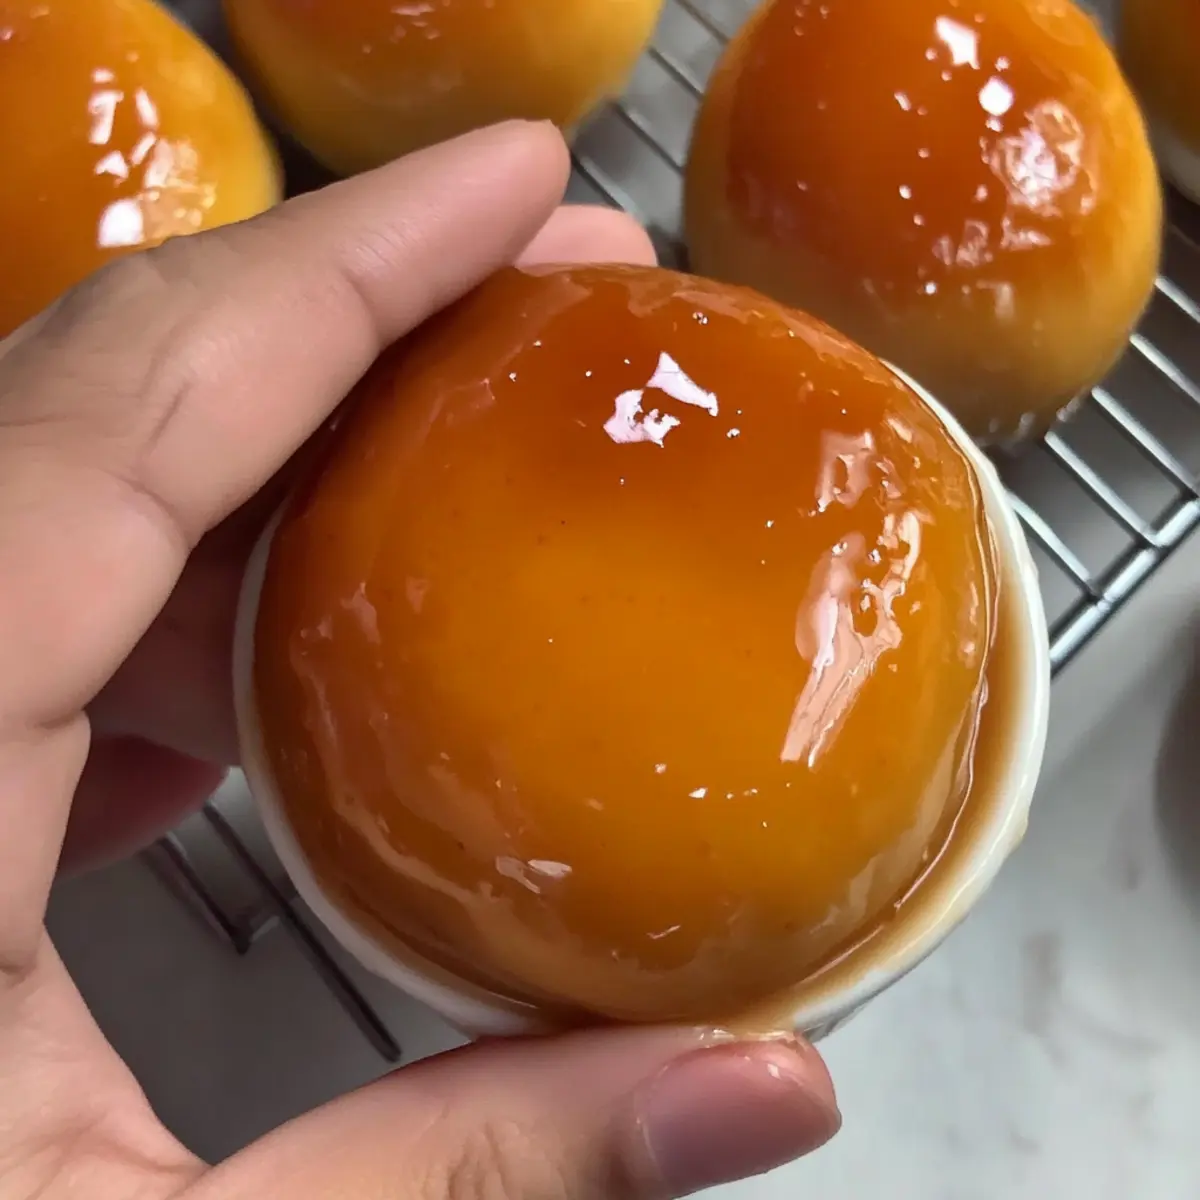
Irresistible Dreams Creme Brulee for Your Next Indulgence
Ingredients
Equipment
Method
- Preheat your oven to 325°F (160°C).
- Combine 2 cups of heavy cream and 1 vanilla bean in a medium saucepan over medium heat and heat until just boiling.
- In a large mixing bowl, whisk together 6 egg yolks, 1/2 cup granulated sugar, and a pinch of salt until pale and slightly thickened.
- Slowly pour the hot cream into the egg mixture, whisking continuously to temper the eggs.
- Strain the mixture through a fine sieve into a clean bowl.
- Evenly distribute the strained custard into ramekins and place in a baking dish with hot water halfway up the sides.
- Bake for 40-45 minutes until set but slightly jiggly in the center.
- Cool ramekins at room temperature, then cover and refrigerate for at least 2 hours.
- Sprinkle a thin layer of granulated sugar on top of each ramekin and caramelize with a kitchen torch.
- Let the caramel cool for a minute before serving.
Leave a Reply