
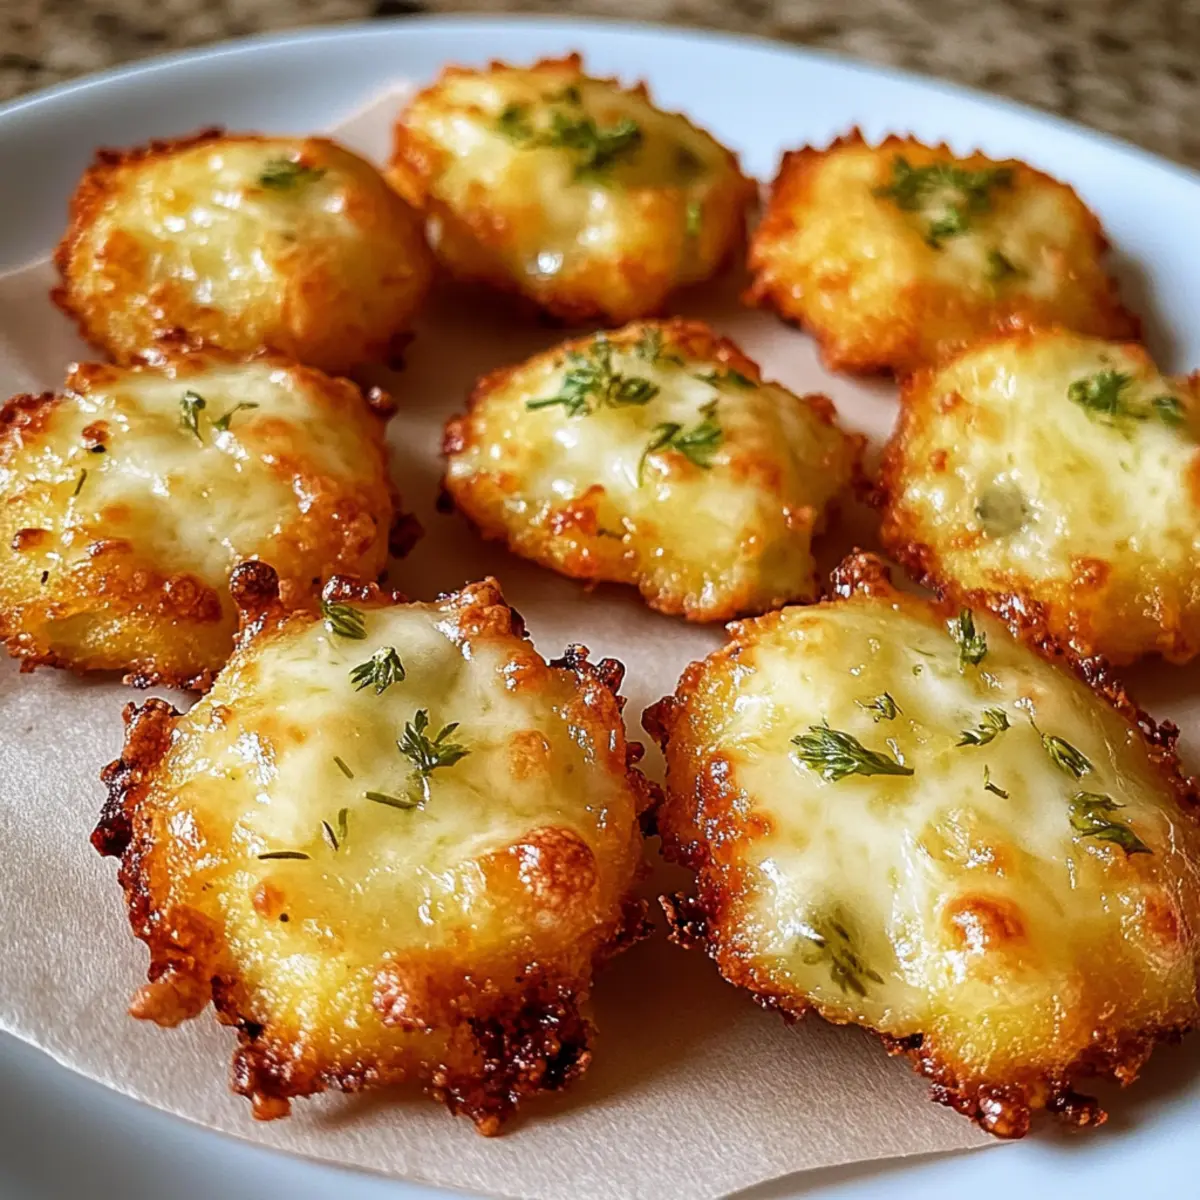
As I pulled those golden bites from the oven, the delightful aroma of crispy pickle cheese bites filled my kitchen. The weekends are made for snacking, and these treats are my ultimate go-to. Combining the crunchy satisfaction of pickles with the gooey, melty goodness of cheese, this recipe is not just easy to make, but perfect for a crowd or a cozy night in. Plus, with a gluten-free option available, everyone can join in on the fun. Whether you’re hosting game day or simply craving something savory, these little delights will satisfy every craving. Are you ready to discover how to whip up this tasty snack? Let’s dive into the recipe!
Why Are These Cheese Bites So Irresistible?
Crispy texture: Each bite boasts a delightful crunch that contrasts perfectly with the gooey cheese inside. Bold flavors: The combination of cheddar and mozzarella creates a rich taste paired with the tanginess of dill pickles. Quick to make: With just a few simple ingredients and a quick bake time, you can whip these up in minutes—ideal for unexpected guests! Customizable options: Feel free to swap cheese or add spicy jalapeños for a twist, just like in my Korean Potato Cheese recipe. Finally, crowd-pleaser: Whether for game day or movie night, everyone will love these cheesy bites!
Crispy Pickle Cheese Bites
For the Cheese Mixture
• Shredded cheddar cheese – Adds sharp flavor and creaminess; for a twist, consider using Pepper Jack for added spice.
• Shredded mozzarella cheese – Provides stretchiness and mild flavor; Gouda is a lovely substitute if you’re looking for something different.
For the Pickle Addition
• Finely chopped dill pickles – Delivers tanginess and crunch; don’t forget to blot them with a paper towel for crispier bites!
For the Seasoning
• Garlic powder – Enhances overall flavor with a savory boost; feel free to skip if you’re sensitive to garlic.
For Extra Crunch
• Breadcrumbs (optional) – Adds extra crispiness; use gluten-free breadcrumbs for a gluten-sensitive option.
For Baking
• Nonstick spray or parchment paper – Necessary for lining your baking sheet to ensure easy removal of those crispy pickle cheese bites.
Step‑by‑Step Instructions for Crispy Pickle Cheese Bites
Step 1: Preheat and Prepare
Begin by preheating your oven to 375°F (190°C). While it warms up, take a baking sheet and line it with parchment paper or spray it with nonstick spray to prevent sticking. Ensure you have everything within reach, as this will make your process smoother and quicker, perfect for preparing your crispy pickle cheese bites.
Step 2: Mix the Cheese and Pickles
In a large mixing bowl, combine ½ cup each of shredded cheddar cheese and mozzarella cheese, followed by ¼ cup of finely chopped dill pickles. Sprinkle in ½ teaspoon of garlic powder and, if desired, 1 tablespoon of breadcrumbs for added crunch. Mix well until all ingredients are evenly combined, creating a luscious, cheesy mixture that’s ready to form into bites.
Step 3: Shape Your Bites
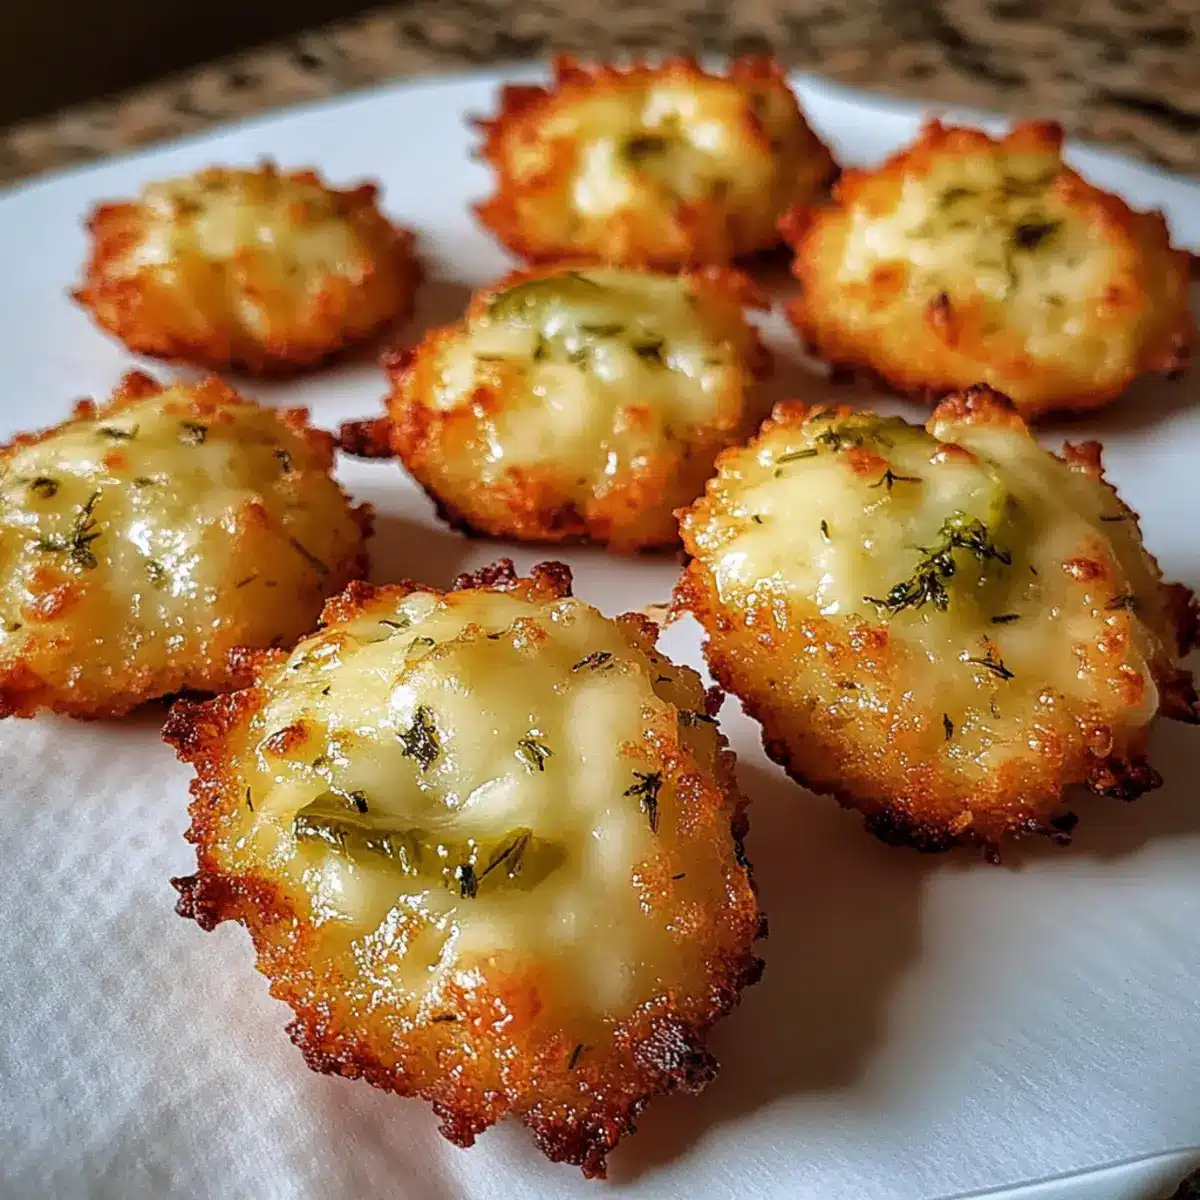
With your cheese and pickle mixture ready, use your hands to scoop out small portions and roll them into bite-sized balls. Place each ball onto the prepared baking sheet, leaving some space between them to allow for even cooking. You should have a delightful assembly of crispy pickle cheese bites waiting to go into the oven, ready to become golden and crispy.
Step 4: Bake to Perfection
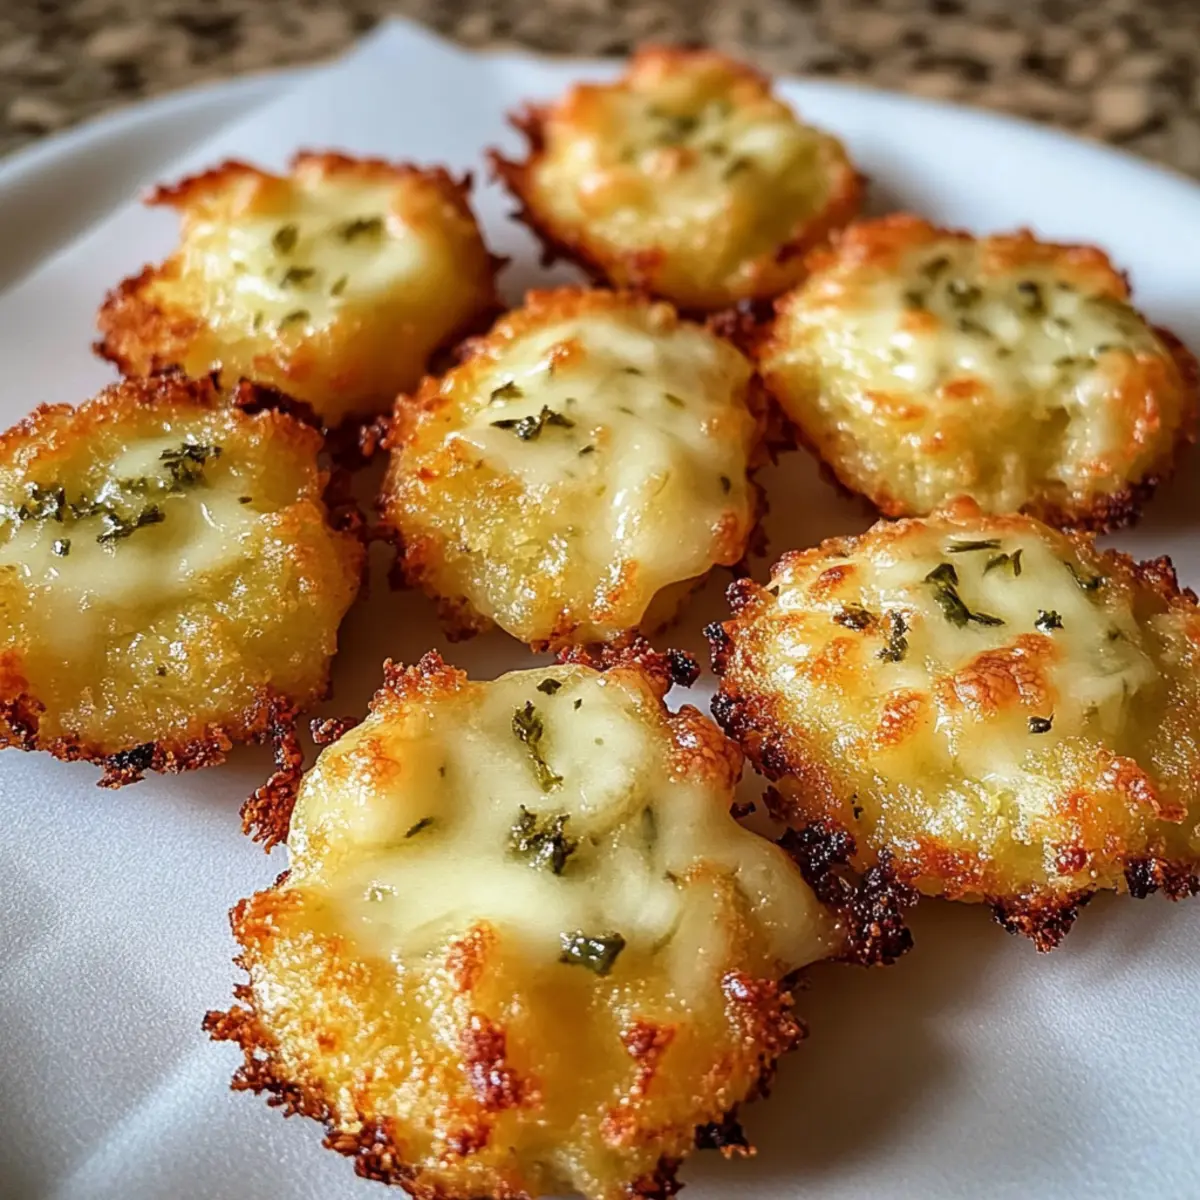
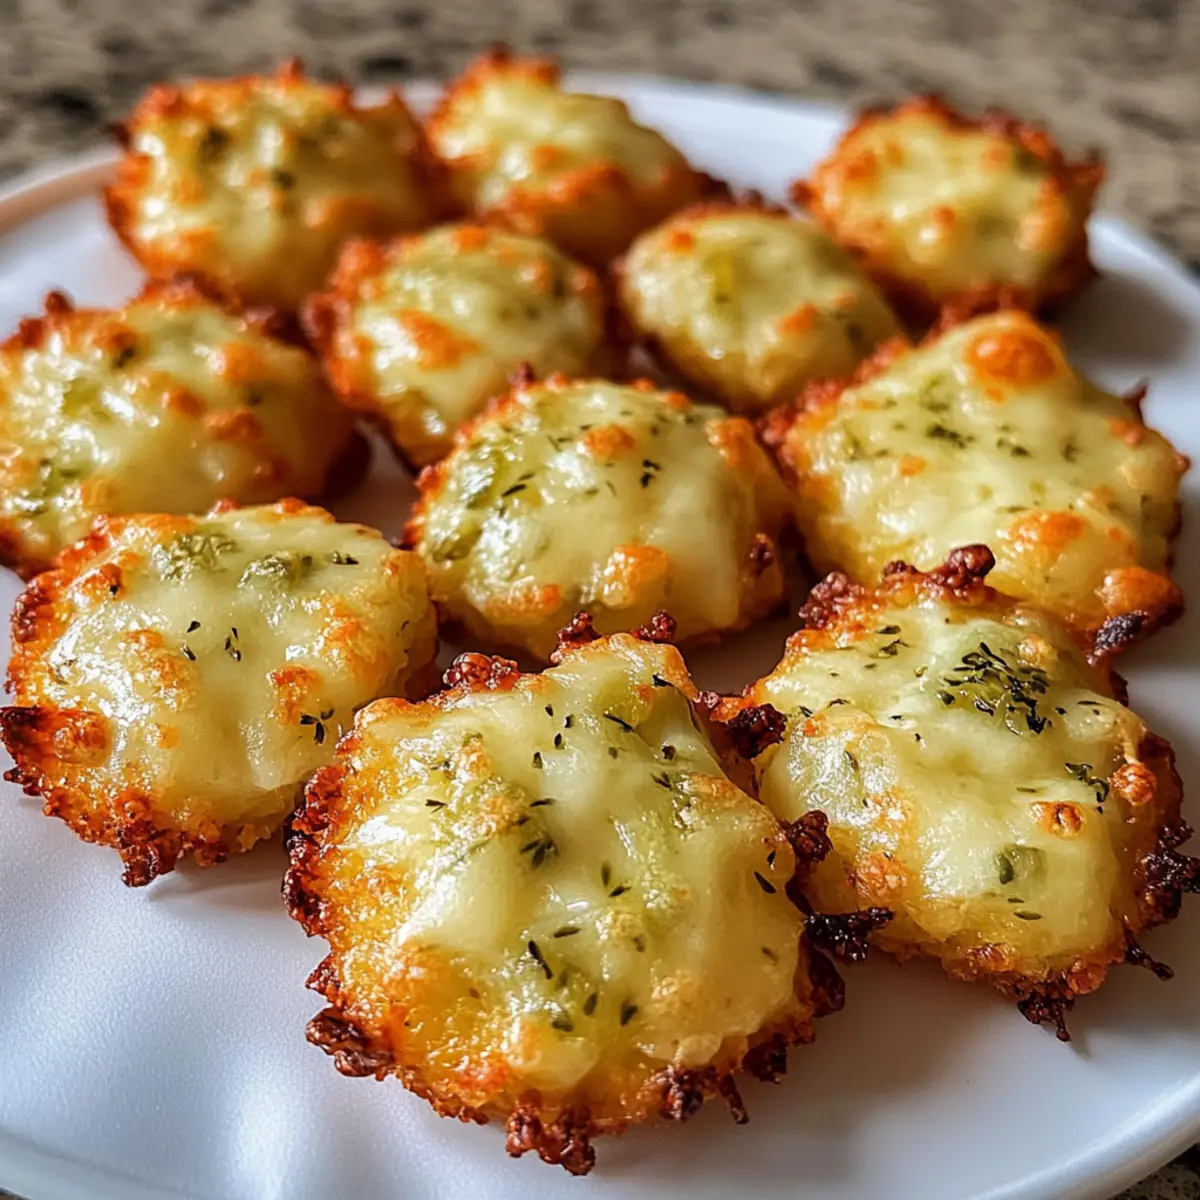
Slide the baking sheet into your preheated oven and bake the bites for about 10 minutes. Keep an eye on them as they cook; they’re ready when they turn a beautiful golden brown and have a tantalizing crunch. The delightful aroma will fill your kitchen, signaling that the crispy pickle cheese bites are almost ready.
Step 5: Cool and Serve
Once baked, carefully remove the baking sheet from the oven and let the bites cool for a few minutes. This brief cooling time helps maintain their shape and ensures you don’t burn your mouth on that melty cheese inside. Serve these crispy pickle cheese bites warm, perhaps with a delicious dipping sauce on the side for extra flavor!
Step 6: Storage and Reheating Tips
If you have any leftovers, store them in an airtight container in the fridge for up to 2 days. When you’re ready to enjoy them again, simply reheat in the oven at 350°F for 5-7 minutes to restore the delightful crunch. These tips will help ensure your crispy pickle cheese bites remain just as delicious as they were fresh out of the oven!
How to Store and Freeze Crispy Pickle Cheese Bites
Fridge: Store leftovers in an airtight container in the fridge for up to 2 days, ensuring they retain their delicious flavor and crispy texture.
Freezer: For longer storage, freeze the shaped bites on a baking sheet until firm, then transfer to a freezer bag for up to 2 months. Bake straight from frozen, adding an additional 2-3 minutes to the cooking time.
Reheating: To enjoy cold leftovers, reheat in the oven at 350°F for 5-7 minutes to restore their crunchy exterior—never microwave to avoid sogginess.
What to Serve with Crispy Pickle Cheese Bites
These delightful bites are perfect for creating an unforgettable snacking experience that’s sure to impress.
- Creamy Ranch Dip: A classic choice, this dip’s coolness pairs beautifully with the tangy pickle flavor, enhancing every crunchy bite.
- Spicy Sriracha Mayo: Add a kick with this creamy sauce; its heat complements the cheesy goodness in a fun way.
- Zesty Dill Yogurt Sauce: Light and refreshing, the dill in the yogurt echoes the pickle flavors, offering a delicious contrast.
- Crunchy Vegetable Platter: Fresh veggies like carrots, cucumbers, and bell peppers introduce a crisp, refreshing element to your spread.
- Savory Meat Sliders: Served alongside mini sandwiches, these bites make a hearty game-day spread that will keep your guests coming back for more.
- Fruit Salsa: The sweetness of mango or pineapple salsa provides a delightful balance to the savory cheese bites, adding a fresh twist.
- Cold Brewed Tea or Lemonade: These refreshing beverages offer a perfect counterpoint to the richness of the bites, keeping the flavor light and enjoyable.
- Sweet Potato Fries: Their earthy sweetness and crispy exterior create a delightful texture contrast to the cheesy bites we all love.
- Chocolate Chip Cookies: For a delightful finish, these sweet treats are an unexpected yet cherished way to end your snacking experience!
Make Ahead Options
These Crispy Pickle Cheese Bites are a fantastic choice for meal prep enthusiasts looking to save time during the week! You can prepare the cheese and pickle mixture up to 24 hours in advance; simply store it in an airtight container in the refrigerator. When you’re ready to enjoy them, scoop and shape the mixture into bites, place them on a lined baking sheet, and bake them directly from the fridge for about 10 minutes until golden brown. For an even longer option, shape the bites and freeze them for up to 3 months. Just add an extra 2-3 minutes to the baking time when cooking from frozen. This way, you’ll have cheesy delights ready at a moment’s notice without sacrificing quality or flavor!
Crispy Pickle Cheese Bites Variations
Feel free to play around with these crispy pickle cheese bites for a unique twist on a classic favorite!
- Gluten-Free: Substitute regular breadcrumbs with gluten-free breadcrumbs to enjoy a scrumptious snack that everyone can indulge in.
- Cheese Swap: Use Pepper Jack for a spicy kick, or try Gouda for a creamy and sharp twist.
- Sweet Pickles: Replace dill pickles with bread-and-butter pickles for a sweet and tangy flavor that will surprise your taste buds!
- Spicy Addition: Incorporate spicy pickled jalapeños into the mix for those who enjoy an extra kick in their bites.
- Herb Infusion: Add fresh herbs like dill or chives for a burst of freshness that perfectly complements the cheesy goodness.
- Flavorful Breadcrumbs: Experiment with flavored breadcrumbs, such as herb or garlic varieties, to amplify the crunchy topping’s taste.
- Vegetable Crunch: Incorporate finely chopped green onions or bell peppers into the mixture for added flavor and texture.
- Cheesy Variety: For something different, mix in a sprinkle of feta cheese alongside the cheddar and mozzarella for a zingy twist.
Explore these delicious variations to personalize your crispy pickle cheese bites just the way your heart (and taste buds) desires! You might even find another favorite that rivals the original. Don’t forget to check out my Baked Cottage Cheese recipe for another cheesy delight!
Expert Tips for Crispy Pickle Cheese Bites
-
Chill the Mixture: Allow the cheese and pickle mixture to chill in the fridge for about 10 minutes if it feels too sticky to handle. This keeps your crispy pickle cheese bites from falling apart while shaping!
-
Pat Before Mixing: Blot the finely chopped dill pickles with a paper towel to remove excess moisture. This step is crucial for achieving that crispy texture you want!
-
Adjust the Heat: For a spicy version, add a pinch of paprika or cayenne pepper to the cheese mixture before baking. It brings a delightful kick to your crispy pickle cheese bites!
-
Reheat Right: To keep leftovers crispy, always reheat in the oven at 350°F for 5-7 minutes instead of the microwave, which can make them soggy.
-
Experiment with Cheese: Don’t hesitate to swap in different cheese varieties or try adding a sprinkle of feta or parmesan for an exciting flavor twist!
Crispy Pickle Cheese Bites Recipe FAQs
How do I choose the right pickles for this recipe?
Absolutely! For the best results, use dill pickles to achieve that perfect tangy flavor that complements the cheese. If you’re feeling adventurous, bread-and-butter pickles can add a delightful sweetness to the bites. Just remember to blot them with a paper towel to remove excess moisture for extra crispiness!
How should I store leftover crispy pickle cheese bites?
To keep your delicious bites fresh, place them in an airtight container in the fridge for up to 2 days. This will help maintain their flavor and texture. I often find that allowing them to cool to room temperature before sealing them up helps keep them nice and crispy for the next round of snacking!
Can I freeze the crispy pickle cheese bites?
Yes, you can! To freeze, shape the bites as directed, then place them on a baking sheet and freeze until firm, about 1-2 hours. Once frozen, transfer them to a freezer bag or airtight container. They can be kept in the freezer for up to 2 months. When you’re ready to enjoy them, bake from frozen, adding an extra 2-3 minutes to the cooking time for that perfect golden finish.
What should I do if the mixture is too sticky to handle?
Very! If you find the cheese and pickle mixture is too sticky to shape, chill it in the fridge for about 10 minutes. This will firm it up and make it easier to form into balls without falling apart! It’s a quick and easy fix for those moments when you need a little extra help in the kitchen.
Are there any dietary considerations for this recipe?
Indeed! If you’re accommodating gluten-free diets, simply use gluten-free breadcrumbs in the recipe. Additionally, always double-check the ingredients in your cheese and condiments, as they can sometimes contain gluten or allergens. I encourage everyone to make this delightful snack suitable for any gathering!
Can I customize the cheese in this recipe?
Absolutely! Feel free to experiment with different types of cheese. For a spicier kick, you could substitute some of the cheddar with Pepper Jack. Alternatively, a mix of Gouda and sharp cheddar creates a rich flavor profile. Don’t shy away from mixing and matching—this is your snack!
Crispy Pickle Cheese Bites: Irresistibly Cheesy Delight
Ingredients
Equipment
Method
- Preheat your oven to 375°F (190°C). Line a baking sheet with parchment paper or spray with nonstick spray.
- In a large mixing bowl, combine 1/2 cup of shredded cheddar cheese, 1/2 cup of shredded mozzarella cheese, and 1/4 cup of finely chopped dill pickles. Add 1/2 teaspoon of garlic powder and 1 tablespoon of breadcrumbs, if desired. Mix well.
- Scoop out small portions and roll them into bite-sized balls. Place each ball onto the prepared baking sheet, leaving some space between them.
- Bake for about 10 minutes or until golden brown and crispy. Keep an eye on them to avoid overcooking.
- Remove from the oven and let cool for a few minutes before serving. Enjoy warm.
- Store leftovers in an airtight container in the fridge for up to 2 days. Reheat in the oven at 350°F for 5-7 minutes.
Leave a Reply