
As I stood in my kitchen, the enticing aroma of spices wafted in the air, reminding me that great meals often come from simple beginnings. Today, I’m thrilled to share my recipe for Crispy Chicken Taquitos, a delightful homemade dish that transforms bland weeknights into culinary adventures. With only a handful of ingredients, these taquitos not only deliver a satisfying crunch but also allow for flexibility with various fillings and toppings. They’re perfect for busy evenings or as a crowd-pleasing appetizer at your next gathering. Plus, they offer a healthier alternative to store-bought options, and you can easily make them gluten-free with corn tortillas. Are you ready to explore the magic of crispy, creamy taquitos? Let’s dive into the recipe!
Why are Crispy Chicken Taquitos a must-try?
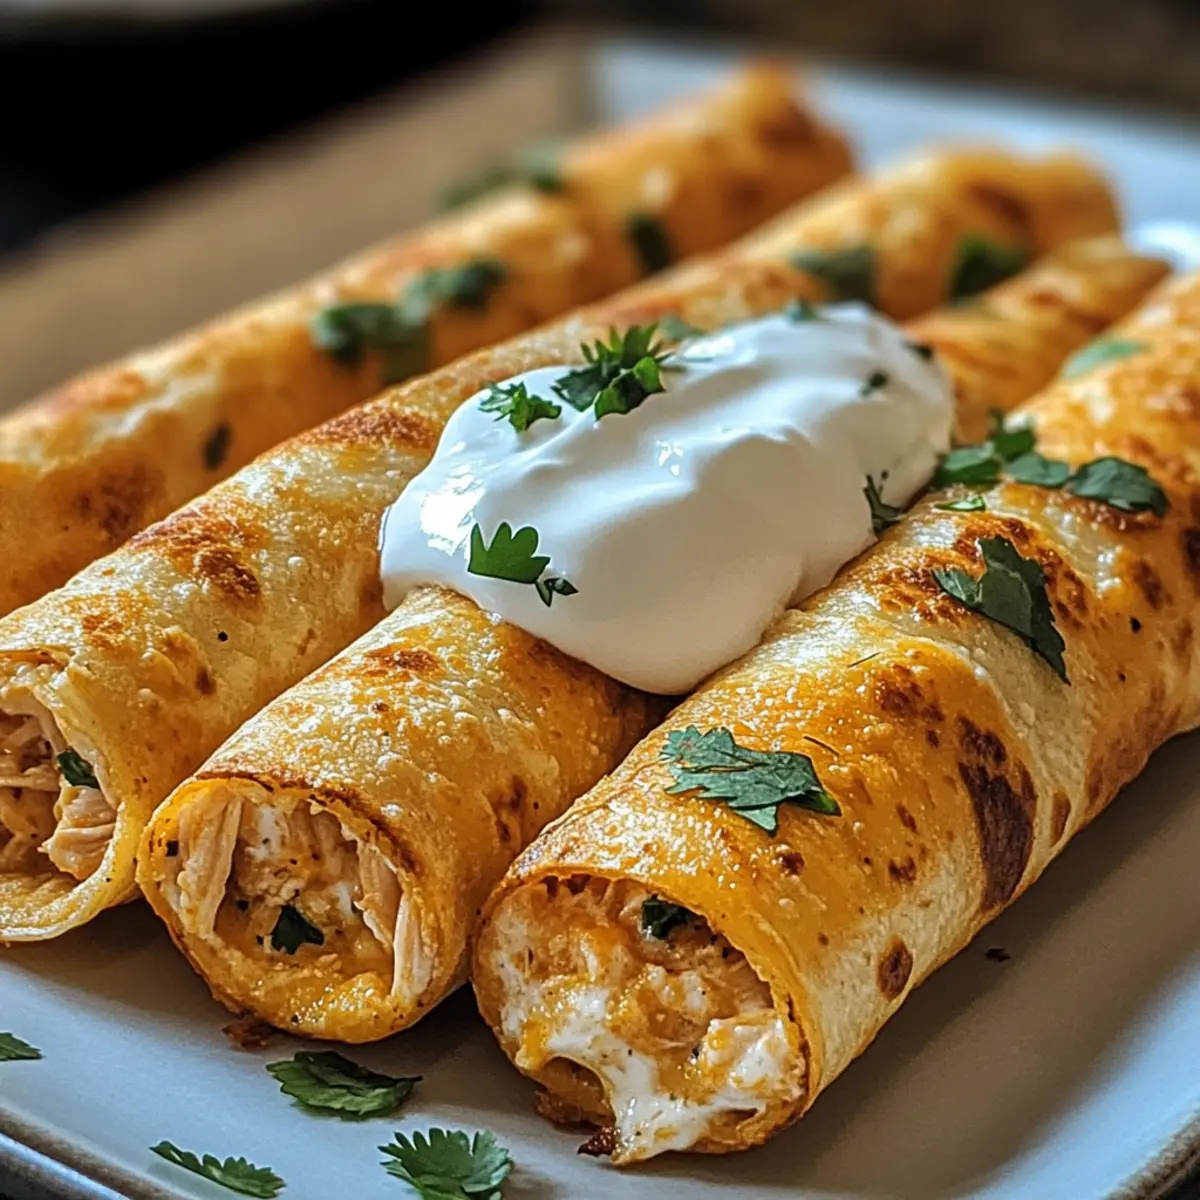
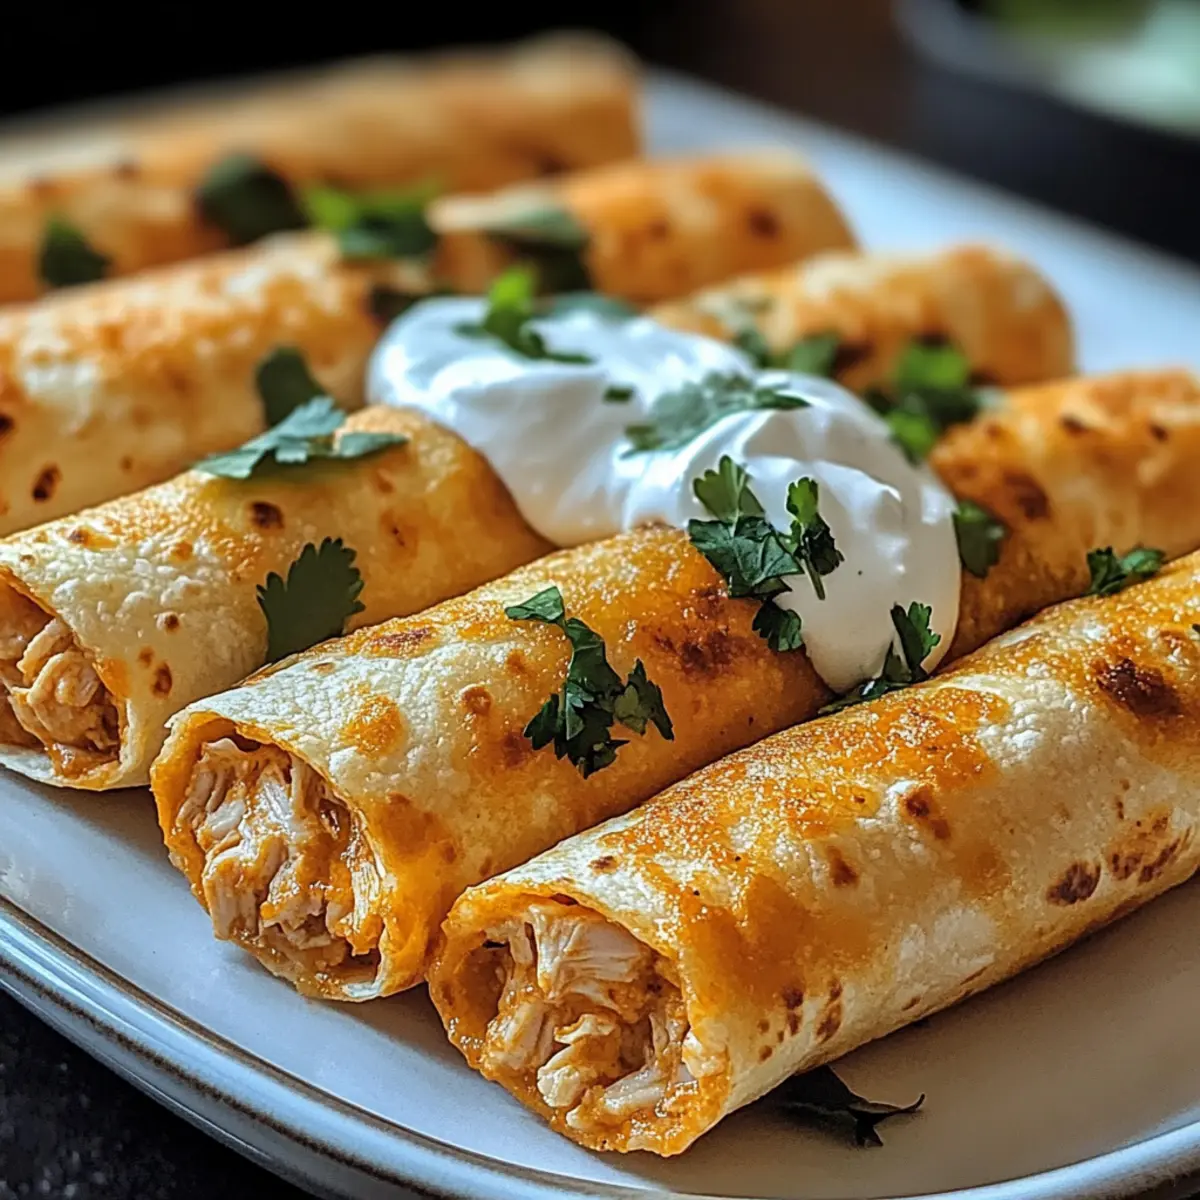
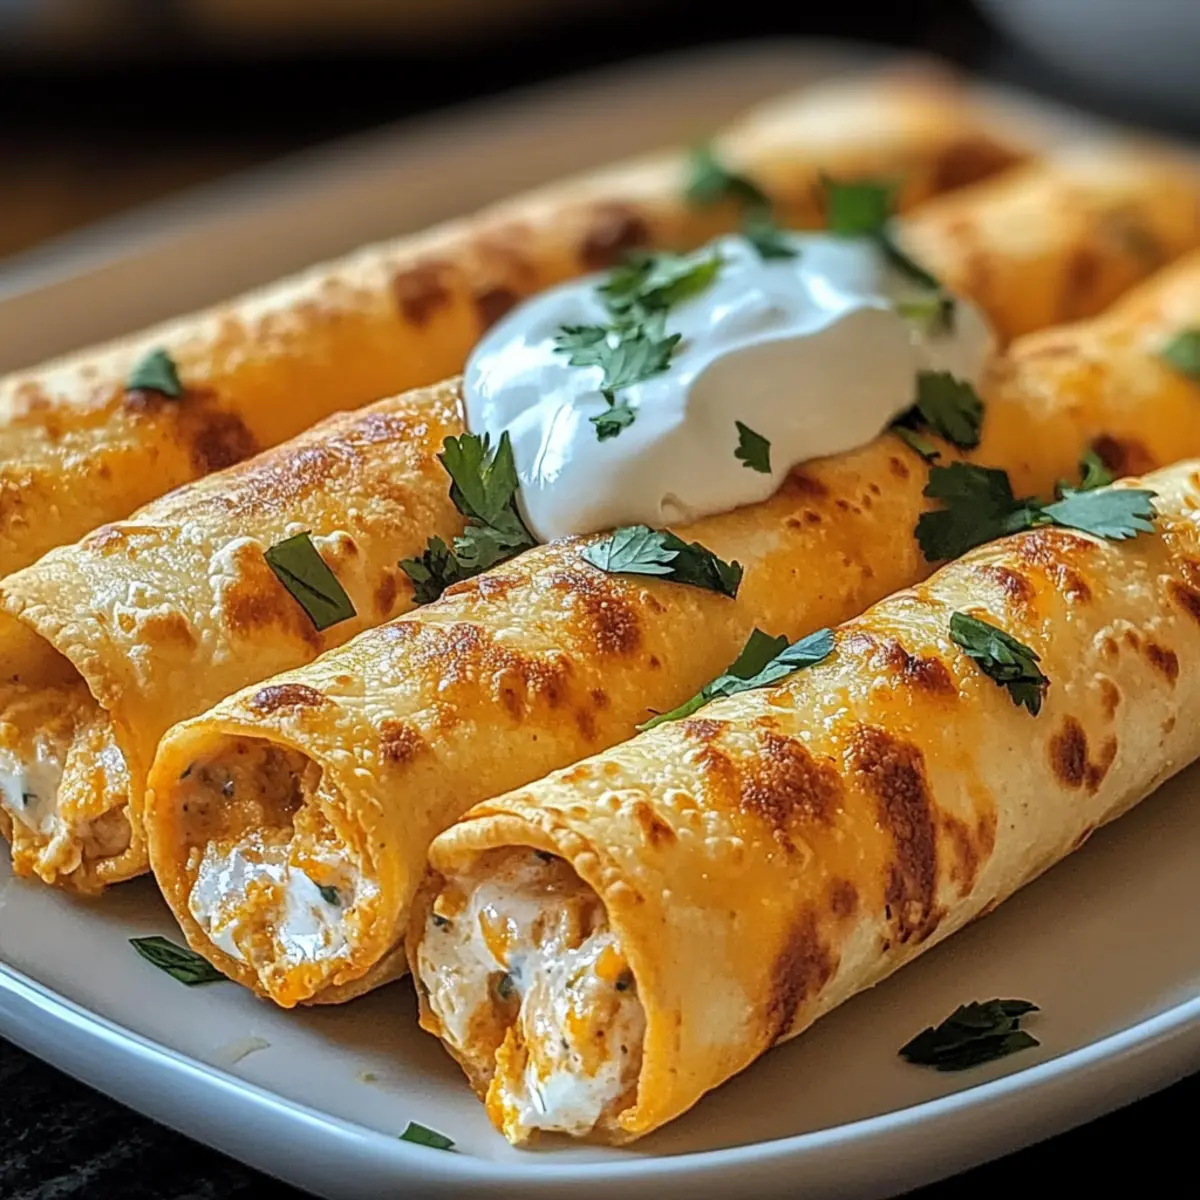
Crispy, Crunchy Delight: The golden-brown exterior provides a satisfying crunch, making each bite unbelievably enjoyable.
Customizable Fun: Easily swap fillings to match your cravings—try veggies, shredded beef, or even a spicy twist for daring taste buds!
Quick and Easy: With straightforward steps, you can whip up these taquitos in no time, perfect for those hectic weeknights.
Healthier Choice: Homemade is always better! These taquitos are lighter than store-bought options and can be made gluten-free using corn tortillas.
Perfect for Sharing: Great as an appetizer or party snack; they’re sure to impress guests and family alike! You might also love pairing these with creamy dips like guacamole for added flair. Want something different? Check out my Chopped Chicken Caesar Salad Wrap for another quick meal idea!
Crispy Chicken Taquitos Ingredients
• Get ready to make delightful taquitos!
For the Filling
- Cooked Shredded Chicken – A delicious protein base; feel free to use leftover rotisserie chicken for a quick fix.
- Cream Cheese – Ensures a creamy texture that binds the filling; consider using lighter cream cheese for a healthier option.
- Shredded Cheddar or Mexican Blend Cheese – Offers that melty, cheesy goodness; substitute with your favorite cheese blend for a twist.
- Salsa – Adds flavor and moisture; choose your preferred spice level, whether mild or hot!
- Garlic Powder – Enhances the flavor depth; swap for fresh minced garlic if you prefer a more vibrant taste.
- Chili Powder – Perfect for adding warmth; adjust to fit your spice tolerance.
- Cumin – Contributes a warm earthy flavor; this can be left out if you don’t have it on hand.
- Salt and Black Pepper – Essential for seasoning; always add to taste to enhance the overall flavor profile.
For the Shell
- Flour or Corn Tortillas – Forms the crispy outer layer; use corn tortillas for a gluten-free option, but remember to warm them to avoid cracks.
- Cooking Spray or Oil – Ensures that wonderful crispiness; just a light brushing will do the trick!
With these ingredients at your fingertips, you’re well on your way to making unforgettable Crispy Chicken Taquitos that will thrill your taste buds and wow your loved ones!
Step‑by‑Step Instructions for Crispy Chicken Taquitos
Step 1: Preheat the Oven
Begin by preheating your oven to 425°F (220°C). While the oven warms up, line a baking sheet with parchment paper or lightly grease it with cooking spray or oil. This ensures that your Crispy Chicken Taquitos won’t stick, leading to perfectly crisp and delicious bites.
Step 2: Prepare the Filling
In a large mixing bowl, combine the cooked shredded chicken, cream cheese, shredded cheese, salsa, garlic powder, chili powder, cumin, salt, and pepper. Use a fork or spatula to mix everything thoroughly until well blended. The filling should be creamy and flavorful, ready to give your taquitos that mouthwatering taste.
Step 3: Soften the Tortillas
To make rolling easier and prevent cracks, warm your flour or corn tortillas in the microwave for about 20 seconds. This will soften them just enough to bend easily without breaking, allowing you to roll each Crispy Chicken Taquito tightly around the delicious filling.
Step 4: Assemble the Taquitos
Take one softened tortilla and spoon 2-3 tablespoons of the flavorful chicken filling onto one side. Roll the tortilla tightly from the filled side, enclosing the mixture, and secure it seam-side down on your prepared baking sheet. Repeat this process for all tortillas until your filling is used up.
Step 5: Add Crispiness
Once your taquitos are lined up on the baking sheet, lightly brush them with cooking spray or oil on the outside. This step is crucial for achieving that beautiful golden-brown color and the crispy texture that’s signature to Crispy Chicken Taquitos.
Step 6: Bake to Perfection
Place your baking sheet in the preheated oven and bake for 15-20 minutes. Keep an eye on them as they cook; you want the taquitos to turn a lovely golden hue. For an extra crispy finish, switch to the broil setting for the last 1-2 minutes, but watch carefully to prevent burning.
Step 7: Serve and Enjoy
Once baked to perfection, remove your Crispy Chicken Taquitos from the oven and let them cool for a few minutes. Serve them warm with your favorite toppings like sour cream, guacamole, or fresh salsa. Enjoy this delightful homemade snack that’s sure to make everyone come back for seconds!

Expert Tips for Crispy Chicken Taquitos
Warm Tortillas Properly: Ensure tortillas are warmed enough before rolling to prevent cracking. Microwaving for 20 seconds does wonders!
Avoid Overfilling: Be cautious with how much filling you use; overstuffing can lead to soggy or burst taquitos during baking.
Customize Wisely: Feel free to mix up the cheese or add spices, but keep a balance to enhance the Crispy Chicken Taquitos without overpowering the flavors.
Bake Until Golden: Keep an eye on the baking time to achieve that perfect golden-brown color, enhancing both taste and appearance.
Make Ahead: Want to save time? Assemble your taquitos ahead and refrigerate them for up to 24 hours, baking right from the fridge!
How to Store and Freeze Crispy Chicken Taquitos
Fridge: Keep fully assembled Crispy Chicken Taquitos in an airtight container for up to 3 days. This helps maintain their flavor and prevents moisture build-up.
Freezer: For longer storage, freeze the taquitos individually before baking by placing them on a baking sheet until firm, then transfer to a freezer-safe bag for up to 3 months.
Reheating: Bake frozen taquitos directly at 425°F (220°C) for about 20-25 minutes, or until heated through and crispy. They can also be air-fried for a crunchy finish!
Make-Ahead: You can assemble the taquitos ahead of time and refrigerate them for up to 24 hours, then bake when ready for a quick meal.
What to Serve with Crispy Chicken Taquitos
The perfect meal isn’t complete without delightful sides and pairings to enhance those crispy wonders.
-
Creamy Guacamole: The rich, buttery texture of guacamole beautifully complements the crispy taquitos, adding a refreshing touch. The creaminess cuts through the crunch, offering a full sensory experience.
-
Sour Cream: A classic pairing, sour cream provides a cool contrast to the savory warmth of the chicken filling. It adds a luscious richness that makes each bite even more enjoyable.
-
Zesty Salsa: Opt for a fresh pico de gallo or a spicy salsa verde to elevate your taquitos. The bright acidity and juicy tomatoes bring a burst of freshness that harmonizes perfectly with the crispy texture.
-
Mexican Street Corn Salad: This vibrant dish brings a delightful crunch and sweetness that balances the taquitos. With creamy dressing, chewy corn, and zesty lime, it’s a party on the plate.
-
Crispy Potato Wedges: Make it a hearty meal by adding crispy potato wedges seasoned with Cajun spices. The texture and flavor contrast adds variety, making dinner memorable.
-
Mixed Green Salad: A light, tangy salad with a citrus vinaigrette is the perfect way to cleanse your palate. The fresh veggies provide a crunchy element, complementing the richness of the taquitos.
-
Chilled Mexican Horchata: Pair your meal with a glass of refreshing horchata; its creamy, slightly sweet taste perfectly offsets the savory and spicy notes of the taquitos.
-
Margaritas: For a delightful adult beverage, serve ice-cold margaritas. Their citrusy zing and herbaceous flavors amplify the overall dining experience, making it a festive occasion.
Make Ahead Options
Crispy Chicken Taquitos are fantastic for meal prep! You can assemble these delightful bites and store them in the refrigerator for up to 24 hours before baking, allowing you to enjoy fresh taquitos on busy weeknights. Just roll the taquitos, place them seam-side down on a baking sheet, and cover tightly with plastic wrap to maintain moisture. For longer storage, you can freeze the assembled taquitos for up to 3 months. When you’re ready to savor them, bake directly from frozen, adding an extra 5-10 minutes to the cooking time for that perfect, crispy finish. This prep-ahead method ensures you always have a quick, delicious meal on hand that’s just as tasty as freshly made!
Crispy Chicken Taquitos Customization Ideas
Feel free to explore exciting variations that will take your Crispy Chicken Taquitos to the next level!
- Gluten-Free: Swap traditional flour tortillas for corn tortillas to make this dish gluten-free while maintaining that crave-worthy crunch.
- Vegetarian: Replace the chicken with sautéed bell peppers, onions, and black beans for a hearty, vegetable-filled alternative. Enjoy the earthy flavors that add a delightful twist!
- Extra Creamy: Add a scoop of refried beans to the filling mixture for an indulgent texture that enhances the creaminess of your taquitos. It’s a great way to mix flavors and elevate the dish!
- Spicy Kick: Stir in some diced jalapeños or a splash of hot sauce into the filling for those who love a fiery bite. Just the right amount of heat can excite your taste buds!
- Cheese Lover: Experiment with different cheese blends like Pepper Jack or Queso Fresco for a unique flavor profile that gives a delicious cheesy touch. Each bite will be a cheesy delight!
- Crunchy Toppings: Top your baked taquitos with crispy lettuce, diced tomatoes, or avocado before serving to add freshness and color. These toppings not only add great texture but also elevate the visual appeal!
- Herb Infusion: Mix in fresh cilantro or green onion into the filling, creating a burst of herbaceous flavors that complements the creamy filling perfectly. It’s all about bringing a garden-fresh element to your meal!
- Flavorful Dips: Serve your taquitos with intriguing dipping sauces like zesty avocado dip or spicy ranch for a flavor-packed experience. Pairing with a delicious sauce can make every bite feel like a special treat!
Now, with these ideas in mind, your Crispy Chicken Taquitos can adapt to your cravings, pleasing everyone around the table! If you want another tasty weeknight option, consider rounding out the meal with my Street Corn Chicken Rice Bowl for a delicious combo!
Crispy Chicken Taquitos Recipe FAQs
How do I choose the right chicken for my taquitos?
The quality of chicken can greatly affect your dish! For the best results, I recommend using cooked shredded chicken—leftover rotisserie chicken works wonderfully for a quick fix. If you want to use raw chicken, simply cook it thoroughly, shred it, and allow it to cool before mixing it with the other ingredients.
How should I store leftover Crispy Chicken Taquitos?
Store fully assembled Crispy Chicken Taquitos in an airtight container in your refrigerator for up to 3 days. This ensures they retain their flavor while preventing moisture from soaking the shells. You can also line them with parchment paper to keep them crisp!
Can I freeze my taquitos for later?
Absolutely! For freezing, place your assembled taquitos on a baking sheet until firm, then transfer them to a freezer-safe bag. They can be stored for up to 3 months. When you’re ready to enjoy, bake them directly from the freezer at 425°F (220°C) for about 20-25 minutes until they’re heated through and crispy.
What if my tortillas are cracking while rolling?
Warming the tortillas is key to preventing cracks. Microwave them for about 20 seconds to soften them, making them pliable. If they continue to crack, try wrapping them in a clean kitchen towel and placing them in a microwave-safe dish to keep them warm and flexible while you fill and roll.
Are Crispy Chicken Taquitos suitable for a gluten-free diet?
Yes! You can easily make your Crispy Chicken Taquitos gluten-free by using corn tortillas instead of flour ones. Be sure to check the labels of all other ingredients like salsa and cheese to ensure they’re gluten-free—your loved ones can enjoy these crispy bites without any worries!
Crispy Chicken Taquitos for a Crunchy Flavor Explosion
Ingredients
Equipment
Method
- Preheat your oven to 425°F (220°C) and line a baking sheet with parchment paper or lightly grease it.
- In a large mixing bowl, combine the cooked shredded chicken, cream cheese, shredded cheese, salsa, garlic powder, chili powder, cumin, salt, and pepper until well blended.
- Warm the tortillas in the microwave for about 20 seconds to soften them, making them easier to roll.
- Take one softened tortilla, spoon 2-3 tablespoons of filling onto one side, roll it tight from the filled side, and place seam-side down on the baking sheet.
- Lightly brush taquitos with cooking spray or oil on the outside for crispiness.
- Bake for 15-20 minutes, until golden brown; switch to broil for the last 1-2 minutes for extra crispiness.
- Remove from oven, let cool for a few minutes, and serve warm with your favorite toppings.
Leave a Reply