
Standing in the kitchen one afternoon, I found myself yearning for a sweet treat that didn’t involve hours of baking and cleanup. Enter the delightful world of Chocolate Peanut Butter Rice Krispie Cups! This easy no-bake dessert combines the irresistible flavors of rich chocolate and creamy peanut butter, all wrapped up in a satisfying crunch of gluten-free Rice Krispies. Not only do these cups whisk you back to those joyful childhood snack times, but their quick prep makes them a perfect solution for busy weeknights or unexpected guests. Plus, they cater to various dietary needs, letting everyone indulge without worry. Aren’t you curious to see how simple it is to whip up this nostalgic treat?
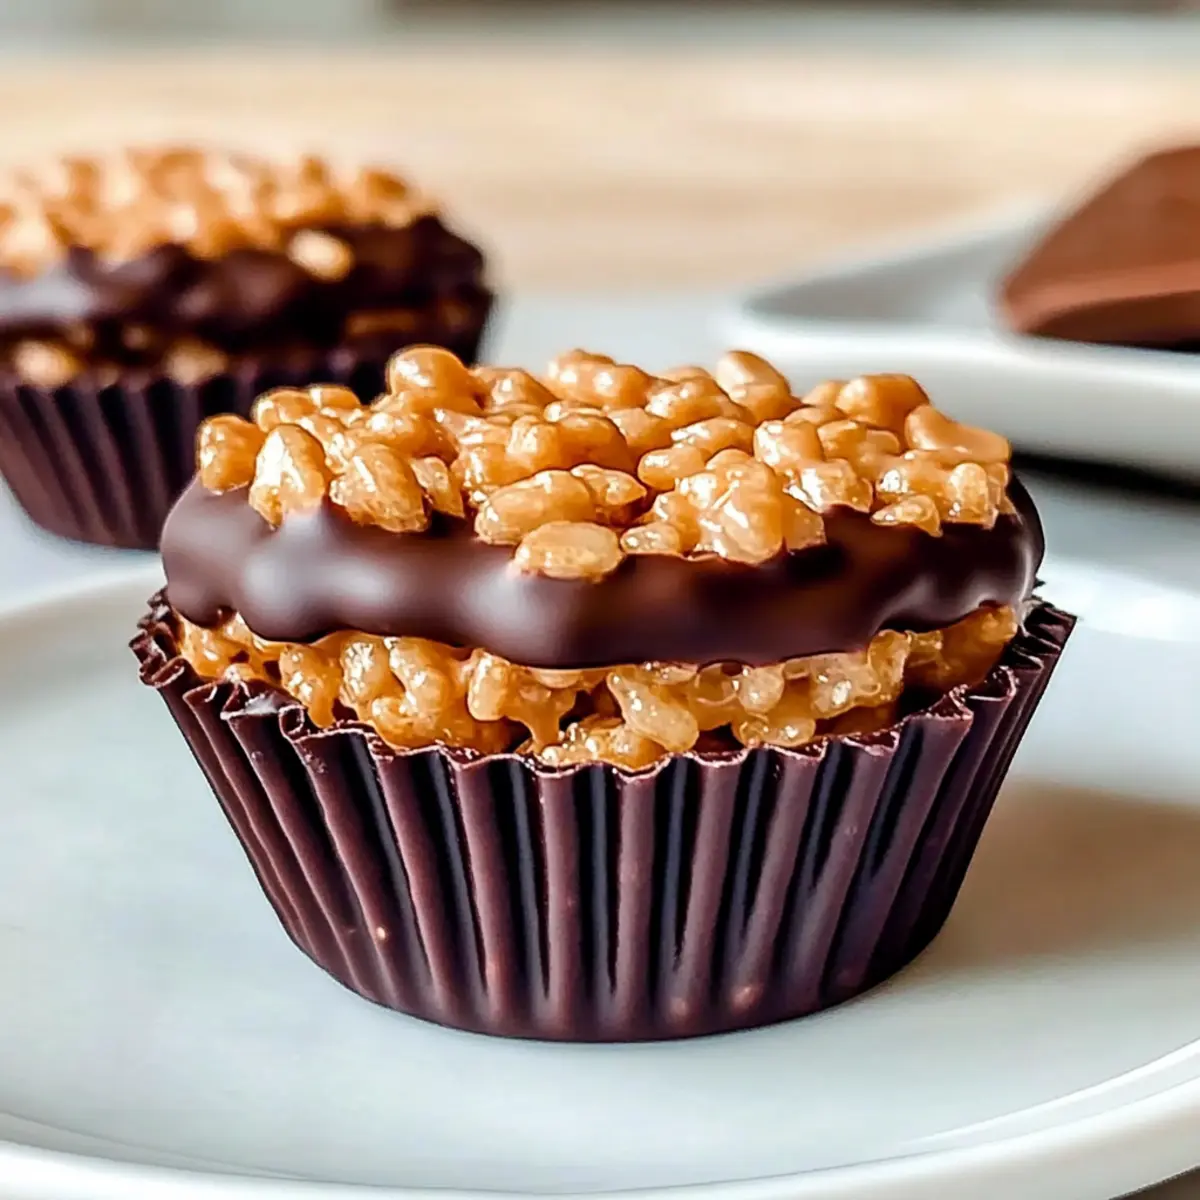
Why Will You Love These Cups?
Simplicity: This recipe is a breeze, requiring minimal time and effort. Perfect for anyone who wants a treat without the fuss.
Nostalgic Flavor: Combining chocolate and peanut butter evokes cherished childhood memories, making every bite a delightful trip down memory lane.
Versatile Delight: Feel free to swap out peanut butter for almond or cashew butter, or get creative by adding mini marshmallows for fun variations!
Crowd-Pleasing: Whether it’s a casual family gathering or a festive party, these cups are bound to be a hit with guests of all ages.
Quick and Easy: With no baking involved, you can whip up a batch in no time, making these chocolate peanut butter rice krispie cups the ultimate last-minute dessert solution!
For more easy, delicious treats, don’t miss my Bowl Peanut Butter or Cowboy Butter Chicken recipes!
Chocolate Peanut Butter Rice Krispie Cups Ingredients
Indulge in these delicious cups with just a few simple ingredients!
For the Base
• Smooth Peanut Butter – Adds creaminess and rich flavor; opt for natural peanut butter for a less sweet option.
• Honey or Light Corn Syrup – Acts as a binding agent and adds sweetness; honey or agave syrup can be used for a healthier version.
• Vanilla Extract – Enhances the overall flavor; use pure vanilla for better results.
• Rice Krispies Cereal – Provides crunch and structure; make sure to use certified gluten-free Rice Krispies to keep them gluten-free.
For the Topping
• Semi-Sweet Chocolate Chips – Forms the delicious topping and adds a sweet chocolate flavor; feel free to use dark, milk, or white chocolate for different variations.
• Unsalted Butter – Helps in melting the chocolate to create a smooth topping; can be replaced with coconut oil for a dairy-free option.
Step‑by‑Step Instructions for Chocolate Peanut Butter Rice Krispie Cups
Step 1: Melt the Peanut Butter Mixture
In a medium saucepan, combine 1 cup of smooth peanut butter and 1/2 cup of honey over low heat. Stir consistently for about 3–5 minutes until the mixture is smooth and well combined, ensuring it doesn’t boil. You want a creamy, glistening texture that will help bind your ingredients together for the Chocolate Peanut Butter Rice Krispie Cups.
Step 2: Add Vanilla Flavor
Remove the saucepan from the heat and stir in 1 teaspoon of pure vanilla extract. This addition enriches the overall flavor profile. Mix well until the vanilla is fully integrated, creating a fragrant aroma that elevates your upcoming treat. Make sure to let the mixture cool for a moment before adding it to the Rice Krispies.
Step 3: Combine with Rice Krispies
In a large mixing bowl, pour the smooth peanut butter mixture over 6 cups of gluten-free Rice Krispies cereal. Use a spatula to gently fold the peanut butter mixture into the cereal until every piece is thoroughly coated. This step should take about 2–3 minutes, and you want to see a lovely glossy coating on the Rice Krispies.
Step 4: Fill the Muffin Tin
Line a muffin tin with paper liners for easier serving. Using your hands or the spatula, press the Rice Krispie mixture into each liner, filling them about three-quarters full. Make sure to pack them down firmly to create a sturdy base for the Chocolate Peanut Butter Rice Krispie Cups. This will take about 5 minutes.
Step 5: Melt the Chocolate Topping
In a microwave-safe bowl, combine 1 cup of semi-sweet chocolate chips and 2 tablespoons of unsalted butter. Microwave in 30-second intervals, stirring after each session, for about 1.5 to 2 minutes until the mixture is fully melted and smooth. Be cautious not to overheat, as you want a silky topping that will ooze over your crisp treats.
Step 6: Top With Chocolate
Using a spoon, generously drizzle the melted chocolate over each filled Rice Krispie cup, ensuring you cover them well. This step adds a decadent finish to your Chocolate Peanut Butter Rice Krispie Cups. Take your time to create an even layer, making each cup look delectable and inviting.
Step 7: Chill to Set
Place the muffin tin in the refrigerator and let the cups chill for at least 30 minutes. This helps the chocolate topping set and the cups firm up, allowing the flavors to meld beautifully. You’ll know they are ready to serve when the chocolate is firm to the touch and the cups hold their shape.
Step 8: Serve and Enjoy
Once set, carefully remove the Chocolate Peanut Butter Rice Krispie Cups from the muffin tin by lifting the paper liners. They can be served chilled or at room temperature, making them perfect for any occasion. Arrange them on a platter or pack them up for a sweet snack, ready to delight family and friends!
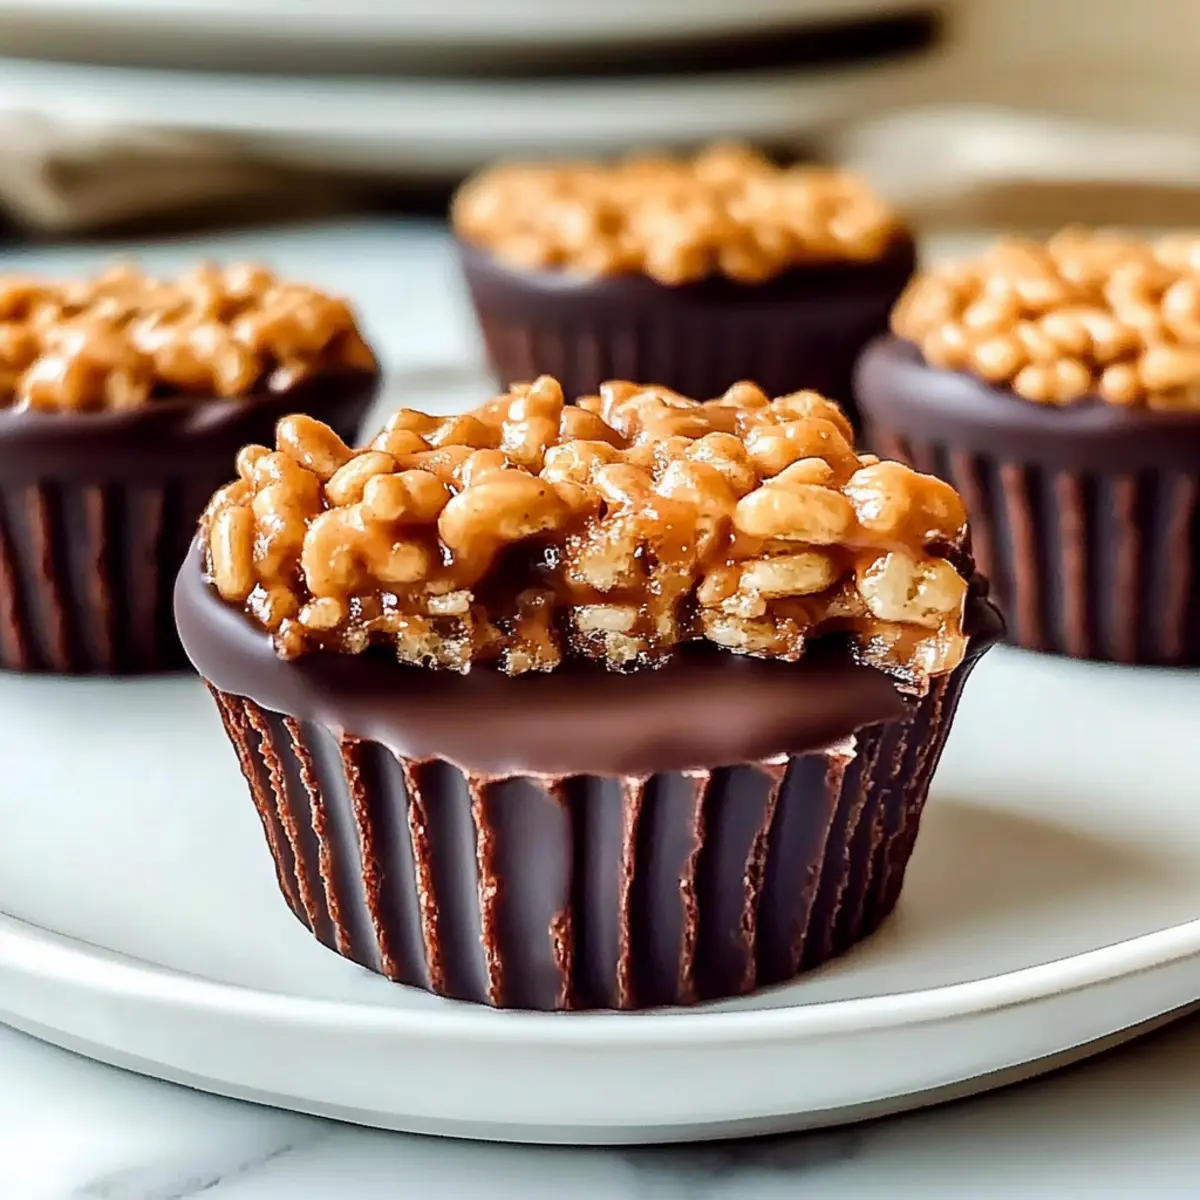
Chocolate Peanut Butter Rice Krispie Cups Variations
Feel free to unleash your creativity and customize these delightful cups to suit your taste preferences!
-
Nut-Free: Substitute peanut butter with sun butter for a delicious nut-free alternative that maintains that creamy, dreamy texture.
-
Dairy-Free: Use coconut oil instead of butter and opt for dairy-free chocolate chips. You won’t sacrifice any flavor with this twist!
-
Vegan: To make these cups completely vegan, follow the dairy-free swap and replace honey with maple syrup. It’s a sweet, plant-based delight.
-
Add Crunch: Mix in chopped nuts such as almonds or pecans with the Rice Krispies for added crunch and nutrition. The extra texture is simply delightful.
-
Flavor Boost: Add a sprinkle of cinnamon or a dash of sea salt to the melted chocolate for a flavor kick that elevates your dessert experience.
-
Fruity Goodness: Incorporate mini marshmallows or dried fruits like cranberries or apricots into the Rice Krispies for bursts of unexpected sweetness.
-
Chocolate Variety: Experiment with chocolate! Use white chocolate for a sweet twist, or dark chocolate for a richer flavor. Your choice alters the whole vibe!
For more tasty ideas, consider trying my Coconut Chicken Rice or indulge in luscious Indulge Raspberry Chocolate treats!
Make Ahead Options
These Chocolate Peanut Butter Rice Krispie Cups are a fantastic option for meal prep, allowing you to indulge in a delicious treat without the hassle during busy days. You can prepare the Rice Krispie mixture and fill the muffin tin up to 24 hours in advance. Simply press the mixture into the liners and store the muffin tin, covered with plastic wrap, in the refrigerator to maintain freshness. The chocolate topping can also be melted and drizzled over the cups a few hours before serving, ensuring that they remain perfectly smooth and glossy. When it’s time to serve, just let them chill for a bit longer if needed and enjoy the blissful combination of flavors that stays just as delightful!
Tips for the Best Chocolate Peanut Butter Rice Krispie Cups
- Use Natural Peanut Butter: This enhances the authentic flavor while making the cups less sweet. Avoid commercial brands packed with additives.
- Mind the Chocolate: Heat chocolate gently in intervals; over-melting can cause burning, resulting in a grainy texture on your topping.
- Ensure Gluten-Free: Always verify your Rice Krispies are certified gluten-free to make these delightful cups suitable for those with dietary restrictions.
- Pack Firmly: When pressing the mixture into muffin tins, use enough pressure to create a sturdy base for your Chocolate Peanut Butter Rice Krispie Cups; this prevents them from crumbling.
- Chill Thoroughly: Allow at least 30 minutes in the refrigerator to set the chocolate. This step is crucial for maintaining the cups’ shape during serving.
How to Store and Freeze Chocolate Peanut Butter Rice Krispie Cups
Fridge: Keep your Chocolate Peanut Butter Rice Krispie Cups in an airtight container in the refrigerator for up to 1 week to maintain their freshness and flavor.
Freezer: For longer storage, place the cups in a single layer on a baking sheet to freeze for about 2 hours, then transfer them to a freezer-safe bag or container. They can last for up to 2 months.
Thawing: To enjoy, simply thaw them in the refrigerator for a few hours or at room temperature for about 30 minutes before serving.
Reheating: These cups are best served cold or at room temperature, so avoid microwaving as it may alter their texture.
What to Serve with Chocolate Peanut Butter Rice Krispie Cups
Create a delightful spread that complements the sweet and crunchy goodness of these cups!
- Fresh Fruit Salad: A medley of seasonal fruits adds a refreshing contrast to the rich flavors of the cups.
- Creamy Vanilla Ice Cream: The cool, creamy texture of ice cream pairs beautifully with the chocolate and peanut butter.
- Nutty Granola Bars: Providing a similar crunch, these bars enhance the snack experience while offering varied nutty flavors.
- Iced Coffee: The bitterness of coffee acts as a perfect counterpoint to the sweetness of the Rice Krispie cups.
- Chocolate Drizzled Popcorn: A playful snack that echoes the dessert’s chocolate theme while providing a satisfying crunch.
- Chocolate Milkshake: Indulge your sweet tooth even further with a thick and creamy shake, making for a dessert lover’s dream!
- Savory Cheese Platter: Elevated cheeses like brie or cheddar bring a delightful contrast, balancing the dessert’s sweetness with savory notes.
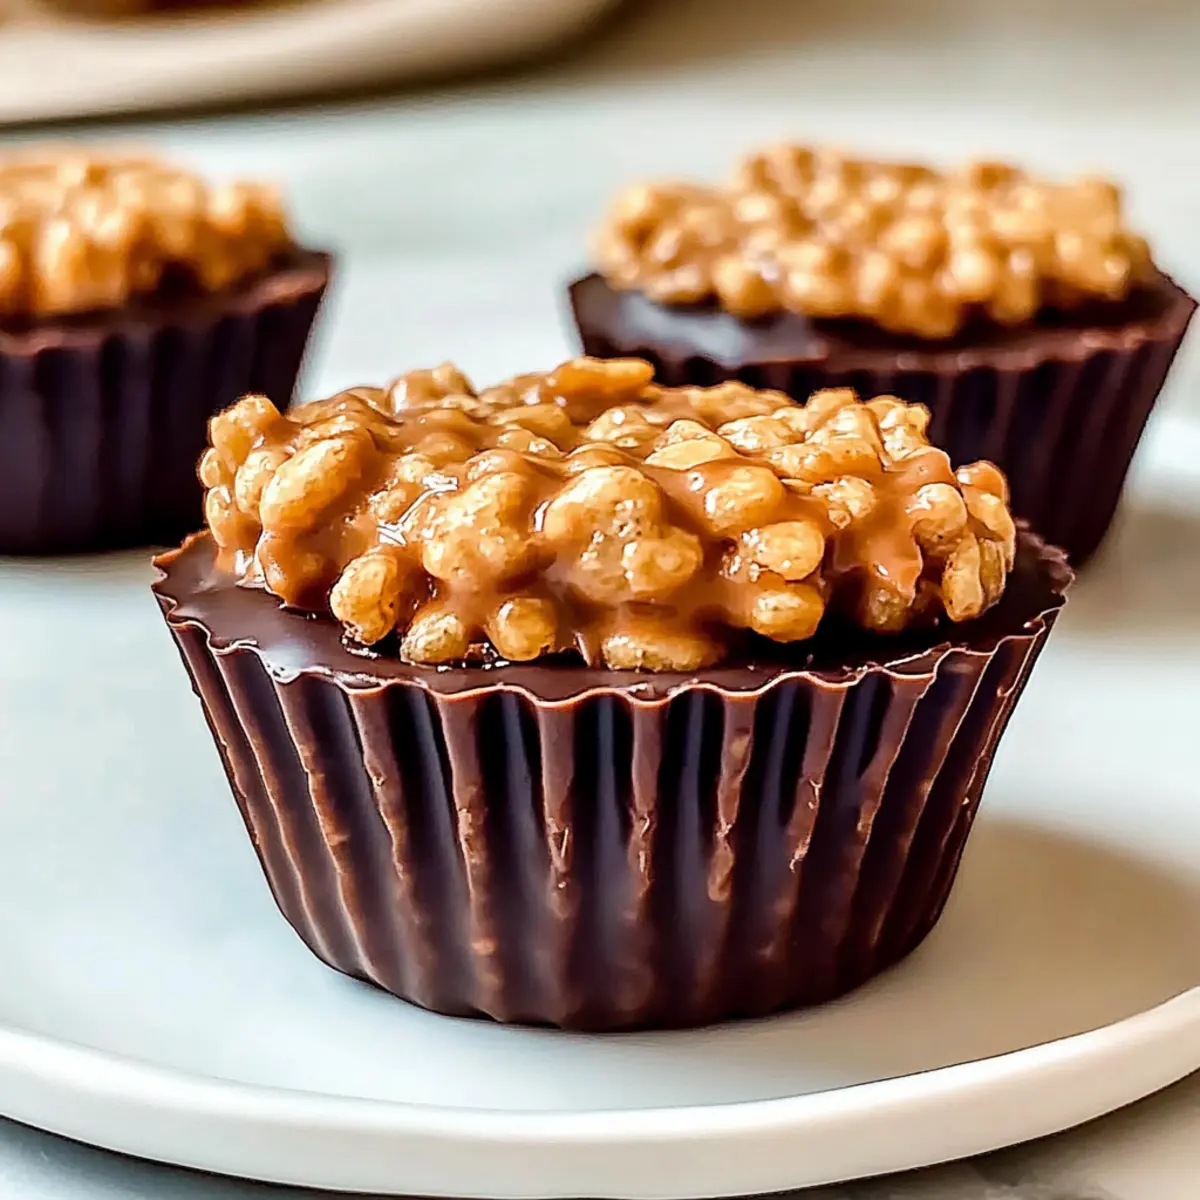
Chocolate Peanut Butter Rice Krispie Cups Recipe FAQs
What type of peanut butter should I use for the best flavor?
I absolutely recommend using natural peanut butter! It has a rich, authentic flavor without the added sugars and oils found in some commercial brands. Plus, it will enhance the overall taste of your Chocolate Peanut Butter Rice Krispie Cups, making them irresistibly delicious.
How should I store my Chocolate Peanut Butter Rice Krispie Cups?
To keep your delicious cups fresh, store them in an airtight container in the refrigerator for up to 1 week. This will help maintain their lovely flavor and texture, making sure they remain a delightful treat whenever a craving strikes.
Can I freeze these Rice Krispie Cups for later?
Absolutely! If you’d like to enjoy them later, freeze your Chocolate Peanut Butter Rice Krispie Cups for up to 2 months. First, place them in a single layer on a baking sheet to freeze for about 2 hours. Once they’re firm, transfer them to a freezer-safe bag or container. That’s an easy way to make sure you have a sweet snack ready to go!
What if my chocolate topping becomes grainy while melting?
No worries, it happens! If your chocolate topping turns grainy, it’s likely due to overheating. To prevent this, heat your chocolate chips and butter gently in 30-second intervals, stirring well after each interval. If it does happen, you can add a tiny amount of vegetable oil to help smooth it out again.
Are these Rice Krispie Cups suitable for kids or people with allergies?
It’s always good to check! Make sure to use certified gluten-free Rice Krispies for those living gluten-free. Additionally, for allergies, always verify that your peanut butter and chocolate chips are free from cross-contamination. You could potentially swap out the peanut butter for sun butter or almond butter if nut allergies are a concern, making these cups more inclusive for everyone to enjoy!
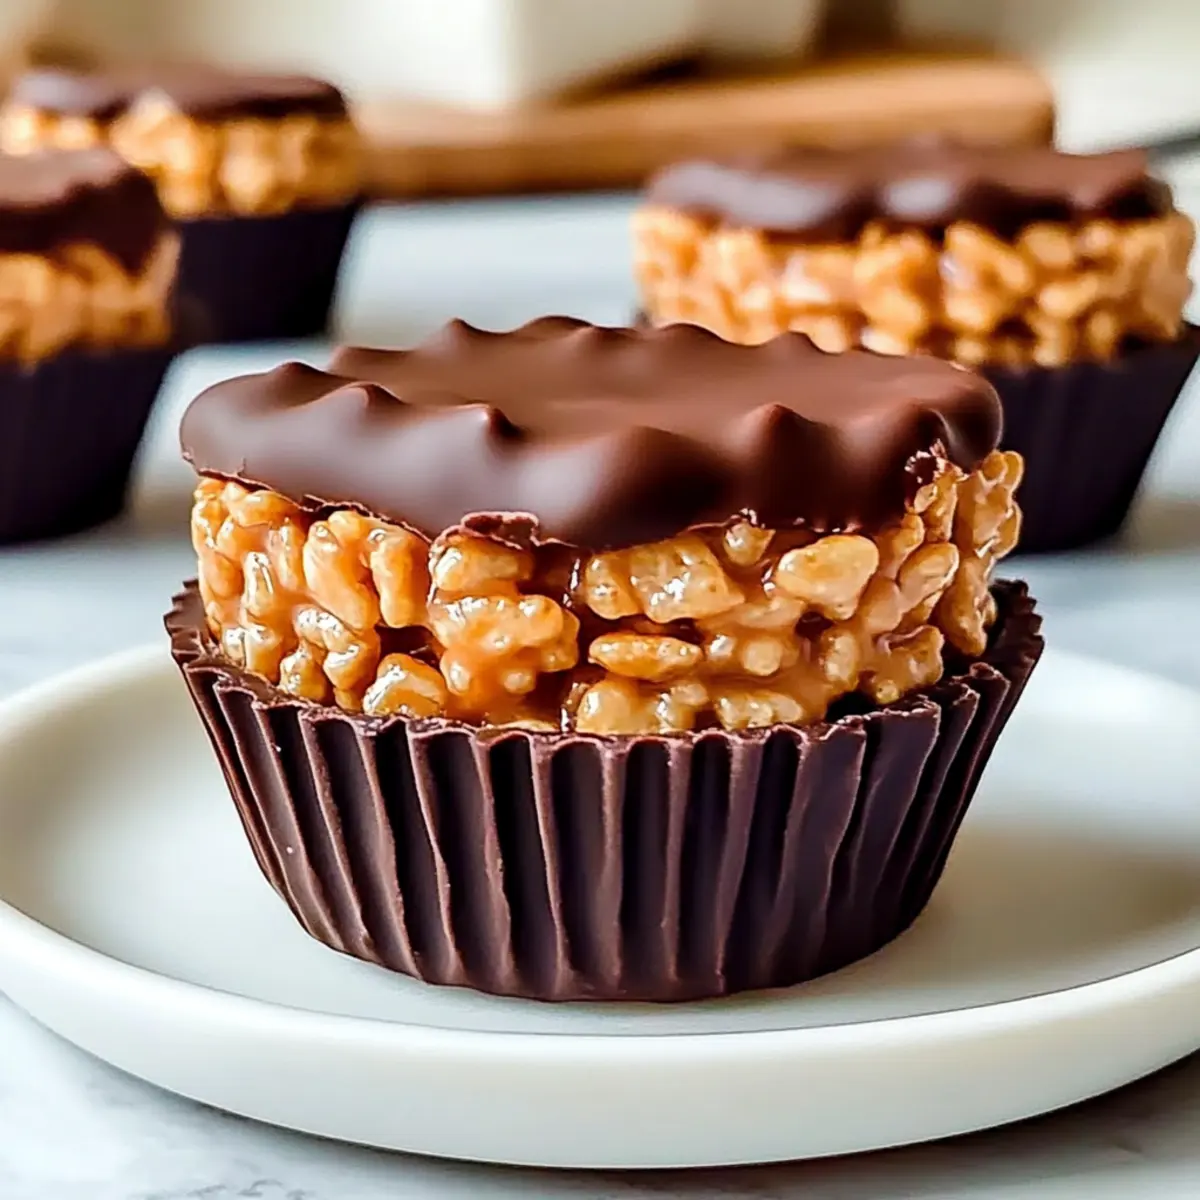
Irresistible Chocolate Peanut Butter Rice Krispie Cups Recipe
Ingredients
Equipment
Method
- In a medium saucepan, combine 1 cup of smooth peanut butter and 1/2 cup of honey over low heat. Stir consistently for about 3–5 minutes until the mixture is smooth.
- Remove from heat and stir in 1 teaspoon of pure vanilla extract, mixing well.
- In a large mixing bowl, pour the peanut butter mixture over 6 cups of gluten-free Rice Krispies cereal and gently fold until thoroughly coated.
- Line a muffin tin with paper liners and press the mixture into each liner, filling them about three-quarters full.
- In a microwave-safe bowl, combine 1 cup of semi-sweet chocolate chips and 2 tablespoons of unsalted butter. Microwave in 30-second intervals until melted.
- Drizzle the melted chocolate over each filled Rice Krispie cup, ensuring even coverage.
- Place the muffin tin in the refrigerator and let the cups chill for at least 30 minutes.
- Carefully remove the cups from the muffin tin by lifting the paper liners and serve chilled or at room temperature.
Leave a Reply