
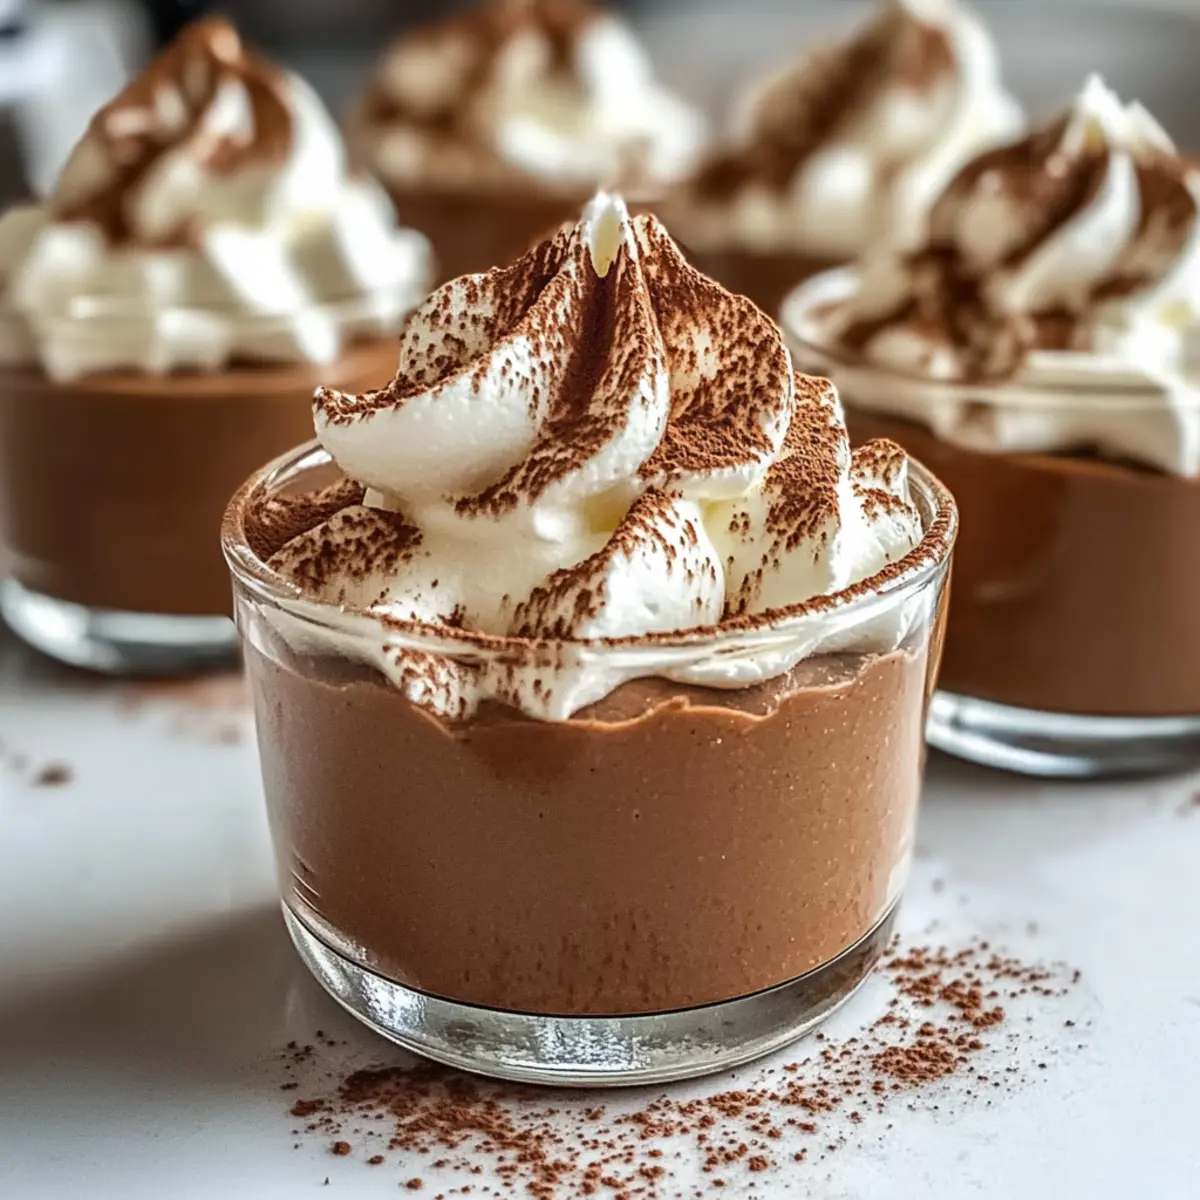
Every time I dive into the world of chocolate, I feel like I’m embarking on a delightful adventure that awakens my senses. Today, I want to share my take on the luxurious Chocolate Mousse Cups—a no-bake wonder that’s not just easy to whip up but also an absolute showstopper for any occasion. This recipe is perfect for those busy days when you crave something sweet yet sophisticated, allowing you to prepare your dessert ahead of time without breaking a sweat. With just a handful of ingredients, you’ll create a creamy, dreamy treat that will wow family and friends alike. Ready to transform your dessert game and satisfy your chocolate cravings? Let’s create magic in the kitchen together!
Why Are Chocolate Mousse Cups a Delight?
Decadence in a Cup: Each Chocolate Mousse Cup is a celebration of rich chocolatey goodness, making every bite a blissful indulgence.
Effortless Preparation: With just a handful of ingredients and no baking required, your kitchen remains a stress-free zone.
Versatile Elegance: These mousse cups can be dressed up with fresh berries or chocolate shavings, perfect for any occasion—ideal for dinner parties or just a sweet treat after a long day.
Make-Ahead Magic: Prepare these delightful desserts up to two days in advance, so they’re ready when you need them.
Satisfying Crowd Favorite: This recipe is sure to impress, making it a go-to for entertaining guests or simply treating yourself. If you’re interested in more delightful desserts, check out my recipe for Raspberry Chocolate Mousse or some satisfying Cinnamon Oatmeal Cups!
Chocolate Mousse Cups Ingredients
-
For the Mousse
-
Semi-Sweet Chocolate Chips – Provides the rich chocolate flavor; substitute with dark chocolate for a bolder taste.
-
Unsalted Butter – Enhances the smooth texture of the chocolate; make sure it’s softened for easy blending.
-
Vanilla Extract – Adds warmth and depth to the chocolate flavor; opt for pure vanilla for the best results.
-
Heavy Whipping Cream – Creates a light and airy texture for the mousse; use cold cream for optimal whipping.
-
Powdered Sugar – Sweetens the whipped cream without a gritty texture; regular sugar can be used but will affect the mousse’s texture.
-
Salt – Balances sweetness and enhances the delightful flavors of the mousse.
-
For Dusting and Presentation
-
Cocoa Powder – For dusting and added chocolate flavor; while optional, it’s recommended for a beautiful finish.
Enjoy crafting these Chocolate Mousse Cups, a no-bake dessert classic!
Step‑by‑Step Instructions for Chocolate Mousse Cups
Step 1: Melt Chocolate
In a microwave-safe bowl, combine the semi-sweet chocolate chips and unsalted butter. Heat in the microwave at 50% power for 30 seconds intervals, stirring after each, until smooth and fully melted—this typically takes about 1-2 minutes. Once melted, let the mixture cool slightly to avoid deflation when combined.
Step 2: Whip Cream
In a chilled mixing bowl, pour 1 cup of heavy whipping cream. Using an electric mixer on medium-high speed, whip the cream until soft peaks form, which usually takes around 2-3 minutes. The cream should hold its shape well but still be luscious and creamy for the perfect mousse texture.
Step 3: Combine Mixtures
Gently fold half of the whipped cream into the cooled chocolate mixture using a spatula. Be cautious to maintain the airy texture; you want a smooth, uniform mixture. This melding of the chocolate and cream is crucial for achieving those rich Chocolate Mousse Cups.
Step 4: Sweeten Remaining Cream
For the remaining heavy whipping cream, add powdered sugar and whip again until stiff peaks form, usually about 1-2 minutes. This sweetened cream will enhance the chocolate mousse’s flavor and create that delectable lightness.
Step 5: Incorporate Sweetened Cream
Carefully fold half of the sweetened whipped cream into the chocolate mixture. This incorporation helps aerate the mousse and gives it that dreamy, light texture. Use gentle motions to keep the mixture fluffy, which is essential for delectable Chocolate Mousse Cups.
Step 6: Fill Cups
Prepare your serving cups or glasses. Using either a spoon or a piping bag, fill each cup with the mousse mixture, leaving a little space at the top. Aim for a smooth surface to provide a beautiful presentation, making these Chocolate Mousse Cups as pleasing to the eye as they are to the palate.
Step 7: Chill
Cover the filled cups with plastic wrap and refrigerate for at least 4 hours, or until set. Chilling is key to allowing the mousse to firm and develop its luscious texture, transforming it into the delightful treat you’re anticipating.
Step 8: Serve
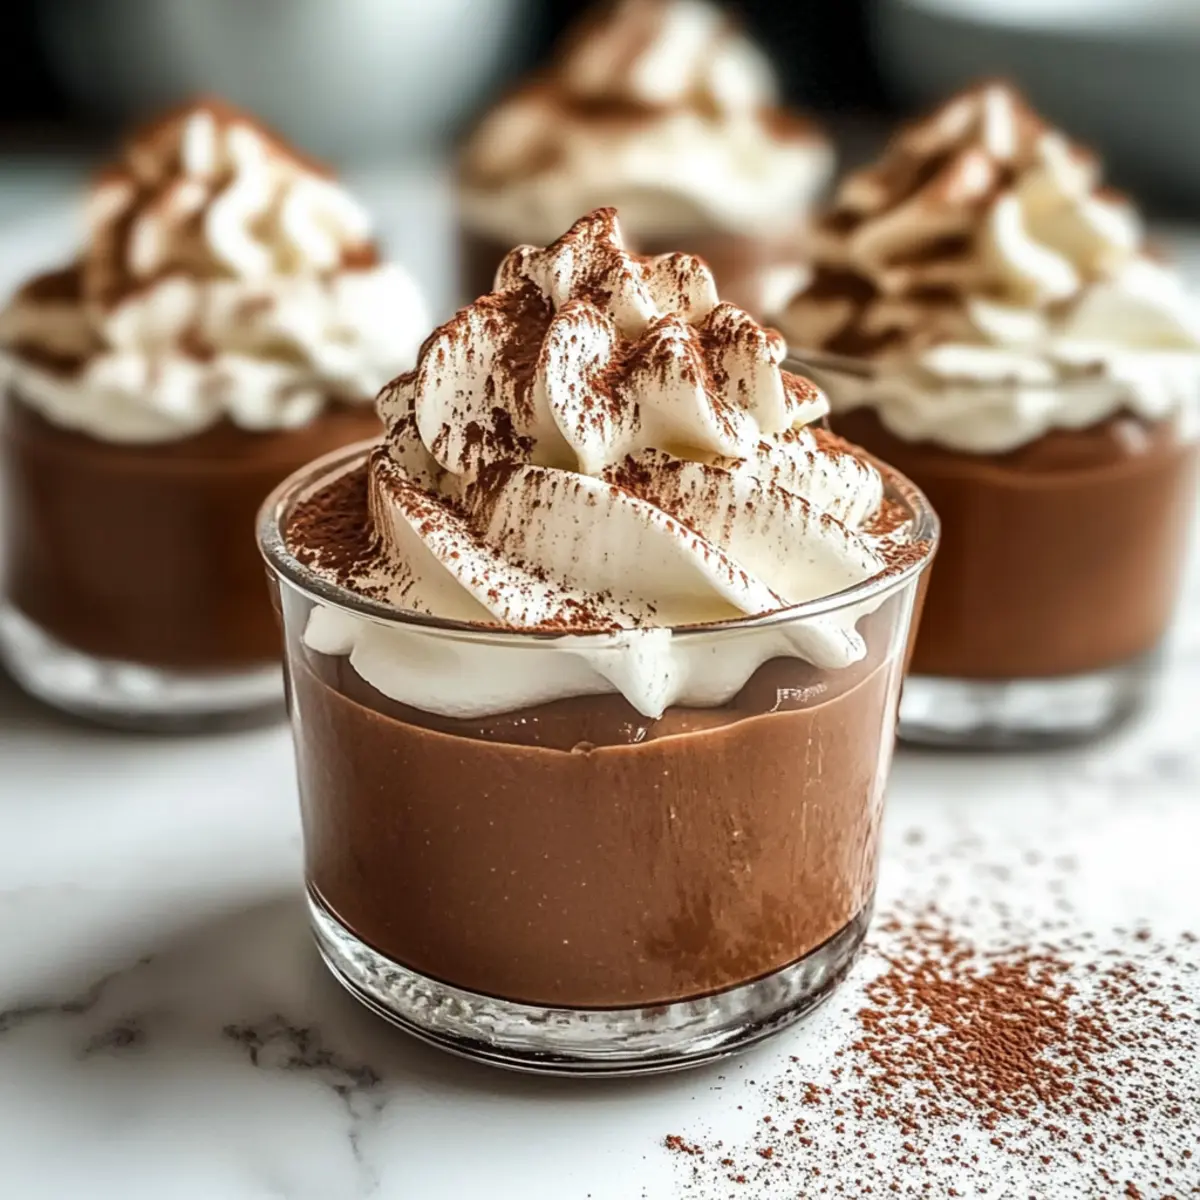
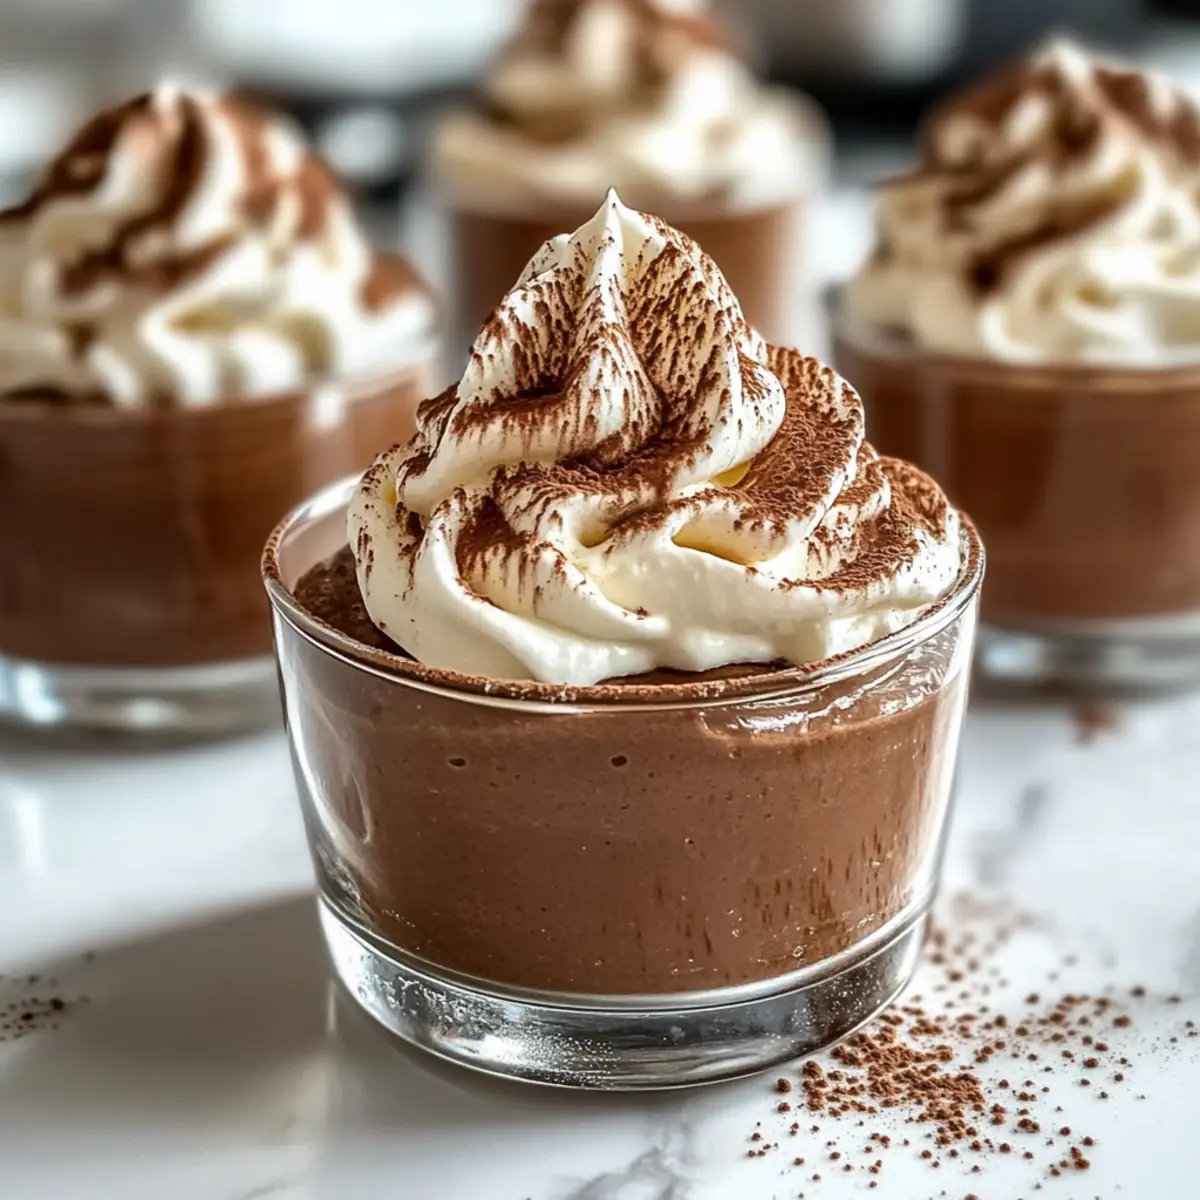
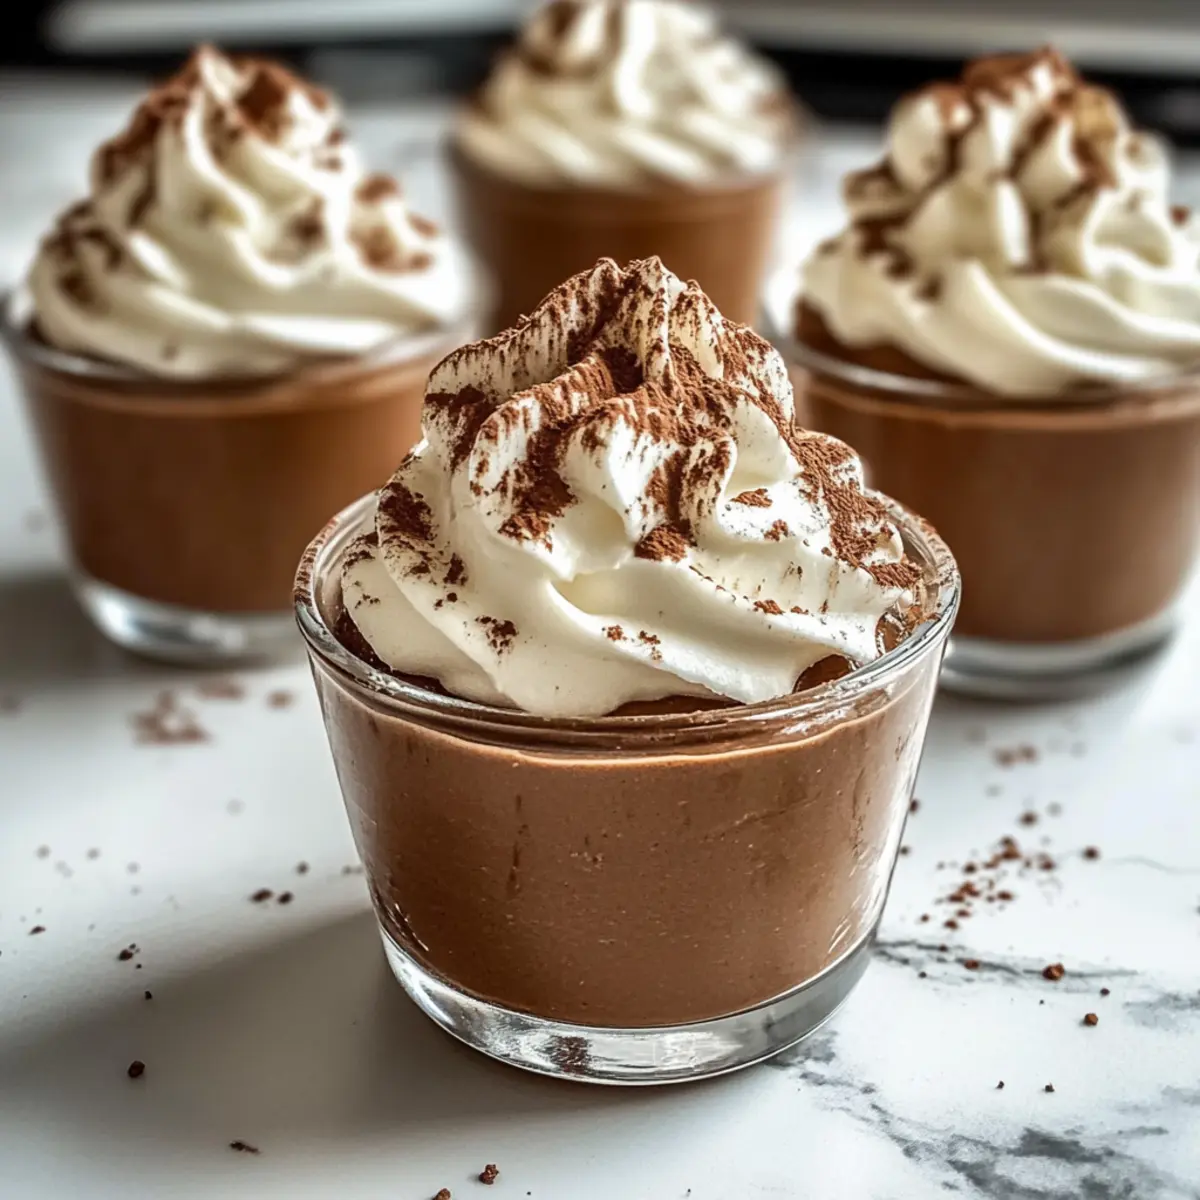
Before serving, top each Chocolate Mousse Cup with a dollop of the remaining whipped cream. For an elegant touch, sprinkle with cocoa powder, chocolate shavings, or fresh berries. This final garnish elevates your dessert, making it irresistibly inviting!
Storage Tips for Chocolate Mousse Cups
Make-Ahead: You can prepare Chocolate Mousse Cups up to 2 days in advance. Just cover each cup tightly with plastic wrap or a lid for freshness.
Refrigerator: Store the mousse cups in the fridge for up to 4 days. Make sure they are sealed well to prevent absorption of odors from other foods.
Freezer: If you have leftovers, freeze the mousse for up to 1 month. Place them in airtight containers and allow them to thaw overnight in the refrigerator before serving.
Serving: For the best flavor and texture, serve chilled. If the mousse has defrosted from the freezer, give it a gentle stir before serving to restore its creamy delight.
Expert Tips for Chocolate Mousse Cups
• Cool Chocolate First: Allow the melted chocolate to cool slightly before mixing in the whipped cream to prevent deflation and maintain the mousse’s airy texture.
• Chill Your Equipment: Ensure that your mixing bowl and beaters are cold when whipping the cream; this helps achieve better volume and fluffiness in your Chocolate Mousse Cups.
• Fold Gently: Use a gentle folding technique when incorporating the whipped cream and chocolate mixture; this preserves air bubbles, making your mousse light and decadent.
• Measurement Matters: Be precise with your measurements, especially for the heavy cream and powdered sugar, to ensure the right texture and sweetness in your mousse.
• Chill Time is Key: Don’t rush the chilling process; allow your Chocolate Mousse Cups to set in the refrigerator for at least 4 hours to achieve the perfect consistency and flavor.
What to Serve with Chocolate Mousse Cups
Elevate your dessert experience by pairing these luscious chocolate delights with complementary flavors and textures.
-
Fresh Berries: The tartness of raspberries or strawberries cuts through the richness, adding a refreshing contrast. Their vibrant colors also enhance the visual appeal of your presentation.
-
Shortbread Cookies: Their buttery crunch offers a delightful texture that balances the creamy mousse, creating a satisfying bite while sipping on tea or coffee.
-
Espresso or Coffee: A cup of rich espresso beautifully enhances the chocolate flavor, creating a harmonious blend of notes that coffee lovers will adore.
-
Whipped Cream: A dollop of freshly whipped cream on top adds an airy lightness, inviting you to scoop through the layers of chocolate bliss.
-
Chocolate Shavings: For an extra touch of decadence, sprinkle chocolate shavings on top of the mousse. This visually stunning addition elevates your dessert’s allure.
-
Mint Leaves: Fresh mint leaves not only brighten up the presentation but also infuse a refreshing aroma that complements the richness of the mousse.
-
Chocolate Mint Tea: This warm drink is a cozy way to round off your dessert, enhancing the chocolate notes while introducing a soothing infusion.
-
Vanilla Ice Cream: A scoop of creamy vanilla ice cream adds richness and enhances the chocolate flavors, creating a classic dessert combination that never disappoints.
Chocolate Mousse Cups Variations
Feel free to let your creativity shine while customizing these luscious Chocolate Mousse Cups to your taste!
-
Mocha Mousse Cups: Add espresso powder for a delightful coffee-infused twist that pairs perfectly with chocolate. This variation awakens the senses, embodying a rich café experience right in your kitchen.
-
Dark Chocolate Version: Swap semi-sweet chocolate chips for dark chocolate for a more intense flavor. The deep, bold profile of dark chocolate creates a luxurious treat that chocolate aficionados will adore.
-
Mint Chocolate Mousse: Incorporate a few drops of peppermint extract to infuse a refreshing minty note. It’s a classic combination that evokes the spirit of holidays or a delightful summer’s day.
-
Cookies and Cream Mousse: Fold in crushed chocolate sandwich cookies for a fun texture boost. It brings an exciting crunch that balances the creamy smoothness of the mousse.
-
Fruit-Infused Mousse: Blend in pureed seasonal fruits like raspberries or strawberries for a fresh fruit flavor. This fruity layer adds a vibrant splash and is a great way to use up any ripe berries.
-
Vegan Chocolate Mousse: Use silken tofu or coconut cream instead of heavy whipping cream for a dairy-free delight. This option is just as creamy, ensuring everyone can enjoy their chocolate fix.
-
Spicy Chocolate Mousse: Add a pinch of cayenne pepper or cinnamon to the chocolate mixture for a subtle spice. This little kick transforms your dessert into a dramatic yet delightful experience.
-
Hazelnut Mousse Cups: Incorporate hazelnut spread into the mousse for a nutty flavor boost. This option is reminiscent of your favorite chocolate-hazelnut treats and adds another layer of indulgence.
As you explore these variations, remember the beauty of cooking lies in making it your own. If you’re drawn to more sweet delights, take a peek at my tempting Raspberry Chocolate Mousse or these yummy Cinnamon Oatmeal Cups!
Make Ahead Options
These Chocolate Mousse Cups are a game changer for meal prep, allowing you to enjoy a decadent dessert without the last-minute rush! You can prepare the mousse mixture up to 2 days in advance—just make sure to cover the cups tightly with plastic wrap to prevent any absorption of odors from the fridge. For the best results, whip the final cream topping on the day you plan to serve them; this ensures it remains light and fluffy. When you’re ready to impress, simply garnish each mousse cup with the freshly whipped cream and a dusting of cocoa powder or chocolate shavings. This way, your Chocolate Mousse Cups will be just as delicious and elegant as if made fresh!
Chocolate Mousse Cups Recipe FAQs
What should I look for when selecting chocolate chips?
Absolutely! When choosing semi-sweet chocolate chips, look for those that are shiny and smooth without any chalky residue. They should have a rich chocolate aroma. For an even deeper flavor, consider using high-quality dark chocolate chips, which can intensify the richness of your mousse.
How should I store Chocolate Mousse Cups?
To maintain their freshness, Chocolate Mousse Cups can be stored in the refrigerator for up to 4 days. Make sure to cover them tightly with plastic wrap or a lid to prevent them from absorbing any odors from other foods. Enjoy them chilled for the best experience!
Can I freeze Chocolate Mousse Cups?
Yes, you can absolutely freeze these delicious mousse cups! Place them in airtight containers and freeze for up to 1 month. When you’re ready to enjoy, simply transfer them to the refrigerator to thaw overnight. Just remember, if the mousse appears slightly separated after thawing, a gentle stir can help restore its creamy texture.
What if my cream doesn’t whip properly?
Very often, the trick lies in the temperature! Ensure your heavy whipping cream is cold and that your mixing bowl and beaters are also chilled. If your cream isn’t thickening, it might need more whipping—don’t lose hope! Sometimes it takes a little longer, but keep whipping until you achieve those lovely soft peaks.
Are there any dietary considerations I should be aware of?
Definitely! If you’re catering to dietary restrictions, you can adapt the recipe by using dairy-free chocolate and heavy cream alternatives. Always check for allergens if serving to guests—especially if there are concerns about gluten or nuts. If you have a cherished pet at home, please keep any chocolates away, as they can be harmful to them!
Can I prepare Chocolate Mousse Cups in advance?
Absolutely! They’re a wonderful make-ahead dessert. You can prepare the mousse cups up to 2 days in advance, allowing the flavors to meld beautifully. Just ensure they’re covered well before refrigerating. This strategic planning can really help if you have a special event coming up!
Irresistibly Creamy Chocolate Mousse Cups Made Easy
Ingredients
Equipment
Method
- Melt chocolate by combining semi-sweet chocolate chips and unsalted butter in a microwave-safe bowl. Heat at 50% power for 30 seconds intervals, stirring until smooth.
- In a chilled mixing bowl, whip 1 cup of heavy whipping cream on medium-high speed until soft peaks form, approximately 2-3 minutes.
- Gently fold half of the whipped cream into the cooled chocolate mixture using a spatula, maintaining airiness.
- Add powdered sugar to the remaining heavy whipping cream and whip until stiff peaks form, about 1-2 minutes.
- Carefully fold half of the sweetened whipped cream into the chocolate mixture, keeping it fluffy.
- Fill serving cups with the mousse mixture, leaving some space at the top for presentation.
- Cover the cups with plastic wrap and refrigerate for at least 4 hours or until set.
- Before serving, top each cup with a dollop of remaining whipped cream and sprinkle with cocoa powder or berries.
Leave a Reply