
As I walked into my kitchen, the rich aroma of chocolate wafted through the air, pulling me in like a warm hug. That’s the magic of my homemade Chocolate Cobbler—a delightful indulgence that combines the best parts of a cake and a gooey fudge treat all in one. With minimal prep time, this dessert is perfect for those who crave comfort without spending hours in the kitchen. The fudgy sauce that forms underneath the tender cake layer guarantees it will be a crowd-pleaser at any gathering. Who could resist digging into a warm slice topped with a scoop of vanilla ice cream? Let’s dive into this easy, heartwarming recipe and discover how to create the ultimate comfort dessert that’s sure to captivate any chocolate lover’s heart! What’s your favorite way to enjoy a chocolate treat?
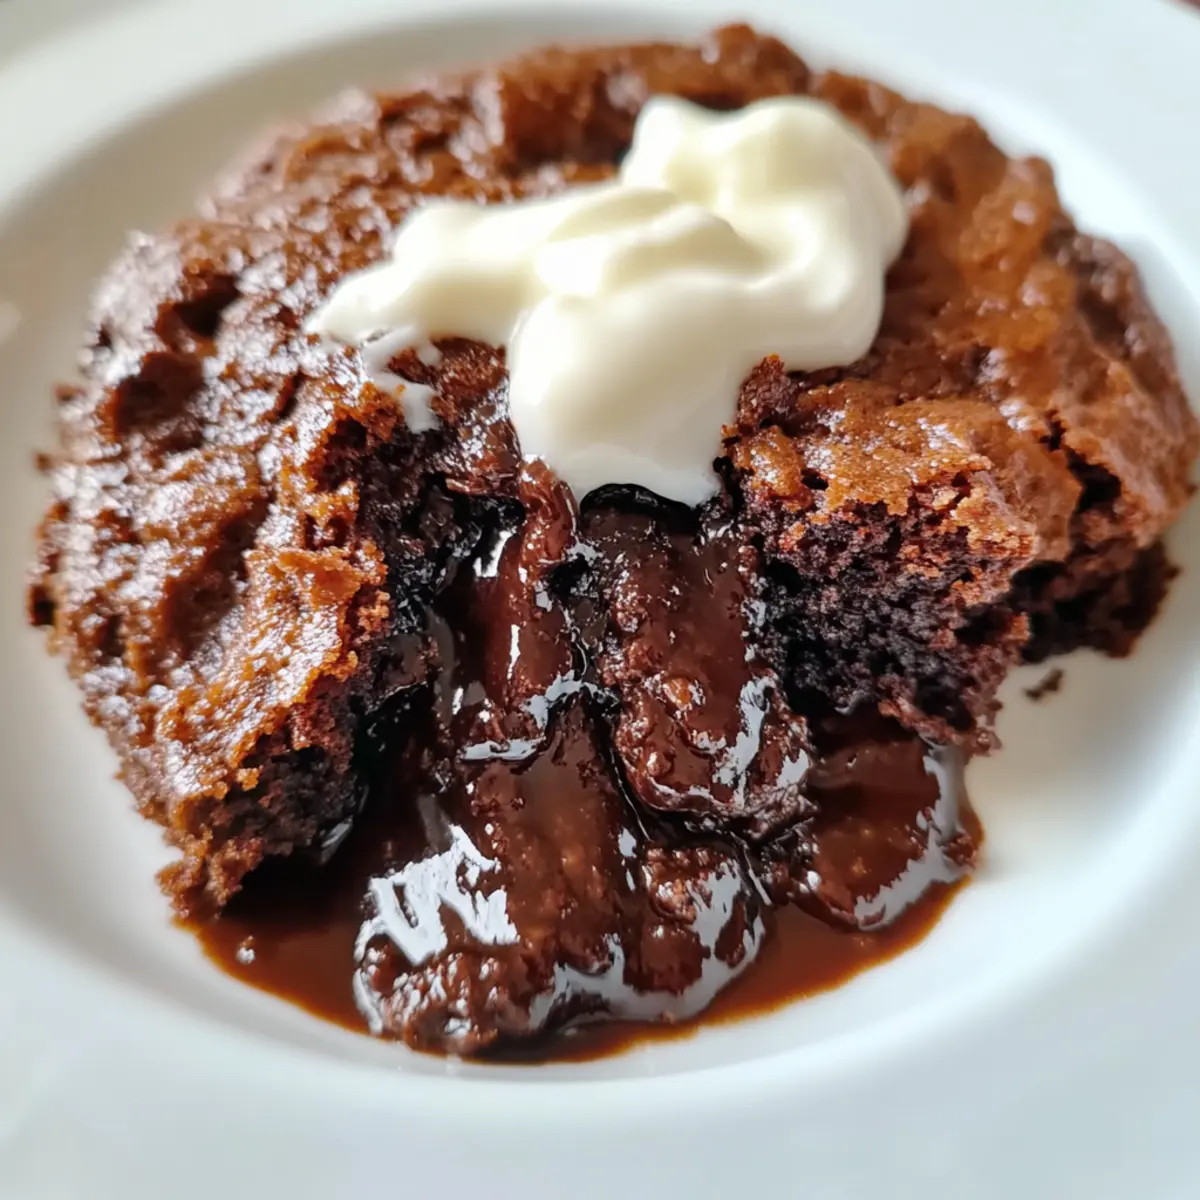
How does comfort meet chocolate bliss?
Indulgent and irresistible, this Chocolate Cobbler envelops you in warmth with its gooey fudge sauce hidden beneath a cake-like top. Quick to prepare, you’ll spend minimal time in the kitchen while achieving maximum flavor. Perfect for gatherings, this dessert dazzles both kids and adults alike, making it a go-to for any occasion. Versatile by nature, feel free to switch up the flavors by adding nuts or extracts. And remember, if you adore rich desserts, you’ll also love my Indulge Raspberry Chocolate for a fruity twist!
Chocolate Cobbler Ingredients
For the Cake
• Cocoa Powder – Provides the rich chocolate flavor; use high-quality cocoa for the best results.
• All-Purpose Flour – Offers structure to the cobbler; plain flour works best for this recipe.
• Baking Powder – Helps leaven the cobbler, creating a light texture that balances the gooeyness.
• Granulated Sugar – Sweetens the dish and offsets the bitterness of the cocoa; adjust to your taste.
• Milk – Adds moisture and ensures a tender crumb in the cake layer.
• Vegetable Oil or Melted Butter – Increases richness and flavor; feel free to substitute with melted coconut oil if desired.
• Salt – Enhances the overall flavor profile of the cobbler.
For the Fudgy Sauce
• Boiling Water – This essential step creates the luscious fudgy sauce layer beneath; be sure not to skip it!
Enjoy your homemade Chocolate Cobbler, a delectable treat that will leave everyone wanting more!
Step‑by‑Step Instructions for Chocolate Cobbler
Step 1: Preheat the Oven
Begin your delightful journey by preheating your oven to 350°F (175°C). While it warms up, take out a 2-quart baking dish and generously grease it with butter or non-stick spray. This step is vital to ensure that your Chocolate Cobbler release beautifully after baking, allowing that fudgy sauce to stay intact and enticing.
Step 2: Mix the Dry Ingredients
In a large mixing bowl, combine 1 cup of cocoa powder, 1 cup of all-purpose flour, 2 teaspoons of baking powder, 1 cup of granulated sugar, and a pinch of salt. Whisk these dry ingredients together until they are fully blended, forming a rich, chocolatey base. This step infuses your Chocolate Cobbler with the powerful essence of cocoa, prepping it for the next delicious phase.
Step 3: Combine Wet Ingredients
Next, add 1 cup of milk and 1/2 cup of vegetable oil (or melted butter) to your dry mixture. Stir gently until you achieve a smooth batter without lumps. The batter will have a slightly thick consistency, which will contribute to the cake-like texture of your Chocolate Cobbler. Take a moment to appreciate the rich aroma that fills the air as you prepare this delightful treat.
Step 4: Pour the Batter
Carefully pour the batter into the greased baking dish, allowing it to spread evenly across the bottom. Make sure the batter fills up the dish to encourage even baking. This layer is key, and it will soon meld with the luscious fudge to create an indulgent dessert, ideal for sharing at family gatherings.
Step 5: Add Boiling Water
Now, bring a kettle of water to a rolling boil. Once ready, slowly pour the boiling water over the batter in the baking dish without stirring. This critical step ensures that the gooey fudge sauce forms beneath your cake layer as it bakes, resulting in your rich Chocolate Cobbler’s signature texture.
Step 6: Bake the Cobbler
Place your baking dish carefully into the preheated oven and bake for approximately 40 minutes. Keep an eye on your dessert as it bakes; the top should look cake-like and the edges should pull away slightly from the pan. The wonderful aroma of chocolate will fill your kitchen, signaling it’s almost time to indulge!
Step 7: Let it Cool
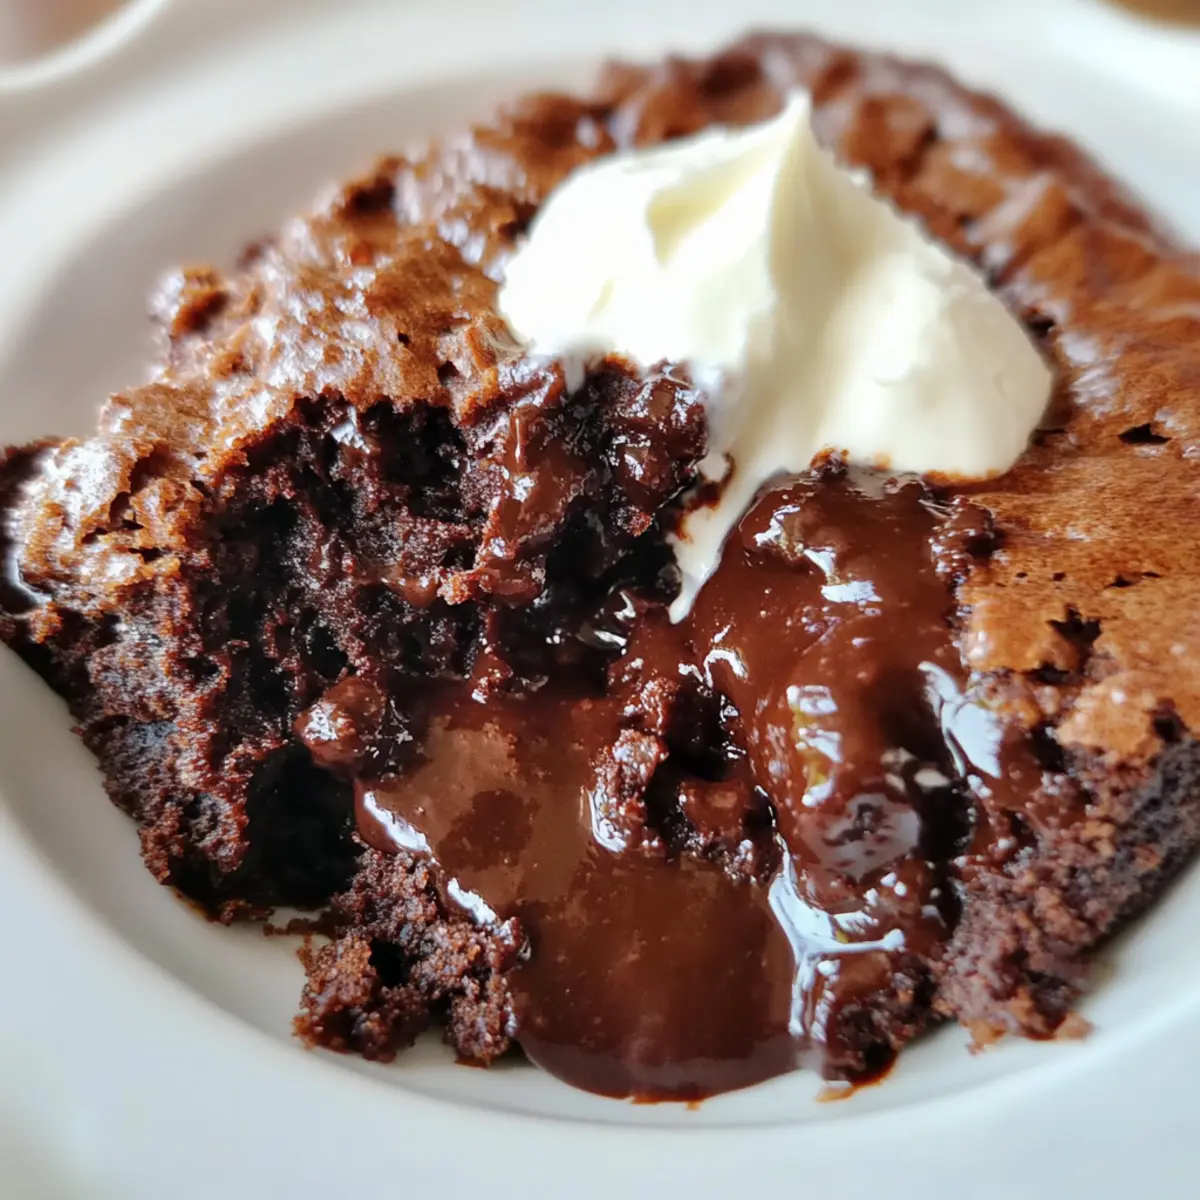
Once baked, remove the Chocolate Cobbler from the oven and allow it to cool for about 5–10 minutes. This step is important as it lets the fudgy sauce thicken slightly, creating the perfect consistency. Now’s the time to get your ice cream or whipped cream ready for that extra indulgence!
Make Ahead Options
These Chocolate Cobbler delights are perfect for busy home cooks looking to save time! You can prepare the dry ingredients (1 cup cocoa powder, 1 cup flour, 2 teaspoons baking powder, and 1 cup sugar) and store them in an airtight container for up to 3 days to prevent moisture from ruining the mix. When you’re ready to bake, simply stir in 1 cup of milk and ½ cup of vegetable oil, pour the batter into your greased baking dish, and top it with boiling water as instructed. To ensure the best quality, bake the cobbler fresh on the day you plan to serve it for that luscious gooeyness! You’ll have an irresistible dessert that feels freshly made with minimal effort.
Storage Tips for Chocolate Cobbler
Fridge: Store leftovers in an airtight container for up to 3 days. This helps maintain the delightful texture of your Chocolate Cobbler while keeping it fresh.
Freezer: If you want to preserve it longer, freeze it for up to 2 months. Wrap it tightly with plastic wrap and aluminum foil to prevent freezer burn.
Reheating: When you’re ready to enjoy, simply reheat individual portions in the microwave for 20-30 seconds until warm. This will revive the gooey fudgy sauce beneath!
Serving: For the best experience, serve warm with a scoop of vanilla ice cream or whipped cream right after reheating for an indulgent treat.
Expert Tips for the Best Chocolate Cobbler
• Quality Ingredients: Use high-quality cocoa powder and butter for a richer flavor in your Chocolate Cobbler—don’t skimp here!
• Boiling Water: Always pour boiling water over the batter without stirring; this creates the luscious fudgy sauce crucial to the dish.
• Resting Time: Allow your cobbler to rest for about 5–10 minutes after baking—this helps the sauce thicken for that perfect gooey texture.
• Pan Preparation: Generously grease your baking dish to ensure easy removal—nobody likes a stuck dessert!
• Storage Tips: Leftovers can be refrigerated for up to 3 days; just reheat in the microwave before enjoying again.
Chocolate Cobbler Variations & Substitutions
Feel free to embrace your creativity and customize this luscious recipe to suit your taste and dietary preferences!
-
Gluten-Free: Substitute almond flour or a gluten-free baking blend for the all-purpose flour to enjoy a gluten-free treat.
-
Nutty Delight: Add chopped walnuts or pecans to the batter for a delightful crunch that enhances the texture and flavor.
-
Flavor Boost: Include a teaspoon of vanilla or almond extract in the batter for an extra layer of aromatic richness.
-
Dairy-Free: Swap the milk with almond milk or another non-dairy milk, and use coconut oil instead of butter for a dairy-free version.
-
Spicy Twist: Add a pinch of cayenne pepper or chili powder to the dry ingredients for a warm, subtly spicy flavor that surprises the palate.
-
Fruity Sheen: Top with fresh raspberries or sliced bananas before serving to elevate the dish with a burst of fruity freshness—perfect with a scoop of ice cream.
-
Decadent Layer: For a true indulgence, serve with a drizzle of chocolate syrup or a sprinkle of chocolate chips mixed into the batter.
-
Molten Magic: Bake for a shorter time for a truly molten center, ideal for those who love the gooey texture of classic lava cakes.
Every variation opens the door to new flavors and textures, igniting excitement in your kitchen. After enjoying this Chocolate Cobbler, you might also want to explore my Indulge Raspberry Chocolate—a mouthwatering treat that pairs beautifully with your dessert experience!
What to Serve with Decadent Homemade Chocolate Cobbler?
Warm, comforting aromas fill the kitchen as you prepare this delightful dessert, perfect for indulging in some sweetness.
- Vanilla Ice Cream: A classic pairing that enhances the richness of chocolate; the cold creaminess is heavenly against the warm cobbler.
- Whipped Cream: Light and airy, whipped cream provides a delightful contrast to the fudgy texture, making each bite a cloudlike experience.
- Fresh Berries: Bright, tart berries like raspberries or strawberries cut through the sweetness, adding a refreshing pop of flavor and color.
Imagine the crunch of caramelized pecans sprinkled on top, adding a satisfying contrast with every creamy forkful.
-
Caramel Drizzle: A touch of warm caramel adds extra sweetness and a luscious richness, elevating the dessert to decadent heights.
-
Mint Tea: The refreshing flavors of mint tea provide a soothing balance, complementing the richness of your chocolate creation beautifully.
-
Coffee: A rich cup of coffee warms up the entire experience, enhancing the deep chocolate flavors while providing an inviting after-dinner pick-me-up.
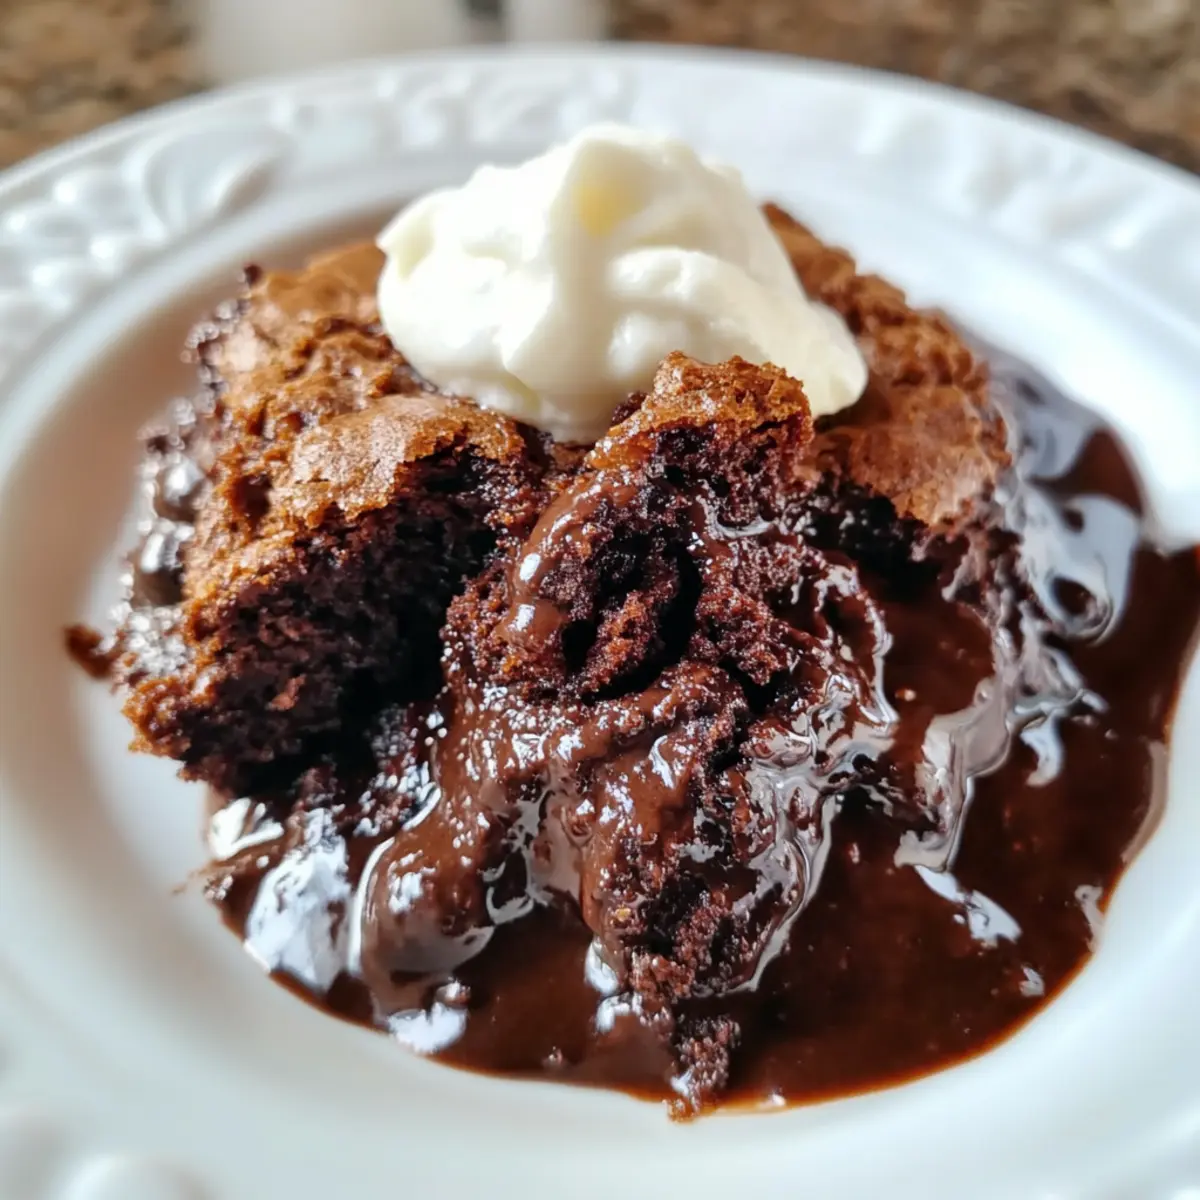
Chocolate Cobbler Recipe FAQs
How do I select the best cocoa powder for my Chocolate Cobbler?
Absolutely! Always opt for high-quality cocoa powder, such as Hershey’s or Dutch-processed. Look for cocoa that is rich in color and has a robust aroma. Quality matters because it directly influences the flavor of your Chocolate Cobbler!
How should I store my leftovers?
Leftovers can be stored in an airtight container in the fridge for up to 3 days. This keeps the cobbler fresh and retains its delightful texture. Simply reheat in the microwave for about 20-30 seconds before enjoying to bring back that comforting fudgy goodness.
Can I freeze Chocolate Cobbler, and if so, how?
Certainly! To freeze your Chocolate Cobbler, wrap it tightly in plastic wrap followed by aluminum foil to prevent freezer burn. It can be safely frozen for up to 2 months. When you’re ready to enjoy it, let it thaw in the fridge overnight, then reheat individual portions in the microwave for that warm, gooey experience.
What should I do if my cobbler doesn’t have enough fudgy sauce?
If your Chocolate Cobbler lacks the luscious fudgy sauce, ensure that you poured the boiling water over the batter without stirring during baking. This step is crucial! If it happens again, consider adjusting the boiling water to batter ratio. For every cup of dry ingredients, always use 1 to 1.5 cups of boiling water.
Is this recipe suitable for those with gluten sensitivities?
Yes, you can make a gluten-free Chocolate Cobbler! Substitute the all-purpose flour with almond flour or a gluten-free baking blend. Make sure to check that all packaged ingredients, like baking powder, are also gluten-free to avoid cross-contamination.
Can I add other flavors to my Chocolate Cobbler?
Very! Feel free to experiment with flavor by adding extracts like vanilla or almond to the batter for depth. Tossing in some nuts, such as walnuts or pecans, will give a delightful crunch and enhance the overall texture that perfectly complements the fudgy sauce.
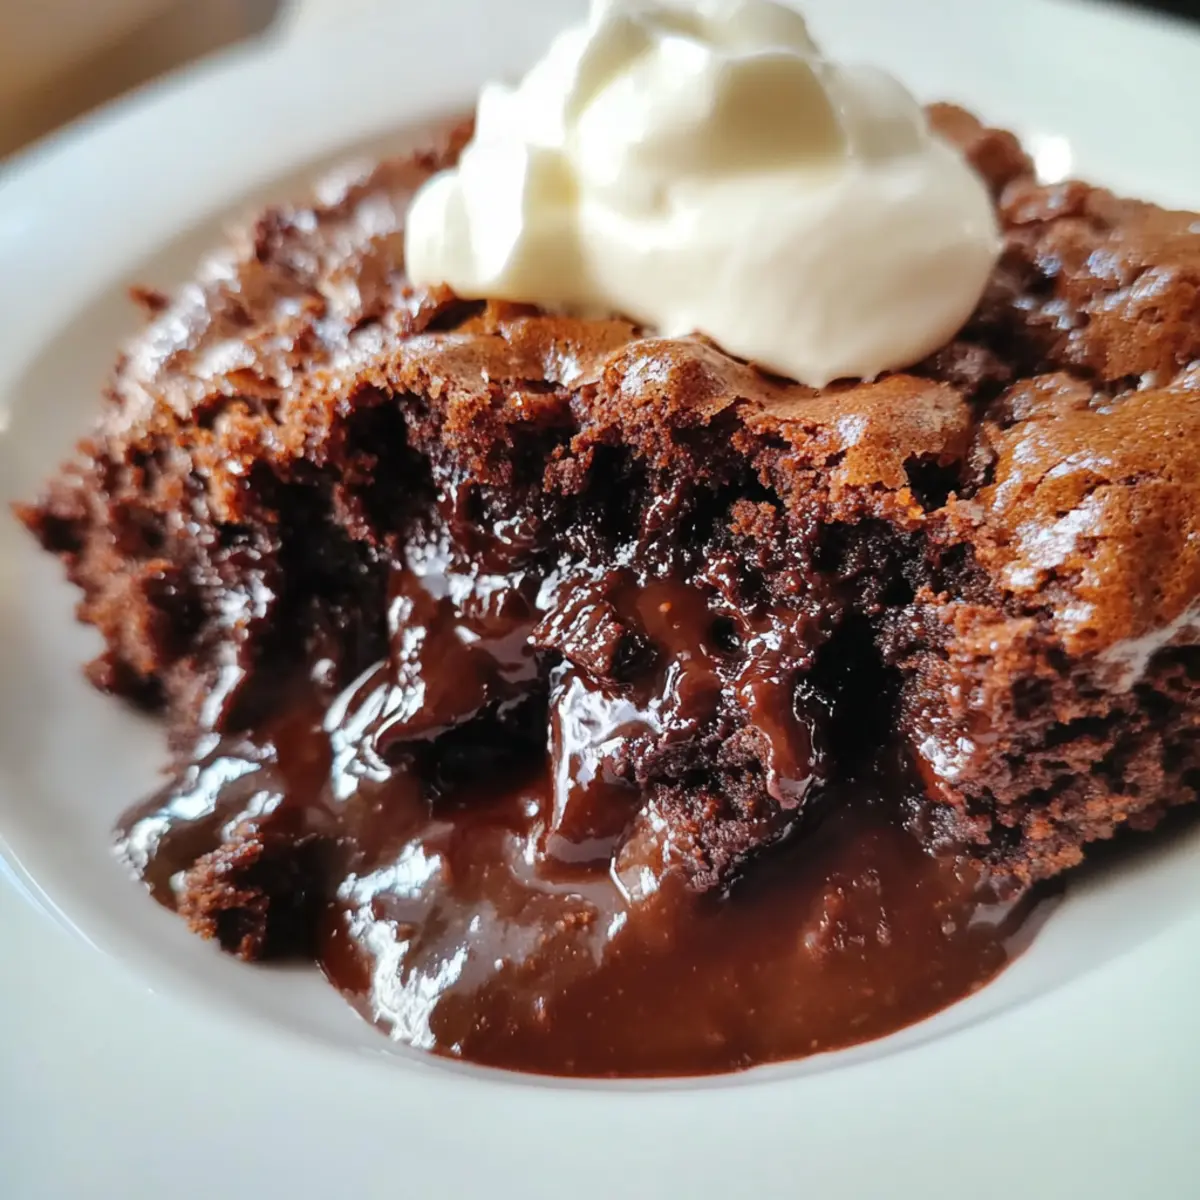
Irresistibly Gooey Chocolate Cobbler: Comfort in Every Bite
Ingredients
Equipment
Method
- Preheat your oven to 350°F (175°C) and grease a 2-quart baking dish.
- In a large mixing bowl, combine the cocoa powder, flour, baking powder, sugar, and a pinch of salt. Whisk well.
- Add the milk and vegetable oil (or melted butter) to the dry mixture and stir until smooth.
- Pour the batter into the greased baking dish, spreading it evenly.
- Slowly pour boiling water over the batter without stirring, to form the fudge layer.
- Bake for approximately 40 minutes until the top is cake-like and edges pull away from the pan.
- Let the cobbler cool for 5-10 minutes before serving.
Leave a Reply