
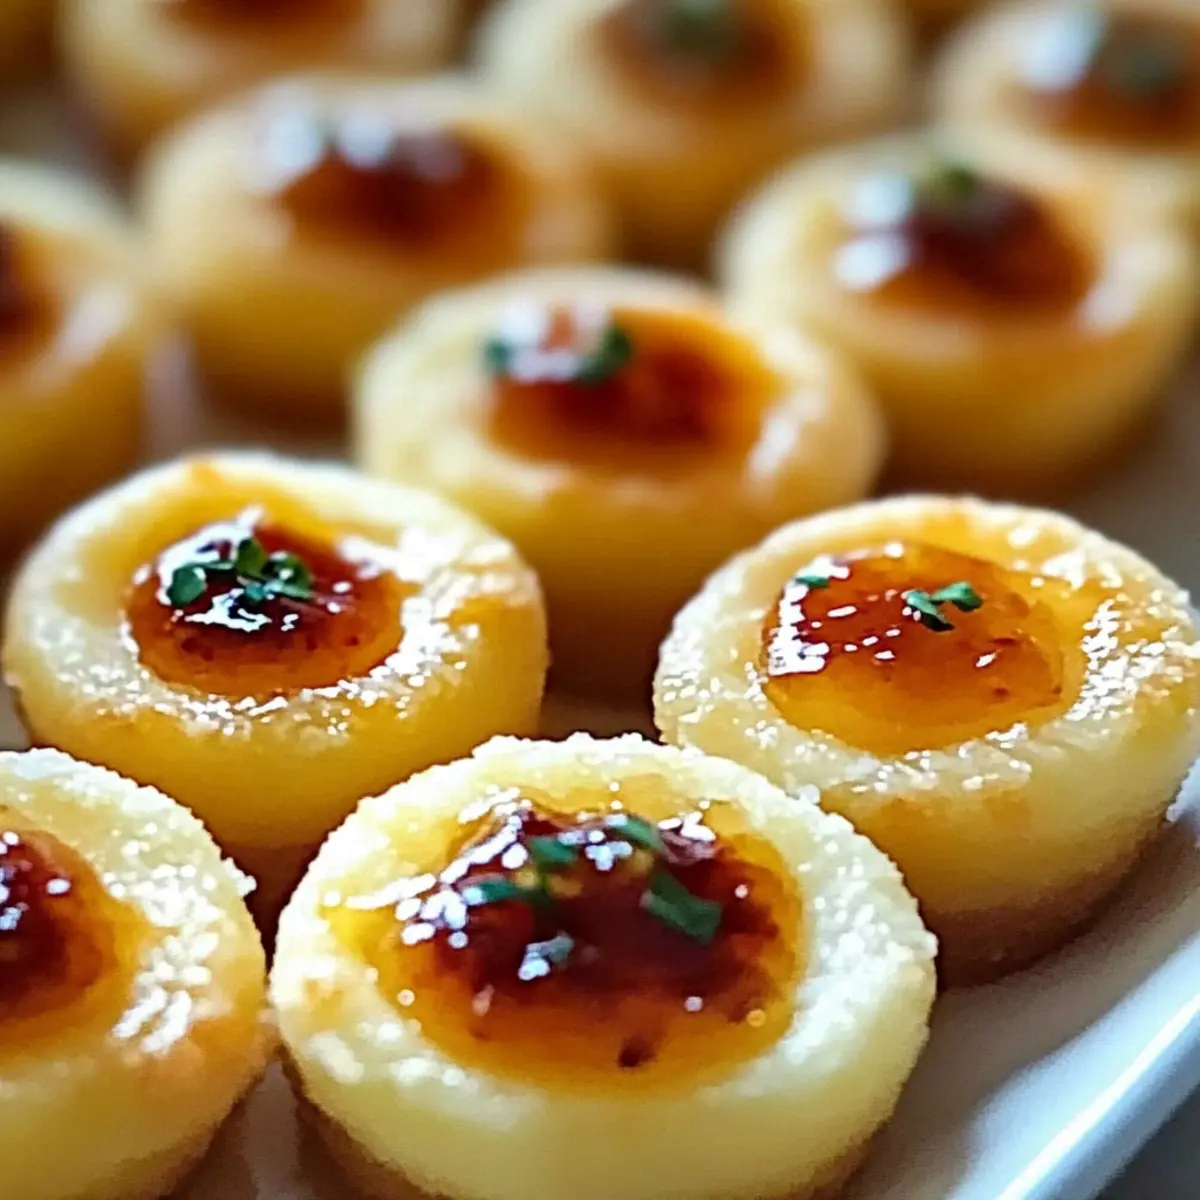
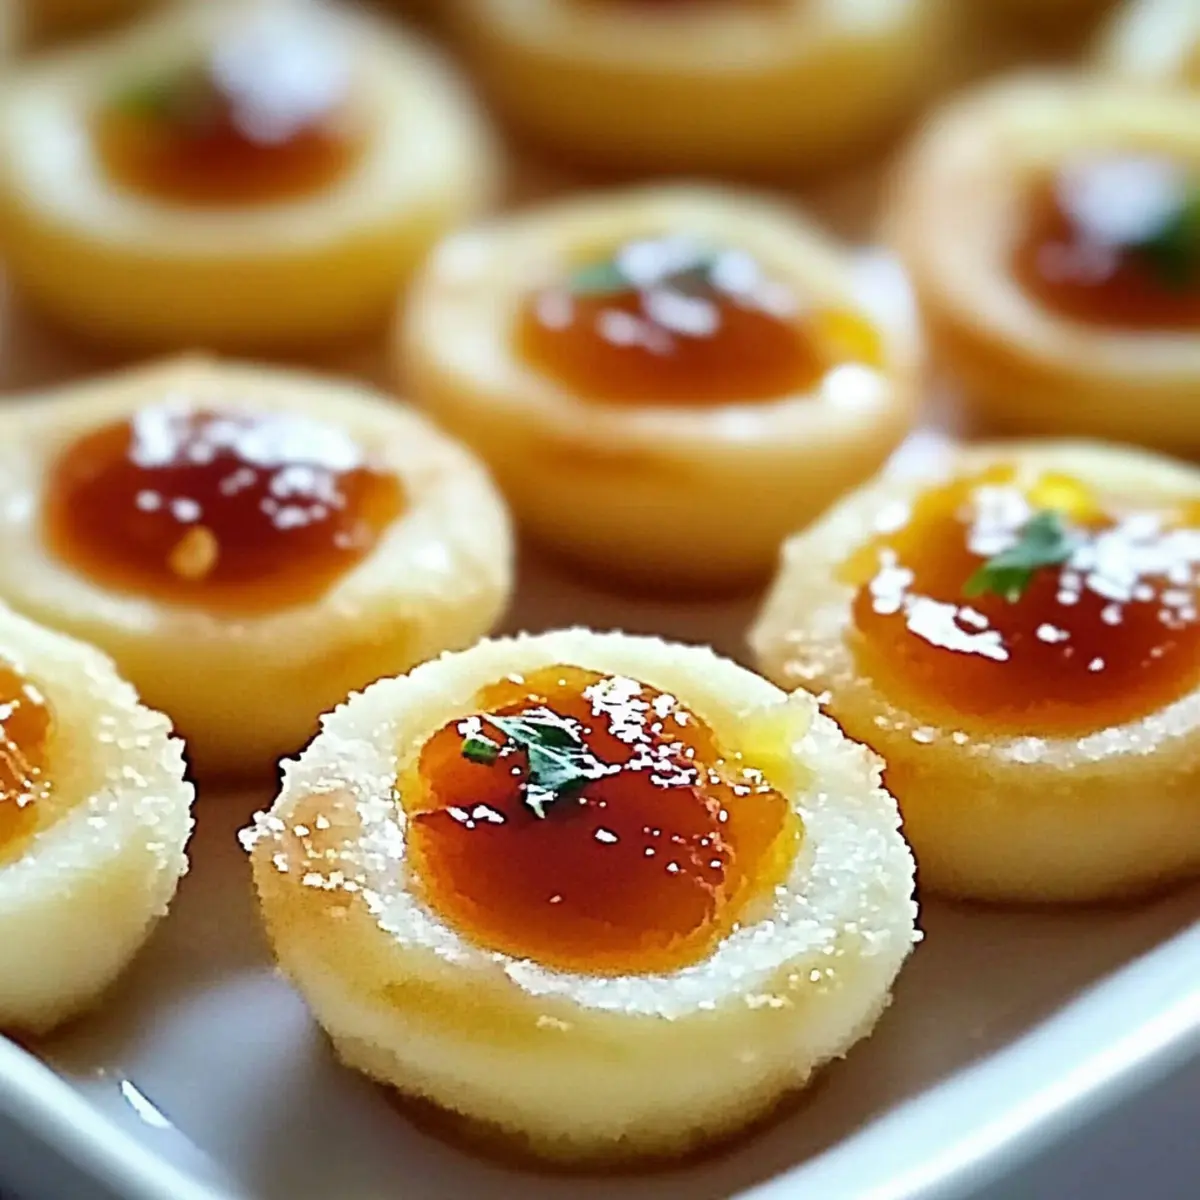
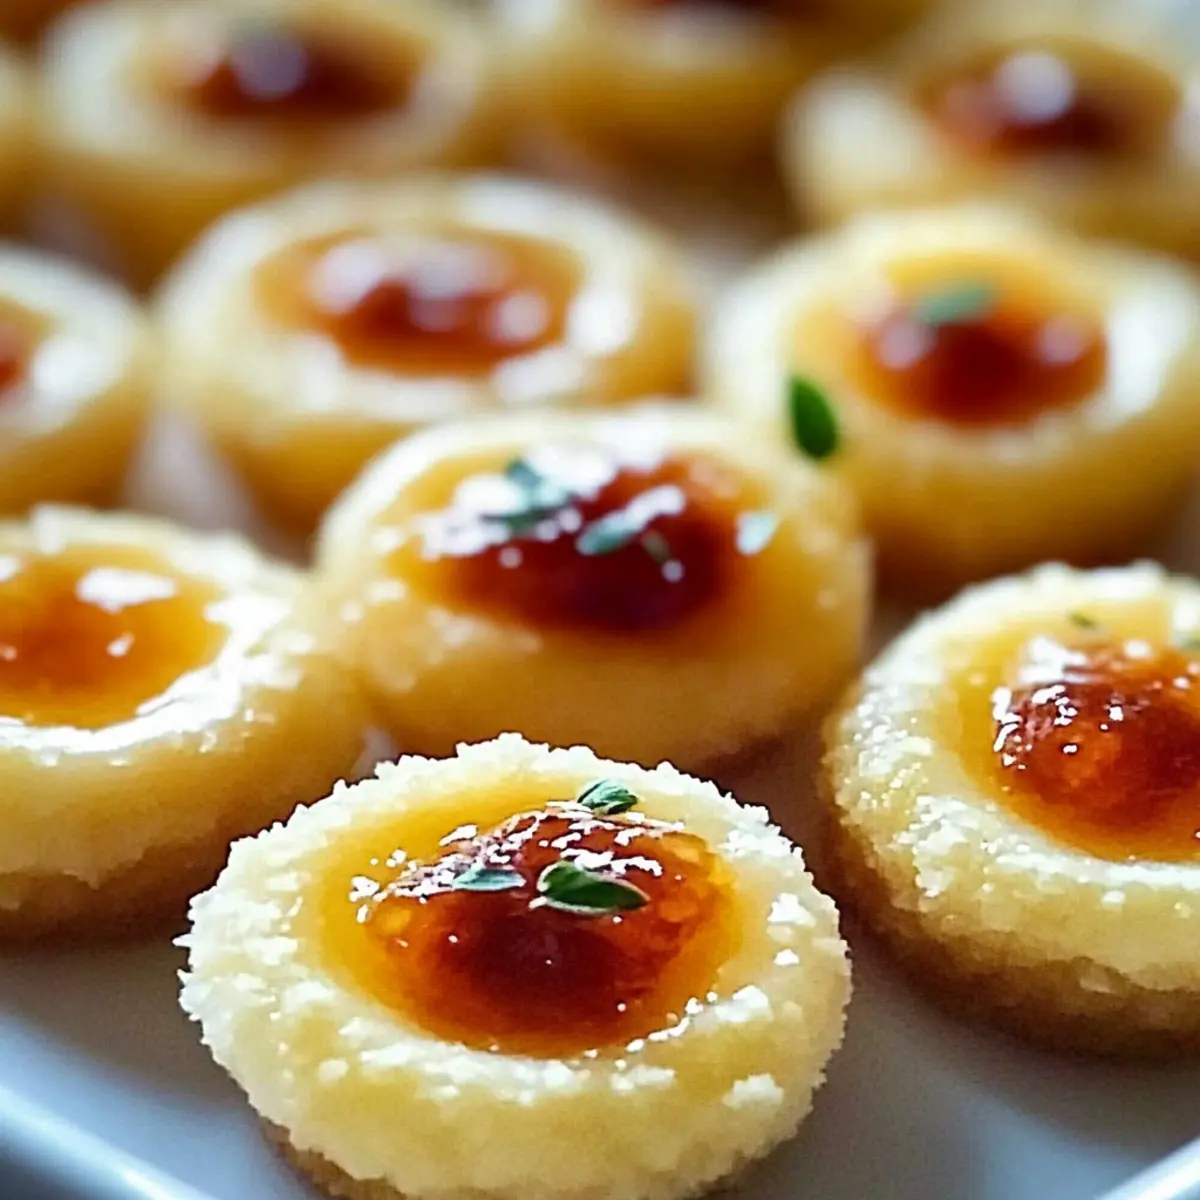
“Wow, these bites are impressive!” I overheard a friend exclaim at a recent gathering, and honestly, I couldn’t agree more. My Cheesy Thumbprint Appetizers with Hot Pepper Jelly have an enchanting flair that transforms any occasion into a culinary celebration. These little wonders boast a perfect combination of creamy cheese and a delightful hint of spice, all wrapped in golden, buttery goodness. They’re not just quick to whip up; you can also customize them to suit your taste, including a gluten-free option for those who need it. Perfect for holiday parties or cozy get-togethers, these savory appetizers promise to leave your guests reaching for seconds. Curious to find out how to make them? Let’s dive into the recipe!

Why are Cheesy Thumbprint Appetizers irresistible?
Irresistible Flavor: The creamy cheese combines brilliantly with zesty hot pepper jelly, creating a flavor explosion that will have everyone coming back for more.
Quick Preparation: You can whip these up in just about 30 minutes, making them the perfect last-minute addition to any gathering!
Customizable Delight: Want to change things up? Feel free to swap the cheese or jelly to suit your taste preferences—think pepper jack or a sweeter fruit jam.
Perfect for Any Occasion: Whether it’s a holiday party or a casual Friday night, these appetizers fit perfectly at any event.
Crowd-Pleasing Finger Food: They’re easy to serve and eat, making them a hit with guests of all ages. Pair them with a light salad or include them in a charcuterie board for extra flair!
Get ready for compliments as you serve these delightful Cheesy Thumbprint Appetizers with Hot Pepper Jelly.
Cheesy Thumbprint Appetizers Ingredients
These delicious bites come together beautifully with just a few key ingredients!
For the Dough
- Cream Cheese – Provides creaminess and structure; opt for low-fat for a lighter version.
- Unsalted Butter – Adds richness and flakiness; for a dairy-free option, you can substitute with margarine.
- Shredded Sharp Cheddar Cheese – Offers sharp flavor that enhances creaminess; swap with pepper jack for added heat.
- All-Purpose Flour – Acts as the main dry ingredient that binds the dough; consider using a gluten-free 1:1 baking blend for a gluten-free version.
- Salt – Enhances flavor; can be reduced or omitted for a low-sodium alternative.
- Garlic Powder (optional) – Adds savory depth; feel free to omit if you’re sensitive to garlic.
For the Filling
- Hot Pepper Jelly – Provides the sweet and spicy filling that is signature to these Cheesy Thumbprint Appetizers; explore alternative varieties like jalapeño or red pepper jelly.
For Garnish
- Fresh Thyme or Parsley – An optional garnish that adds freshness and a pop of color.
These Cheesy Thumbprint Appetizers will surely impress your guests and keep them coming back for more!
Step‑by‑Step Instructions for Cheesy Thumbprint Appetizers
Step 1: Dough Preparation
In a large mixing bowl, beat together 8 ounces of softened cream cheese and ½ cup of unsalted butter until smooth and creamy. Gradually stir in 1 cup of shredded sharp cheddar cheese, followed by 2 cups of all-purpose flour, ½ teaspoon of salt, and ½ teaspoon of garlic powder, mixing until the dough is soft but not sticky.
Step 2: Chill Dough
Once your Cheesy Thumbprint Appetizers dough is ready, cover the bowl tightly with plastic wrap and place it in the refrigerator. Let it chill for at least 30 minutes, allowing the flavors to meld and the dough to firm up. This step is crucial for easier shaping and less spreading during baking.
Step 3: Prep Baking Tray
Preheat your oven to 375°F (190°C) to ensure it’s ready for baking. While it heats, line a baking sheet with parchment paper to prevent sticking and make for easy cleanup. This will be the home for your delightful cheesy bites as they transform in the oven.
Step 4: Shape Appetizers
After the dough has chilled, scoop it into 1-inch balls using your hands or a small cookie scoop. Roll each piece smoothly between your palms, then arrange them on the prepared baking sheet, spacing them a couple of inches apart. This allows for even baking and room to expand.
Step 5: Create Indentations
Using your thumb or the back of a teaspoon, gently press a small well into the center of each dough ball. Make sure the indentation is deep enough to hold the filling but not so deep it reaches the bottom. This step is key for holding the sweet and spicy hot pepper jelly later!
Step 6: Fill with Jelly
Spoon about ½ teaspoon of hot pepper jelly into each well you created in the dough. Be careful not to overfill, as the jelly could bubble over during baking. This little touch adds that irresistible kick that makes Cheesy Thumbprint Appetizers a savory delight.
Step 7: Bake
Place the baking sheet in the preheated oven and bake your appetizers for 13-15 minutes. Keep an eye on them; you want the edges to turn a lovely golden brown while the centers remain soft. This baking time is essential for achieving that melt-in-your-mouth texture.
Step 8: Cool and Serve
Once baked, remove the Cheesy Thumbprint Appetizers from the oven and allow them to cool on the tray for about 5 minutes. Afterward, transfer them to a wire rack to cool completely. If desired, garnish with fresh thyme or parsley before serving warm or at room temperature.
Expert Tips for Cheesy Thumbprint Appetizers
-
Chill is Key: Ensure the dough is well-chilled before shaping. This prevents spreading and keeps your appetizer shapes intact.
-
Mind the Fill: Avoid overfilling each well with hot pepper jelly. Too much can cause bubbling over, leading to messy appetizers and a kitchen clean-up.
-
Substitute Wisely: Want a milder flavor? Swap the hot pepper jelly for sweet fruit jams, creating a delicious variation of Cheesy Thumbprint Appetizers that everyone will love.
-
Advance Prep: These can be made up to 2 days ahead! Just warm them slightly before serving to restore their delightful crispiness.
-
Freezing Tip: For longer storage, freeze unbaked dough balls. Once you’re ready, fill them with jelly directly from the freezer, and bake as usual. This makes preparation a breeze!
Cheesy Thumbprint Appetizers Variations
Feel inspired to put your own twist on these delightful bites? Let’s explore some fun alternatives that enhance flavor and cater to different preferences!
-
Dairy-Free: Substitute cream cheese and butter with dairy-free alternatives for a delicious plant-based version that’s just as creamy and satisfying.
-
Gluten-Free: Use a gluten-free 1:1 baking blend instead of all-purpose flour for those needing a gluten-free option. No one will miss the gluten with this tasty swap!
-
Spicy Kick: Swap in pepper jack cheese instead of cheddar for an extra dose of heat that turns up the flavor dial on these appetizers.
-
Savory Herb Twist: Add fresh chopped herbs like rosemary or basil into the dough for a fragrant, herbaceous touch that elevates each bite.
-
Mini Muffin Delight: Instead of forming balls, press the dough into mini muffin tins for uniformly shaped appetizers that are just as fun to eat—perfect for entertaining!
-
Sweet Pairing: For a milder flavor, try using sweet fruit jams like apricot or raspberry instead of hot pepper jelly. This creates a delicious contrast with the cheesy dough.
-
Cheesy Variations: Experiment with different cheeses like gouda or mozzarella for unique flavor profiles that surprise and delight your taste buds.
These variations will ensure your Cheesy Thumbprint Appetizers cater to every guest’s palate. And for an added treat, consider serving them alongside some zingy options from my handy recipes, like Air Fryer Cheesy or Spicy Southern Cheesy dishes!
Make Ahead Options
These Cheesy Thumbprint Appetizers are a fantastic option for meal prep, saving you time on busy days! You can prepare the dough up to 24 hours in advance; simply chill it in the refrigerator, covered tightly with plastic wrap. Additionally, feel free to fill the indents with hot pepper jelly and refrigerate the assembled appetizers for up to 3 days before baking. For the best results, bake them fresh just before serving, ideally after letting them sit at room temperature for about 10-15 minutes. This will maintain their delightful texture and flavor, ensuring your Cheesy Thumbprint Appetizers are just as delicious as when they were freshly made!
How to Store and Freeze Cheesy Thumbprint Appetizers
Fridge: Store cooled Cheesy Thumbprint Appetizers in an airtight container for up to 4 days. Reheat in the oven at 350°F (175°C) for a few minutes to restore crispness before serving.
Freezer: For long-term storage, freeze unbaked dough balls in a single layer on a baking sheet. Once frozen solid, transfer to a sealed bag or container. Bake them directly from frozen when you’re ready to enjoy.
Thawing: If frozen, allow the dough balls to thaw in the fridge overnight before shaping and baking, or bake them straight from the freezer for a quicker option.
Reheating: If you’ve made them in advance, gently reheat in the oven for the best texture, as microwaving may make them soggy.
What to Serve with Cheesy Thumbprint Appetizers
Looking to create a delightful spread? Pairing these cheesy bites with the right accompaniments can elevate your gathering to a new level of deliciousness.
-
Crispy Garden Salad: The freshness of crisp greens balances the richness of the appetizers, adding a light touch to your meal. A refreshing vinaigrette would complement the spicy jelly perfectly.
-
Roasted Vegetable Platter: Mellow, caramelized veggies like bell peppers, zucchini, and carrots provide sweetness that contrasts beautifully with the spicy filling of the thumbprints. It’s a colorful and healthful addition to your table.
-
Creamy Potato Salad: A classic that brings comforting creaminess, making it a perfect partner to the Cheesy Thumbprint Appetizers. You can add herbs for freshness, echoing the flavors in the appetizers.
-
Savory Charcuterie Board: Combine assorted meats, cheeses, and pickled vegetables alongside your appetizers. The variety of textures and flavors will keep your guests happily munching and engaged in conversation.
-
Mini Fruit Skewers: Add a sweet touch with skewers of seasonal fruits. The juiciness of fruits like melon or strawberries contrasts nicely with the rich, cheesy bites.
-
Sparkling Wine or Light Beer: A glass of bubbly or a refreshing light beer can enhance the experience, cutting through the richness of the appetizers with their effervescence.
Creating the perfect dining experience means curating dishes that harmonize in flavor and texture. Your guests will cherish the combination!
Cheesy Thumbprint Appetizers with Hot Pepper Jelly Recipe FAQs
How do I choose the right cream cheese for my Cheesy Thumbprint Appetizers?
Absolutely! It’s best to use full-fat cream cheese for a rich and creamy texture. Low-fat options are available but may not provide the same level of creaminess. Make sure to purchase cream cheese that is soft and spreadable for easy mixing. Look for packages with a good expiration date to ensure freshness.
How should I store leftover Cheesy Thumbprint Appetizers?
You can store cooled Cheesy Thumbprint Appetizers in an airtight container in the refrigerator for up to 4 days. Reheat them in the oven at 350°F (175°C) for about 5-7 minutes before serving to restore their delightful crispness. This way, they’ll taste just as good as when freshly baked!
Can I freeze the Cheesy Thumbprint Appetizers for later?
Yes, definitely! To freeze unbaked dough balls, arrange them in a single layer on a baking sheet and place them in the freezer until solid. Once frozen, transfer them to a sealed plastic bag or airtight container. They can be stored in the freezer for up to 3 months. Bake them directly from frozen, adding a couple of extra minutes to the baking time.
What if my dough is too sticky to work with when shaping?
Very common! If your dough feels sticky, simply add a little extra flour, about a tablespoon at a time, until it reaches the right consistency. You can also chill the dough for an additional 15-20 minutes to help firm it up. Make sure to keep your hands floured as you roll the balls to prevent sticking.
Are these Cheesy Thumbprint Appetizers suitable for people with gluten allergies?
Absolutely! To make a gluten-free version, you can substitute all-purpose flour with a gluten-free 1:1 baking blend. This will ensure your Cheesy Thumbprint Appetizers can be enjoyed by everyone without compromising on taste or texture. Just check that your jelly is also gluten-free, as some brands may contain hidden gluten.
Can I make these Cheesy Thumbprint Appetizers in advance?
Yes! You can prepare the dough and shape the appetizers up to 2 days in advance. Just store them in the fridge, and when you’re ready to bake, add your hot pepper jelly and pop them in the oven. Alternatively, you can freeze the unbaked dough balls for a longer storage solution. This makes it easy to enjoy these delicious bites anytime!
Cheesy Thumbprint Appetizers with Spicy Jelly Bliss
Ingredients
Equipment
Method
- In a large mixing bowl, beat together cream cheese and unsalted butter until smooth and creamy.
- Gradually stir in shredded cheddar cheese, followed by flour, salt, and garlic powder, mixing until soft dough forms.
- Cover the bowl tightly with plastic wrap and chill in the refrigerator for at least 30 minutes.
- Preheat the oven to 375°F (190°C) and line a baking sheet with parchment paper.
- Scoop chilled dough into 1-inch balls and arrange them on the prepared baking sheet.
- Press a small well into the center of each ball using your thumb.
- Spoon hot pepper jelly into each indentation.
- Bake for 13-15 minutes until edges are golden brown.
- Cool on the tray for 5 minutes before transferring to a wire rack.
- Garnish with fresh thyme or parsley if desired before serving.
Leave a Reply