
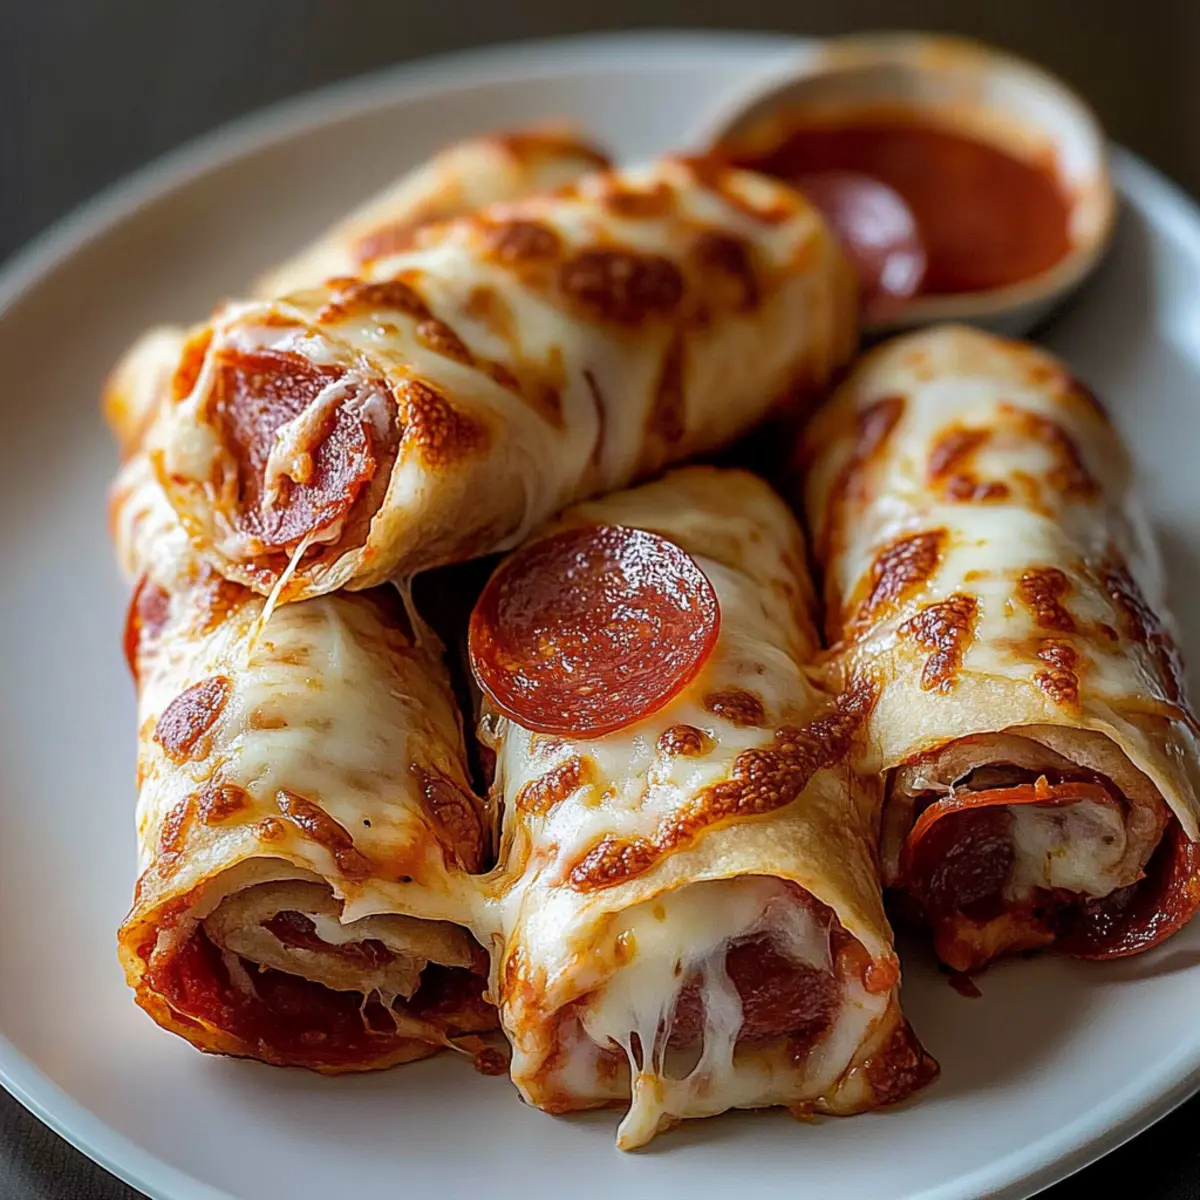
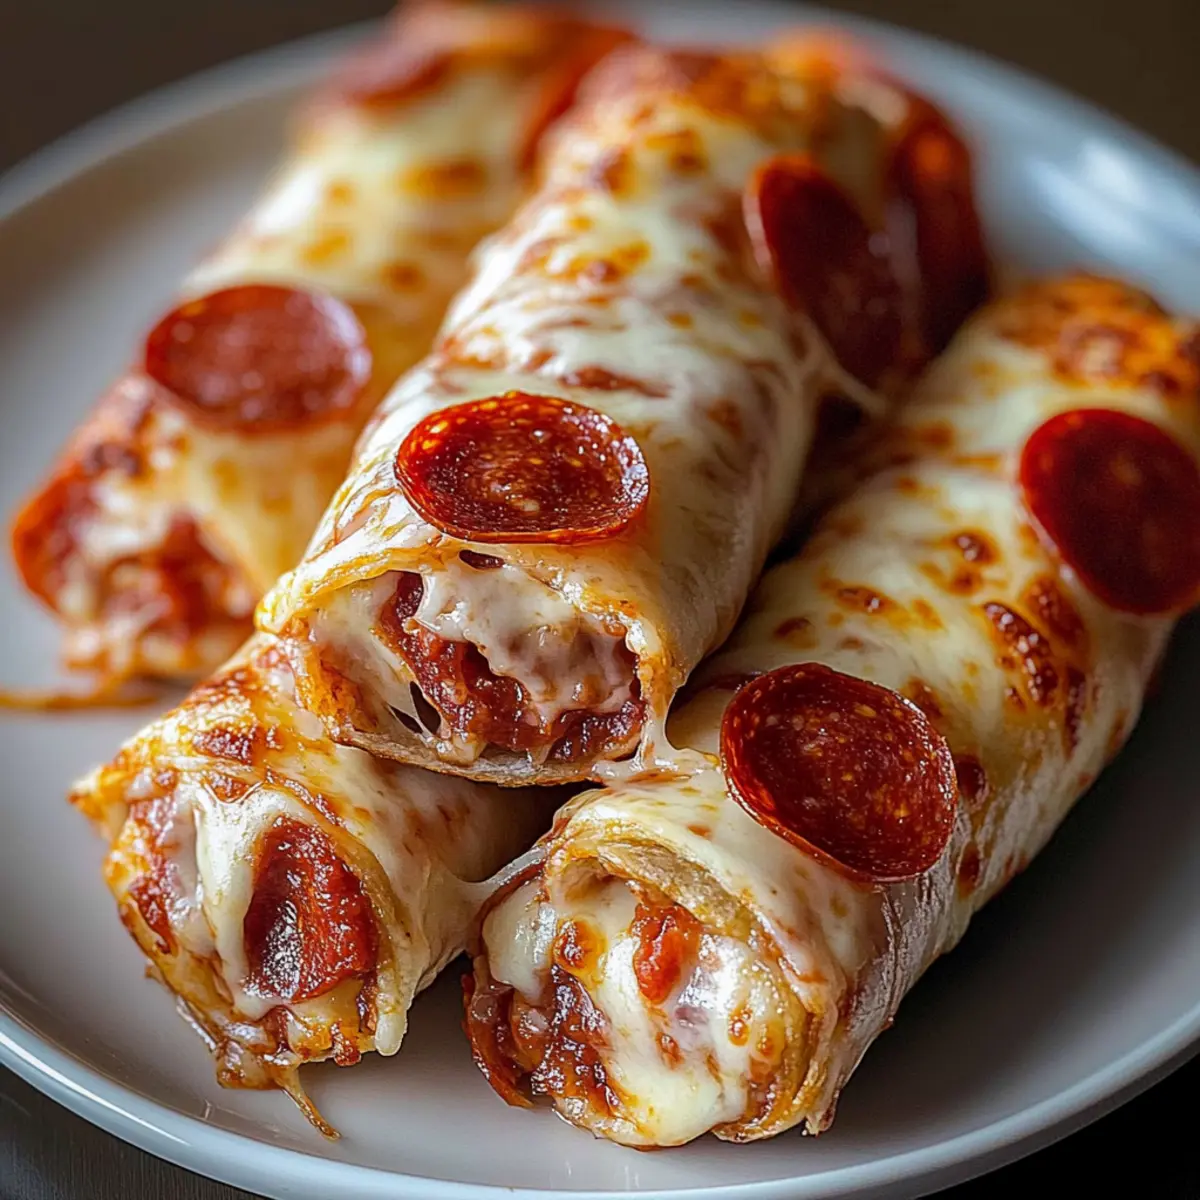
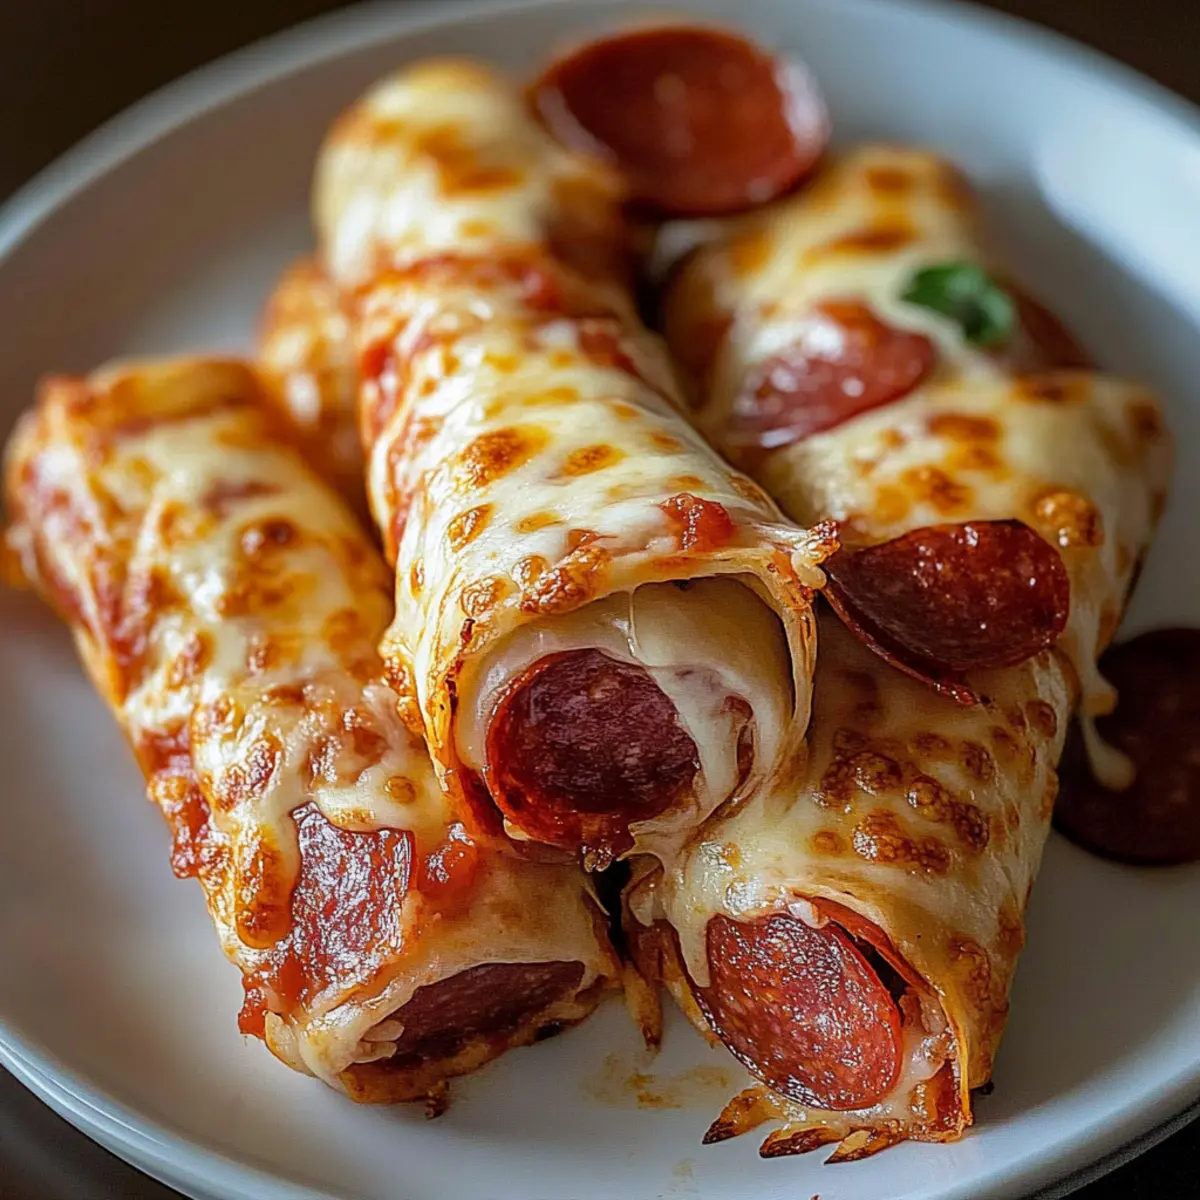
Crisp on the outside and melt-in-your-mouth delicious on the inside—these Cheesy Pepperoni Pizza Roll Ups are a game changer for anyone craving a cozy snack or a fun twist on dinner. I remember the first time I pulled a batch out of the oven; the glorious scent of golden dough mingling with gooey cheese was enough to turn any ordinary night into a special occasion. What I love most about this recipe is how effortlessly it brings people together, making it an easy, customizable option that caters to both picky eaters and adventurous gourmets alike. Plus, you can whip up these delightful rolls in under 30 minutes, a total win for busy weeknights! Are you ready to roll with some delicious variations, like adding savory sausage or fresh veggies? Let’s dive in!
Why are these Pizza Roll Ups a Must-Try?
Simplicity reigns supreme in this recipe! With just a few basic ingredients, you can create a mouthwatering snack in no time.
Customizable to your taste, feel free to swap out the pepperoni for savory sausage or flavorful sun-dried tomatoes for a vegetarian twist.
Crowd-pleasing appeal ensures these roll-ups will be a hit at any gathering; serve them with an array of dipping sauces for even more fun.
Perfect for busy nights, you can have these delicious roll-ups ready in under 30 minutes.
Don’t forget to check out other fan favorites like Tortilla Pizza Rolls and Fig Jam Pizza for more tasty inspiration!
Cheesy Pepperoni Pizza Roll Ups Ingredients
-
For the Dough
• Refrigerated Pizza Dough – Serves as the base structure for the roll-ups; can substitute with homemade pizza dough if desired. -
For the Filling
• Pizza Sauce – Adds tomato flavor and moisture; feel free to use marinara or your favorite sauce for extra variety.
• Shredded Mozzarella Cheese – Provides meltiness and stretch; mix with other cheeses like provolone for a delightful twist.
• Pepperoni Slices – The classic meat filling that elevates the flavor; swap for cooked sausage, ham, or even vegetarian options like mushrooms.
• Grated Parmesan Cheese – Enhances flavor and adds a savory hint; substitute with hard cheeses like pecorino for a different taste. -
For Topping
• Olive Oil – Helps brown the roll-ups beautifully and adds richness; melted butter can also work well for this.
• Garlic Powder – Brings in a lovely savory depth; fresh minced garlic offers a bolder flavor if desired.
• Dried Oregano – Provides that herby, Italian pizzazz; consider basil or Italian seasoning as tasty alternatives.
• Red Pepper Flakes – Optional for a kick of spice; omit them if you prefer a milder flavor.
• Egg (beaten) – Used as an egg wash to achieve a golden-brown crust; skip this for vegan options or replace it with a plant-based alternative.
Enjoy whipping up your Cheesy Pepperoni Pizza Roll Ups with this straightforward ingredient list!
Step‑by‑Step Instructions for Cheesy Pepperoni Pizza Roll Ups
Step 1: Preheat and Prepare
Preheat your oven to 375°F (190°C) and grease a baking sheet with cooking spray or a light coat of olive oil. This step is crucial for achieving that golden-brown crust on your Cheesy Pepperoni Pizza Roll Ups. While the oven heats, gather your ingredients to ensure a smooth cooking process.
Step 2: Roll Out the Dough
On a floured surface, roll out the refrigerated pizza dough into a 12×16 inch rectangle, ensuring even thickness for consistent baking. As you roll, apply gentle pressure to achieve a smooth surface. This will be the base for your Cheesy Pepperoni Pizza Roll Ups, allowing them to rise beautifully in the oven.
Step 3: Add Pizza Sauce
Spread a generous layer of pizza sauce evenly across the rolled-out dough, leaving a 1/2 inch border along the edges. This adds moisture and flavor to your roll-ups, creating a delightful balance with the gooey cheese. Make sure the sauce is spread uniformly to ensure an even taste in every bite.
Step 4: Layer the Cheeses and Pepperoni
Sprinkle 1 1/2 cups of shredded mozzarella cheese over the sauce, then scatter your pepperoni slices on top. To elevate the flavor of your Cheesy Pepperoni Pizza Roll Ups, add grated Parmesan cheese and optional red pepper flakes. This combination creates a savory sensation that will be hard to resist!
Step 5: Roll and Seal the Dough
Starting from one long side, tightly roll the dough into a log shape, ensuring the filling stays intact. Pinch the seam gently to seal it securely; this prevents any leaks during baking. You want to create a tight roll that showcases the delicious layers of cheese and pepperoni once cut.
Step 6: Slice the Roll
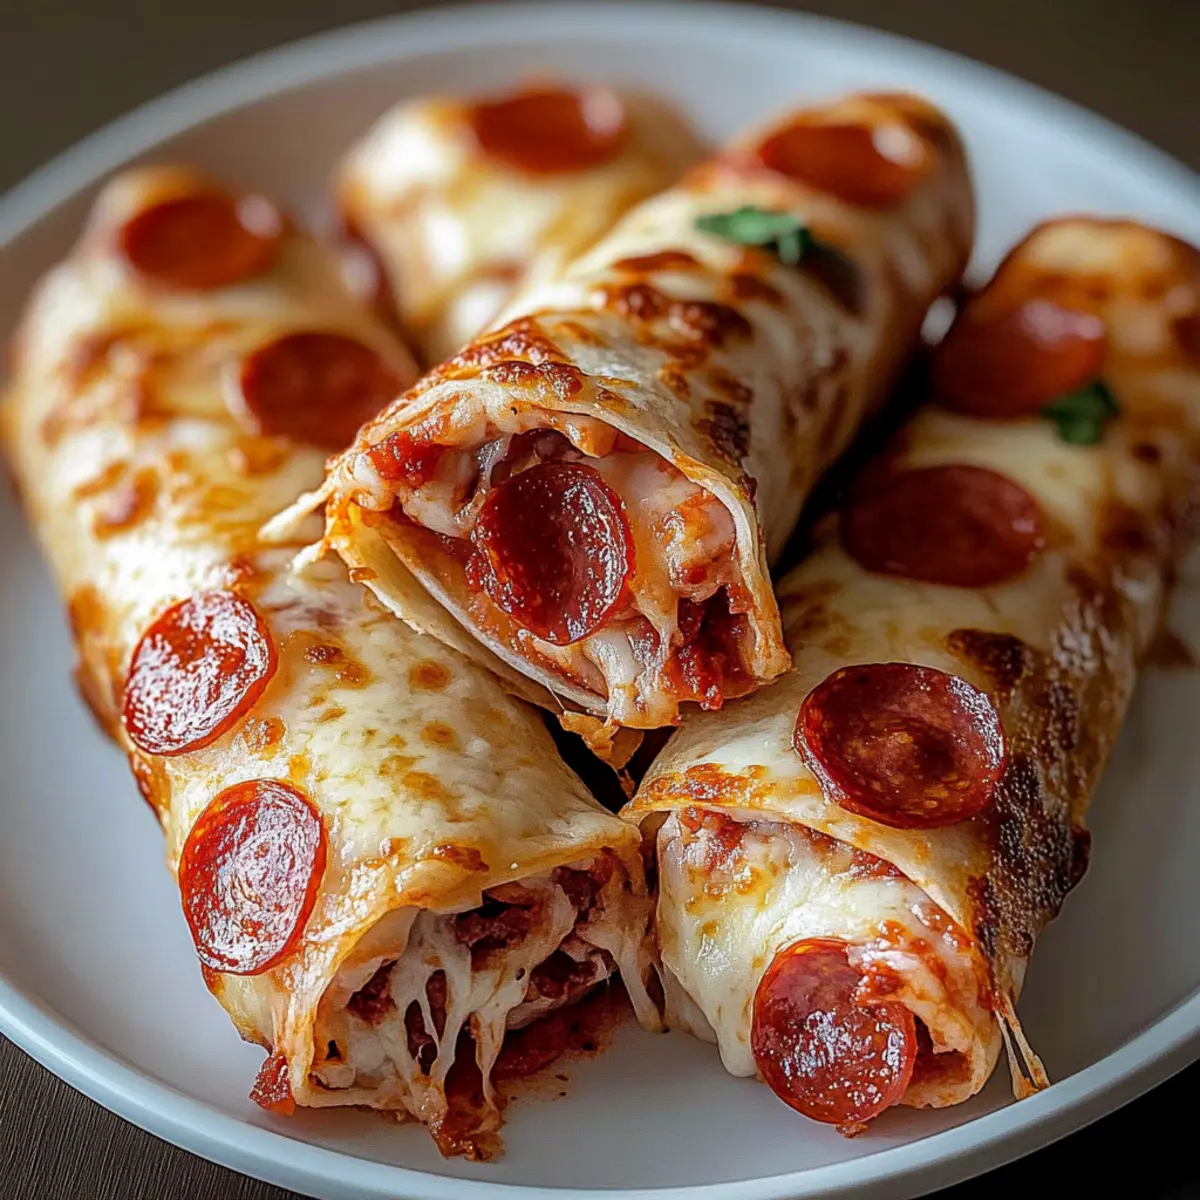
With a sharp knife, slice the log into 1-inch thick roll-ups to ensure even cooking and perfect bite-sized pieces. Visualize small, adorable spirals that will puff up beautifully. Arrange these roll-ups cut side up on your greased baking sheet, allowing enough space between each for optimal baking.
Step 7: Prepare for Baking
In a bowl, mix any remaining mozzarella, a drizzle of olive oil, garlic powder, and dried oregano. Spoon this mixture generously over the roll-ups, infusing them with additional flavor. This topping not only enhances taste but also gives a nice melty effect as your Cheesy Pepperoni Pizza Roll Ups bake.
Step 8: Brush with Egg Wash
Gently brush the tops of the roll-ups with the beaten egg to ensure a gorgeous, golden-brown crust after baking. This step adds a lovely sheen and helps achieve that delightful appearance that makes your Cheesy Pepperoni Pizza Roll Ups so tempting once they come out of the oven.
Step 9: Bake to Perfection
Place the baking sheet in the preheated oven and bake the roll-ups for 20-25 minutes. Look for a golden-brown color and bubbling cheese as indicators of doneness. The aroma of the baking roll-ups will fill your kitchen, signaling that they’re almost ready to be devoured!
Step 10: Cool and Serve
Once baked, take the Cheesy Pepperoni Pizza Roll Ups out of the oven and let them cool slightly on the baking sheet for about 5 minutes. This cooling period will allow the cheese to firm up a bit, making them easier to handle. Serve warm with extra pizza sauce on the side for dipping—a perfect finale to your cooking adventure!
Expert Tips for Cheesy Pepperoni Pizza Roll Ups
-
Even Thickness: Make sure the pizza dough is rolled out to an even thickness for consistent baking. Uneven dough can lead to some roll-ups being overcooked while others remain doughy.
-
Seal Tightly: Pinch the seams of the rolled dough securely to avoid any filling leakage during baking. A tight seal ensures all that gooey goodness stays inside.
-
Customize Wisely: Feel free to experiment with different fillings like cooked sausage or spinach. Just remember to balance flavors and test quantities to avoid overwhelming the roll-ups.
-
Watch the Bake Time: Keep an eye on the roll-ups in the oven. Cooking times can vary, especially if you use fresh homemade dough. You’re aiming for a golden brown and bubbly Cheesy Pepperoni Pizza Roll Ups.
-
Let Them Cool: Allow the roll-ups to cool for a few minutes before serving. This helps the cheese set slightly so they hold their shape better while dipping!
Make Ahead Options
These Cheesy Pepperoni Pizza Roll Ups make meal prep a breeze! You can roll them and cut them into pieces up to 24 hours in advance; just arrange the slices on a baking sheet and cover them with plastic wrap in the fridge. To maintain their quality, make sure to seal them tightly to prevent them from drying out. When you’re ready to bake, simply brush the tops with the egg wash and bake according to the recipe instructions. This way, you can enjoy delicious, homemade snacks with minimal effort whenever the craving hits; you’ll have warm, cheesy goodness ready to impress your family or guests!
Cheesy Pepperoni Pizza Roll Ups Variations
Feel free to let your creativity shine and mix up these scrumptious roll-ups with some exciting tweaks!
-
Sausage Swap: Replace pepperoni with cooked sausage for a heartier bite. The savory flavors truly complement the cheese!
-
Veggie Lovers: Add finely chopped bell peppers, onions, or spinach for added nutrition and a pop of color. These help brighten up each roll, making it a treat for the eyes as much as the belly!
-
Bacon Bliss: Crumbled bacon adds a smoky punch. This delectable addition will have everyone reaching for another roll-up!
-
Ham-tastic Twist: Swap pepperoni for thinly sliced ham, which pairs wonderfully with cheese and gives a delightful twist to the traditional flavor.
-
Cheesy Blend: Mix mozzarella with provolone or cheddar for a flair of different textures and tastes. Each bite will keep them guessing at this unexpected cheesy combo!
-
Spicy Surprise: For those who love heat, sprinkle in jalapeños or spicy pepper jack cheese. A little kick will elevate these roll-ups to the next level!
-
Sweet and Savory: Add a layer of fig jam or sweet chili sauce as a base under the cheese for a unique flavor contrast. It works beautifully with the salty bits of cheese and meat!
-
Artichoke Hearts: Elevate your vegetarian option by throwing in some chopped artichoke hearts. They bring a delicious briny touch that pairs excellently with spinach in a savory roll.
If you’re looking for more ideas, check out our Air Fryer Cheesy Tortilla Garlic Bread for delightful dips to pair with these. Regardless of your choice, customization is key to making these rolls your own. Enjoy the process, and happy cooking!
What to Serve with Cheesy Pepperoni Pizza Roll Ups?
The perfect meal is never complete without the right accompaniments to elevate those delightful flavors.
- Garlic Parmesan Breadsticks: Soft and buttery, these sticks add a savory touch, perfect for dipping in marinara sauce alongside your roll-ups.
- Crispy Caesar Salad: The creamy dressing and crunchy croutons lend a refreshing contrast to the warm, cheesy roll-ups, making each bite a delight!
- Marinara Dipping Sauce: A classic pairing that enhances the flavor of your roll-ups, inviting you to indulge with that extra tomato goodness.
- Sweet Potato Fries: This sweet and savory side adds a fun twist, balancing the richness of the roll-ups while delivering a satisfying crunch.
- Vegetable Platter: Fresh veggies like bell peppers, carrots, and cucumbers provide a crisp, refreshing element, too wholesome to resist!
- Refreshing Lemonade or Iced Tea: The cool, tangy drinks cleanse the palate, making it a delightful match for cheesy indulgence.
- Chocolate Chip Cookies: End on a sweet note! These warm, gooey cookies are the perfect treat to balance the savory flavors of your meal.
How to Store and Freeze Cheesy Pepperoni Pizza Roll Ups
Fridge: Store leftover roll-ups in an airtight container for up to 3 days to maintain freshness. Reheat in the microwave or oven until heated through.
Freezer: For longer storage, freeze rolled-up pieces before baking. Wrap each piece tightly in plastic wrap and then in aluminum foil for up to 3 months.
Reheating: Bake frozen roll-ups at 375°F (190°C) for about 25-30 minutes until warmed and golden. You can also microwave them on high for a quick snack, though the texture may not be as crispy.
Airtight Storage: Always ensure the roll-ups are fully cooled before storing to prevent condensation, which can make them soggy. Proper storage helps keep your Cheesy Pepperoni Pizza Roll Ups delicious for next time!
Cheesy Pepperoni Pizza Roll Ups Recipe FAQs
What is the best way to select the right pepperoni for my roll-ups?
Absolutely! When choosing pepperoni, look for quality slices that are bright red and slightly oily, indicating freshness. Brands that are made with natural ingredients tend to be tastier, so check the label! Alternatively, try turkey pepperoni for a leaner option or opt for veggie pepperoni if you want to keep it vegetarian-friendly.
How long can I store leftover Cheesy Pepperoni Pizza Roll Ups?
You can store your leftover roll-ups in an airtight container in the refrigerator for up to 3 days. For best results, reheat in the oven at 350°F (175°C) for about 10-15 minutes to maintain their crispy texture. If you’re in a pinch, the microwave works too, but they may not crisp up as nicely.
Can I freeze Cheesy Pepperoni Pizza Roll Ups before baking?
Yes, definitely! To freeze, slice the rolled-up pieces and place them on a baking sheet in a single layer until they are firm. Wrap each piece tightly in plastic wrap and then in aluminum foil. They can be frozen for up to 3 months. When ready to enjoy, bake from frozen at 375°F (190°C) for about 25-30 minutes until golden and bubbly.
What should I do if my pizza roll-ups come out soggy?
If your roll-ups turned out soggy, next time make sure to do the following: ensure the dough is evenly rolled and cooked thoroughly. Use a thicker pizza sauce for less moisture, or try draining any excess moisture from your fillings like vegetables. Additionally, letting them cool on a wire rack can prevent steam buildup that causes sogginess!
Are Cheesy Pepperoni Pizza Roll Ups suitable for kids or those with allergies?
Very much so! These roll-ups are a kid-favorite and quite customizable to fit different dietary restrictions. For gluten allergies, use gluten-free pizza dough. If you’re concerned about dairy, try plant-based cheese alternatives or even omit the cheese altogether for a different flavor. Always check ingredient labels for allergens when making variations!
Cheesy Pepperoni Pizza Roll Ups: Quick & Irresistible Snack!
Ingredients
Equipment
Method
- Preheat your oven to 375°F (190°C) and grease a baking sheet with cooking spray or olive oil.
- On a floured surface, roll out the refrigerated pizza dough into a 12x16 inch rectangle.
- Spread a layer of pizza sauce evenly across the rolled-out dough, leaving a 1/2 inch border.
- Sprinkle shredded mozzarella cheese over the sauce, then add pepperoni slices and grated Parmesan.
- Tightly roll the dough from one long side and pinch the seam to seal securely.
- Slice the log into 1-inch thick roll-ups and arrange them cut side up on the baking sheet.
- Mix remaining mozzarella, olive oil, garlic powder, and dried oregano; spoon this mixture over roll-ups.
- Brush the tops of the roll-ups with beaten egg for a golden-brown crust.
- Bake roll-ups for 20-25 minutes until golden brown and bubbly.
- Allow to cool on the baking sheet for about 5 minutes before serving warm with extra pizza sauce.
Leave a Reply