
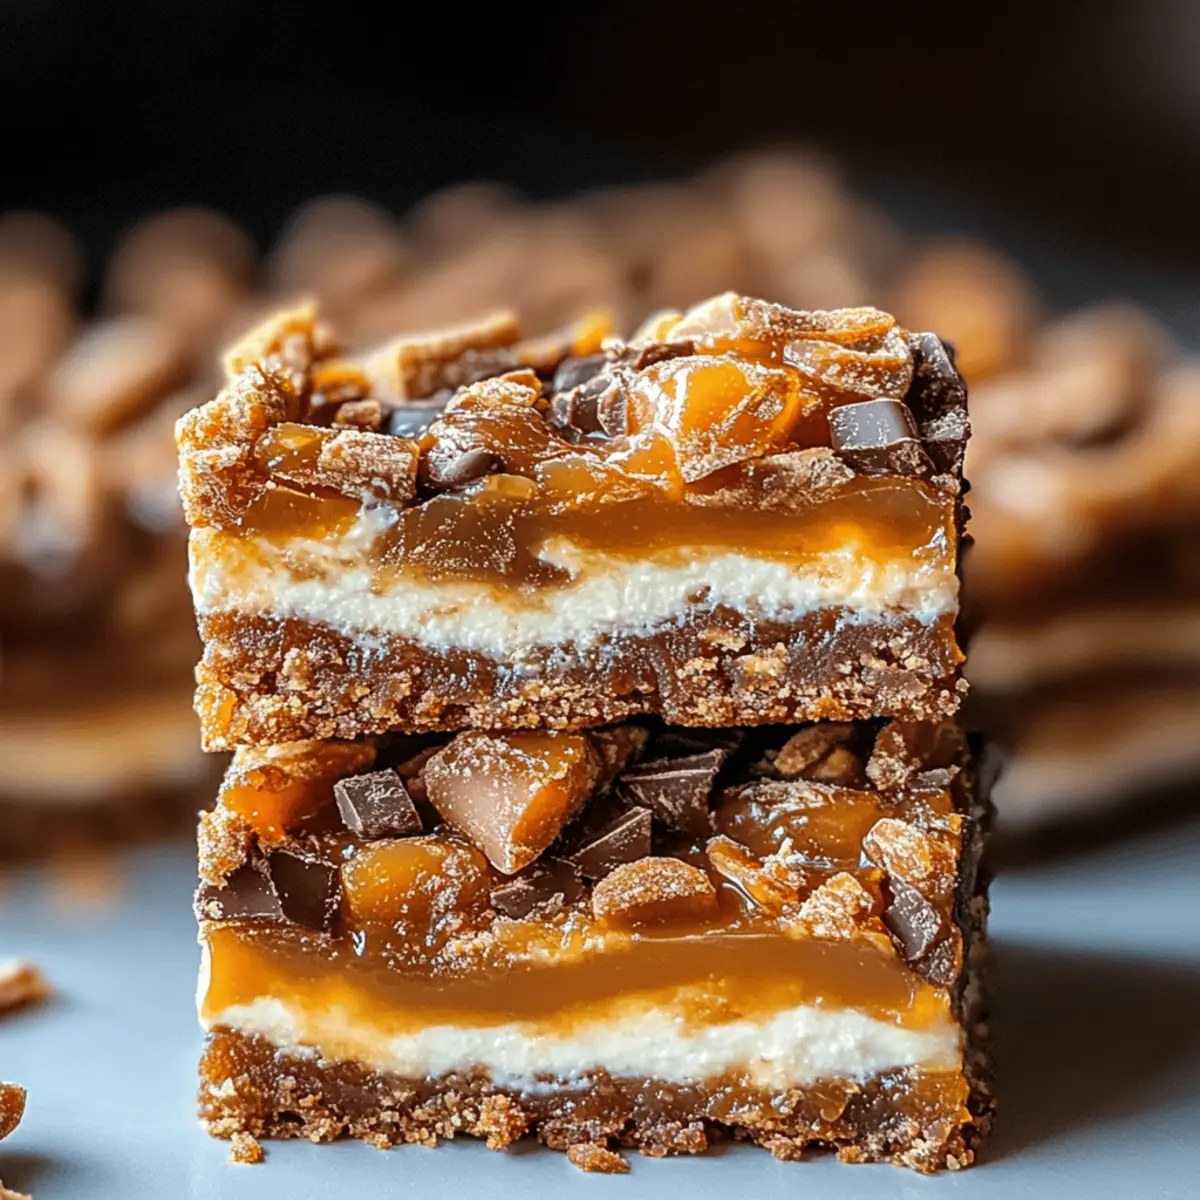
As I stared at the towering stack of desserts at the recent family gathering, I couldn’t help but feel a wave of excitement wash over me. Among the chocolate cakes and delicate pastries, it was the No-Bake Butterfinger Caramel Bars that truly caught my eye. These bars are a dream come true for anyone who loves effortlessly delicious treats! With no oven required, you can whip them up in a flash and chill while you mingle—making them the perfect crowd-pleaser for summer barbecues or cozy family nights. Not only do they showcase a delightful mix of rich caramel and crunchy Butterfinger pieces, but they also embody simplicity and indulgence in each bite. Are you eager to see how I transform these everyday ingredients into a sweet masterpiece? Let’s dive in!
Why Are These Butterfinger Caramel Bars So Special?
Irresistible Flavor: The combination of rich caramel and crunchy Butterfinger pieces creates an unforgettable sweet treat that everyone will love.
No Baking Required: Perfect for hot days, these bars come together effortlessly without the need for an oven, saving you time and hassle.
Customizable Options: Feel free to substitute the Butterfinger with other candies like Snickers for a unique twist!
Ideal for Sharing: These bars are perfect for parties, making them a hit at summer barbecues or family gatherings!
Quick Assembly: With minimal prep and chilling time, you’ll have these delicious bars ready in no time.
Explore even more delicious desserts like Caramelised Soy Chicken or Caramelized Pulled Beef to delight your guests with a full meal.
Butterfinger Caramel Bars Ingredients
For the Base
- Graham Crackers – Provides a buttery, crumbly base; substitute with gluten-free graham crackers if needed.
- Mini Marshmallows – Adds fluffy texture and sweetness, binding the base beautifully; no substitutes necessary.
For the Filling
- Caramel Bits – The star ingredient delivering rich sweetness; you can use homemade caramel for a personal touch.
- Milk – Helps melt the caramel for a smooth consistency; any type of milk or substitute works well, including dairy-free options.
- Butterfinger Bites (coarsely chopped) – Offers delightful crunch and a unique peanut butter flavor; feel free to switch with your favorite candy for variation.
For the Topping
- Semi-sweet Chocolate – Adds richness and visual appeal through drizzling; dark chocolate brings a deeper flavor if you prefer.
Step‑by‑Step Instructions for Butterfinger Caramel Bars
Step 1: Prepare the Pan
Start by lining a 9×9 inch baking pan with aluminum foil, leaving some overhang for easy removal later. Lightly spray the foil with cooking spray to prevent sticking. This will create a perfect base for your Butterfinger Caramel Bars, ensuring they come out easily once they are set.
Step 2: Layer the Base
Next, break graham crackers into smaller pieces and layer them evenly at the bottom of the prepared pan. Push the crackers firmly together to form a snug, crunchy base. This buttery layer will provide a wonderful foundation for the gooey goodness to come, setting the stage for your delicious no-bake bars.
Step 3: Add Marshmallows
Now, evenly sprinkle the mini marshmallows over the layer of graham crackers, covering them completely. Make sure to distribute them as evenly as possible, ensuring each bite of the Butterfinger Caramel Bars has a fluffy, sweet texture. The warmth from the next layer will help melt them slightly, adding to the overall creaminess.
Step 4: Melt Caramel
In a microwave-safe bowl, combine the caramel bits and milk. Heat the mixture in 1-minute intervals, stirring in between until the caramel is fully melted and smooth, which should take about 3–4 minutes. This luscious layer serves as the star of your Butterfinger Caramel Bars, infusing the treat with rich sweetness.
Step 5: Pour and Spread Caramel
Once melted, carefully drizzle the caramel over the marshmallows, ensuring you cover them completely. Use a spatula to gently spread the caramel evenly across the marshmallows. Take your time to ensure every corner of the pan is coated, as this will create a delightful gooey layer in your delicious bars.
Step 6: Butterfinger Layer
Sprinkle the chopped Butterfinger pieces generously over the caramel layer. To ensure the candy adheres well, lightly press them down into the caramel with your hands or the spatula. This step adds that signature crunch and peanut butter flavor that makes these Butterfinger Caramel Bars an irresistible treat.
Step 7: Melt and Drizzle Chocolate
In another microwave-safe bowl, melt the semi-sweet chocolate in 30-second intervals, stirring after each, until smooth and silky. Once melted, drizzle the chocolate over the Butterfinger layer in a zigzag pattern for a beautiful finish. This decadent topping not only enhances the flavor but also adds a lovely visual appeal to your bars.
Step 8: Chill
Place the pan in the refrigerator for about one hour, allowing the layers to set properly. You’ll know they’re ready when the chocolate has hardened and the bars feel firm to the touch. This chilling time is crucial for creating that perfect texture in your no-bake Butterfinger Caramel Bars.
Step 9: Slice and Enjoy
Once set, lift the bars out of the pan using the foil overhang. Carefully peel away the foil and slice the bars into squares with a sharp knife. Serve them chilled or allow them to sit at room temperature for a few minutes to soften slightly. Get ready to indulge in these delightful Butterfinger Caramel Bars!
How to Store and Freeze Butterfinger Caramel Bars
Room Temperature: Store in a cool, dry place for up to 2-3 months. Make sure the bars are wrapped tightly to prevent them from becoming too soft or sticky.
Fridge: For longer freshness, keep in an airtight container for up to 3-4 months. This helps maintain the texture and prevents any unwanted fridge odors from affecting your delicious Butterfinger Caramel Bars.
Freezer: Individually wrap bars in plastic wrap and store them in a freezer-safe bag for up to 1 year. Thaw at room temperature before serving for the best experience.
Reheating: If desired, slightly warm the bars in the microwave for 10-15 seconds to soften the caramel before enjoying.
Expert Tips for Butterfinger Caramel Bars
-
Room Temperature Resting: Allow bars to sit at room temperature for a few minutes before serving. This softens the caramel and enhances the overall texture.
-
Even Distribution of Marshmallows: Ensure marshmallows are evenly distributed over the graham cracker layer to avoid any uneven texture in your Butterfinger Caramel Bars.
-
Avoiding Sticky Situations: Wrap leftovers tightly in plastic wrap or store in an airtight container to maintain freshness and prevent fridge odors from affecting their delightful flavor.
-
Chill Thoroughly: Don’t skip the chilling time! Properly set bars lead to a satisfying bite; otherwise, they may crumble if not chilled long enough.
-
Variations for Flavor: Experiment with different candies, like Snickers or Reese’s Pieces, for unique flavor profiles while keeping the Butterfinger Caramel Bars as your base.
Make Ahead Options
These No-Bake Butterfinger Caramel Bars are perfect for meal prep, making them a delightful treat ready when you are! You can prepare the base with graham crackers and marshmallows up to 24 hours in advance, ensuring to tightly cover it in the fridge to keep it fresh. Additionally, you can melt the caramel and chocolate components up to 3 days ahead; simply store them in separate airtight containers in the refrigerator. When you’re ready to finish the bars, just drizzle the prepped caramel over the marshmallows, add the Butterfinger pieces, and top with the melted chocolate—a simple step that guarantees these Butterfinger Caramel Bars are just as delicious!
What to Serve with Decadent No-Bake Butterfinger Caramel Bars
These delightful bars might be the star of your dessert table, but they shine even brighter when paired with a few perfect accompaniments.
-
Chilled Milk: The classic pairing that never fails! Its coolness complements the rich caramel and adds a satisfying balance of flavors.
-
Fresh Fruit Salad: Bright, juicy berries and melons add a refreshing contrast to the sweetness, lightening the overall dessert experience.
-
Vanilla Ice Cream: A scoop of creamy vanilla ice cream takes indulgence to the next level, offering a creamy and velvety contrast to the chewy bars.
-
Chocolate-Dipped Pretzels: These salty-sweet treats bring crunch and texture, creating a delightful flavor play with the rich caramel bars.
-
Coffee or Espresso: The bold flavors of coffee enhance the sweetness of the bars, making each bite feel like a decadent dessert experience.
-
Caramel Drizzle: For true caramel lovers, drizzling extra caramel sauce over the bars enhances their sweetness and provides a glossy finish.
Pairing these sides with your Butterfinger Caramel Bars will create a memorable and indulgent spread that friends and family will rave about!
Butterfinger Caramel Bars Variations
Get ready to personalize your Butterfinger Caramel Bars with these delightful twists that tantalize the senses!
- Nut-Free: Replace Butterfinger with sunbutter or crushed cookies for a nut-free treat that’s just as delicious.
- Chocolate Drizzle Twist: Use white chocolate instead of semi-sweet for a creamy, dreamy topping that adds a pop of color.
- Fruit Fusion: Toss in chopped dried fruits like cherries or cranberries for a fruity burst of flavor alongside the peanut butter crunch.
- Lower Sugar Option: Opt for sugar-free caramel bits to enjoy a sweet treat with fewer calories while keeping the same satisfaction.
- Spicy Kick: Add a dash of cayenne pepper to your chocolate drizzle for a surprising twist that adds warmth to the sweetness!
- Oreo Base: Swap out graham crackers for crushed Oreo cookies for an indulgent chocolate base that pairs perfectly with the caramel.
- Additional Layer: Consider adding a layer of whipped cream cheese between the caramel and Butterfinger for an unexpected creamy twist!
- Flavor Boost: Incorporate a splash of vanilla extract or a teaspoon of espresso powder into the melted caramel to enhance its depth.
The beauty of these Butterfinger Caramel Bars lies in their versatility! If you’re intrigued by even more unique flavors, consider trying variations from other recipes like Caramelised Soy Chicken or Caramelized Pulled Beef to spice up your gatherings. Enjoy getting creative in the kitchen!
Butterfinger Caramel Bars Recipe FAQs
What type of graham crackers should I use?
You can use regular graham crackers for the base, but if you’re looking for a gluten-free option, substitute them with gluten-free graham crackers. Both options will give you that lovely buttery crumb texture that holds everything together so deliciously!
How should I store the Butterfinger Caramel Bars?
For best freshness, store the bars in an airtight container in the refrigerator for up to 3-4 months. This keeps them from absorbing any weird fridge odors and helps maintain their delightful texture. If you prefer, you can also keep them at room temperature in a cool, dry place for up to 2-3 months, but be sure to wrap them tightly!
Can I freeze these Butterfinger Caramel Bars?
Absolutely! To freeze, wrap each bar individually in plastic wrap and place them in a freezer-safe zip-top bag. They’ll last up to 1 year in the freezer. When you’re ready to enjoy them, simply thaw at room temperature for the best texture.
What if my caramel doesn’t melt properly?
If you find that your caramel bits aren’t melting smoothly, try adding a bit more milk and return the bowl to the microwave. Heat in 30-second intervals, stirring thoroughly in between until you achieve that silky consistency. Using a microwave-safe bowl is key to making this process easier.
Are there any allergy considerations for this recipe?
Yes! This recipe contains common allergens such as milk, gluten (from graham crackers), and peanuts (from Butterfinger candy). If you have nut allergies, you can substitute the Butterfinger pieces with a nut-free candy like Reese’s Pieces or skip the candy entirely for a simple marshmallow treat. Always check labels to ensure that the ingredients suit your dietary needs.
How can I make the bars more decadent?
For an extra indulgent twist, try drizzling caramel sauce over the top of the melted chocolate or substituting some of the semi-sweet chocolate for milk or white chocolate. You can also layer in some chopped nuts or switch up the candy mix for even more flavor variety in your Butterfinger Caramel Bars!
Irresistible Butterfinger Caramel Bars You Can Make Today
Ingredients
Equipment
Method
- Prepare the pan by lining a 9x9 inch baking pan with aluminum foil, leaving overhang. Spray foil with cooking spray.
- Layer graham crackers evenly at the bottom of the prepared pan and press together to form the base.
- Sprinkle mini marshmallows over the graham crackers, covering them completely.
- In a microwave-safe bowl, combine caramel bits and milk, heating in 1-minute intervals until melted and smooth.
- Drizzle caramel over marshmallows and spread evenly with a spatula.
- Sprinkle chopped Butterfinger pieces over the caramel layer and lightly press down.
- Melt semi-sweet chocolate in a microwave-safe bowl in 30-second intervals, then drizzle over the Butterfinger layer.
- Place the pan in the refrigerator for about one hour to set.
- Lift the bars out using the foil overhang, slice into squares, and serve.
Leave a Reply