
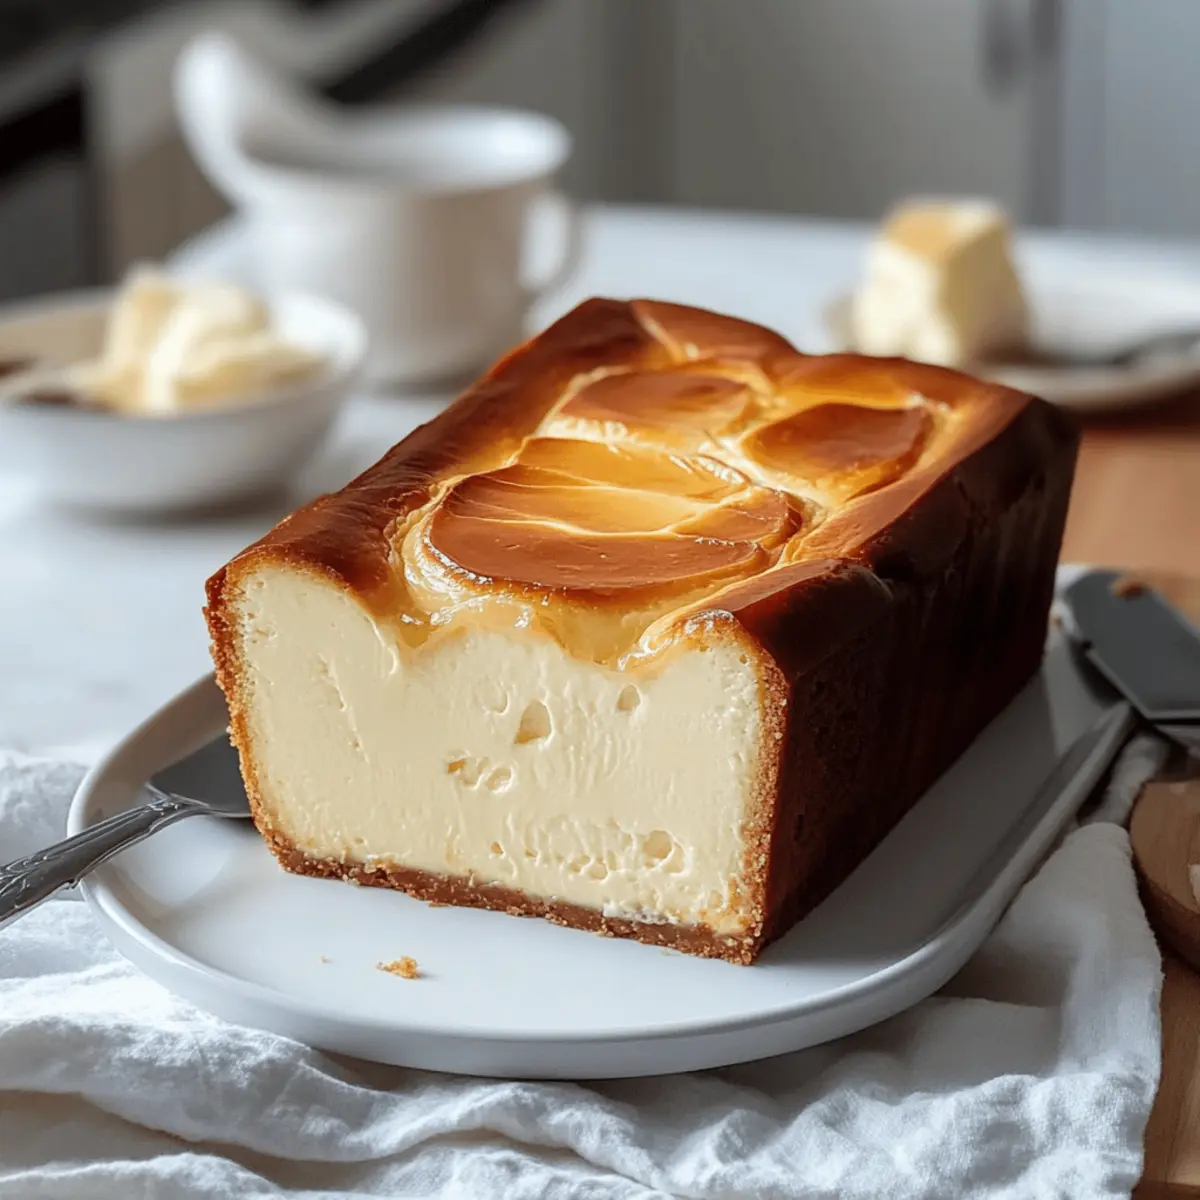
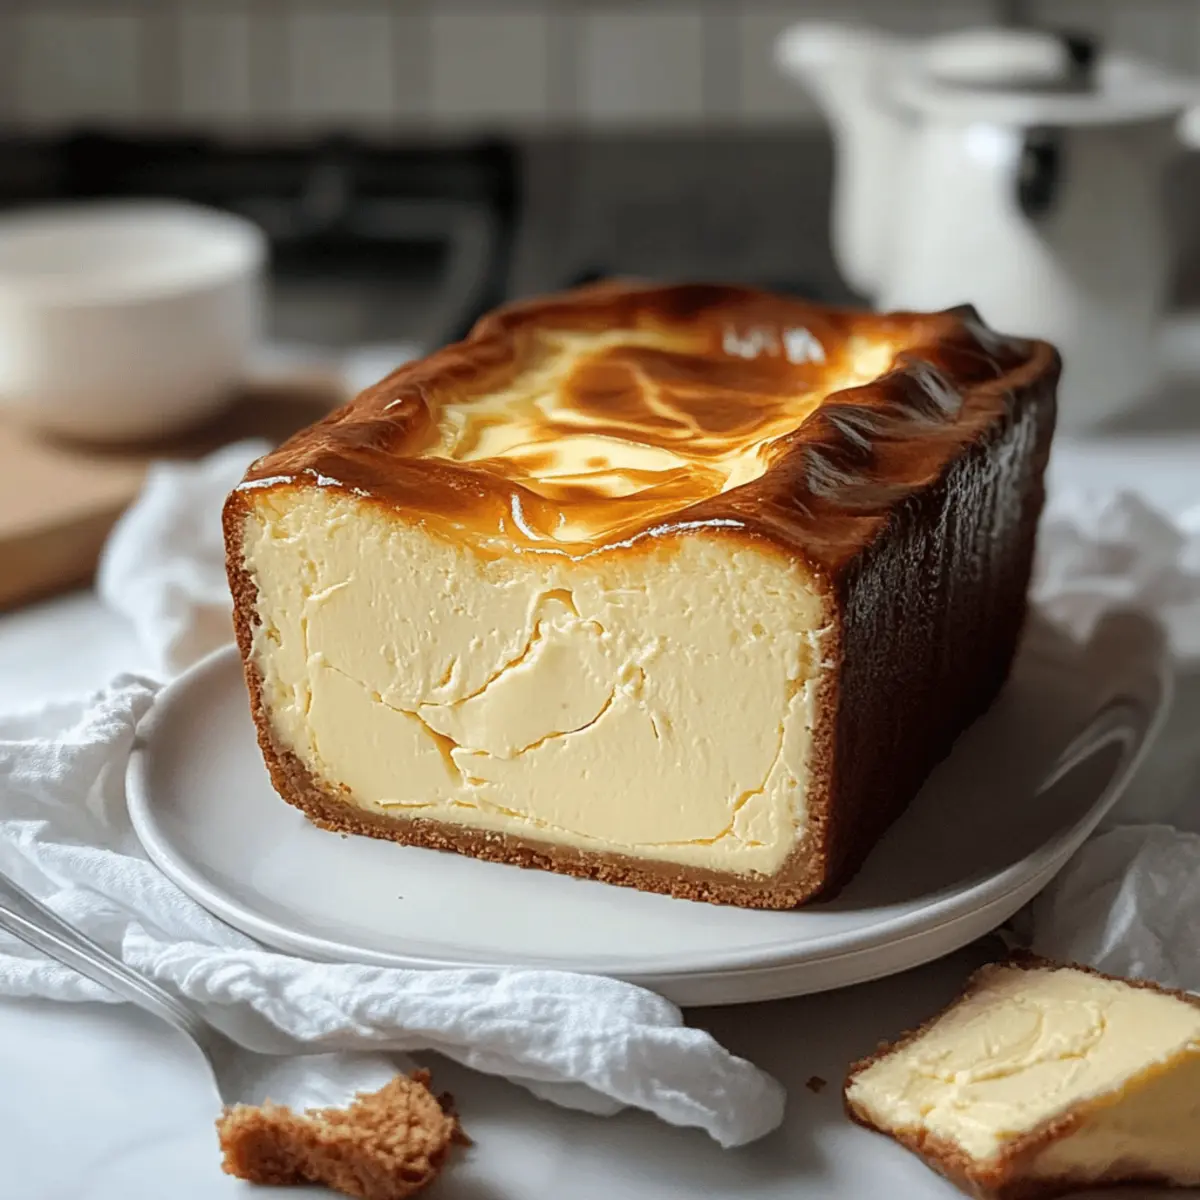
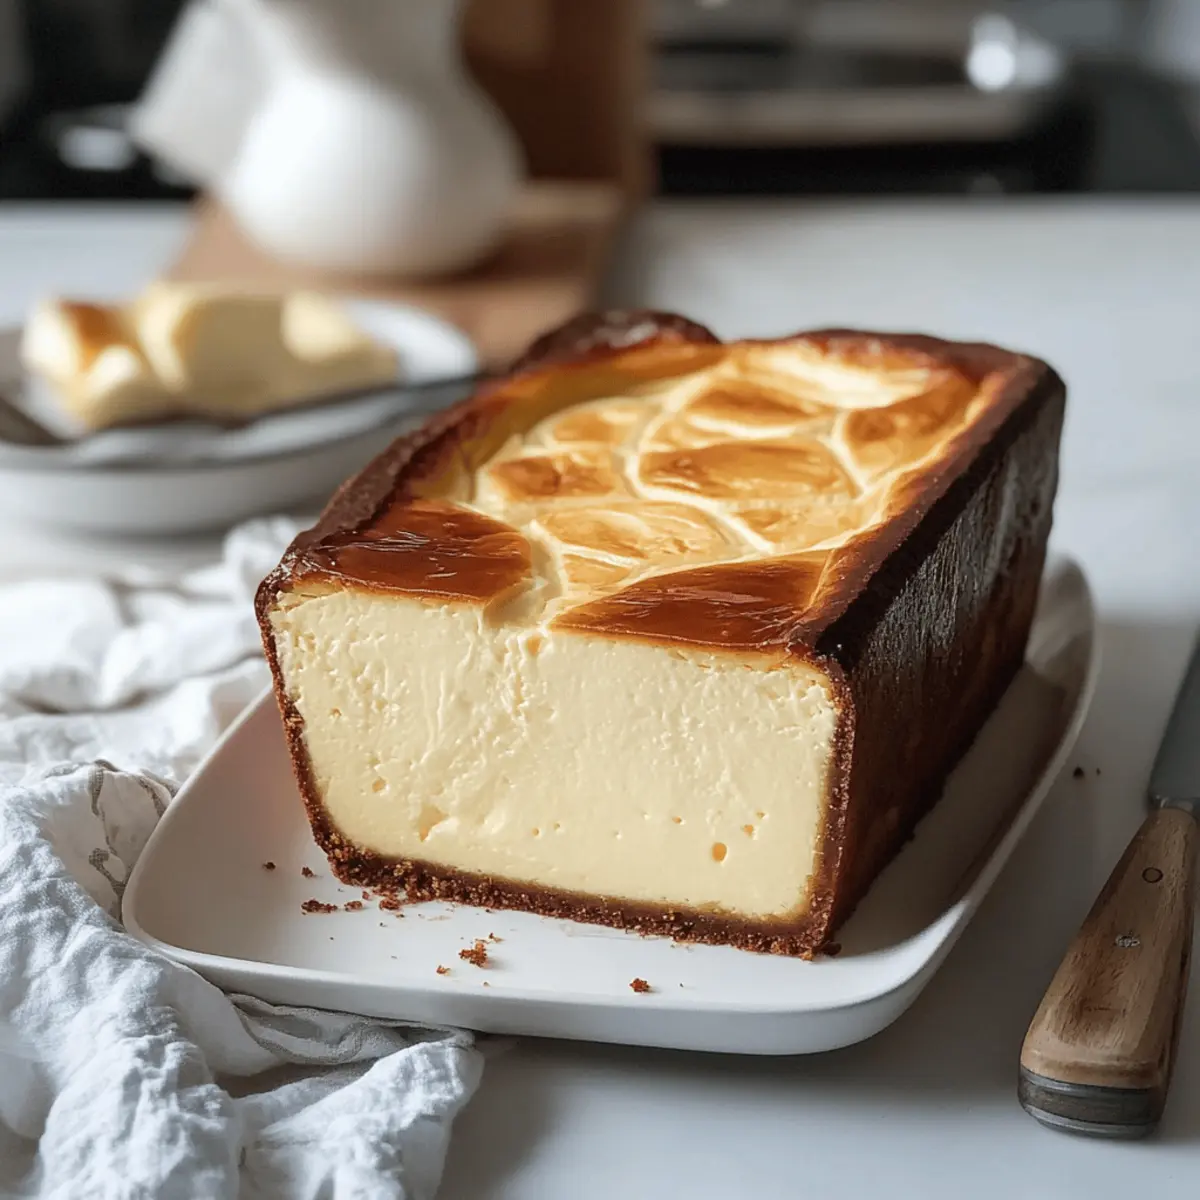
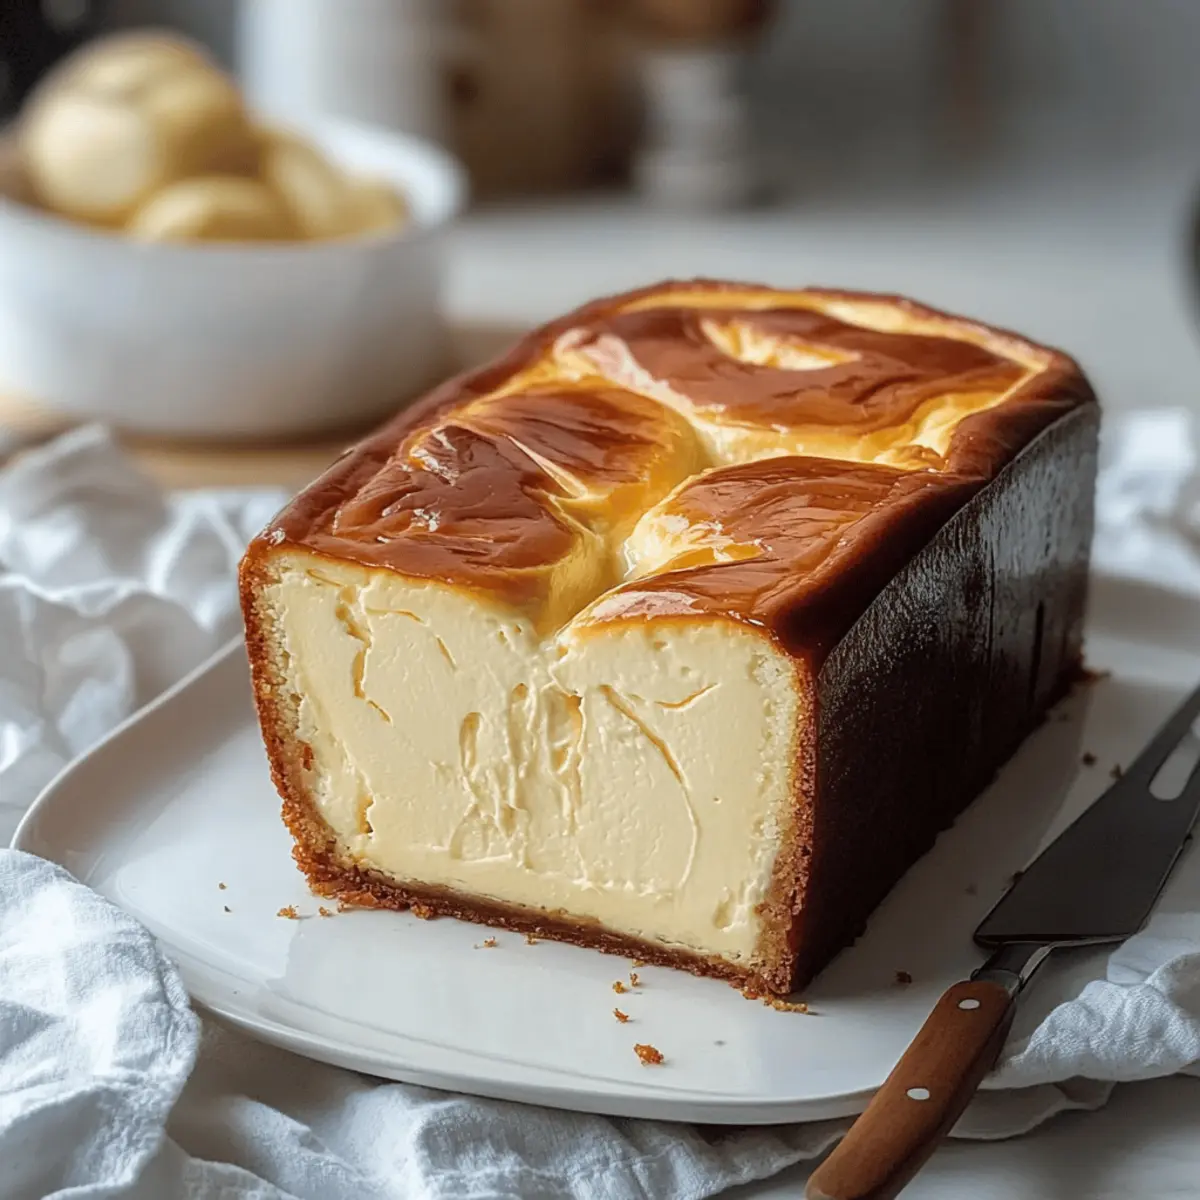
As I stood in my kitchen, the warm aroma of rich cream cheese and caramelizing sugar wrapped around me like a cozy blanket. This Easy Crustless Burnt Basque Cheesecake in a Loaf Pan has become my go-to dessert, thanks to its effortless preparation and stunningly impressive results. With no crust to worry about and no need for a complicated water bath, this recipe is your ticket to an elegant dessert without the fuss. Not only is it a crowd-pleaser, but its beautiful, caramelized top and creamy center are sure to wow dinner guests or simply satisfy your cravings. Ready to dive into this divine cheesecake experience? Let’s get started!
Why is This Cheesecake So Special?
Simplicity at its Finest: With no crust or water bath required, this cheesecake comes together effortlessly, making it ideal for busy home chefs.
Rich, Creamy Texture: The combination of full-fat cream cheese and heavy cream yields a luxuriously smooth cheesecake that melts in your mouth.
Crowd-Pleasing Delight: Whether serving it at a dinner party or enjoying it at home, the caramelized top and custard-like center are sure to impress.
Versatile Flavor Options: Feel free to add a citrus twist or chocolate swirl, allowing you to personalize this classic recipe to your taste!
Make-Ahead Convenience: Prep this cheesecake a day in advance to let the flavors develop, ensuring a delightful dessert is always on hand—just like with Velvet Strawberry Cheesecake.
Elevate your dessert game with this easy recipe, and prepare to fall in love with your new favorite cheesecake!
Burnt Basque Cheesecake Ingredients
• Ready to create a stunning dessert? Here’s what you’ll need!
For the Cheesecake Filling
- Full-fat cream cheese – Provides the rich, creamy base; best when softened for easy mixing.
- Granulated sugar – Sweetens the cheesecake and balances the tangy cream cheese flavor.
- Large eggs – Essential for structure and binding; use room temperature for optimal results.
- Heavy cream – Adds richness and a smooth texture to the batter; light cream can be used but may alter the richness.
- Vanilla extract (optional) – Enhances the flavor; can be omitted for a more traditional take.
- Salt – Balances sweetness and enhances all the flavors in the cheesecake.
- All-purpose flour – Helps to stabilize the cheesecake; omit for a gluten-free option, but adjust baking time accordingly.
Embark on this delightful journey towards making the perfect Burnt Basque Cheesecake that’s not just mouthwatering but also remarkably easy!
Step‑by‑Step Instructions for Easy Crustless Burnt Basque Cheesecake in a Loaf Pan
Step 1: Preheat the Oven
Begin by preheating your oven to 400°F (200°C). This high temperature is key to achieving that beautifully caramelized top for your Burnt Basque Cheesecake. While the oven heats, you can prepare the loaf pan, allowing the cheesecake to bake evenly.
Step 2: Prepare the Loaf Pan
Line a 9×5-inch loaf pan with parchment paper, ensuring it overhangs the edges. This overhang makes it easier to lift out the cheesecake once baked. Ensure the parchment is smooth against the pan for a neat finish, preparing for the silky batter you’ll create next.
Step 3: Mix Cream Cheese and Sugar
In a large mixing bowl, add the softened full-fat cream cheese along with the granulated sugar. Using an electric mixer, beat on low to medium speed for about 5 minutes until the mixture is completely smooth and free of lumps. This ensures a creamy texture in your Burnt Basque Cheesecake.
Step 4: Incorporate the Eggs
Next, add the large eggs to the cream cheese mixture one at a time. Beat well after each addition, ensuring each egg is fully incorporated. The eggs are crucial for the structure of the cheesecake, helping it set beautifully as it bakes.
Step 5: Add Heavy Cream and Flavoring
Pour in the heavy cream, and then add the vanilla extract and salt if using. Mix the ingredients until fully combined, creating a rich and creamy batter. The heavy cream contributes to the cheesecake’s silky texture, so mix until it’s smooth and luscious.
Step 6: Fold in the Flour
Sift the all-purpose flour directly into the cheesecake mixture. Gently fold the flour into the batter using a spatula. This step helps stabilize the cheesecake while avoiding overmixing, which could lead to a denser texture, keeping your Burnt Basque Cheesecake light and airy.
Step 7: Pour the Batter
Carefully pour the cheesecake batter into the prepared loaf pan. Ensure it’s evenly distributed and smooth the top with a spatula. Placing the loaf pan on a baking sheet prevents any spillage in your oven while baking, setting the stage for a perfect dessert.
Step 8: Bake to Perfection
Bake the cheesecake for 40 to 45 minutes in your preheated oven. You’ll know it’s done when the edges are deeply browned and the center remains slightly jiggly. This unique baking method is what gives the Burnt Basque Cheesecake its signature appearance and creamy interior.
Step 9: Cool and Chill
Once baked, remove the cheesecake from the oven and allow it to cool completely in the pan. After cooling, refrigerate for at least 2 to 4 hours to help it set. This chilling step is essential to develop the flavors and achieve the perfect texture.
Step 10: Slice and Serve
When ready to serve, carefully lift the cheesecake out of the loaf pan using the parchment overhang. Slice it into generous portions. For the best presentation, serve chilled or at room temperature, and bask in the glowing compliments for your stunning Burnt Basque Cheesecake!
Make Ahead Options
Preparing your Burnt Basque Cheesecake in advance is a fantastic way to save time during busy weeknights or dinner parties! You can make the cheesecake up to 24 hours ahead of time, allowing it to chill in the refrigerator, which enhances its creamy texture and flavor. Simply follow the recipe through to the cooling stage, then refrigerate it for at least 2–4 hours (or ideally overnight) before serving. To maintain its quality, make sure it’s covered lightly with plastic wrap, allowing a bit of air to circulate and preventing condensation. When you’re ready to indulge, just slice and serve chilled or at room temperature, giving you a restaurant-quality dessert with minimal last-minute effort!
Storage Tips for Burnt Basque Cheesecake
Fridge: Store leftovers in an airtight container for up to 4 days. This cheesecake’s flavors enhance as it sits, making it even more delicious after chilling.
Freezer: If needed, freeze slices wrapped tightly in plastic wrap and then aluminum foil. It will last up to 2 months but may slightly change in texture upon thawing.
Reheating: Serve chilled or at room temperature to enjoy the creamy goodness of your Burnt Basque Cheesecake. If you prefer it warm, gently reheat slices in the oven at low heat (around 300°F) for a few minutes.
Serving Tips: Always let frozen slices thaw in the fridge for several hours before serving for the best taste and texture experience.
Burnt Basque Cheesecake Variations
Feel free to make this cheesecake your own and bring in exciting twists for even more flavor!
-
Citrus Zing: Fold in lemon or orange zest for a refreshing, tangy twist. A little citrus brightness elevates the cheesecake to new heights, making every bite feel like a sunbeam on your palate.
-
Warm Spices: Add a pinch of cinnamon or nutmeg to the batter for a cozy, spiced flavor that’s perfect for fall gatherings. The warmth of these spices pairs beautifully with the creamy texture for an inviting dessert experience.
-
Chocolate Swirl: Incorporate melted dark chocolate into the batter for a rich, indulgent chocolatey delight. Just swirl it gently for a marbled effect, and watch your guests’ eyes light up with joy!
-
Savory Surprise: Reduce the sugar and mix in crumbled blue cheese and fresh herbs for a unique appetizer version. This playful twist transforms your cheesecake into a conversation starter at any gathering!
-
Nutty Crunch: Stir in finely chopped nuts like pistachios or almonds for added texture and flavor. The crunch complements the smooth cheesecake beautifully, making each bite a delightful surprise.
-
Berry Bliss: Top with fresh berries or a berry compote to add a burst of freshness and color. The sweetness of the berries balances the richness of the cheesecake, creating a lovely harmony.
-
Caramel Drizzle: A drizzle of homemade or store-bought caramel sauce adds sweetness and elegance to your slices. This layered flavor combination is bound to impress anyone lucky enough to taste it.
-
Coffee Infusion: For coffee lovers, mix in a tablespoon of instant espresso coffee for a caffeine kick. It creates a subtly delightful flavor that works wonders with the cream cheese base.
Discover your favorite take on this incredible dessert and don’t forget, if you’re looking for something fruity and equally delightful, check out the Velvet Strawberry Cheesecake. It’s a celebration of flavors you won’t want to miss!
What to Serve with Easy Crustless Burnt Basque Cheesecake in a Loaf Pan
Elevate your dessert experience with delightful pairings that balance the creamy richness of this cheesecake.
-
Fresh Berries: Bright, juicy strawberries or raspberries add a refreshing contrast, enhancing the cheesecake’s sweetness while introducing a burst of flavor. Serve them atop the cheesecake for a beautiful presentation.
-
Caramel Sauce: A drizzle of warm caramel sauce over the cheesecake enhances its rich flavors and adds a lovely, sticky sweetness. This decadent touch makes each bite an indulgent moment.
-
Whipped Cream: Light and airy whipped cream creates a delightful contrast against the dense cheesecake. The creaminess amplifies the dessert’s luxurious feel while balancing the richness beautifully.
-
Chocolate Ganache: Rich, smooth chocolate ganache complements the creamy texture of the cheesecake, intensifying its richness with a touch of chocolatey goodness. It’s a perfect pairing for chocolate lovers!
-
Espresso or Coffee: A cup of strong espresso or a rich coffee enhances the cake’s flavors and contrasts the sweetness. The warm bitterness from the coffee beautifully balances the dessert’s creamy richness.
-
Mint Sprigs: Adding fresh mint leaves can provide a pop of color and a refreshing herbal note that cuts through the richness of the cheesecake. It’s an unexpected, yet delightful, garnish!
Expert Tips for the Best Burnt Basque Cheesecake
-
Use Room Temperature Ingredients: This ensures a smooth batter and prevents lumps; cold cream cheese can lead to a less creamy texture.
-
Don’t Overmix: Gently fold in the flour and other ingredients to avoid incorporating too much air, which can cause cracks and a dense cheesecake.
-
Keep an Eye on Baking: Check the cheesecake closely in the last 10 minutes of baking; the top should be a deep brown but not burned.
-
Chill Overnight: For the best flavor and texture, allow your Burnt Basque Cheesecake to chill overnight before slicing and serving.
-
Embrace Imperfections: Expect some cracks or unevenness on top; this rustic appearance adds charm to your dessert!
Burnt Basque Cheesecake Recipe FAQs
What type of cream cheese should I use for the best results?
Absolutely, I recommend using full-fat cream cheese for the creamiest and richest flavor. Soften the cream cheese before mixing to ensure a smooth batter; cold cream cheese can cause your cheesecake to be lumpy.
How long can I store my cheesecake in the fridge?
You can store your Burnt Basque Cheesecake in an airtight container in the fridge for up to 4 days. The flavors tend to deepen over time, so it might taste even better the next day!
Can I freeze the Burnt Basque Cheesecake?
Yes, you can! Wrap slices tightly in plastic wrap and then in aluminum foil. This will keep your cheesecake fresh in the freezer for up to 2 months. To enjoy, let it thaw in the fridge for several hours before serving for the best texture.
What should I do if my cheesecake cracks while baking?
Don’t worry if your cheesecake has a few cracks—it adds to its rustic charm! To minimize this, avoid overmixing the batter and ensure that you’re not beating too much air into it. Keeping an eye on the baking time helps too; the top should be nicely browned but not burnt.
Is this cheesecake suitable for people with gluten allergies?
Yes, it can be! You can omit the all-purpose flour to make a gluten-free option. Just be mindful that the texture may vary slightly, so you might need to adjust the baking time. Always double-check your other ingredients to ensure they’re gluten-free as well.
Can I serve this cheesecake at room temperature?
Very! This cheesecake is delicious served chilled, but it’s equally delightful at room temperature. Just let it sit out for about 30 minutes before serving to enhance its creamy texture and flavor!
Enjoy your baking and all the charming conversations that come with serving this delightful Burnt Basque Cheesecake!
Creamy Burnt Basque Cheesecake in a Loaf Pan Convenience
Ingredients
Equipment
Method
- Preheat oven to 400°F (200°C).
- Line a 9×5-inch loaf pan with parchment paper.
- In a large mixing bowl, beat the cream cheese and sugar until smooth.
- Add the eggs one at a time, mixing well after each addition.
- Pour in the heavy cream, vanilla extract, and salt, mixing until combined.
- Sift in the flour and fold gently into the batter.
- Pour the batter into the prepared loaf pan.
- Bake for 40 to 45 minutes until the edges are browned and the center jiggles slightly.
- Cool in the pan before refrigerating for at least 2 to 4 hours.
- Lift out of the pan using the parchment overhang, slice, and serve.
Leave a Reply