
Can you hear the gentle whisper of sweet temptation calling your name? That’s the allure of a Creamy Biscoff Cheesecake beckoning from the oven! This dessert is not just a treat; it’s a celebration of rich, spiced speculoos flavor cradled in a buttery Biscoff cookie crust. With its indulgent filling and a glossy layer of melted cookie butter on top, this cheesecake stands out as the perfect crowd-pleaser for family gatherings or cozy evenings at home. Plus, it comes together seamlessly, allowing you to focus on what truly matters: the joy of sharing delicious homemade food. So, are you ready to craft a dessert that will leave everyone craving more? Let’s dive into this exceptional recipe!
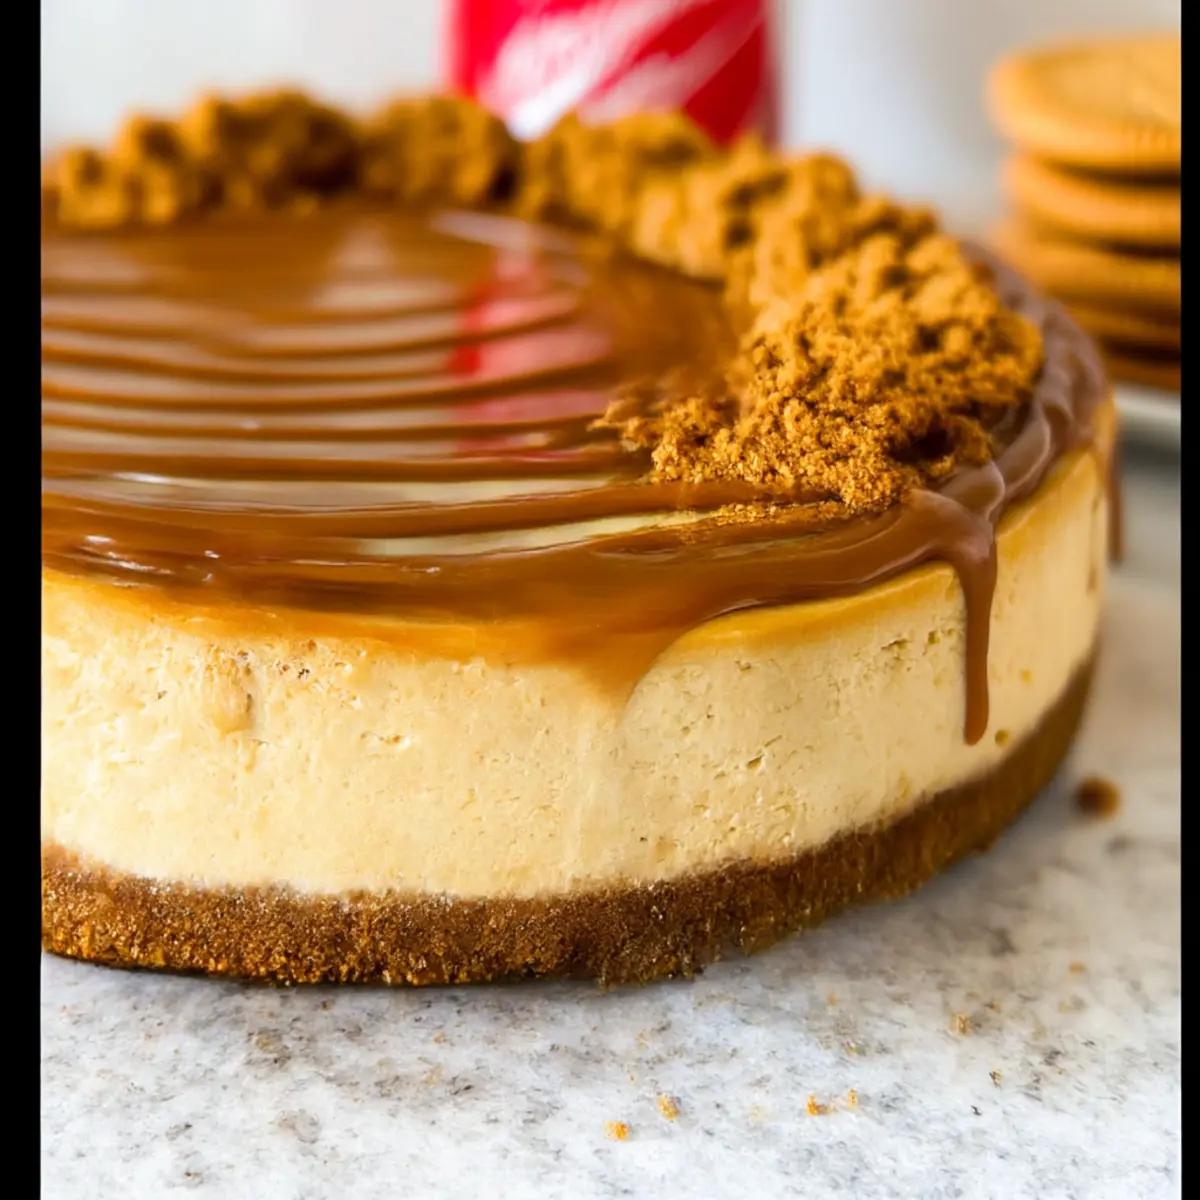
Why Is This Biscoff Cheesecake So Amazing?
Indulgence at Its Finest: Each bite of this cheesecake delivers a luxuriously creamy flavor thanks to the marriage of cream cheese and Biscoff cookie butter.
Cookie Crunch Delight: The buttery Biscoff crust adds a delightful crunch that perfectly contrasts the smooth filling, making every slice irresistible.
Quick and Easy: No complicated techniques here! You’ll be amazed at how effortlessly this dessert comes together—truly perfect for both novice and experienced bakers alike.
Crowd-Pleasing Appeal: It’s hard to imagine anyone saying no to this luscious cheesecake, making it the ideal choice for parties or family dinners.
Versatile and Unique: Not a fan of cookie butter? Feel free to switch it up with chocolate ganache, or if you’re inspired, try a Velvet Strawberry Cheesecake for a fruity twist!
Get ready to impress your loved ones with this show-stopping dessert that brings richness and warmth to the table!
Biscoff Cheesecake Ingredients
-
For the Crust
• Biscoff Cookies – They provide the base crust, delivering a unique caramelized flavor; substitute with graham crackers if necessary.
• Unsalted Butter – Binds the crust together for a rich flavor; use any neutral butter as a substitute. -
For the Filling
• Cream Cheese – The main filling ingredient that provides creaminess and structure; must be softened for the best texture.
• Brown Sugar – Adds depth and a hint of molasses flavor; can substitute with coconut sugar for a different taste.
• Granulated Sugar – Sweetens the filling; no direct substitutions recommended.
• Sour Cream – Enhances creaminess and tang in the filling; Greek yogurt can be used as a healthier alternative.
• Biscoff Cookie Butter – Infuses the cheesecake with Biscoff’s signature flavor; opt for smooth or crunchy varieties based on preference.
• Vanilla Extract – Adds aromatic sweetness; homemade vanilla extract enhances flavor.
• Salt – Balances sweetness and enhances flavors in the cheesecake.
• Eggs – Provide structure and stability to the cheesecake; ensure they are at room temperature for proper incorporation. -
For Decoration
• Biscoff Spread – Drizzled over the cheesecake for an intense flavor boost; can swap with chocolate ganache for a different taste.
• Crumpled Biscoff Cookies – Offers visual appeal and additional texture on top of your delicious Biscoff cheesecake.
Step‑by‑Step Instructions for Biscoff Cheesecake
Step 1: Prepare the Crust
Begin by preheating your oven to 325°F (160°C). In a mixing bowl, crush the Biscoff cookies into fine crumbs using a food processor or rolling pin. Combine the crumbs with melted unsalted butter, making sure it is well mixed. Firmly press this mixture into the bottom of an 8” or 9” springform pan, ensuring an even layer. Bake the crust for 10 minutes, then remove from the oven and let cool while you prepare the filling.
Step 2: Make the Filling
In a large mixing bowl, use a hand mixer or stand mixer to beat the softened cream cheese on medium speed until smooth and creamy. Gradually add in both the brown sugar and granulated sugar, mixing until well combined. Next, add the Biscoff cookie butter, sour cream, vanilla extract, and salt; beat until those ingredients are fully incorporated. To maintain a smooth texture, carefully incorporate the eggs one at a time, mixing on low speed just until each egg is blended in.
Step 3: Bake the Cheesecake
Pour the creamy filling over the cooled Biscoff crust, spreading it evenly with a spatula. To create a water bath, wrap the bottom of the springform pan with aluminum foil to prevent leaks, then place it in a larger roasting pan filled with hot water. Carefully transfer this setup to the preheated oven and bake the cheesecake for 60 to 70 minutes. The edges should be set while the center remains slightly jiggly, indicating it’s ready to be pulled from the oven.
Step 4: Cool
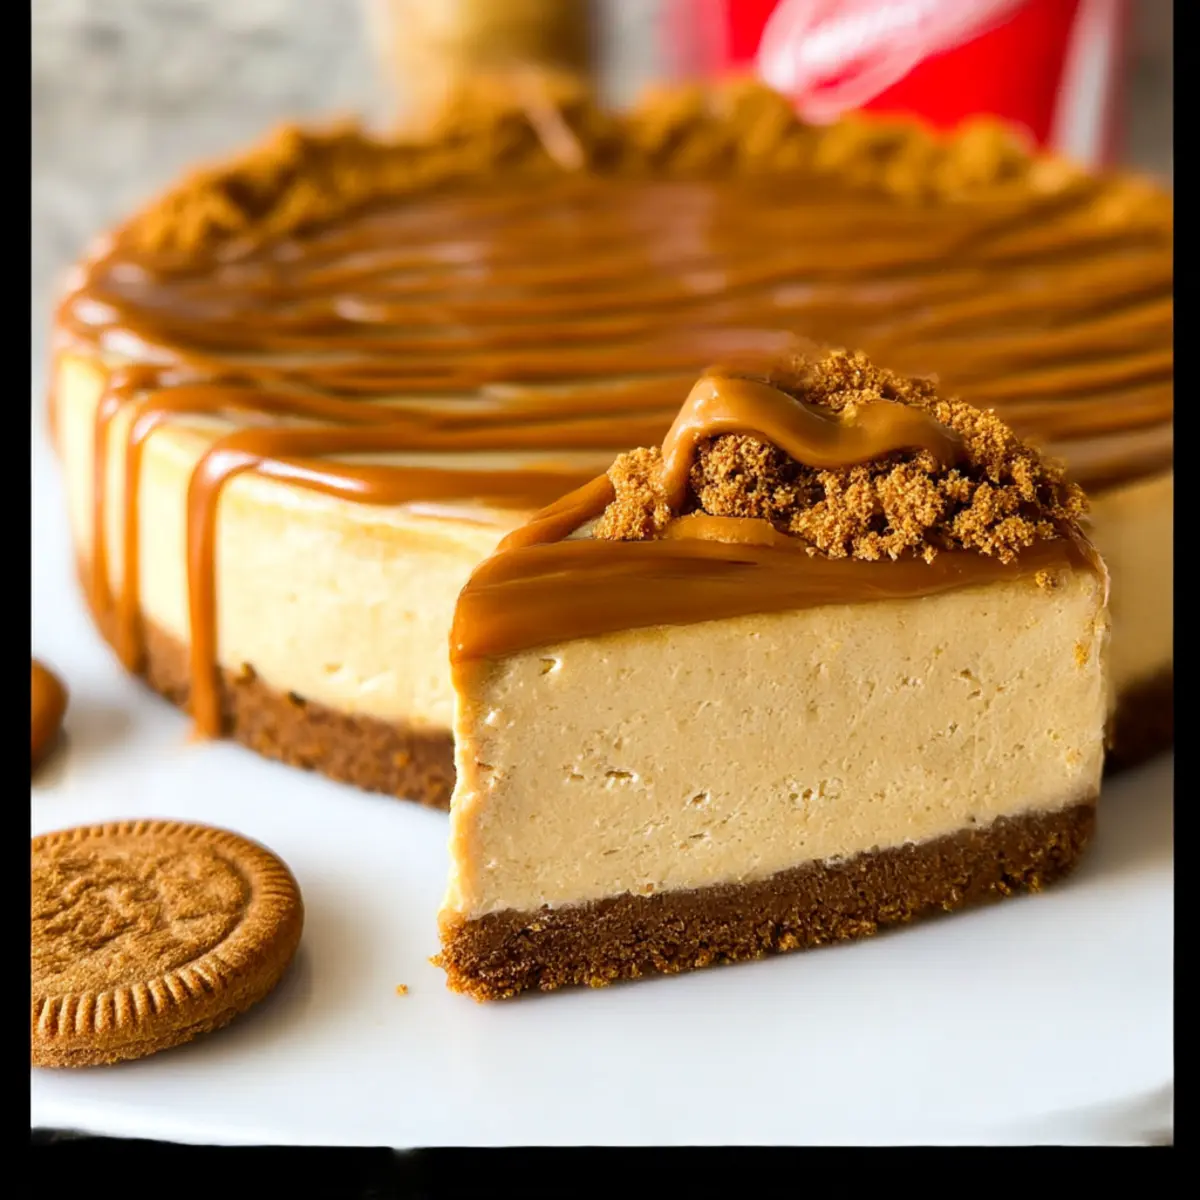
Once baked, turn off the oven and leave the cheesecake inside for an additional hour. This gentle cooling process helps prevent cracking on the surface. After an hour, remove the cheesecake from the oven and take it out of the water bath. Allow it to cool on a wire rack before transferring it to the refrigerator, chilling for at least six hours or overnight to achieve a rich, creamy Biscoff cheesecake.
Step 5: Decorate
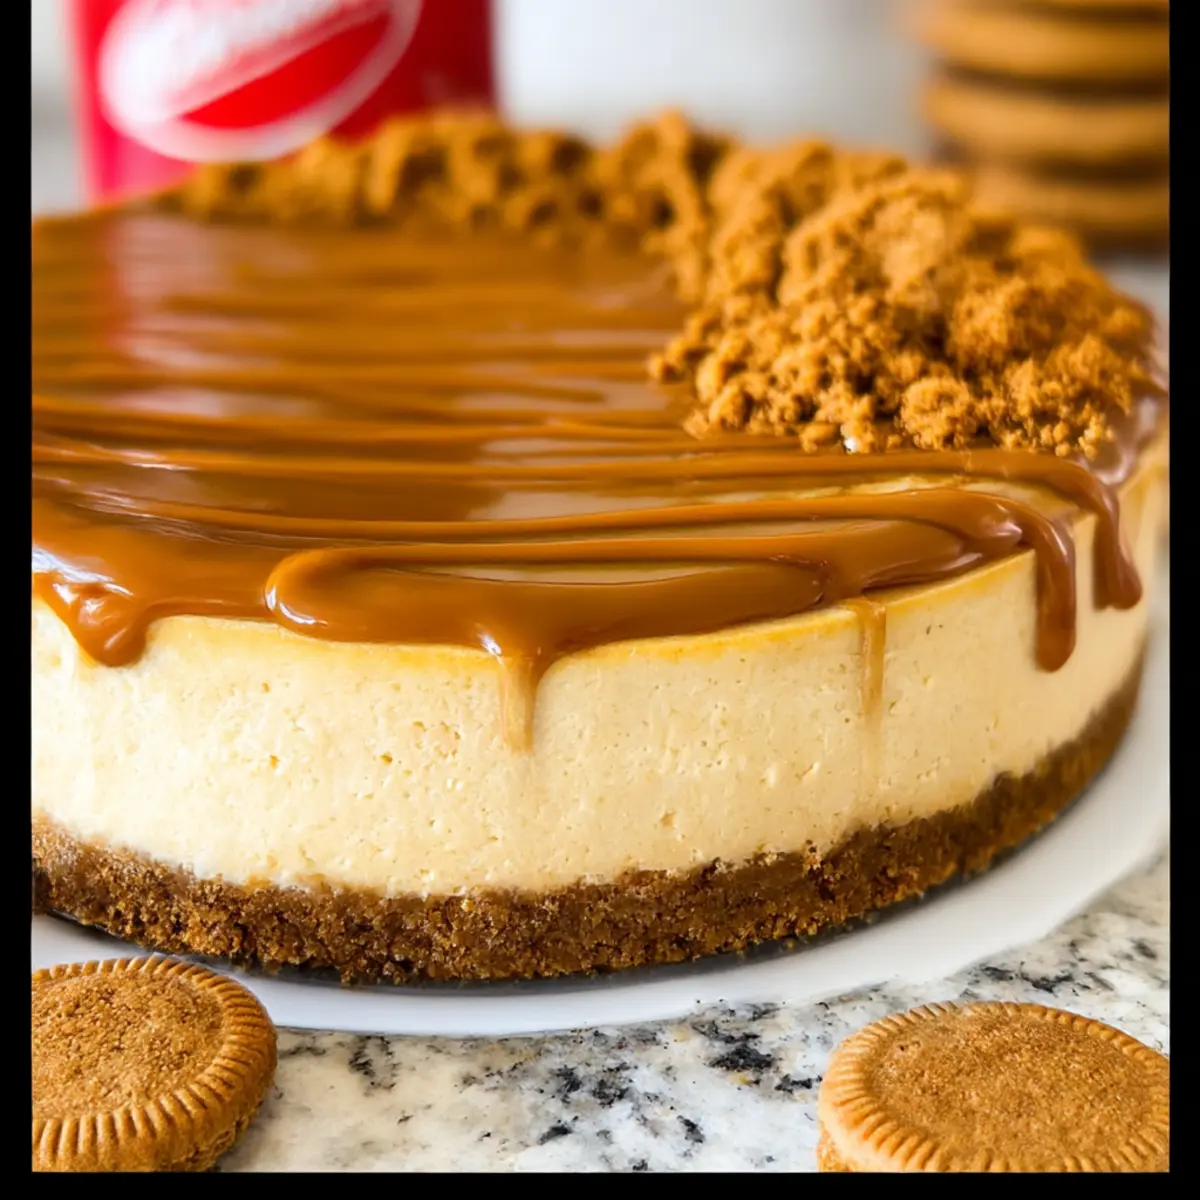
When you’re ready to serve, gently warm up the Biscoff spread until it’s pourable. Drizzle this melted cookie butter generously over the chilled cheesecake, ensuring even coverage for a decadent finish. Finally, sprinkle crumbled Biscoff cookies on top for added texture and visual appeal, making your Biscoff cheesecake not only delectable but also enticing to your guests.
Biscoff Cheesecake Variations & Substitutions
Feel free to get creative and tailor this delightful Biscoff cheesecake to your liking!
-
Graham Cracker Crust: Swap Biscoff cookies for graham crackers to create a classic cheesecake base.
-
Chocolate Infusion: Add melted chocolate to the batter for a decadent chocolate Biscoff cheesecake that’s a chocoholic’s dream.
-
Nutty Flavor Boost: Incorporate crushed almonds or pecans into the crust for an added crunch and a nutty flavor.
-
Sugar-Free Alternative: Use a sugar substitute in place of brown and granulated sugar to make this cheesecake friendlier for sugar-conscious palates.
-
Dairy-Free Option: Replace cream cheese with a vegan cream cheese alternative and use coconut milk in place of sour cream for a delicious dairy-free version.
-
Fluffy Whipped Topping: Top your cheesecake with a layer of whipped cream and sprinkle with extra crumbled cookies for a lovely presentation.
-
Fruit Swirl Variation: Swirl in raspberry or strawberry puree before baking for a refreshing fruity twist that complements the rich flavor. You could even take it a step further and explore a colorful, delicious Velvet Strawberry Cheesecake for an alternative dessert idea!
-
Seasonal Spice: Incorporate a pinch of cinnamon or nutmeg into the filling for a seasonal twist that brings warmth to every slice.
Each variation brings a new layer to this already indulgent cheesecake—happy experimenting!
What to Serve with Creamy Biscoff Cheesecake?
Elevate your dessert experience by crafting a delightful meal around this indulgent cheesecake, bringing joy and warmth to your table.
-
Fresh Berries: Nestled alongside the cheesecake, vibrant strawberries or blueberries provide a refreshing burst of color and acidity that balances the rich flavors.
-
Whipped Cream: A light, airy dollop enhances the cheesecakes’ creaminess, creating a perfect contrast that brings out the spiced notes of Biscoff.
-
Chocolate Sauce: Drizzling a rich chocolate sauce adds a luscious layer of sophistication, making each slice even more decadent and irresistible.
-
Nutty Granola: A sprinkle of homemade granola offers crunch and texture, creating an exciting interplay between creamy and crispy that enhances the overall dessert experience.
-
Coffee: A warm cup of coffee served alongside brings a lovely contrast to the sweetness of the cheesecake, accentuating the dessert’s flavor profile beautifully.
-
Caramel Sauce: This silky sauce drizzled on top amplifies sweetness while introducing a new dimension of flavor, complementing the warm spices in the cheesecake perfectly.
-
Ice Cream: Creamy vanilla or caramel ice cream adds a delightful chill that contrasts with the cheesecake’s warmth, offering a luxurious treat ideal for loved ones.
-
Mint Sprigs: A sprig of fresh mint not only adds a pop of color but also a hint of refreshing herbal brightness making each bite feel light and rejuvenating.
Expert Tips for Biscoff Cheesecake
- Room Temperature Ingredients: Ensure all dairy ingredients, especially cream cheese and eggs, are at room temperature for a smooth batter. Cold ingredients can cause lumps.
- Avoid Overmixing: Mix the filling only until ingredients are combined; overmixing can introduce air and lead to cracks during baking.
- Water Bath Method: Always use a water bath while baking to create a gentle heat and prevent cracking, resulting in a beautifully creamy Biscoff cheesecake.
- Cooling Technique: Leave the cheesecake in the oven with the door slightly ajar after baking for an hour to gradually cool down, preventing sudden temperature changes.
- Decoration Tips: Warm the Biscoff spread slightly before drizzling to achieve an even, glossy finish, enhancing both flavor and presentation.
Storage Tips for Biscoff Cheesecake
- Fridge: Store the Biscoff cheesecake covered in the refrigerator for up to 5 days to maintain its creamy texture and delightful flavor.
- Freezer: For longer storage, wrap the cheesecake tightly in plastic wrap and aluminum foil, then freeze for up to 2 months to prevent freezer burn.
- Thawing: When ready to enjoy, thaw the cheesecake overnight in the fridge before serving, ensuring the texture remains smooth and luscious.
- Reheating: Though typically served cold, you can warm individual slices in the microwave for about 10-15 seconds if desired—just don’t overheat to keep its integrity intact!
Make Ahead Options
These Biscoff Cheesecake preparations are a dream for busy home cooks! You can prepare the cheesecake filling and crust up to 24 hours in advance. To do this, make the crust and bake it, then allow it to cool completely. In a separate bowl, follow the steps to mix the filling, ensuring it’s well incorporated. Once the filling is done, pour it into the cooled crust and cover tightly with plastic wrap before refrigerating. To maintain that decadent creaminess, keep the cheesecake chilled until you’re ready to bake. When you’re ready to serve, simply pop it in the oven for 60-70 minutes and follow the cooling instructions. Enjoy a rich, indulgent dessert with minimal last-minute effort!
Biscoff Cheesecake Recipe FAQs
How do I select ripe ingredients for this recipe?
Absolutely! When choosing your ingredients, make sure your cream cheese is fully softened—this ensures a smooth texture. Also, opt for Biscoff cookies that are crisp and fresh, which will impart the best flavor to your crust. For sour cream, aim for full-fat versions as they provide a richer taste; low-fat alternatives can change the cheesecake’s consistency.
What is the best way to store leftover Biscoff cheesecake?
Very! To keep your Biscoff cheesecake fresh, store it covered in the refrigerator for up to 5 days. Ensuring it is well-covered will prevent it from absorbing any odors from the fridge. If you want to enjoy it later, wrap it tightly in plastic wrap followed by aluminum foil and freeze for up to 2 months. This prevents freezer burn and keeps its luscious texture intact.
Can I freeze the Biscoff cheesecake? How should I do it?
The more the merrier! To freeze your cheesecake, first, let it cool completely in the fridge. Once cold, wrap it tightly in plastic wrap, making sure there are no air pockets. Then, cover it with aluminum foil for extra protection against freezer burn. When you’re ready to enjoy, thaw it in the refrigerator overnight. It will remain creamy and delicious, just like when it was freshly made!
What if my cheesecake cracks while baking?
Absolutely! If your cheesecake cracks, it can be quite disappointing, but don’t fret. This often happens due to a sudden change in temperature or overmixing. To prevent this, ensure you use a water bath to maintain a gentle baking environment. Also, avoid mixing the batter too vigorously once the eggs are added. If you do happen to have cracks, you can cover them with Biscoff spread or crumbled cookies for a beautiful disguise!
Is this Biscoff cheesecake safe for pets or those with allergies?
Very! While this dessert is a delight for us humans, it contains ingredients that may not be safe for pets, such as chocolate and sugar, especially for dogs—so keep it away from them. If you’re considering allergies, remember that cream cheese incorporates dairy, which some may be intolerant to. Always check for allergies when serving this delicious cheesecake to guests!
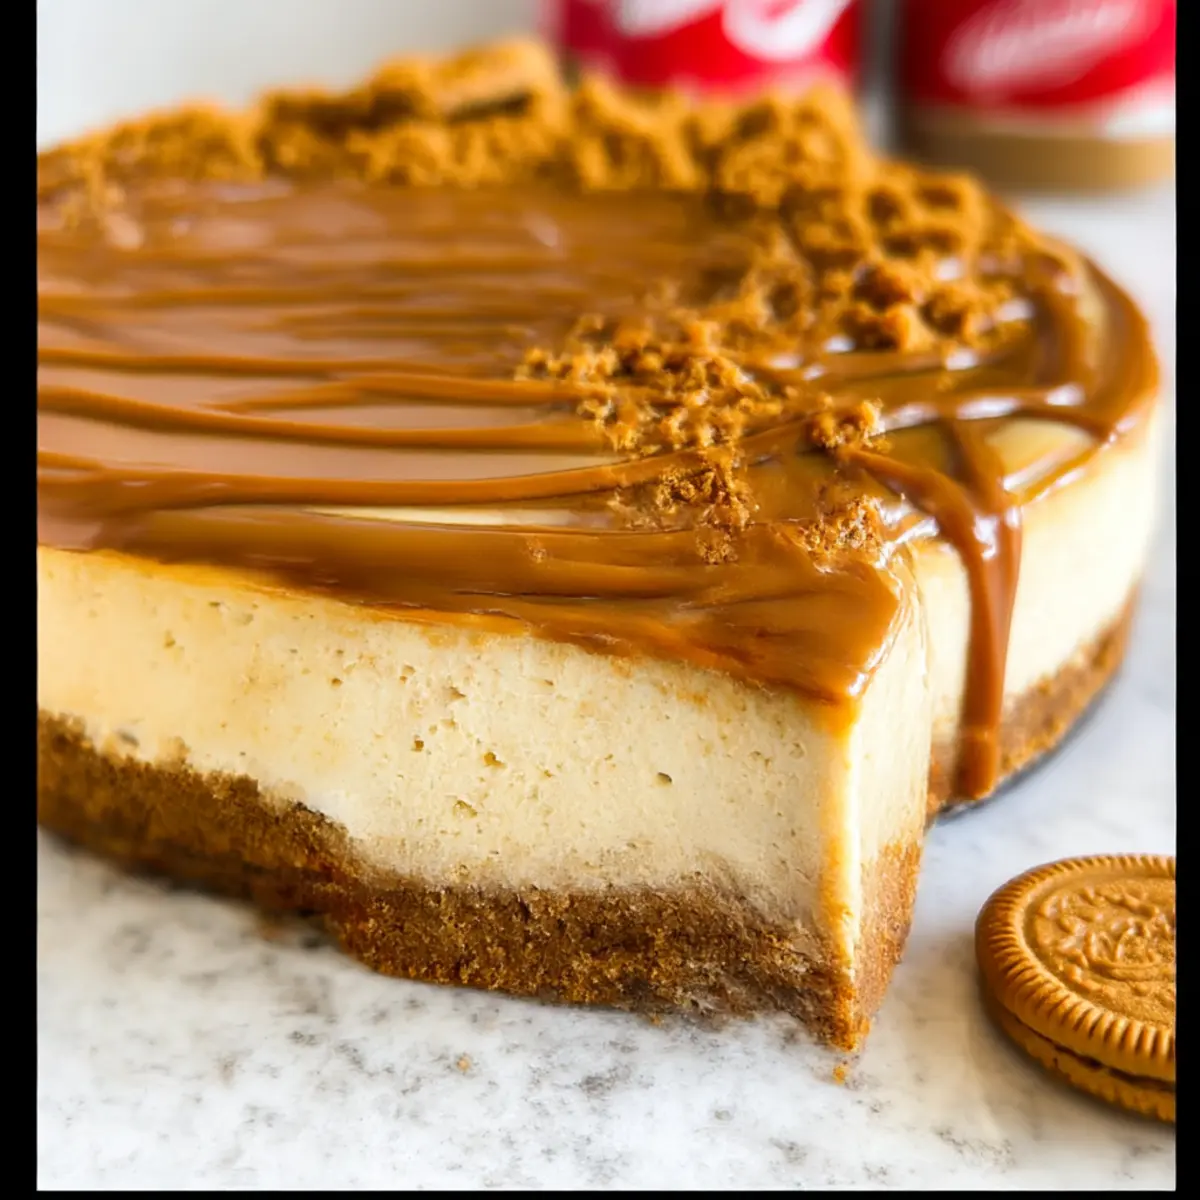
Irresistibly Creamy Biscoff Cheesecake to Indulge In
Ingredients
Equipment
Method
- Preheat your oven to 325°F (160°C). Crush the Biscoff cookies into fine crumbs and mix with melted butter. Press into the bottom of a springform pan and bake for 10 minutes.
- In a mixing bowl, beat the cream cheese until smooth. Gradually add the brown sugar and granulated sugar, mixing well. Add the cookie butter, sour cream, vanilla, and salt; mix until combined. Incorporate eggs one at a time.
- Pour the filling over the crust, spreading evenly. Wrap the pan in foil and place in a larger pan filled with hot water. Bake for 60-70 minutes until edges are set and the center is slightly jiggly.
- Turn off the oven and leave the cheesecake inside for 1 hour. Remove from the oven and water bath, then cool on a wire rack before chilling in the refrigerator for at least 6 hours.
- Warm the Biscoff spread until pourable. Drizzle over the cheesecake and sprinkle with crumbled cookies before serving.
Leave a Reply