
While flipping through travel pictures, I stumbled upon a vibrant street market in Tokyo, bursting with enticing aromas and sizzling sounds. This memory inspired me to recreate the magic of Beef Yakiniku, a delightful Japanese-style grilled beef dish that brings the thrill of outdoor grilling right into my kitchen. What I love most about this quick meal is its ability to deliver bold flavors with minimal fuss, making it perfect for those busy weeknights when you crave something exciting yet simple. With tender, marinated beef caramelized to perfection and served over fluffy rice with fresh veggies, it’s not just a protein-rich dinner; it’s a feast for the senses. Are you ready to fire up your grill and dive into the delicious world of Beef Yakiniku?
Why is Beef Yakiniku a must-try?
Bold Flavors: The savory-sweet marinade creates a delightful blend that makes each bite a flavorful journey.
Quick Preparation: Ready in just 30 minutes, this dish is perfect for those hectic weeknights.
Protein-Packed: Made with tender beef, it’s a hearty meal that fuels your day.
Personal Touch: Customize it with seasonal vegetables or substitute proteins like chicken or tofu for a unique twist!
Sizzling Sensation: Enjoy the thrill of grilling indoors, creating a fun dining experience for the whole family. For a deliciously rich side, try pairing it with Caramelized Pulled Beef to elevate your meal!
Beef Yakiniku Ingredients
-
For the Marinade
-
Flank or Skirt Steak – 750 g (1.65 lbs), sliced against the grain for tenderness.
-
Light Soy Sauce – 80 ml (⅓ cup); provides umami and moisture, or swap with tamari for a gluten-free option.
-
Gochujang (Korean Red Chili Paste) – ½ tbsp; adds a kick of heat, adjust to your spice preference.
-
Mirin – 1 tbsp; sweetens and deepens flavor, can be replaced with rice vinegar mixed with sugar.
-
Minced Ginger – 2 tsp; boosts aroma and flavor; ginger paste works too if you’re in a pinch.
-
Garlic Powder or Garlic Paste – ½ tsp or 1 tsp, respectively; gives aromatic richness, tweak it to your taste.
-
Sesame Oil – 1 tbsp; lends a nutty flavor; try vegetable oil for a lighter finish.
-
Neutral Oil (e.g., avocado or rapeseed) – 1 tbsp; essential for high-heat cooking without smoking.
-
Light Brown Sugar – 4 tbsp; balances the dish with sweetness; granulated sugar or honey can work as a substitute.
-
To Serve
-
Sesame Seeds – for that perfect crunch and garnish.
-
Boiled Rice – a wonderful base to enjoy your Beef Yakiniku over.
-
Chopped Cucumber and Tomato – adds a refreshing crunch and vibrant color to your plate.
Dive into this delightful recipe, and let the magic of Beef Yakiniku transform your home cooking!
Step‑by‑Step Instructions for Beef Yakiniku
Step 1: Prepare the Marinade
In a medium-sized bowl, combine 80 ml of light soy sauce, ½ tablespoon of gochujang, 1 tablespoon of mirin, 2 teaspoons of minced ginger, ½ teaspoon of garlic powder (or 1 teaspoon of garlic paste), 1 tablespoon of sesame oil, 1 tablespoon of neutral oil, and 4 tablespoons of light brown sugar. Whisk the ingredients together until the sugar is dissolved and the mixture is well combined, ensuring a harmonious blend of flavors for your Beef Yakiniku.
Step 2: Marinate the Beef
Add 750 grams of thinly sliced flank or skirt steak to the marinade, making sure each piece is thoroughly coated. For the best results, let the beef marinate in the refrigerator for at least 30 minutes to absorb the flavors; however, for deeper taste, allow it to sit for up to 24 hours. This step is key to achieving tender and flavorful Beef Yakiniku that your family will love.
Step 3: Preheat Your Cooking Surface
While the beef is marinating, preheat your grill or wok over high heat for about 5 minutes. If you’re using a grill, ensure it reaches a very hot temperature, as this helps to sear the beef and adds that delicious caramelized texture. You can test the heat by sprinkling a few drops of water on the surface—if they sizzle and evaporate almost immediately, it’s good to go for your Beef Yakiniku.
Step 4: Cook the Beef in Batches
Once preheated, grill or stir-fry the marinated beef slices in batches to avoid overcrowding, which prevents steaming. Cook each batch for 2-3 minutes on each side until the beef is fully cooked and exhibits a beautiful caramelized exterior. You’ll know it’s ready when the edges start to brown and the meat has a slightly glossy finish, making your Beef Yakiniku irresistibly inviting.
Step 5: Serve and Garnish
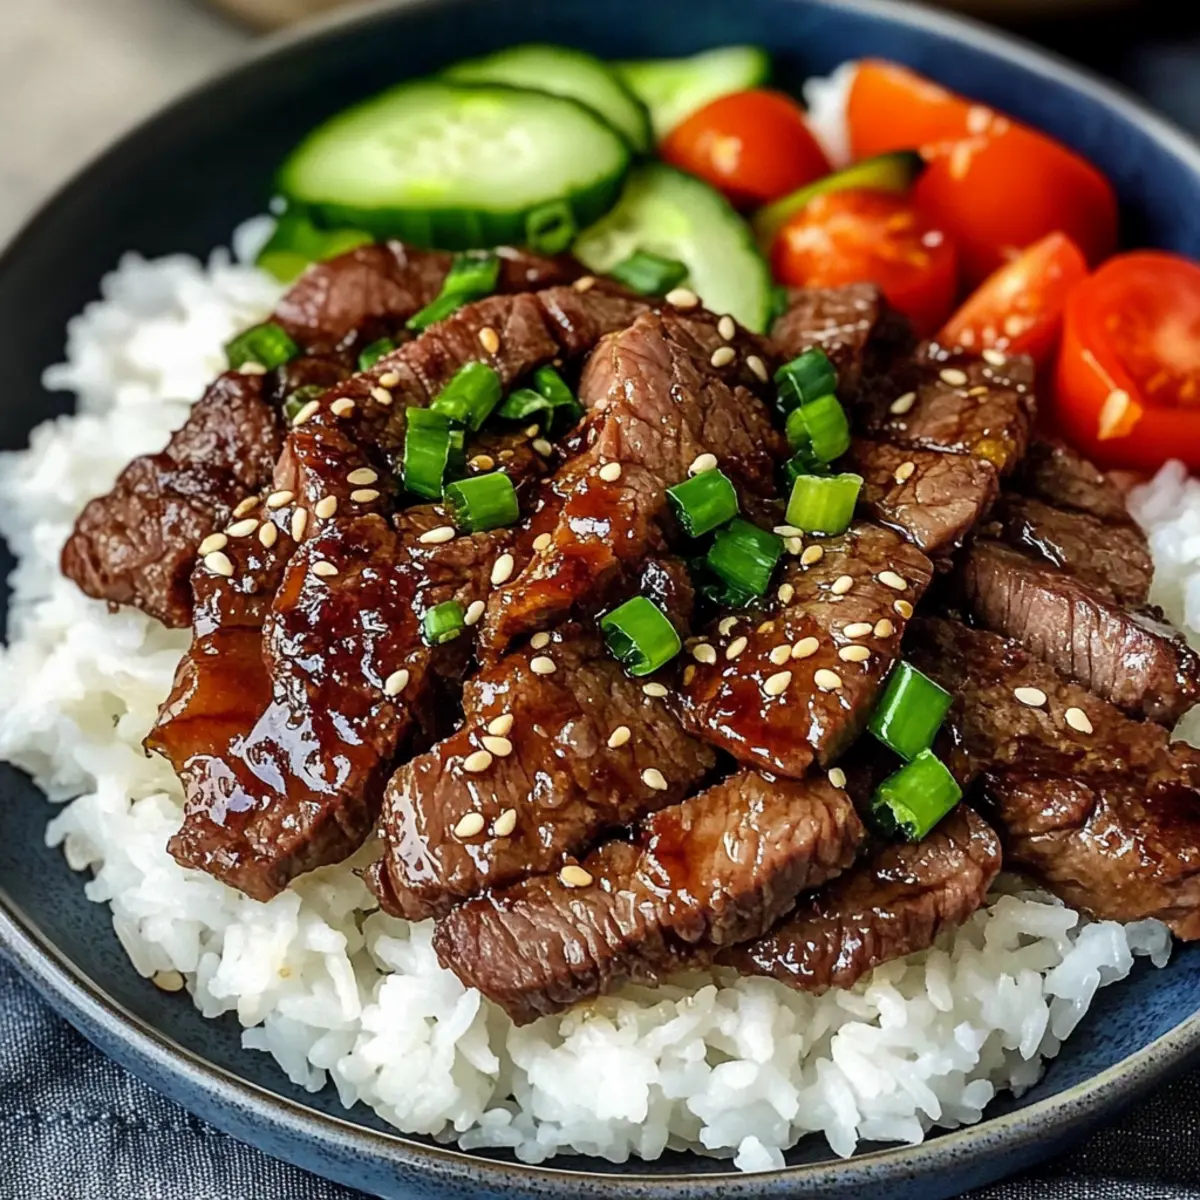
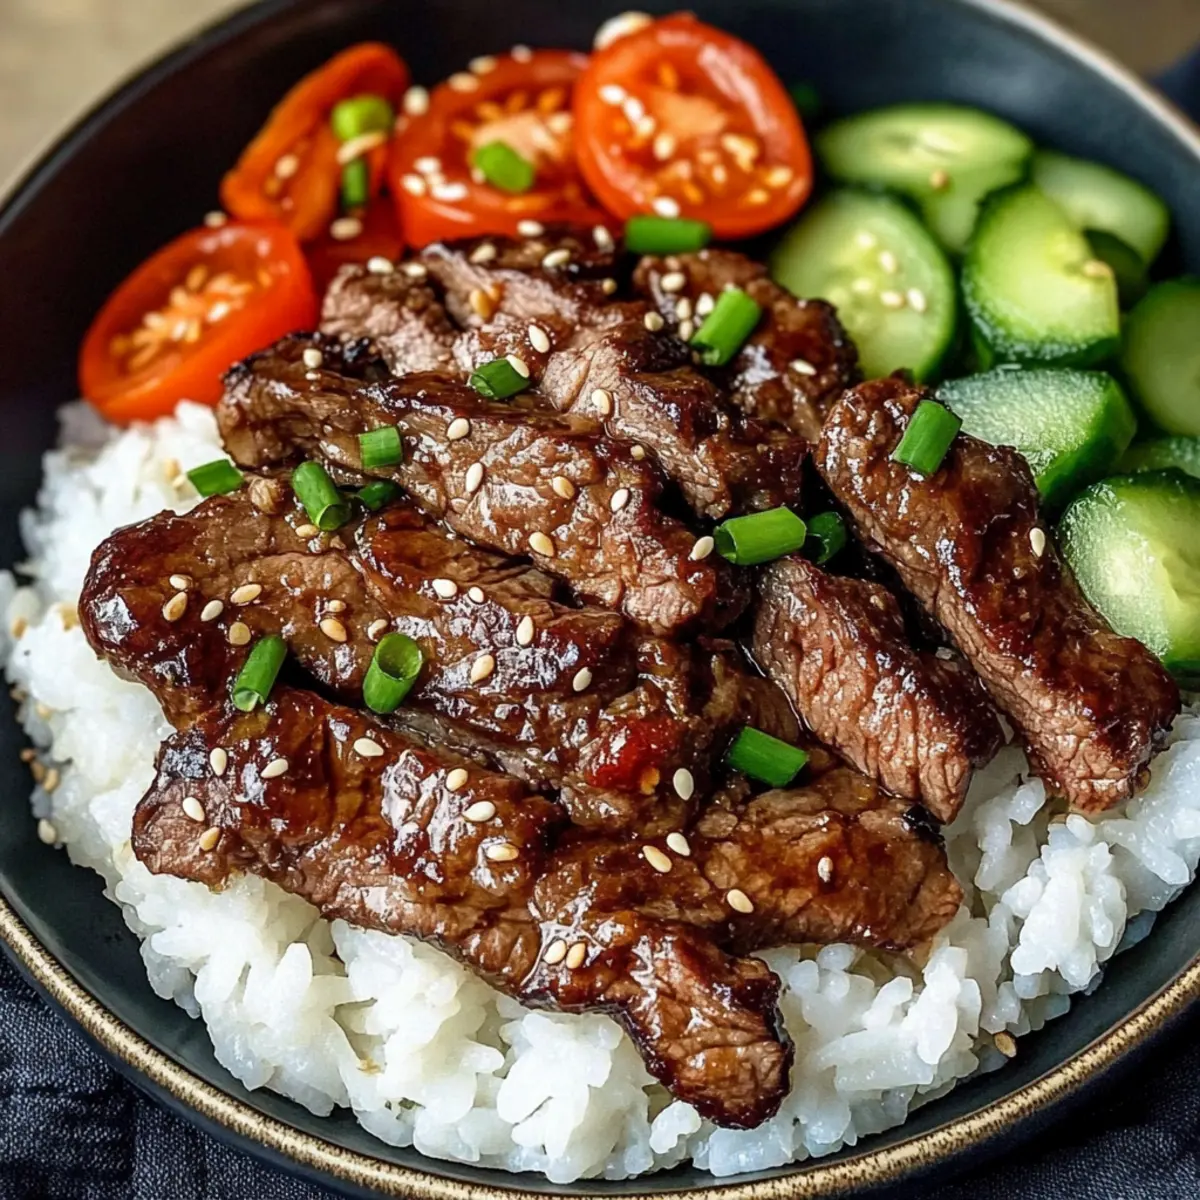
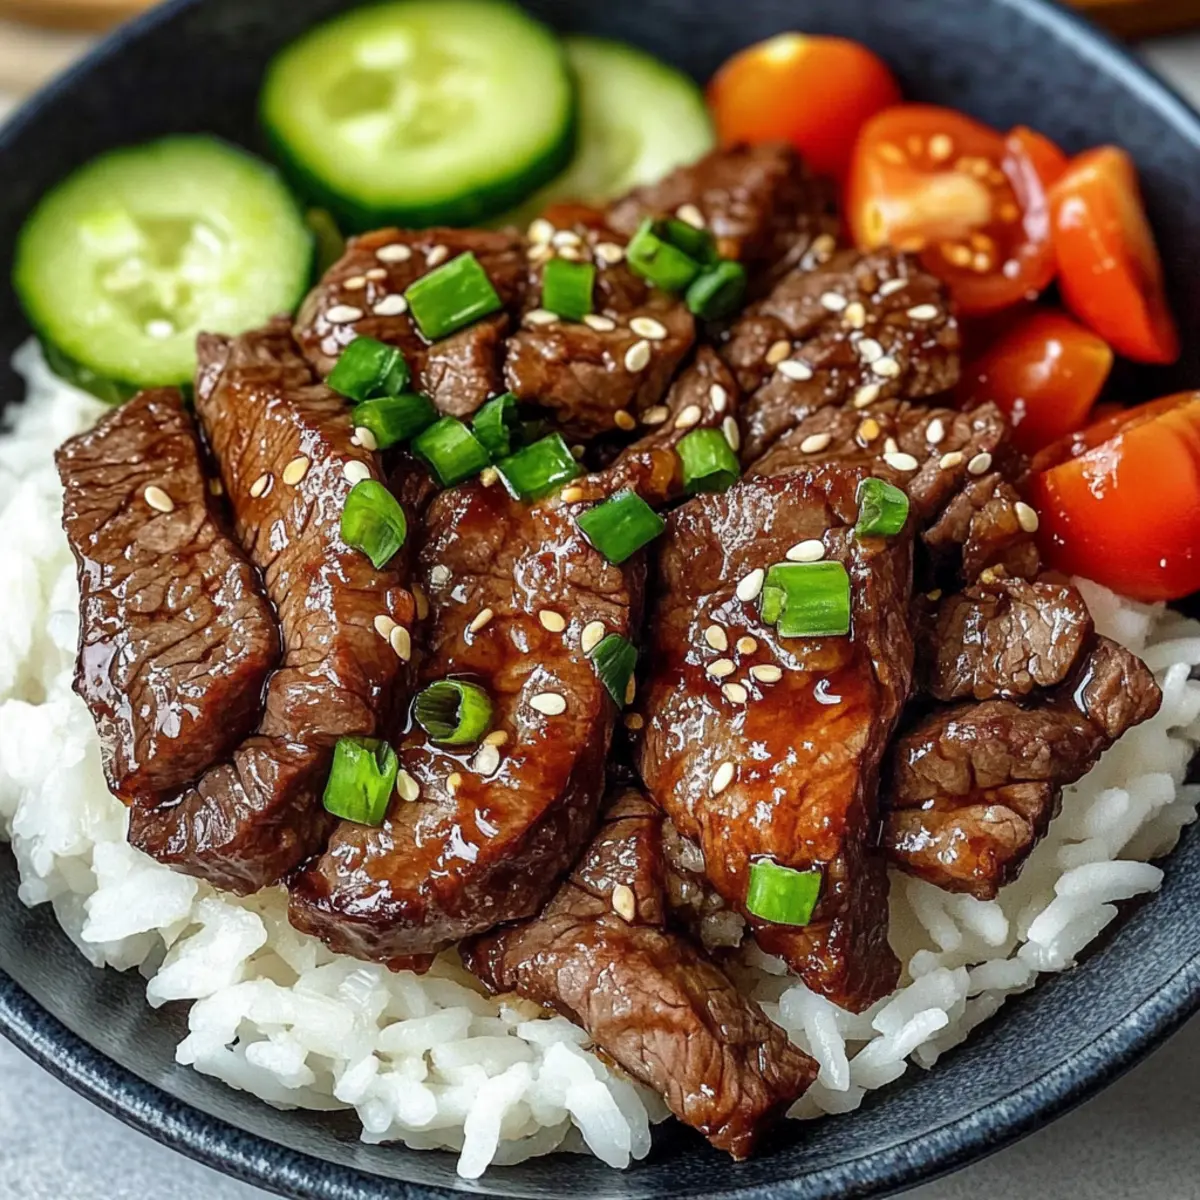
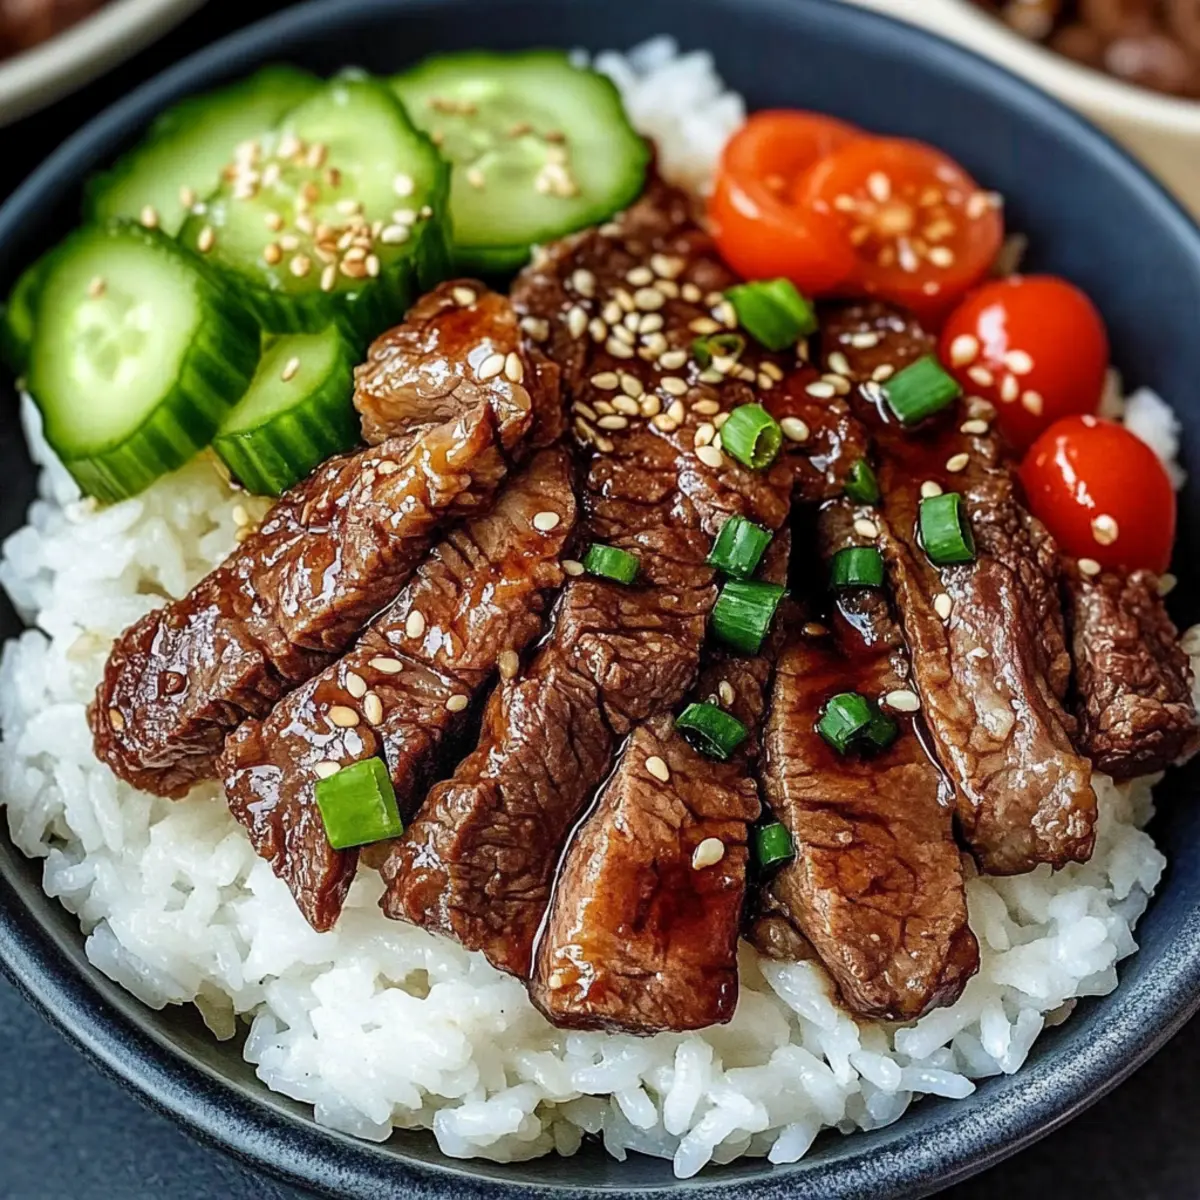
After cooking, serve the tender Beef Yakiniku hot over a bed of boiled rice. Sprinkle sesame seeds on top for a delightful crunch and garnish with freshly chopped cucumber and tomatoes for a refreshing contrast. This vibrant presentation not only enhances the dish’s appeal but elevates the overall flavor experience, turning each meal into a special occasion.
Beef Yakiniku Variations & Substitutions
Feel free to mix and match flavors and ingredients to make this dish your own!
- Dairy-Free: Use vegetable oil instead of sesame oil for a lighter flavor while keeping it rich in taste.
- Gluten-Free: Swap light soy sauce for tamari, ensuring everyone can enjoy this delicious meal!
- Spice It Up: Increase the gochujang to 1 tablespoon for more heat or add sliced fresh chili for an extra kick.
- Vegetable Boost: Grill or stir-fry seasonal vegetables like bell peppers or zucchini alongside the beef for added nutrients and color.
- Different Proteins: Substitute flank or skirt steak with thinly sliced chicken breast or firm tofu for a delightful variation.
- Sweetness Swap: Try using honey or maple syrup instead of brown sugar for a different sweet dimension!
- Rice Alternative: Serve over quinoa or cauliflower rice for a low-carb twist while keeping it satisfying.
- Flavor Infusion: For a burst of freshness, add chopped scallions or cilantro as a lively garnish, enhancing the dish visually and aromatically.
By experimenting with these variations, you can create a personalized Beef Yakiniku experience each time you cook. And if you’re up for more umami flavors, consider pairing with delicious Caramelized Pulled Beef to balance out your meal!
How to Store and Freeze Beef Yakiniku
-
Fridge: Store leftover cooked Beef Yakiniku in an airtight container for up to 3 days. Let the dish cool to room temperature before sealing to maintain freshness.
-
Freezer: For longer storage, freeze cooked Beef Yakiniku in a sealed freezer bag or container. It stays good for up to 3 months; just remember to label it with the date!
-
Reheating: When ready to enjoy again, thaw the beef in the refrigerator overnight. Reheat in a skillet over medium heat until warmed through, adding a splash of water or broth to restore moisture.
-
Marinated Beef: Leftover marinated beef can be kept in the fridge for up to 1 day before cooking. Be sure to keep it well-covered to prevent any loss of flavor.
Expert Tips for Beef Yakiniku
-
Marinate Wisely: Marinate your beef for at least 30 minutes, but no more than 24 hours. Over-marinating can lead to a mushy texture, impacting the flavor of your Beef Yakiniku.
-
High Heat is Key: Ensure your grill or wok is very hot before cooking; this prevents steaming and helps achieve that sought-after caramelized finish on your beef.
-
Batch Cooking: Avoid overcrowding the cooking surface. Grill or stir-fry the beef in small batches for even cooking and better texture, allowing each piece to caramelize beautifully.
-
Customize Spice Levels: Adjust the amount of gochujang in the marinade according to your heat preference. Start with less and add more if you enjoy a spicier Beef Yakiniku.
-
Use Fresh Garnishes: Fresh vegetables like cucumbers and tomatoes not only add color but also enhance the overall flavor, making your dish more enjoyable and nutritious.
Make Ahead Options
Beef Yakiniku is an excellent dish for meal prep, saving you precious time on busy weeknights! You can marinate the thinly sliced beef up to 24 hours in advance to allow the flavors to deeply penetrate the meat. Just place the beef in the marinade and refrigerate it until you’re ready to cook. Additionally, you can prepare your rice and chop the cucumber and tomato for serving a day ahead; store these in the refrigerator. When it’s time to serve, simply preheat your grill or wok and cook the marinated beef for 2-3 minutes per side until caramelized. These thoughtful steps ensure your Beef Yakiniku remains just as delicious, offering a hassle-free dinner that impresses with minimal effort!
What to Serve with Beef Yakiniku?
Beef Yakiniku is not just a dish; it’s an experience that beckons for delightful accompaniments. Elevate your meal with these perfect pairings.
-
Fluffy Steamed Rice: This classic staple soaks up the rich marinade, creating a satisfying base for your savory beef.
-
Crisp Cucumber Salad: Light and refreshing, a cucumber salad adds a crunchy contrast and a burst of color to your plate.
-
Stir-Fried Seasoned Veggies: Quick-wok your favorite vegetables like bell peppers and snap peas; they bring color, flavor, and nutrition to your meal.
-
Miso Soup: A warm bowl of miso soup enhances the dining experience, offering umami notes that beautifully complement the flavors in Beef Yakiniku.
-
Pickled Vegetables: Colorful pickles provide a tangy crunch, balancing the savory richness of the beef with a burst of freshness.
-
Sake or Japanese Beer: Pairing your meal with a chilled sake or a light Japanese beer enhances the flavors and adds a cultural touch.
-
Sesame Noodles: These deliciously nutty noodles can serve as a delightful side, offering a different texture and flavor profile to enjoy alongside your grilled beef.
Enjoy crafting a sensational meal around your Beef Yakiniku, and let each bite transport you to the bustling streets of Japan!
Beef Yakiniku Recipe FAQs
What type of beef is best for Beef Yakiniku?
For Beef Yakiniku, I recommend using flank or skirt steak, as these cuts are tender when sliced thinly against the grain. You might also experiment with other thinly sliced beef cuts suitable for stir-frying—there’s no need to limit your culinary creativity!
How long can I store leftover Beef Yakiniku in the fridge?
Leftover cooked Beef Yakiniku can be stored in an airtight container in the refrigerator for up to 3 days. Be sure to let it cool to room temperature before sealing the container to help keep it fresh.
Can I freeze cooked Beef Yakiniku?
Absolutely! For long-term storage, you can freeze cooked Beef Yakiniku in a tightly sealed freezer bag or container. It will stay good for up to 3 months. Always label the bag with the date so you know when to enjoy it again!
How do I reheat frozen Beef Yakiniku?
To reheat frozen Beef Yakiniku, first, thaw it in the refrigerator overnight. Once thawed, heat it in a skillet over medium heat until warmed through. Adding a splash of water or broth will help restore moisture, ensuring your dish remains juicy and flavorful.
Can I use different types of oil for cooking?
Yes! While the recipe calls for neutral oil like avocado or rapeseed, you can use other oils that withstand high heat, such as canola or grapeseed oil. Just ensure the oil has a high smoke point to avoid any unpleasant flavors during cooking.
Is Beef Yakiniku suitable for people with gluten allergies?
Of course! To make Beef Yakiniku gluten-free, simply substitute light soy sauce with tamari. This way, you can enjoy the same mouthwatering flavors while accommodating dietary restrictions. The more, the merrier!
Savory Beef Yakiniku: Quick Japanese Grilling Delight
Ingredients
Equipment
Method
- In a medium-sized bowl, whisk together light soy sauce, gochujang, mirin, minced ginger, garlic powder or paste, sesame oil, neutral oil, and light brown sugar until well combined.
- Add the sliced flank or skirt steak to the marinade, ensuring each piece is thoroughly coated. Marinate in the refrigerator for at least 30 minutes, up to 24 hours.
- Preheat your grill or wok over high heat for about 5 minutes until it's very hot.
- Grill or stir-fry the marinated beef slices in batches for 2-3 minutes on each side until fully cooked and caramelized.
- Serve the Beef Yakiniku hot over boiled rice, garnished with sesame seeds, cucumber, and tomato.
Leave a Reply