
As I pulled the golden-brown chimichangas from the oven, the aroma wafted through my kitchen, immediately bringing smiles to my family’s faces. These Beef and Cheese Chimichangas are not just a meal but a delightful experience, loaded with savory ground beef and melting cheese all wrapped in a crispy shell. What makes this Tex-Mex favorite truly shine is its versatility—you can easily customize it with your favorite beans or even bake them for a healthier option. Perfect for busy weeknights, this quick prep dish pleases taste buds of all ages and can even be made ahead to stock your freezer with comfort. Ready to serve up something delicious and fun? Let’s get rolling!
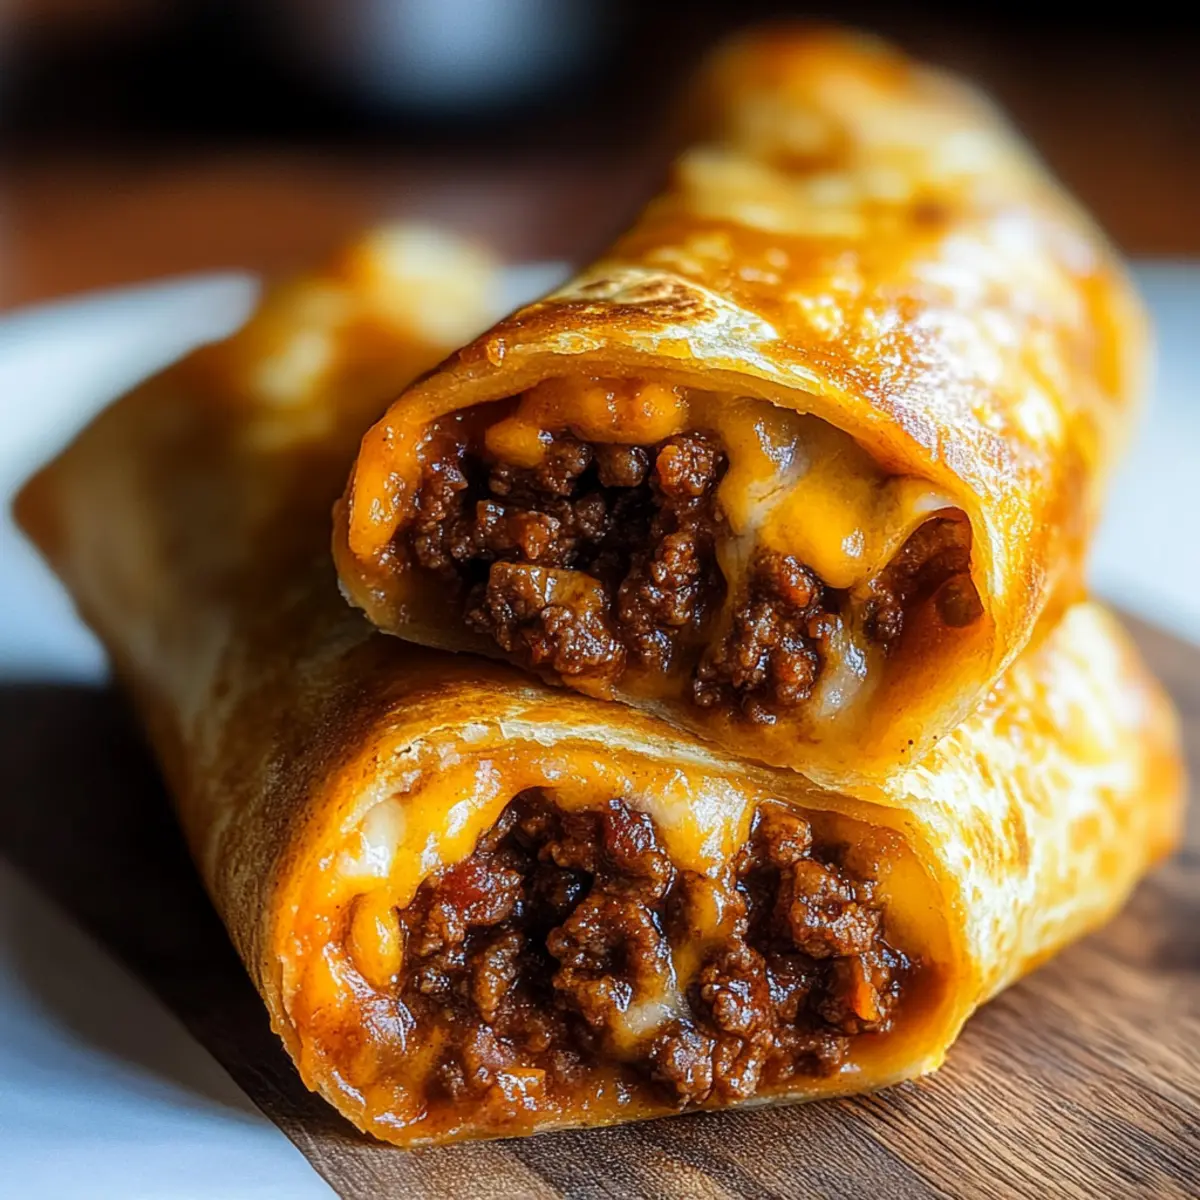
Why are Chimichangas a Family Favorite?
Crispy goodness awaits: These Beef and Cheese Chimichangas come out of the oven golden brown, ready to impress!
Customizable options: Whether you prefer frying or baking, this recipe adapts to your cooking style.
Freezer-friendly delight: Prepare a batch and stash them away for busy nights — just reheat and enjoy!
Kid-approved satisfaction: With ooey-gooey cheese and savory beef, it’s a guaranteed hit for everyone at the table.
Quick prep wonder: In just a few steps, you can create a hearty meal that feels like a treat! Explore more delicious options like Caramelized Pulled Beef or Chicken Mac Cheese for your dinner rotation!
Beef and Cheese Chimichangas Ingredients
• Let’s get ready to roll with flavor!
For the Filling
- Ground Beef – A delicious, savory protein that brings heartiness. Opt for lean beef for a healthier bite.
- Onion – Adds a sweet, aromatic depth. A small, finely diced onion works wonders.
- Garlic – A flavor powerhouse; use 2 cloves, minced, for that aromatic touch.
- Taco Seasoning – The key to Tex-Mex flavor; a packet or homemade mix serves best.
- Salsa – Provides moisture and zest; recommend ½ cup, but tomato sauce makes a great substitute.
- Refried Beans – Creaminess and texture booster; optional but recommended for a richer filling.
For the Cheesy Center
- Shredded Cheese – Choose cheddar, Monterey Jack, or a Mexican blend for that perfect melt; 1½ cups needed.
For Wrapping
- Flour Tortillas – Large, 10-inch tortillas are essential for easy rolling; you’ll need six.
For Cooking
- Vegetable Oil – Needed for frying; use 2 tablespoons for a crispy finish or brush for baking.
Feel free to get creative with these Beef and Cheese Chimichangas ingredients—each bite will transport you straight to a Tex-Mex fiesta!
Step‑by‑Step Instructions for Beef and Cheese Chimichangas Recipe
Step 1: Cook the Filling
In a skillet over medium heat, brown 1 pound of ground beef together with a small, finely diced onion until the beef is no longer pink, about 5-7 minutes. Drain any excess grease, then add 2 minced garlic cloves, a packet of taco seasoning, and ½ cup of salsa. Simmer for 2-3 minutes until heated through, absorbing all the flavors to make a delicious filling for your Beef and Cheese Chimichangas.
Step 2: Assemble the Chimichangas
Take a large, warm 10-inch flour tortilla and spread about ½ cup of refried beans down the center. Layer the beef mixture on top, followed by ¼ cup of shredded cheese. Carefully fold the sides of the tortilla inwards, then roll it up tightly from the bottom to secure the filling. Repeat this process with the remaining tortillas to prepare all the Beef and Cheese Chimichangas.
Step 3: Prepare for Cooking
If you’re frying, heat 2 tablespoons of vegetable oil in a large skillet over medium-high heat until it reaches 350°F (175°C). If you prefer baking, preheat your oven to 400°F (200°C) and line a baking sheet with parchment paper. For both methods, ensure the chimichangas have their seam side down to keep everything closed as they cook.
Step 4: Cook the Chimichangas
For frying, carefully place chimichangas seam-side down in the hot oil, frying them in batches for 2-3 minutes on each side until they are golden brown and crispy. If baking, brush each chimichanga with oil or melted butter, place them on the prepared baking sheet seam-side down, and bake for 20-25 minutes until golden and slightly crispy.
Step 5: Serve and Enjoy
Once cooked, remove the Beef and Cheese Chimichangas from the skillet or oven and let them rest for a few minutes. This makes them easier to handle and allows steam to escape. Garnish with your favorite toppings like sour cream, guacamole, or additional salsa, and serve these delightful bites warm for maximum flavor and enjoyment.
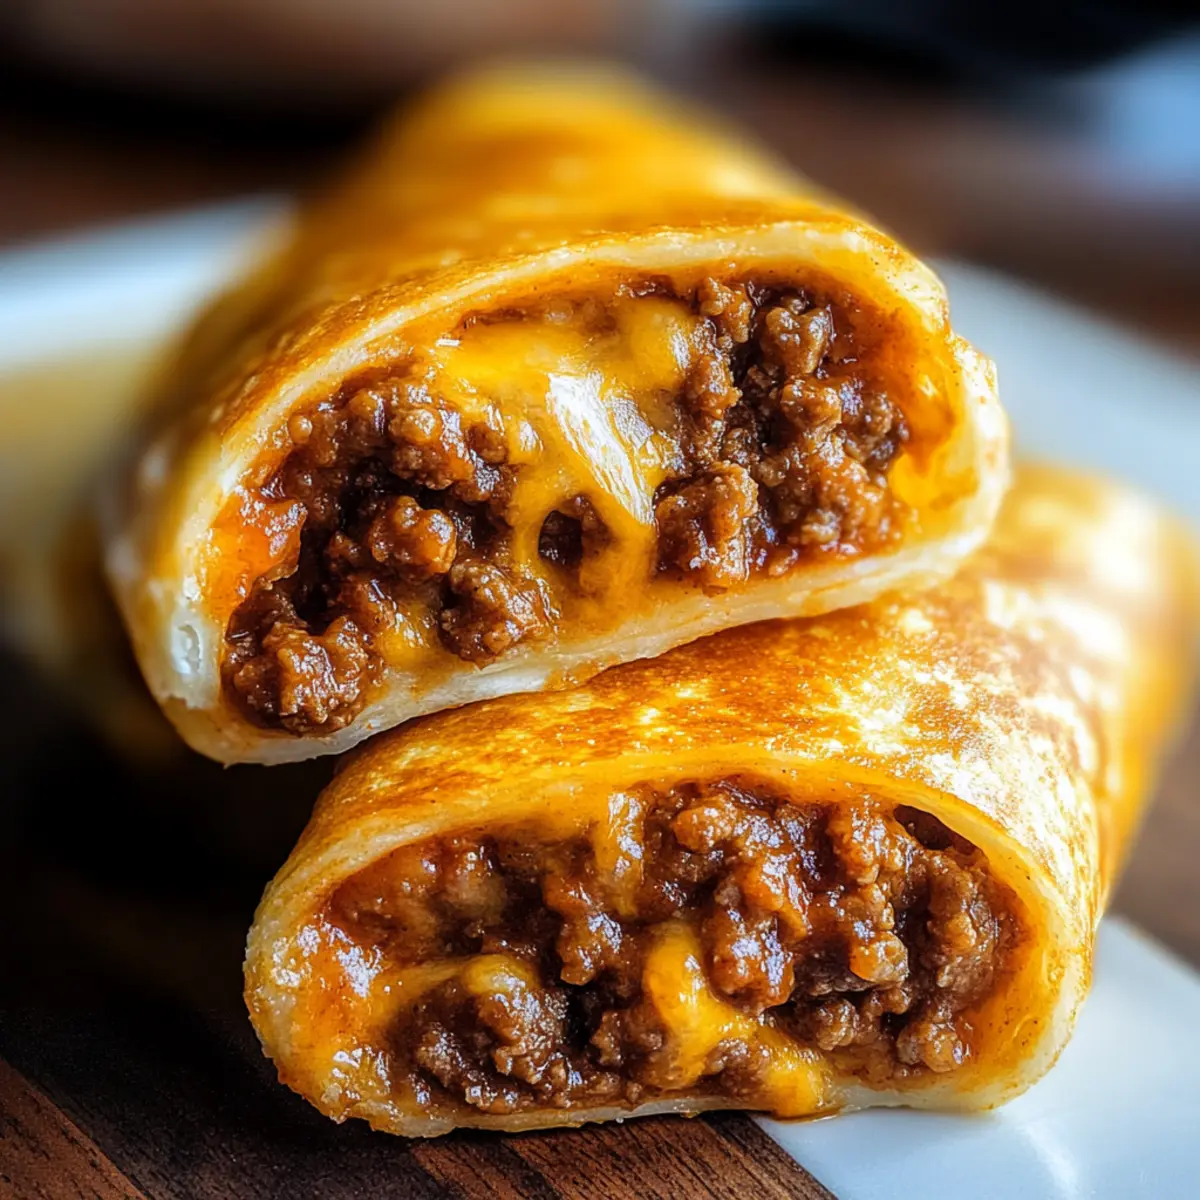
Beef and Cheese Chimichangas Variations
Let your creativity roll with these delightful twists on the classic chimichangas that will tantalize your taste buds!
-
Bean & Beef: Mix refried beans into the beef filling for added creaminess. The combination enhances texture and keeps your bites wonderfully moist.
-
Spicy: Add diced jalapeños or opt for pepper jack cheese to turn up the heat. Feel the warmth as the spicy surprise ignites the dish—adventure awaits in every bite!
-
Breakfast: Swap out the beef for scrambled eggs, cheese, and a sprinkle of herbs. This morning-friendly twist offers a hearty option that’s perfect for brunch gatherings.
-
Vegetarian: Fill your chimichangas with sautéed vegetables or black beans instead of meat. Bursting with flavors, it’s a delicious way to enjoy a meat-free option without sacrificing taste.
-
Sauced Chimichangas: Drizzle with queso dip or enchilada sauce before serving for extra flavor. This adds a delightful creaminess that complements the crunchy exterior beautifully.
-
Low-Carb: Use almond flour or cheese tortillas to create a low-carb version. This satisfying adaptation doesn’t compromise on flavor—perfect for those following a keto diet!
-
Cheesy Garlic: Mix shredded cheese with roasted garlic for a savory filling. Imagine the aroma wafting through your kitchen — pure bliss!
-
BBQ Twist: Incorporate shredded BBQ chicken instead of beef for a smoky flavor. It’s a delightful fusion that gives your chimichangas a sweet and tangy profile reminiscent of summer cookouts.
Try combining a few ideas or explore the options to make each batch a new adventure. And if you’re looking for more inspiration, don’t forget to check out how to enhance flavors with dishes like Baked Cottage Cheese Eggs or indulge in the comfort of Pizza Hut Cheese!
Expert Tips for Beef and Cheese Chimichangas
-
Warm Tortillas First: Heat tortillas slightly before filling to prevent tearing and ensure easy rolling during assembly.
-
Seal Your Chimichangas: Secure seams with toothpicks if needed; this will help keep your filling intact while frying or baking.
-
Avoid Overfilling: Stay within the suggested amounts for each filling ingredient; overfilling can lead to spills during cooking.
-
Frying Temperature Matters: Use a thermometer to maintain oil temperature at 350°F (175°C) for perfectly crispy Beef and Cheese Chimichangas.
-
Make-Ahead Convenience: Prepare chimichangas in advance, store them in the fridge for 2 days, or freeze for up to 2 months—great for quick meals!
How to Store and Freeze Beef and Cheese Chimichangas
Fridge: Store assembled chimichangas in an airtight container for up to 2 days. Keep them tightly wrapped to maintain crispiness when reheating.
Freezer: Freeze uncooked chimichangas in a single layer, then transfer to a zip-top bag for up to 2 months. This makes for a convenient meal later on!
Reheating: Bake frozen chimichangas directly from the freezer at 400°F (200°C) for about 25-30 minutes until heated through and crispy.
Make-Ahead: Prepare chimichangas ahead of time—just store them in the fridge or freezer until ready to cook and serve, savoring the deliciousness at your convenience!
Make Ahead Options
These Beef and Cheese Chimichangas are perfect for meal prep enthusiasts! You can assemble the chimichangas up to 24 hours in advance by preparing the filling and wrapping them tightly in plastic wrap. Store them in the refrigerator to keep them fresh. If you want to make them even earlier, assembled chimichangas can be frozen for up to 2 months—just be sure to seal them in an airtight container. When you’re ready to enjoy them, simply cook from frozen or refrigerated: Fry for 2-3 minutes per side or bake at 400°F (200°C) for 25-30 minutes until golden. This way, you’ll have restaurant-quality results with minimal effort, making your busy weeknights feel a little more manageable!
What to Serve with Beef and Cheese Chimichangas
Elevate your dinner experience with vibrant sides that perfectly complement the crispy, indulgent flavors of your chimichangas.
- Spanish Rice: This fluffy, seasoned rice adds a delightful texture and balances the richness of the chimichangas.
- Fresh Garden Salad: Crisp lettuce and ripe tomatoes tossed in a zesty dressing provide a refreshing contrast, brightening every bite.
A salad also introduces a lovely crunch, making each mouthful feel light and fulfilling!
- Guacamole: Creamy and flavorful, guacamole pairs beautifully, adding a silky layer that enriches the overall meal.
- Sour Cream: A dollop of cool, tangy sour cream cuts through the richness, creating a harmonious blend of flavors.
- Margaritas: Celebrate your Tex-Mex night with a tall glass of this refreshing drink; the citrus notes enhance the meal’s spices.
- Churros: Treat your family to a sweet conclusion with these crispy, cinnamon-sugar delights that provide the perfect contrast to the savory chimichangas.
Offering tasty options like these not only enhances the meal but also creates a memorable dining experience for everyone at the table!
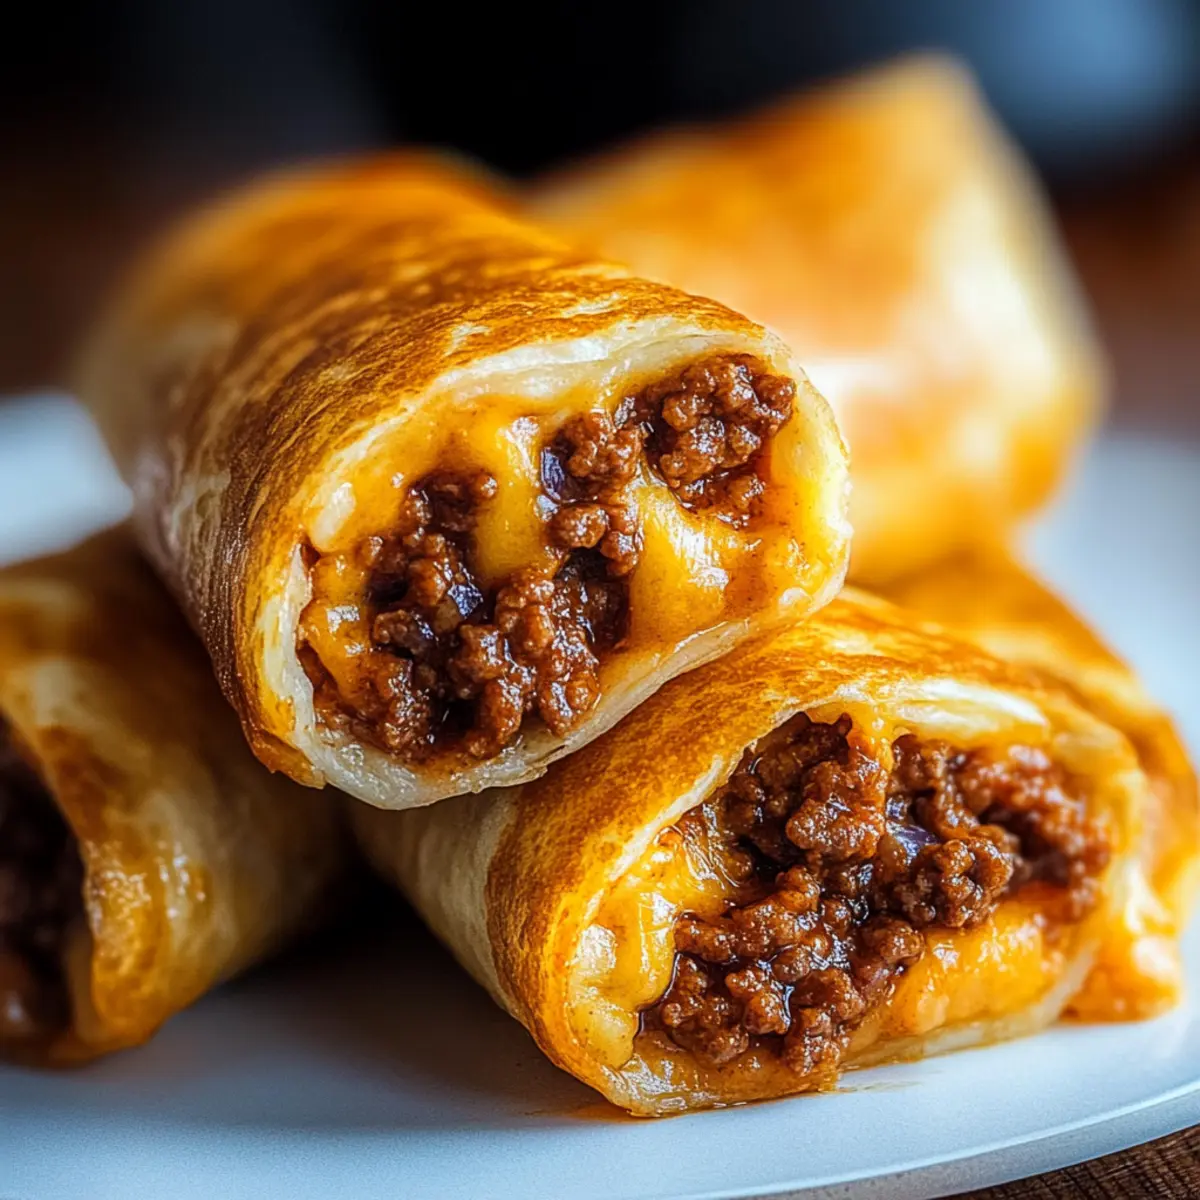
Beef and Cheese Chimichangas Recipe FAQs
What type of ground beef should I use?
Absolutely! For the best flavor and texture in your Beef and Cheese Chimichangas, I recommend using lean ground beef. This cut will give you a deliciously savory filling without too much grease.
How should I store leftover chimichangas?
After enjoying your chimichangas, store any leftovers in an airtight container in the fridge for up to 3 to 4 days. Just make sure they are tightly wrapped to maintain that delightful crunch when reheated!
Can I freeze my chimichangas? How?
Yes, you can! To freeze your Beef and Cheese Chimichangas, assemble them fully, then lay them out in a single layer on a baking sheet. Freeze until solid, about 2-3 hours, and then transfer them to a zip-top bag. They’ll keep in the freezer for up to 3 months. Simply bake from frozen whenever cravings hit!
What if my chimichangas keep spilling open while cooking?
No worries! If your chimichangas aren’t staying closed, try securing the seams with toothpicks before frying or baking. Also, ensure you’re not overfilling them, as this can lead to messy spills. A little bit of patience goes a long way in keeping those delicious fillings securely wrapped!
Are there any dietary considerations for this recipe?
Definitely! If you have dietary restrictions, you can customize your Beef and Cheese Chimichangas. For gluten-free options, use corn tortillas instead of flour. For a vegetarian version, swap the beef for sautéed vegetables or black beans. Always double-check ingredient labels to avoid allergens, especially with cheese and seasonings!
How long can I keep the uncooked chimichangas in the fridge?
You can assemble your chimichangas and keep them in the fridge for up to 2 days before cooking. Just make sure to cover them tightly with plastic wrap or store them in a container to prevent them from drying out. Enjoy the ease of a quick and delicious meal!
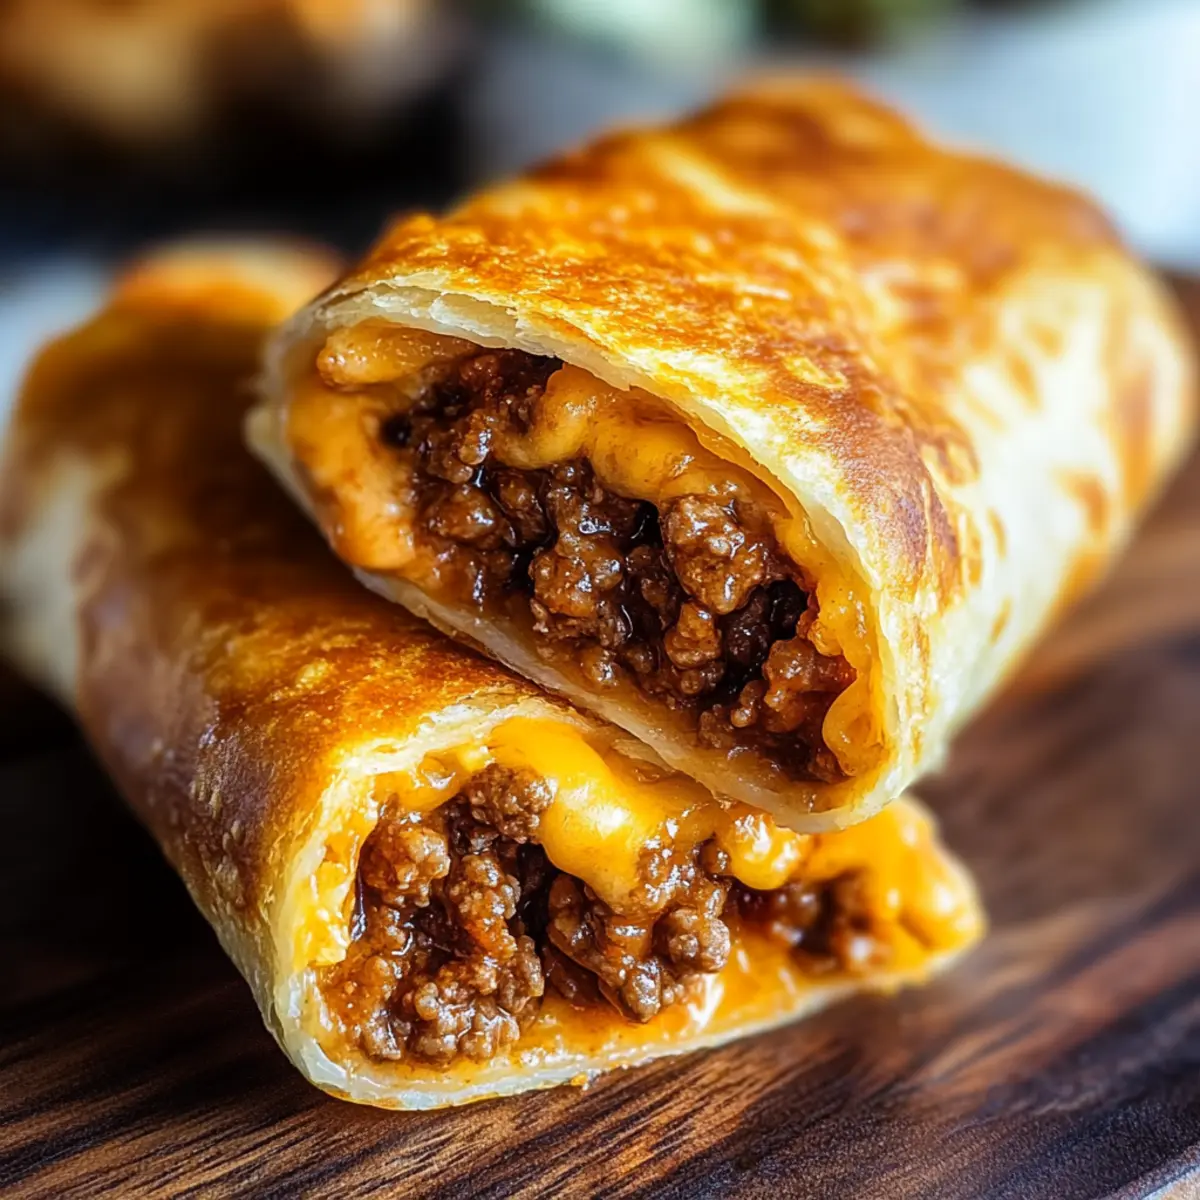
Beef and Cheese Chimichangas Recipe - Crispy Tex-Mex Heaven
Ingredients
Equipment
Method
- In a skillet over medium heat, brown the ground beef with the finely diced onion for about 5-7 minutes until no longer pink. Drain excess grease and add minced garlic, taco seasoning, and salsa. Simmer for 2-3 minutes.
- Take a warm tortilla, spread refried beans down the center, layer beef mixture on top, and sprinkle with shredded cheese. Fold sides of the tortilla inwards and roll tightly from the bottom.
- For frying, heat vegetable oil in a skillet over medium-high heat until it reaches 350°F. For baking, preheat oven to 400°F and line a baking sheet with parchment paper.
- Fry chimichangas seam-side down for 2-3 minutes on each side until golden brown. For baking, brush with oil and place on baking sheet, baking for 20-25 minutes until golden.
- Remove chimichangas from heat and let rest a few minutes. Garnish as desired and serve warm.
Leave a Reply