
The rich aroma of enchilada sauce bubbling in the oven instantly transports me to my favorite Mexican restaurant, where I fell in love with the comforting sensation of Bean and Cheese Enchiladas. This easy recipe is a game-changer, allowing me to whip up a satisfying meatless dinner in just 35 minutes. Not only are these enchiladas a crowd-pleaser, but they also offer the flexibility of being made ahead and frozen for later, making them perfect for busy weeknights. Picture warm corn tortillas, enveloping a creamy blend of refried beans and gooey cheese, smothered in smoky sauce—it’s a delightful, feel-good meal anyone can relish! Whether you’re looking to impress guests or simply want a cozy night in, I can’t wait for you to dive into this deliciously simple dish! What twist will you put on your enchiladas?
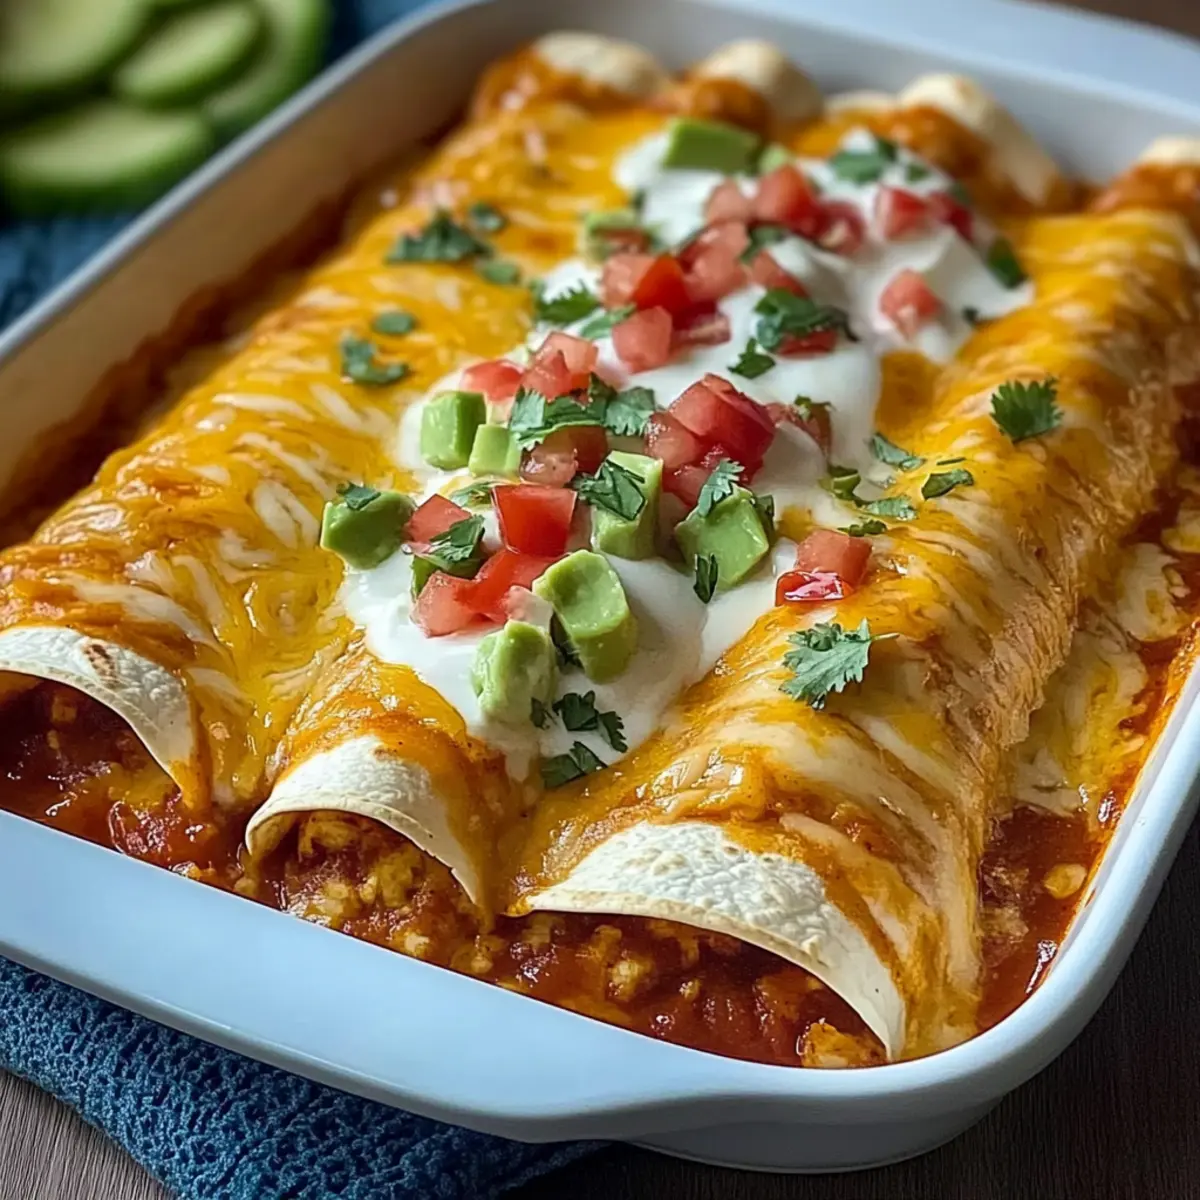
Why are Bean and Cheese Enchiladas great?
Delicious Comfort: These enchiladas offer a harmony of creamy refried beans and gooey cheese, all wrapped in soft tortillas and smothered in flavorful enchilada sauce. Quick Preparation: Ready in just 35 minutes, they are perfect for busy weeknights or unexpected guests. Versatile Options: Easily customize your enchiladas by adding extra veggies or choosing different beans to suit your taste. Make-Ahead Friendly: Assemble and refrigerate them the night before or freeze for later, giving you delicious options on demand. Crowd-Pleaser: Whether it’s a family dinner or a gathering of friends, everyone will enjoy these satisfying, meatless delights!
Bean and Cheese Enchiladas Ingredients
• Gather your ingredients for an amazing dish!
For the Enchiladas
- Corn or Flour Tortillas – Choose corn for a gluten-free option or flour for easy rolling.
- Refried Beans – The creamy filling; substitute with black or pinto beans if preferred.
- Cheese (e.g., Cheddar or Monterey Jack) – Adds flavor and richness; opt for reduced-fat cheese for a lighter twist.
- Enchilada Sauce – Moisture and flavor hero; consider homemade for an even more vibrant taste.
- Diced Green Chiles (optional) – Spice enhancer for the filling; jalapeños are a great substitute for heat.
For Serving (Optional)
- Cilantro Lime Rice – A refreshing pairing that complements the enchiladas perfectly.
- Guacamole – Creamy and zesty, making every bite of your Bean and Cheese Enchiladas even more satisfying.
- Mexican Street Corn Salad – A delightful side with a burst of flavors to elevate your meal!
Step‑by‑Step Instructions for Easy Bean and Cheese Enchiladas
Step 1: Preheat Oven
Begin by preheating your oven to 375°F (190°C). This ensures a perfectly baked dish once your enchiladas are ready to go in. While the oven warms up, gather your ingredients and set a baking dish aside to prepare for assembling these delightful Bean and Cheese Enchiladas.
Step 2: Prepare Filling
In a mixing bowl, combine refried beans with diced green chiles if you’re adding a kick of spice. Stir until well blended, creating a creamy, flavorful filling. This mixture brings richness and texture to your enchiladas. Set it aside while you prepare the tortillas, allowing the flavors to meld together beautifully.
Step 3: Assemble Enchiladas
Take a tortilla and spread a generous spoonful of the refried bean mixture down its center. Sprinkle cheese over the beans and carefully roll the tortilla to enclose the filling, placing it seam-side down in the baking dish. Repeat this process until all tortillas are filled, creating a mouthwatering lineup of Bean and Cheese Enchiladas ready for the next step.
Step 4: Add Sauce
Once all enchiladas are neatly arranged, pour your enchilada sauce evenly over the top. This not only adds moisture but infuses the dish with rich flavor. For an extra cheesy touch, sprinkle any remaining cheese over the sauce, creating an irresistible topping that will melt deliciously as it bakes.
Step 5: Bake
Slide the baking dish into your preheated oven and bake for 25 minutes. Keep an eye on those enchiladas; they should be bubbly and golden when done. This final step melds all the flavors together, ensuring that your Easy Bean and Cheese Enchiladas are perfectly comforting and ready to be served.
Step 6: Serve
Once baked, remove the dish from the oven and allow it to cool slightly for about 5 minutes. This resting period helps the enchiladas set a bit, making for easier serving. Spoon onto plates and relish in the aroma and warmth before diving into this cozy, satisfying meal!
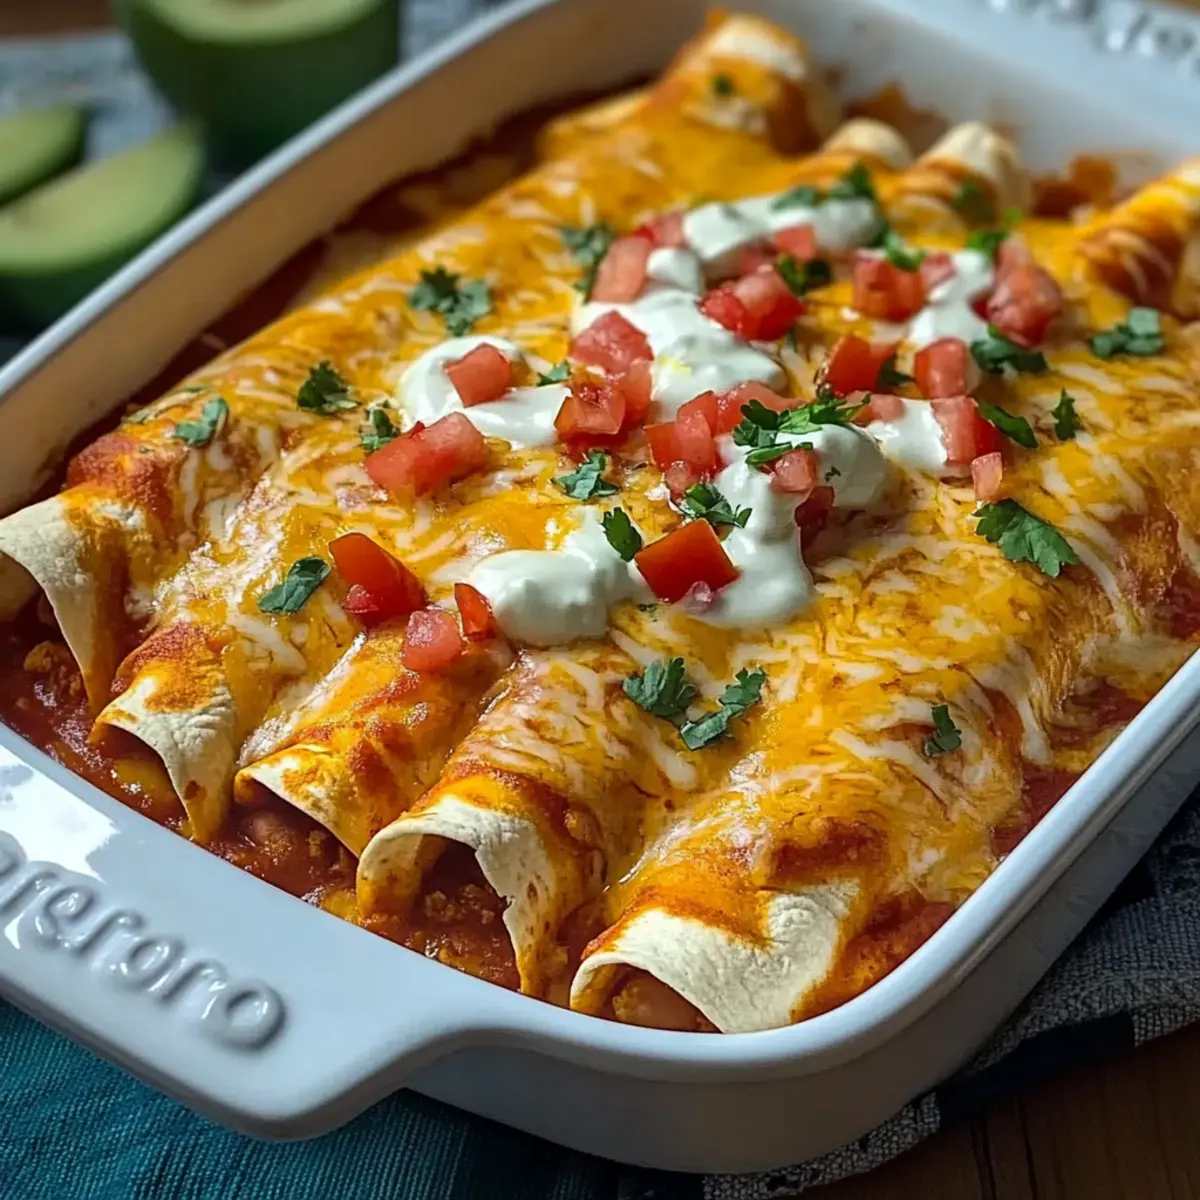
Bean and Cheese Enchiladas Variations
Feel free to explore these delightful twists that will make your Bean and Cheese Enchiladas your own!
-
Veggie-Packed: Add sautéed spinach, bell peppers, or even zucchini to the refried bean mixture for a colorful, nutritious boost. A vibrant medley of veggies enhances every bite and makes these enchiladas even more satisfying.
-
Black Bean Swap: Replace refried beans with seasoned black beans for a heartier texture and rich flavor. This simple change gives the dish a new dimension while still keeping it vegetarian.
-
Spice it Up: For those who love heat, incorporate chopped jalapeños or hot sauce into the filling. This punch of spice adds an exciting kick that will tantalize your taste buds!
-
Creamy Contrast: Mix in some cream cheese or sour cream with the refried beans for a creamier filling. The added richness provides a delightful contrast to the cheesy top layer.
-
Herbal Infusion: Enhance the flavor profile with fresh herbs like cilantro or oregano. Sprinkle them into the filling or onto the finished enchiladas for an aromatic touch that uplifts the dish.
-
Homemade Sauce: Swap store-bought enchilada sauce for a homemade version to elevate your dish. Using fresh ingredients can enhance the overall taste, making your enchiladas truly stand out.
-
Crunch Factor: Add crushed tortilla chips or crispy onions on top before baking for an irresistible crunch. This contrast in texture will delight your senses and take your enchiladas to new heights.
-
More Cheese: Experiment by mixing different cheeses like pepper jack or crumbled queso fresco for added flavor complexity. A melty cheese blend makes everything better and more indulgent!
If you’re looking for more tasty ideas, try serving these fun variations with a side of Mexican Street Corn Salad or some creamy guacamole for a complete feast!
Expert Tips for Bean and Cheese Enchiladas
-
Assemble Ahead: Prepare the enchiladas ahead of time and refrigerate them for up to 24 hours. Just remember to increase the baking time by 5-10 minutes if baking cold.
-
Freezing Matters: To freeze, assemble without sauce and cheese, wrap tightly, and freeze for up to 2 months. Thaw overnight before baking with sauce and cheese.
-
Avoid Cracks: Ensure your tortillas are pliable to prevent breaking. Warm them briefly in a pan or microwave before filling to keep them flexible.
-
Customize Flavor: Don’t hesitate to jazz up the filling! Add sautéed veggies like spinach or bell peppers for a colorful twist that enhances your Bean and Cheese Enchiladas.
-
Homemade Sauce: For a more vibrant flavor profile, consider making your own enchilada sauce. It’s a great way to control salt and spice levels to your liking.
How to Store and Freeze Bean and Cheese Enchiladas
Fridge: Store leftovers in an airtight container for up to 4 days. Reheat in the microwave or oven until they’re warmed through for a delicious meal anytime.
Freezer: For longer storage, assemble enchiladas without sauce or cheese, wrap tightly, and freeze for up to 2 months. Thaw in the refrigerator overnight before adding sauce and cheese before baking.
Reheating: Reheat frozen enchiladas in the oven at 375°F (190°C) for 25-30 minutes, covered with foil to retain moisture, ensuring a delightful and satisfying dish.
Make-Ahead: Feel free to prepare the enchiladas up to 24 hours in advance by assembling and refrigerating them. Just remember to adjust the baking time if cooking from cold!
What to Serve with Bean and Cheese Enchiladas
These delightful enchiladas evoke a fiesta of flavors, and pairing them with the right sides transforms dinner into a memorable celebration.
-
Cilantro Lime Rice: A refreshing complement that adds zest and balances the richness of the enchiladas. With each bite, the flavors harmonize beautifully.
-
Guacamole: Silky smooth and creamy, this avocado dip elevates every mouthful, enhancing the texture and providing a fresh contrast to the warm enchiladas.
-
Mexican Street Corn Salad: Bursting with vibrant flavors, this salad brings a crunchy and slightly sweet element to the table, making it a perfect sidekick for your meal.
-
Pico de Gallo: A fresh salsa made from diced tomatoes, onions, and cilantro provides a crisp, tangy flavor that cuts through the richness of the cheese and beans.
-
Black Bean Soup: A hearty side that brings depth and warmth to your meal, enhancing the delicious bean theme without overshadowing the enchiladas.
-
Margaritas: Pair this delightful meal with a refreshing margarita, as its tangy citrus notes beautifully balance the savoriness of the enchiladas.
-
Chocolate Flan: Finish off the meal on a sweet note; the creamy custard topped with a rich caramel sauce offers a delightful contrast to the savory enchiladas.
Make Ahead Options
These Easy Bean and Cheese Enchiladas are perfect for busy home cooks looking to save time! You can assemble the enchiladas and refrigerate them covered for up to 24 hours before baking; this method ensures they stay fresh and flavorful. Just remember to extend the baking time by 5-10 minutes if they go into the oven cold. Alternatively, for longer storage, you can freeze the enchiladas without sauce and cheese, tightly wrapping them for freshness, and they’ll keep well for up to 2 months. When you’re ready to enjoy, simply thaw overnight in the refrigerator, add sauce and cheese, then bake, and you’ll have a delightful meal on the table with minimal effort!
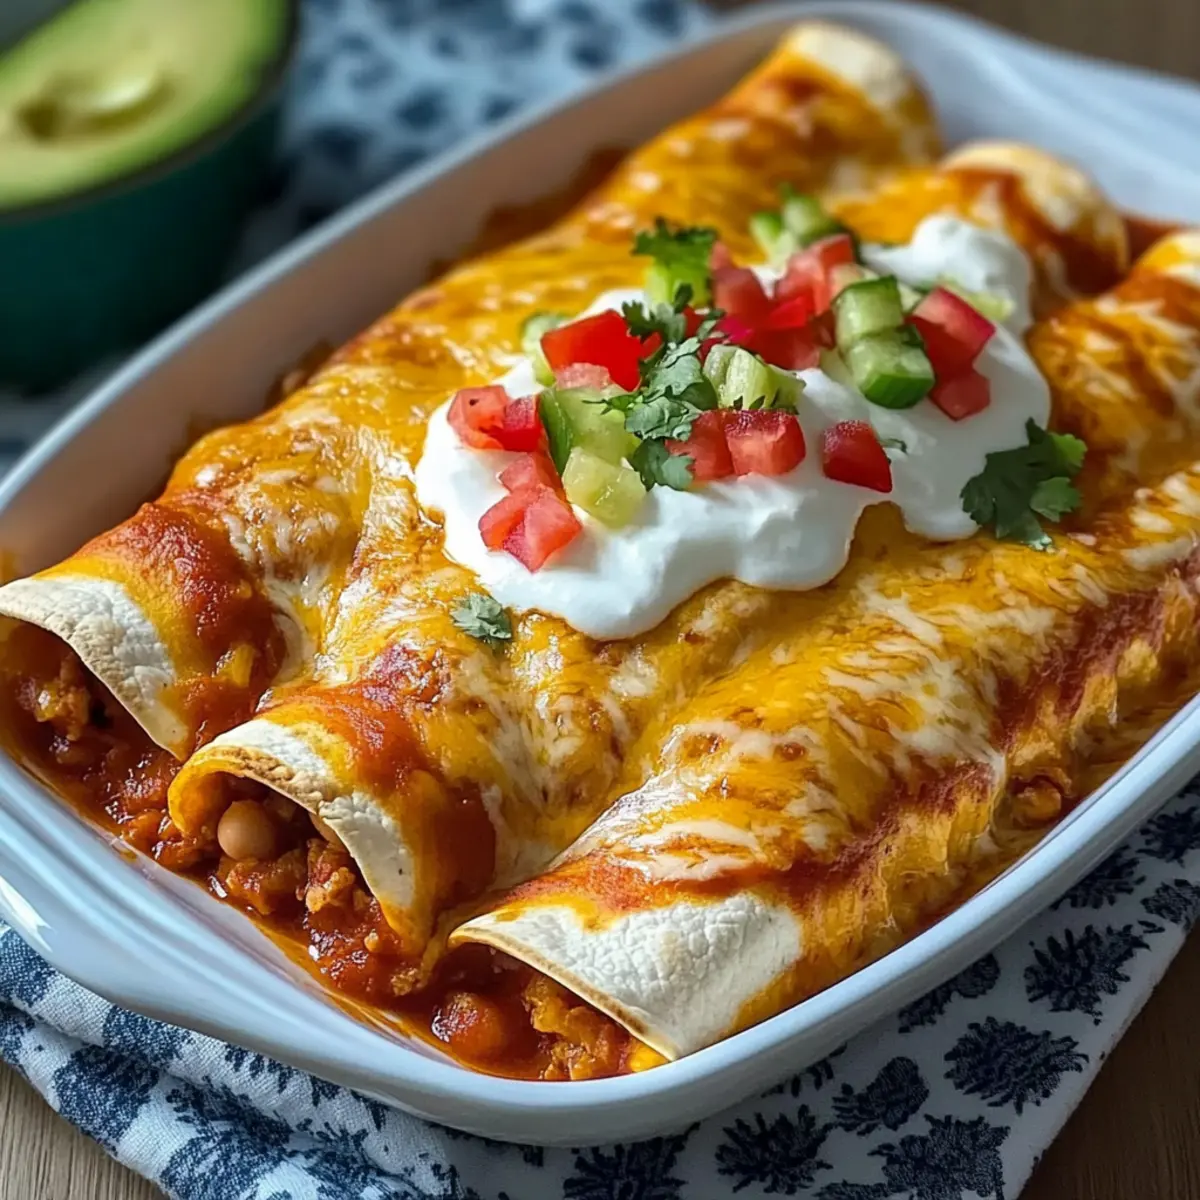
Bean and Cheese Enchiladas Recipe FAQs
What type of tortillas should I use for Bean and Cheese Enchiladas?
You can use either corn or flour tortillas. Corn tortillas are gluten-free and bring an authentic touch, while flour tortillas are easier to roll and work well if you prefer a softer texture.
How do I store leftover Bean and Cheese Enchiladas?
Store any leftovers in an airtight container in the refrigerator for up to 4 days. When you’re ready to enjoy them again, simply reheat in the microwave or oven until warmed through.
Can I freeze Bean and Cheese Enchiladas?
Absolutely! To freeze, assemble the enchiladas without the sauce and cheese, wrap them tightly in plastic wrap or aluminum foil, and store in the freezer for up to 2 months. When you’re ready to eat, thaw overnight in the refrigerator, then add the sauce and cheese before baking.
What if my tortillas are breaking while assembling the enchiladas?
This is a common issue! To prevent breaking, warm your tortillas briefly in a dry skillet or microwave for about 15 seconds. This softens them, making them more pliable and easier to roll without cracking.
Are Bean and Cheese Enchiladas suitable for my vegetarian diet?
Yes, these enchiladas are fully vegetarian and meatless! They’re perfect for anyone looking for a hearty dish that’s both satisfying and packed with flavor, thanks to the creamy refried beans and cheesy goodness.
What if I want to customize my Bean and Cheese Enchiladas?
The more the merrier! You can easily add sautéed vegetables like spinach, bell peppers, or even zucchini to the refried beans for extra flavor and nutrition. Also, consider swapping out the refried beans for black beans or lentils to mix things up!
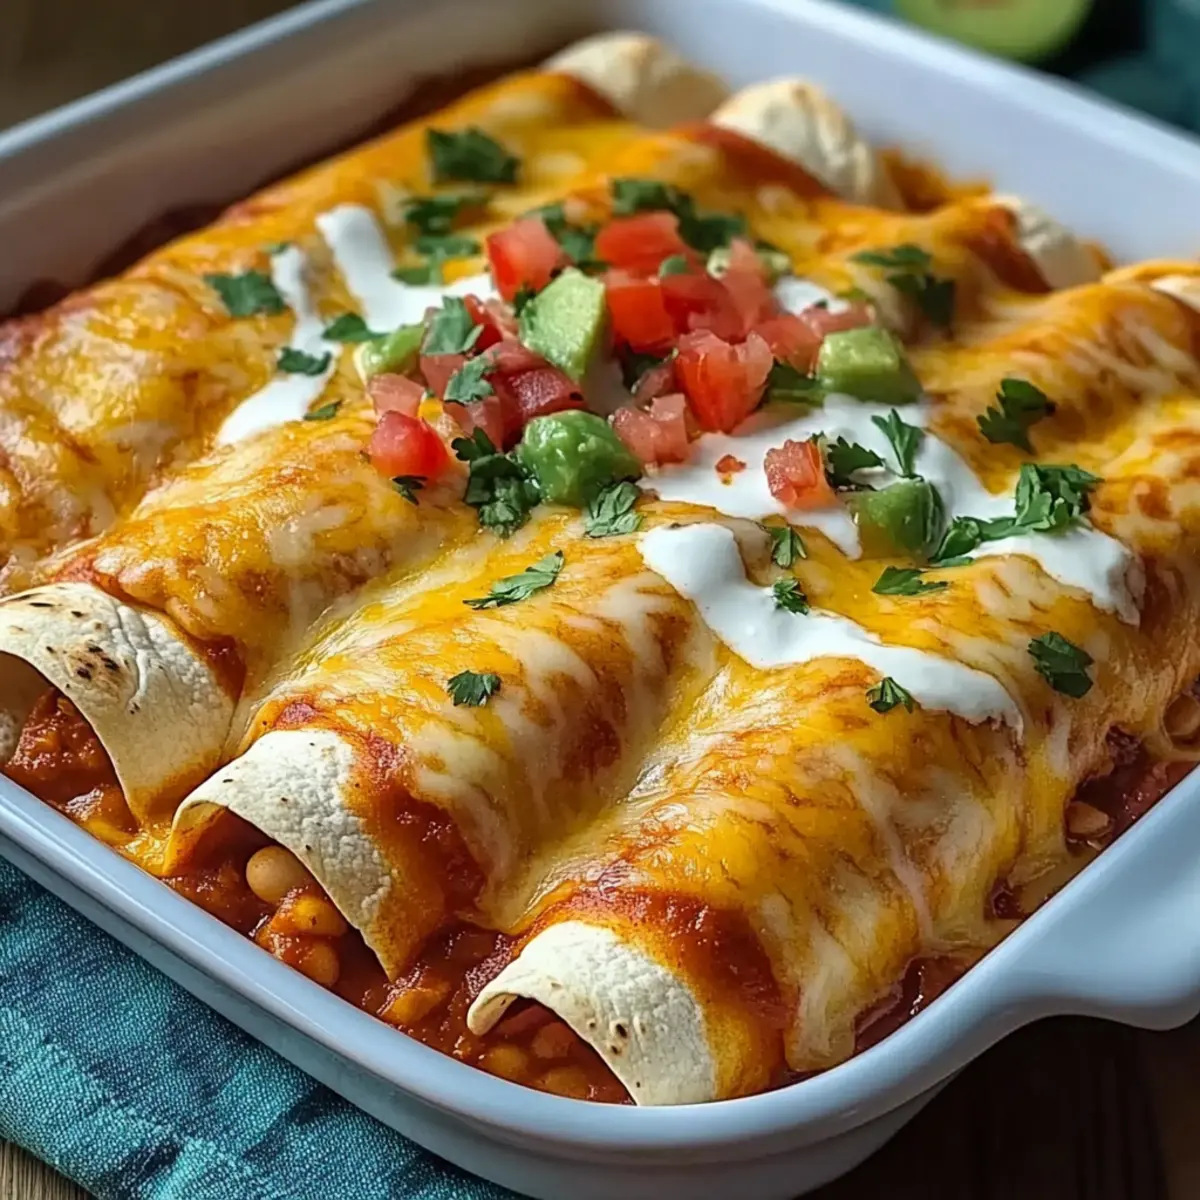
Satisfying Bean and Cheese Enchiladas for Cozy Nights
Ingredients
Equipment
Method
- Preheat your oven to 375°F (190°C). Gather your ingredients and set a baking dish aside.
- In a mixing bowl, combine refried beans with diced green chiles. Stir until well blended.
- Take a tortilla, spread a generous spoonful of the refried bean mixture down its center, sprinkle cheese, and roll it seam-side down in the baking dish.
- Pour enchilada sauce evenly over the top of the arranged enchiladas, and sprinkle any remaining cheese if desired.
- Bake in the preheated oven for 25 minutes until bubbly and golden.
- Remove from the oven and let cool for 5 minutes before serving.
Leave a Reply