
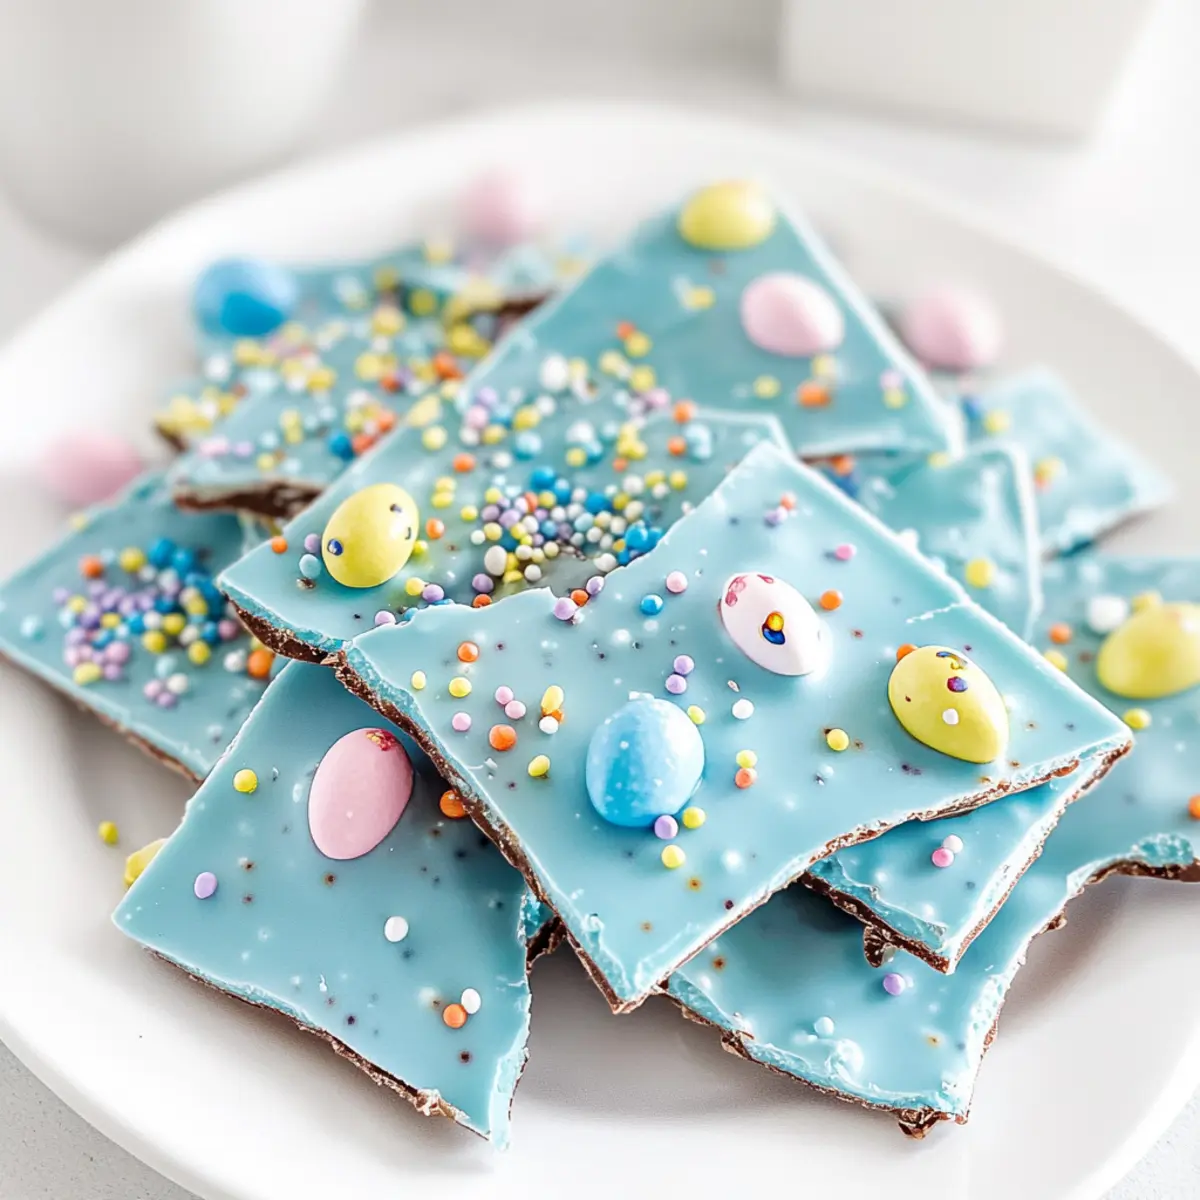
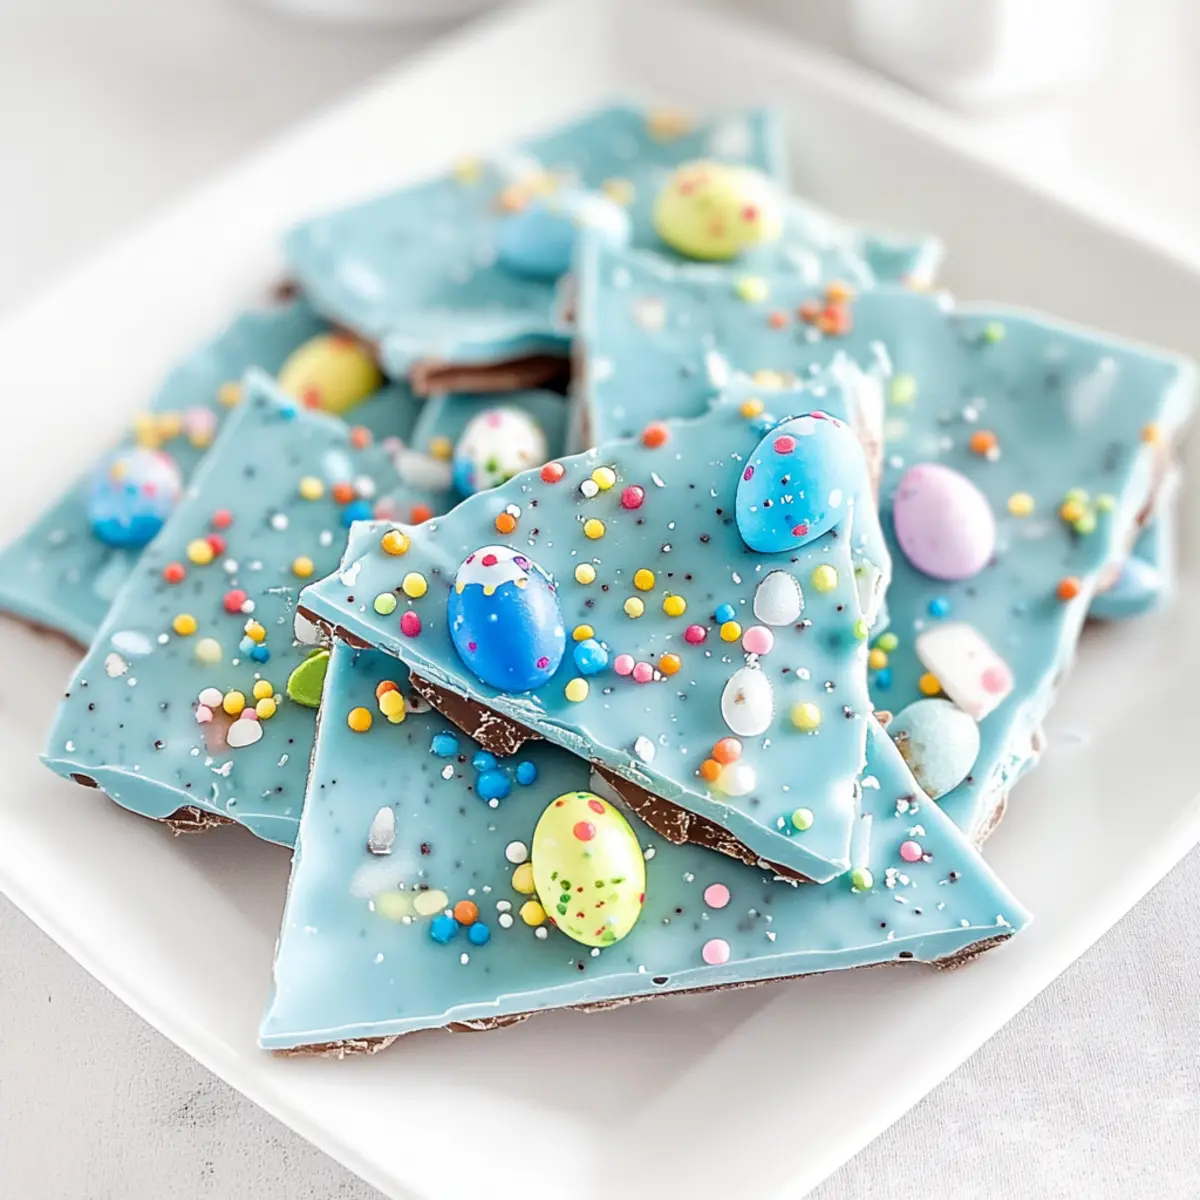
As I stood in my kitchen, the aroma of melting chocolate wafted around me, instantly sparking excitement for one of my favorite Easter traditions: making No-Bake Robin Egg Easter Bark. This vibrant and festive treat not only looks incredible but also takes a mere 20 minutes to whip up! Imagine creating a delightful dessert that’s as simple as it is stunning, perfect for getting the family involved in some quality kitchen bonding. The combination of creamy chocolate and crunchy candy creates a flavor explosion that will have everyone reaching for seconds. Whether you’re eager to impress during an Easter gathering or just looking for a sweet project to share with loved ones, this recipe is sure to be a hit. Curious to know how to make this eye-catching delight? Let’s get started!

Why Is No-Bake Easter Bark a Must-Try?
Simplicity at Its Best: This delicious dessert can be made in just 20 minutes, making it a perfect last-minute treat for your Easter feast.
Crowd-Pleasing Appeal: With its vibrant colors and delightful crunch, it’s a surefire way to impress guests and delight kiddos alike.
Interactive Fun: Gather your family in the kitchen for a sweet bonding experience as you create this festive bark together.
Versatile Toppings: Feel free to customize with your favorite candies or sprinkles, or even try a spin on flavors. Why not make your own variation with Smashed Carrots Veggie to serve alongside?
Storage Made Easy: Store your bark in an airtight container, ensuring this sweet treat stays fresh for up to one week. Enjoy a guilt-free indulgence that hits the spot every time!
Robin Egg Easter Bark Ingredients
• Creating your delightful Robin Egg Easter Bark is simple with these key ingredients!
For the Bark
- Baby Blue Melting Chocolate – This treats the taste buds with a rich chocolate flavor; opt for high-quality melting chocolate to ensure a smooth finish.
- Robin Egg Candy – These colorful candies bring sweet crunch and seasonal charm; feel free to substitute with similar bite-sized chocolates if you can’t find them.
- Easter Sprinkles – Use these to add a pop of color and festive flair; any cheerful sprinkles will brighten up your bark beautifully!
For the Cocoa “Paint”
- Cocoa Powder – This adds texture and creativity; substitute with edible glitter for a different look if desired.
- Water – Mixed with cocoa powder, it helps achieve the perfect paint-like consistency for flicking on the bark.
Tools
- Basting Brush – Essential for that artistic touch; this handy tool allows you to create fun designs with the cocoa paint.
Step‑by‑Step Instructions for No-Bake Robin Egg Easter Bark
Step 1: Melt the Chocolate
Begin by melting the baby blue melting chocolate in a microwave-safe bowl or double boiler. If using the microwave, heat in 30-second intervals, stirring after each, until smooth and completely melted—about 1 to 2 minutes in total. If using a double boiler, stir continuously over simmering water until silky. Watch for a glossy finish to ensure it’s ready for pouring.
Step 2: Prepare the Bark Base
Once melted, immediately pour the chocolate onto a lined baking sheet. Using an offset spatula, spread the chocolate evenly to create a smooth layer, about 1/4 inch thick. Make sure to cover the entire surface of the baking sheet, so every piece of the No-Bake Robin Egg Easter Bark has an enticing chocolate base.
Step 3: Add the Toppings
Sprinkle the robin egg candy and colorful Easter sprinkles generously over the warm chocolate layer. Gently press them in slightly with your fingertips to ensure they stick. Aim for an even distribution of candy across the surface, allowing your No-Bake Robin Egg Easter Bark to be both visually appealing and deliciously crunchy.
Step 4: Chill to Set
Place the baking sheet in the freezer for about 10 minutes, or until the chocolate hardens and sets completely. You’ll know it’s ready when the surface looks dull and firm to the touch. This quick chill not only solidifies the chocolate but also makes the next decorating step easier.
Step 5: Make the Cocoa Paint
While the bark is setting, prepare the cocoa paint by mixing cocoa powder with a few tablespoons of water in a small bowl. Stir until you achieve a smooth, paint-like consistency that’s neither too thick nor too runny. This mixture will create a fun visual effect on your No-Bake Robin Egg Easter Bark.
Step 6: Add the Cocoa Design
Once the bark has set, take the basting brush and dip it into the cocoa paint. Flick the brush over the chocolate surface to create an artistic splash effect. Hold the brush just above the bark and use quick wrist movements to achieve a scatter of cocoa that adds a charming texture to your festive treat.
Step 7: Final Freezing
Return the decorated bark to the freezer for an additional 5 minutes to set the cocoa splash. Keep an eye on it; you want the design to adhere without becoming hard. The aim is to have a beautiful, glossy surface where the cocoa adds a delightful contrast to the baby blue chocolate.
Step 8: Break Into Pieces
Once fully set, remove the No-Bake Robin Egg Easter Bark from the freezer and let it sit at room temperature for a minute so it’s easier to break. Using your hands or a chef’s knife, gently break the chocolate into irregular pieces, perfect for sharing or serving. Make sure to enjoy this festive treat swiftly, as it will be a favorite among family and friends!

Make Ahead Options
These No-Bake Robin Egg Easter Bark treats are perfect for meal prep, making your Easter celebration a breeze! You can prepare the bark up to 3 days in advance by melting the chocolate, pouring it onto the baking sheet, and adding the robin egg candy and sprinkles. Once set, simply cover it tightly with plastic wrap and refrigerate to maintain freshness. To finish, follow the cocoa paint instructions and complete the final touch by flicking the cocoa on just before serving. This way, you’ll have a delicious and festive dessert ready to impress your guests without any last-minute rush!
What to Serve with No-Bake Robin Egg Easter Bark?
Imagine a delightful spread of flavor and color that perfectly complements your sweet Easter treat.
- Vanilla Ice Cream: Creamy vanilla ice cream offers a harmonious contrast to the crunchy bark, making every bite more magical.
- Fresh Fruit Salad: A medley of vibrant fruits, like strawberries and blueberries, adds freshness that balances the sweetness of the bark.
- Chocolate Dipped Strawberries: The rich chocolate pairs beautifully, enhancing the overall chocolate experience for all dessert lovers.
Feeling adventurous? This pairing creates an appealing dessert platter perfect for sharing or enjoying as a sweet family treat.
- Sparkling Juice: Consider a refreshing sparkling grape or apple juice, offering a festive, bubbly touch to your Easter gathering.
- Petite Cheesecakes: Mini cheesecakes are an elegant option, with their creamy texture providing a delightful contrast to your No-Bake Robin Egg Easter Bark.
- Coffee or Tea: A warm cup of coffee or aromatic herbal tea can round off the dessert, enhancing the experience with comforting flavors.
How to Store and Freeze Robin Egg Easter Bark
Airtight Container: Store your No-Bake Robin Egg Easter Bark in an airtight container at room temperature for up to one week to maintain its freshness and crunchiness.
Refrigeration: If you want the bark to last longer, keep it in the fridge for up to two weeks. This helps retain its texture and flavor without being overly hard.
Freezing: Freeze the bark in a sealed freezer bag or container for up to three months. Make sure to separate layers with parchment paper to prevent sticking.
Reheating: To enjoy, simply pull out the desired pieces and let them sit at room temperature for a few minutes before serving. No need to reheat—just enjoy it chilled!
Robin Egg Easter Bark Variations
Feel free to get creative and customize this delightful bark into something uniquely yours!
-
Dairy-Free: Swap baby blue chocolate for dairy-free melting chocolate to create a vegan-friendly version.
Want to enjoy this treat guilt-free? It’s simple to make dietary adjustments while keeping the rich chocolatey goodness. -
Flavor Explosion: Add a sprinkle of sea salt over the chocolate before freezing for a sweet and salty flavor twist.
This little touch can elevate your bark, giving it a gourmet appeal that everyone will love. -
Nutty Crunch: Incorporate chopped nuts like almonds or walnuts for an extra crunch in your bark.
Not only do they add texture, but they also contribute a heartiness to the overall dessert. -
Bold Colors: Substitute the blue chocolate with other melting chocolate colors for various festive occasions.
Red for Valentine’s, pastel colors for a spring celebration—endless possibilities to match the mood! -
Chocolate Drizzle: Drizzle some melted white chocolate over the set bark for added sweetness and a decorative touch.
The contrast in flavors and colors elevates the visual appeal, making it an eye-catching centerpiece. -
Candy Variety: Use an assortment of candies beyond robin eggs, such as gummy bunnies or chocolate-covered pretzels for a fun twist.
This not only diversifies the flavors but also offers a colorful surprise in each bite, making it truly delightful! -
Spicy Kick: Add a pinch of cayenne pepper to the cocoa paint for a surprising, zesty kick!
This unexpected heat can take the flavor profile to a whole new delightful level, perfect for adventurous taste buds.
For more ideas on how to incorporate fun and creativity into your recipes, check out these delightful choices: Cottage Cheese Eggs for a savory option, and you might enjoy experimenting with Pan Sausage Veggies as a delicious side to complement your desserts. Embrace your culinary journey!
Expert Tips for No-Bake Robin Egg Easter Bark
- Smooth Chocolate: Ensure your baby blue melting chocolate is smooth for a glossy finish. Lumps can create an uneven texture in your bark.
- Timing is Key: Don’t leave the bark in the freezer too long; if it gets too hard, it may be challenging to break into pieces.
- Creative Toppings: Feel free to mix and match candies! Different options like mini marshmallows or crushed nuts offer unique flavors for your Robin Egg Easter Bark.
- Easy Cleanup: Use parchment paper on your baking sheet for effortless removal of the bark and easy cleanup afterward.
- Decorative Storage: Store your bark in an airtight container, but consider wrapping individual pieces with colorful wrappers for an extra festive touch!
No-Bake Robin Egg Easter Bark Recipe FAQs
How do I choose the best baby blue melting chocolate?
For the best results, opt for high-quality melting chocolate that has a smooth texture and melts easily. Look for products labeled specifically for candy making or baking, as these will provide that glossy finish and rich flavor you desire!
How should I store my Robin Egg Easter Bark to keep it fresh?
Store your No-Bake Robin Egg Easter Bark in an airtight container at room temperature for up to one week. If you’d like it to last longer, you can refrigerate it for up to two weeks. Just be sure to let it come back to room temperature for best enjoyment!
Can I freeze the No-Bake Robin Egg Easter Bark?
Absolutely! You can freeze your bark for up to three months. To do this, place the pieces in a sealed freezer bag or container, separating layers with parchment paper to prevent sticking. When you’re ready to enjoy, simply let it sit at room temperature for a few minutes.
What if my melted chocolate isn’t smooth?
If your chocolate has lumps or isn’t melting smoothly, it’s often due to overheating. Try heating it in shorter increments, stirring after each one. You might also want to add a small amount of vegetable oil or coconut oil to help achieve a smoother consistency!
Are there any dietary considerations for this recipe?
Yes, if you’re concerned about allergies, be mindful of the chocolates and candies you choose, as many contain dairy, nuts, or gluten. For a gluten-free version, check the labels specifically for gluten-free certifications. Additionally, for pets, keep this sweet treat far away, as chocolate is toxic to them.
Can I customize the toppings on my Easter bark?
The more the merrier! Feel free to use various candies and nuts for your Robin Egg Easter Bark. Mini marshmallows, crushed cookies, or even dried fruit can add exciting new flavor combinations and color variations to this festive treat!
Delightful Robin Egg Easter Bark You Can Whip Up in Minutes
Ingredients
Equipment
Method
- Melt the chocolate in a microwave-safe bowl or double boiler until smooth, about 1 to 2 minutes in total.
- Pour the melted chocolate onto a lined baking sheet and spread evenly to create a smooth layer, about 1/4 inch thick.
- Sprinkle robin egg candy and colorful Easter sprinkles over the warm chocolate layer and gently press them in.
- Chill in the freezer for about 10 minutes until the chocolate hardens and looks dull to the touch.
- Prepare the cocoa paint by mixing cocoa powder with water until smooth.
- Use a basting brush to flick the cocoa paint over the chocolate surface for an artistic splash effect.
- Return the decorated bark to the freezer for an additional 5 minutes.
- Once set, break the bark into irregular pieces for sharing.
Leave a Reply