
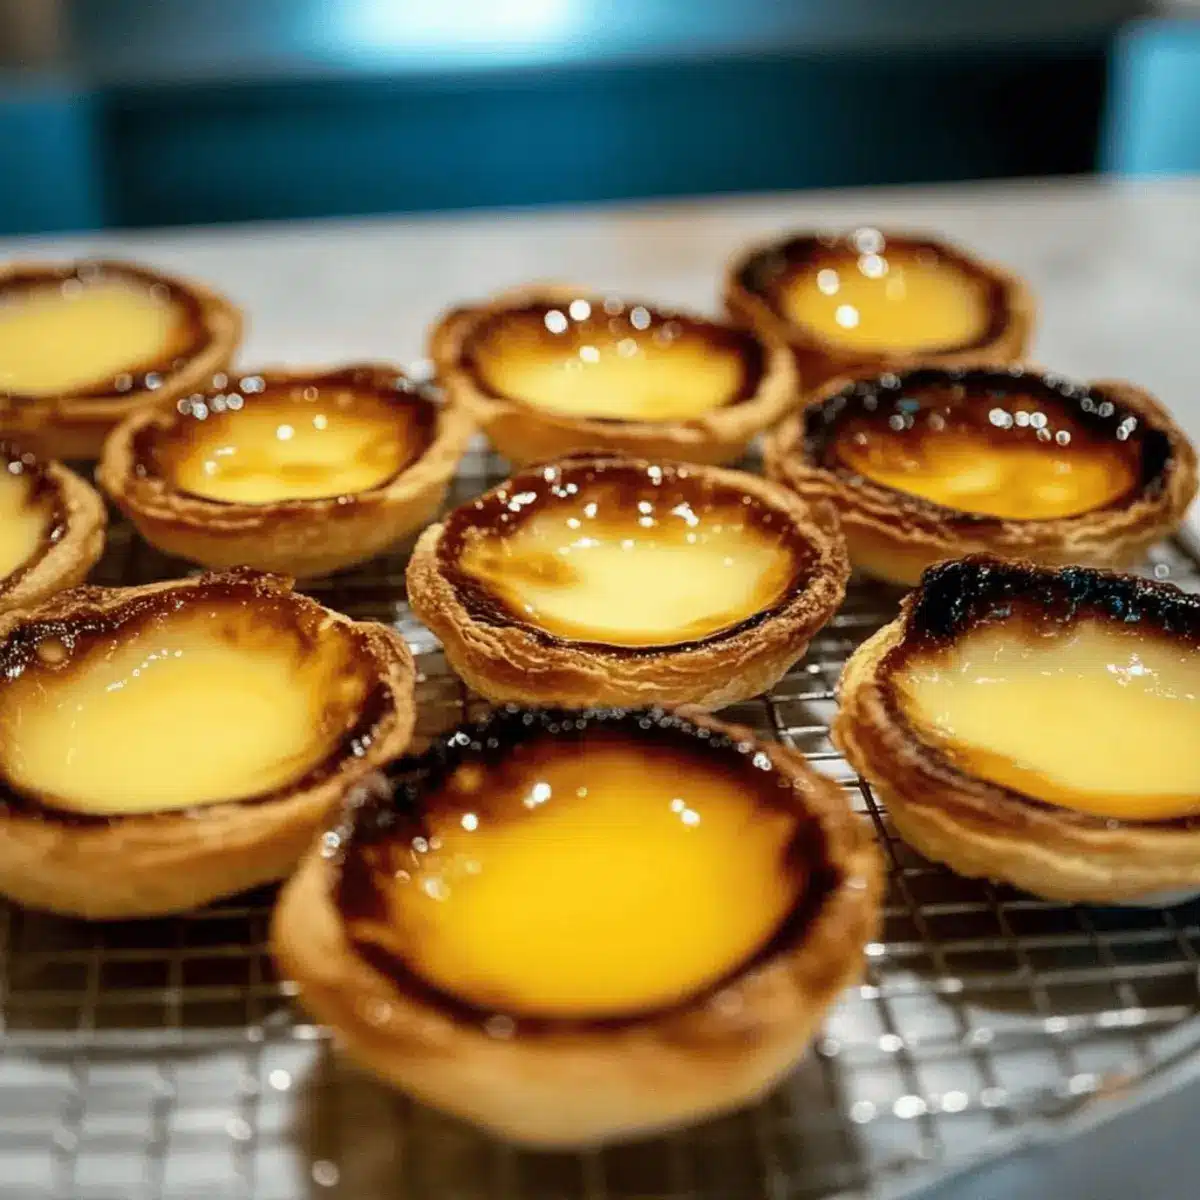
As I wandered through the cobblestone streets of Lisbon, the sweet aroma of freshly baked pastries filled the air, enticing me to discover the magic behind Pastéis de Nata. These traditional Portuguese custard tarts are not just a dessert; they’re an experience, marrying a flaky crust with a silky, caramelized filling that dances on your taste buds. The beauty of making Pastéis de Nata at home lies in the balance of flavors and textures—it’s a quick-prep crowd-pleaser that can turn any moment into a celebration. Whether you’re seasoned in the kitchen or just stepping into the world of homemade delights, this recipe promises to whisk you away to the sun-kissed streets of Portugal with each delightful bite. Are you ready to bake?

Why are Pastéis de Nata so irresistible?
Flaky Perfection: The buttery, flaky crust is the perfect vessel for those luscious custards.
Rich, Creamy Filling: Each bite delivers a wave of silky custard with a caramelized top, offering a delightful contrast in textures.
Quick Prep Time: Simply roll out the puff pastry and mix the filling—no complicated steps required!
Crowd-Pleasing Delight: Serve these warm and watch them disappear at gatherings; everyone loves a taste of authentic Portugal.
Versatile Options: Whether infused with chocolate or fresh fruit, there’s a delightful twist to suit every palate, making it ideal for various occasions.
Elevate your baking game and explore our expert tips for the perfect finish to these tarts!
Pastéis de Nata Ingredients
• Discover the essential ingredients for these classic Portuguese treats!
For the Pastry
- Puff Pastry – This flaky base holds the creamy filling; use store-bought for convenience or make your own for added flair.
For the Custard Filling
- Egg Yolks – These are crucial for richness and custard texture; avoid substitutes with whole eggs for the best results.
- Granulated Sugar – Sweetens the filling perfectly; consider using brown sugar for a hint of caramel flavor, but watch for texture changes.
- Milk or Heavy Cream – Adds richness; whole milk gives a lighter custard, while heavy cream ensures a more indulgent treat.
- Vanilla Extract – Elevates flavor; optional but delightful, or swap with almond extract for a unique twist.
- Cinnamon – Provides a warm spice note; it can be omitted or replaced with lemon zest for a refreshing touch.
With these ingredients, you’re ready to embark on your journey to create authentic Pastéis de Nata that will impress family and friends alike!
Step‑by‑Step Instructions for Pastéis de Nata
Step 1: Prepare the Pastry
Begin by preheating your oven to 375°F (190°C). Roll out the puff pastry on a lightly floured surface until it’s about 1/8 inch thick. Use a round cutter to cut out circles that fit snugly in your muffin tin. Gently press the circles into the tin, ensuring they cover the sides well. This flaky base is essential for your Pastéis de Nata.
Step 2: Make the Cream Filling
In a medium saucepan, combine 1 cup of whole milk, 1/2 cup of granulated sugar, and a pinch of cinnamon. Heat the mixture over medium heat, stirring frequently until the sugar completely dissolves and the milk is warm but not boiling. This creamy base will form the luscious filling inside your tarts, so keep an eye on it to prevent scalding.
Step 3: Whisk Egg Yolks
In a large mixing bowl, whisk together 6 egg yolks until they turn pale and slightly frothy. Once you achieve a smooth consistency, gradually add the warm milk mixture while continuously stirring. This helps temper the yolks, ensuring a silky custard without scrambling. The combined mixture will be the heart of your Pastéis de Nata.
Step 4: Fill Pastry Shells
Carefully pour the creamy custard into each pastry shell, filling them about 3/4 full. Be precise with the filling to avoid spills during baking, which can affect the texture of your Pastéis de Nata. As you fill, admire the contrast of the golden pastry against the smooth custard waiting to bake.
Step 5: Bake
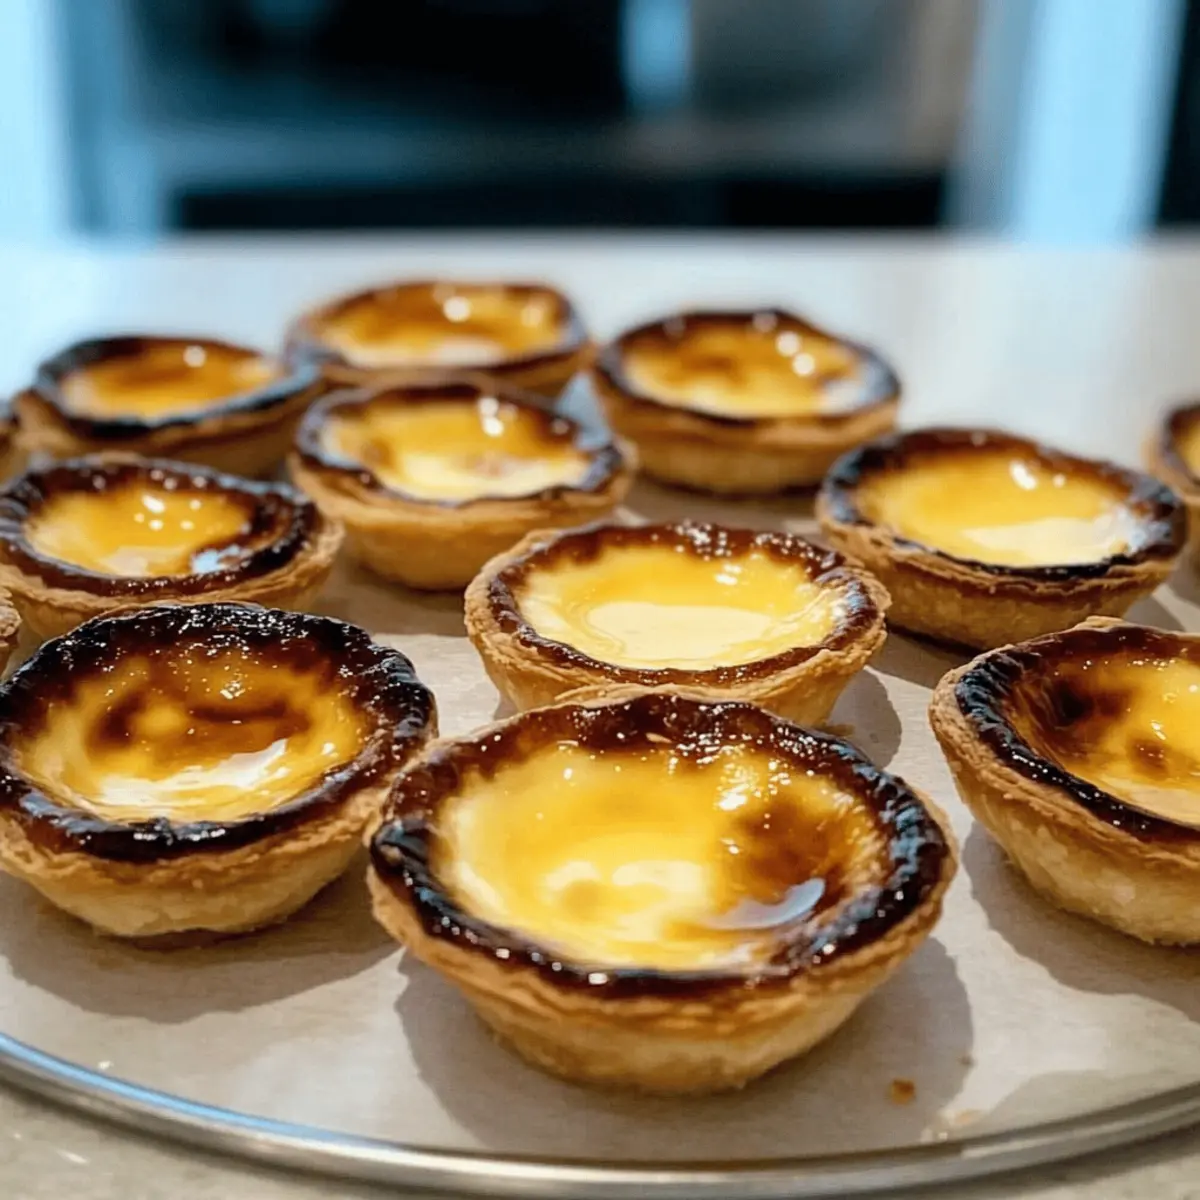
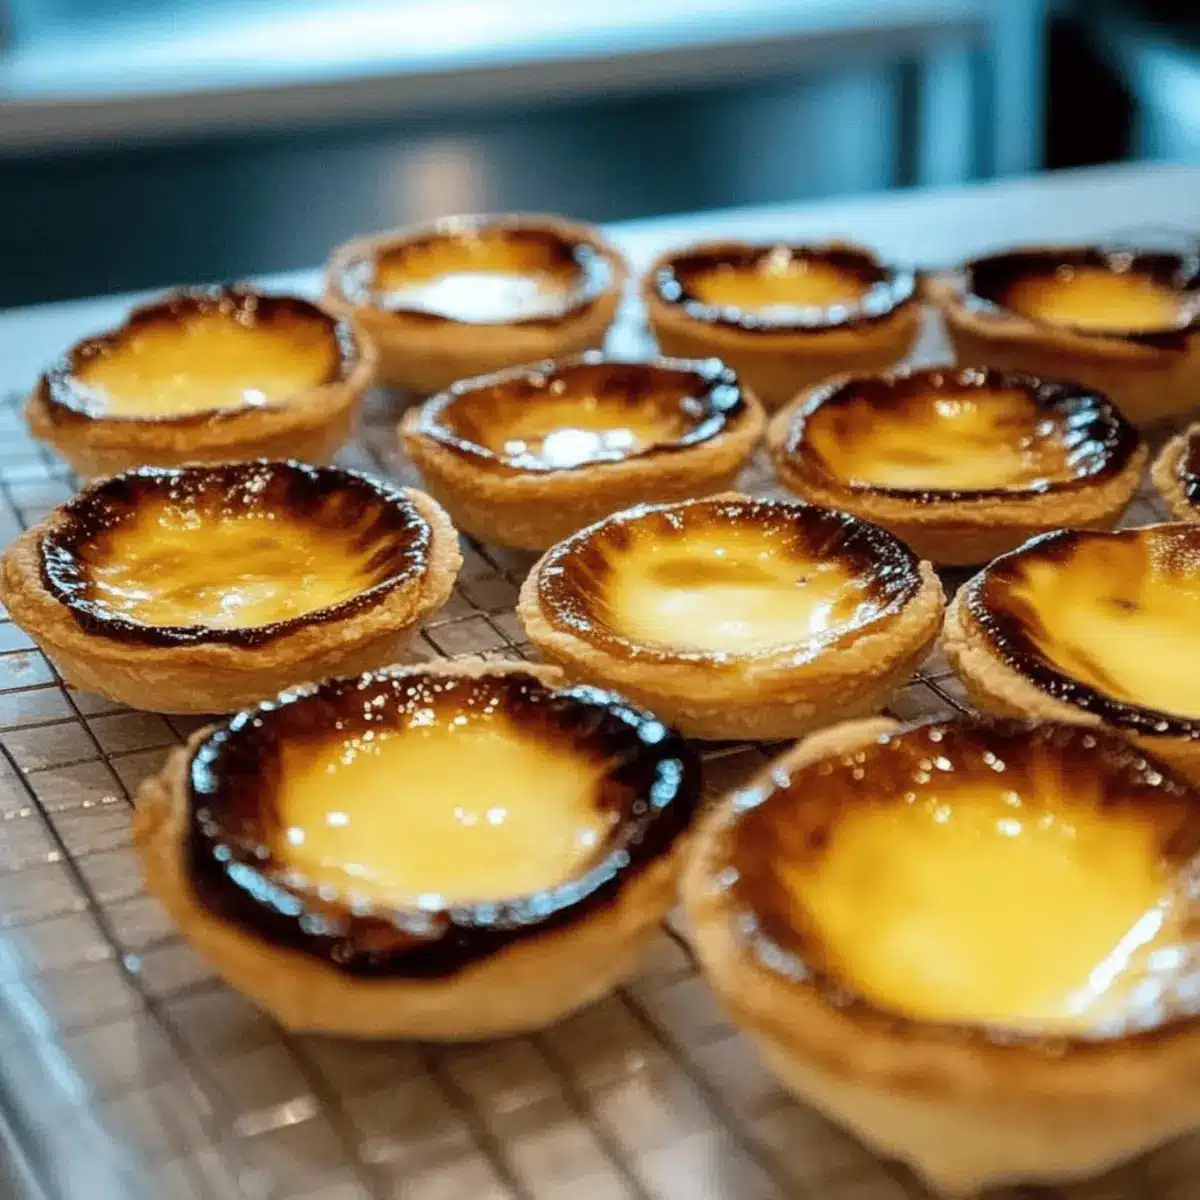
Transfer the muffin tin to the preheated oven and bake the tarts for 15-20 minutes, or until the filling is set with a slightly puffed appearance, and the tops begin to caramelize. Keep an eye on them in the final minutes, as you want that beautiful golden-brown top, reminiscent of classic Pastéis de Nata from Portugal.
Step 6: Cool and Serve
Once baked, remove the Pastéis de Nata from the oven and allow them to cool slightly in the tins for about 5 minutes. Gently run a knife around the edges to release them, and transfer to a wire rack. Serve warm with a light dusting of powdered sugar or cinnamon for an irresistible touch, enjoying a taste of Portugal in every bite.
Pastéis de Nata Variations & Substitutions
Feel free to get creative with your Pastéis de Nata and make them uniquely yours; the possibilities are delightful!
-
Chocolate Twist: Add melted chocolate to the custard for a rich, sweet variation that chocolate lovers will adore. It’s a wonderful surprise when you bite into that creamy filling!
-
Fruit Infusion: Incorporate fresh fruit purée, like raspberry or mango, into the custard mixture for a refreshing and fruity twist. This brightens up the flavor profile beautifully.
-
Vegan-Friendly: Swap out the egg yolks for silken tofu or a commercial egg replacer and use plant-based milk for a delectable vegan option. You won’t miss the traditional ingredients!
-
Cinnamon-Free: If you’re not a fan of cinnamon, try replacing it with lemon zest for a citrusy uplift, adding brightness to these classic pastries.
-
Enhanced Vanilla: For deeper flavor, substitute vanilla extract with an equal amount of vanilla bean paste—it elevates the sweetness beautifully. The tiny specks of vanilla will also add a lovely visual touch.
-
Nutty Flavor: Incorporate finely ground almond flour into the pastry for a subtle nutty crunch and rich flavor. This twist adds another layer of texture to the typically flaky base.
-
Maple Sweetener: Use maple syrup instead of sugar for a robust sweetness with a hint of warmth, transforming the tarts into a cozy autumn treat.
-
Spicy Kick: Add a pinch of cayenne pepper to the custard for a surprising spicy finish that will tickle your taste buds. It’s a daring twist that many will find irresistible!
The world of Pastéis de Nata is your oyster, so let your imagination guide you as you whip up these delightful Portuguese treats!
How to Store and Freeze Pastéis de Nata
Room Temperature: Store uneaten Pastéis de Nata in an airtight container at room temperature for up to 2 days. This helps to keep the pastry crisp.
Fridge: For longer storage, refrigerate tarts for up to 5 days in a sealed container. Keep in mind that the crust may lose some crispness.
Freezer: You can freeze the unbaked pastry shells for up to 3 months. Just wrap them tightly in plastic wrap and place in a freezer bag.
Reheating: To enjoy tarts later, reheat in a preheated oven at 350°F (175°C) for about 10 minutes to restore their flaky texture before serving.
Make Ahead Options
These Pastéis de Nata are perfect for busy home cooks who want to save time without sacrificing flavor! You can prepare the pastry shells up to 24 hours in advance by rolling them out and pressing them into muffin tins, then covering them with plastic wrap and refrigerating. The custard filling can also be made ahead and kept in the refrigerator for up to 3 days. Simply whisk the ingredients together, then store in an airtight container. When you’re ready to bake, just fill the prepared pastry shells with the custard and pop them in the oven. This way, your delicious Pastéis de Nata will be just as delightful as if made fresh, making your dessert prep a breeze!
What to Serve with Pastéis de Nata
Pair your delectable Pastéis de Nata with these delightful accompaniments for a truly complete dining experience.
- Espresso: The bold flavors of a shot of espresso perfectly enhance the sweet, creamy custard, creating a delightful balance.
- Fresh Berries: A side of mixed berries introduces a refreshing burst of tartness that complements the rich tarts beautifully.
- Whipped Cream: Light and airy, a dollop of whipped cream adds a luxurious touch to your dessert moment.
- Cinnamon Dusting: Sprinkle a little extra cinnamon over your tarts for added warmth and spice, enhancing their aromatic appeal.
- Almond Biscotti: For a crunchy texture, dunking almond biscotti into the creamy custard flavor brings a wonderful contrast.
- Sangria: A chilled glass of fruity sangria adds a festive touch, making it a perfect pairing for gatherings or special occasions.
- Vanilla Ice Cream: A scoop of vanilla ice cream beside the warm tarts offers a delightful temperature contrast that is simply irresistible.
- Caramel Sauce: Drizzling homemade caramel adds a sweet, decadent touch and enhances the flavor profile of these delightful pastries.
- Mint Leaves: A sprinkle of fresh mint provides a refreshing finish and a pop of color, elevating your presentation.
Expert Tips for Perfect Pastéis de Nata
-
Avoid Overfilling: Ensure you fill the pastry cases about 3/4 full. Overfilling can lead to messy spills during baking.
-
Perfect Crust: For a flaky, crisp crust, always use chilled puff pastry and handle it gently to maintain its layers.
-
Custard Consistency: Whisk the egg yolks until pale to ensure a smooth custard. Gradually temper them with the warm milk to avoid cooking the yolks.
-
Ideal Baking Temperature: Bake at a high temperature to achieve a caramelized top. Keep an eye on them; a minute too long can lead to burnt edges.
-
Cooling Time: Let the Pastéis de Nata cool slightly before removing them from the tin. This helps them set and retain their shape.
With these tips, you’ll create the most delightful Pastéis de Nata right in your kitchen, ready to impress!
Pastéis de Nata Recipe FAQs
What type of puff pastry should I use for Pastéis de Nata?
Absolutely! You can use either store-bought puff pastry for convenience or make your own for a bespoke touch. If you opt for homemade, ensure it’s chilled and handled gently to maintain its flaky layers that give the perfect bite!
How should I store leftover Pastéis de Nata?
For room temperature storage, keep uneaten tarts in an airtight container, and they’ll stay fresh for up to 2 days; this helps the pastry remain crisp. If refrigerating, place them in a sealed container for up to 5 days, although the crust may soften over time.
Can I freeze Pastéis de Nata, and if so, how?
Yes, you can freeze unbaked Pastéis de Nata! Wrap the pastry shells tightly in plastic wrap and place them in a freezer bag. They can be frozen for up to 3 months. When you’re ready to enjoy, bake them straight from the freezer, adding a few extra minutes to the baking time.
How can I ensure my custard filling doesn’t curdle?
To prevent curdling, it’s important to whisk the egg yolks until they’re pale and frothy. Gradually mix in the warm milk to temper the yolks, which helps maintain the silky custard texture. Always stir consistently while adding the milk, ensuring the eggs warm without cooking.
Are there any dietary concerns with Pastéis de Nata for pets or allergies?
Yes! Traditional Pastéis de Nata contains ingredients that aren’t safe for pets, such as sugar and dairy. For allergies, be cautious with egg yolks if someone has an egg allergy. If you need alternatives, consider making vegan versions using plant-based milk and substitutes for the egg yolks!
What should I do if my Pastéis de Nata overflow during baking?
If there is an overflow, it’s likely due to overfilling the pastry cases. Always fill them about 3/4 full to prevent spillage. If you do encounter spillage, carefully clean the muffin tin while it’s still warm, and adjust the filling for the next batch to ensure a neat finish.
Pastéis de Nata: Decadent Portuguese Custard Tarts at Home
Ingredients
Equipment
Method
- Preheat your oven to 375°F (190°C). Roll out the puff pastry and cut out circles for the muffin tin.
- In a saucepan, combine milk, sugar, and cinnamon. Heat until warm.
- Whisk egg yolks in a bowl. Add the warm milk mixture gradually while stirring.
- Pour the custard mixture into the pastry shells, filling them 3/4 full.
- Bake for 15-20 minutes until tops are golden brown.
- Cool in the tin for 5 minutes before transferring to a rack to serve.
Leave a Reply