
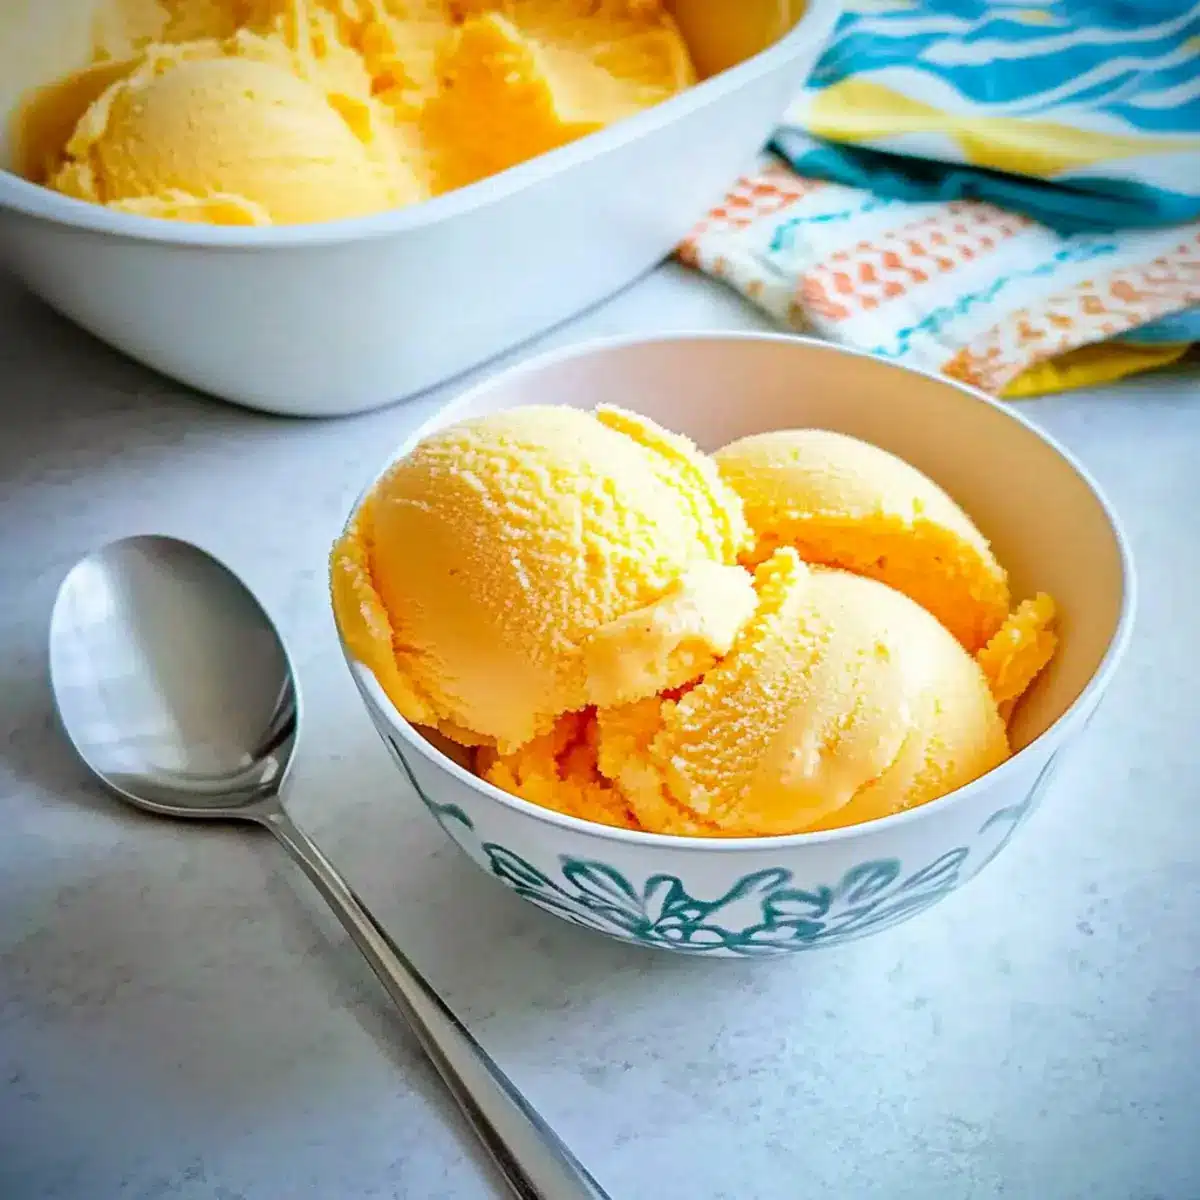
Stepping into my kitchen on a sunny afternoon, I caught a whiff of citrus that took me straight back to carefree summer days. This Homemade Orange Sherbet is a refreshing treat that effortlessly blends zesty oranges with a creamy texture, making it the ultimate go-to dessert for those hot days when all you want is something cool and satisfying. Not only is this recipe delightfully simple with just a handful of ingredients, but it also whips up in about 30 minutes—no baking required! Whether you’re hosting a backyard gathering or just craving a sweet pick-me-up, this sherbet is sure to impress. Feeling adventurous? You can easily switch it up by using lime, lemon, or even grapefruit for a fun twist. Ready to find out how to create this classic summer delight?
Why is Homemade Orange Sherbet a Must-Try?
Refreshing and light, this Homemade Orange Sherbet is the perfect antidote to summer heat. Simplicity at its finest, it requires just a few fresh ingredients to create a delightful treat in about 30 minutes. Endless flavor options let you swap orange for lime, lemon, or grapefruit for a twist—impress your guests with every variation! Crowd-pleaser potential means it’s ideal for gatherings or spontaneous cravings. Plus, it’s a no-bake dessert that saves you precious kitchen time. Dive into this refreshing classic and enjoy a burst of sunny flavors that will leave you wanting more!
Orange Sherbet Ingredients
Create your own refreshing Orange Sherbet with these simple, delightful ingredients!
For the Sherbet
- Freshly Squeezed Orange Juice – The star ingredient that provides vibrant flavor; make sure it’s fresh for the best taste.
- Granulated Sugar – Sweetens the sherbet and helps achieve the perfect creamy texture; adjust according to your sweetness preference.
- Orange Zest – Adds concentrated citrus notes that enhance the overall flavor; finely grate with a microplane for best results.
- Kosher Salt – Balances sweetness and amplifies flavors; just a pinch does wonders.
- Vanilla Extract – Introduces depth to the orange flavor; pure extract works best for a richer taste.
- Milk – Contributes soft texture and creaminess; almond or oat milk can be used for a dairy-free alternative.
- Heavy Whipping Cream – Adds richness and creaminess; essential for achieving that smooth sherbet texture.
Get ready to enjoy your homemade Orange Sherbet! This dessert is sure to be a hit, whether you’re cooling off solo or sharing with friends!
Step‑by‑Step Instructions for Orange Sherbet
Step 1: Whisk the Base Mixture
In a large mixing bowl, combine freshly squeezed orange juice, granulated sugar, orange zest, kosher salt, and vanilla extract. Whisk these ingredients together until the sugar fully dissolves, which should take about 2-3 minutes. You’ll know it’s ready when you see a smooth, syrupy mixture without any graininess. This flavorful base is the heart of your homemade Orange Sherbet.
Step 2: Add Creaminess
Next, pour in the milk and heavy whipping cream into the bowl with your orange mixture. Use a spatula to gently fold the ingredients together until well combined, ensuring that the mixture is smooth and creamy. This step is crucial for achieving the light, luscious texture of the sherbet, which will be delightful once frozen.
Step 3: Prepare the Ice Cream Maker
Set up your ice cream maker according to the manufacturer’s instructions. Make sure that the bowl is pre-frozen if required; this ensures optimal churning and prevents a slushy texture. Once your machine is ready, pour the creamy orange mixture into the ice cream maker’s bowl, evenly distributing the mixture for consistent churning.
Step 4: Churn the Mixture
Turn on the ice cream maker and churn the mixture for about 20-30 minutes. You’re aiming for a consistency that resembles soft serve, where the sherbet is thick yet spoonable. Keep an eye on it, as the creamy orange delight will start to fluff up beautifully; this is when you’ll know it’s nearing completion.
Step 5: Freeze to Firm Up
After churning, carefully spoon the soft orange sherbet into a freezer-safe container. Smooth the top with a spatula and cover it tightly with plastic wrap or wax paper to prevent ice crystals from forming. Place the container in the freezer and let it chill for at least 4 hours, or ideally overnight, to allow the sherbet to firm up nicely.
Step 6: Serve and Enjoy
After freezing, your homemade Orange Sherbet is ready to be served! Allow it to sit at room temperature for a few minutes before scooping, which will make it easier to serve. Enjoy this refreshing treat in chilled bowls or cones, perhaps garnished with fresh orange slices for that extra touch of summer joy!
Orange Sherbet Variations & Substitutions
Mix things up with these delightful variations and substitutions for your homemade Orange Sherbet!
-
Citrus Swap: Replace orange juice and zest with lime, lemon, or grapefruit for a tangy taste. Each citrus brings a unique zing that can brighten up your dessert.
-
Dairy-Free Option: Use almond or oat milk in place of regular milk for a wonderfully creamy, dairy-free treat without sacrificing flavor. This ensures everyone can enjoy a scoop!
-
Added Liqueur: Incorporate a splash of orange liqueur for an adult twist. This not only enhances the flavor but may help prevent ice crystallization for a smoother texture.
-
Herbal Infusion: Add fresh mint or basil to the mixture for a refreshing herbal note. Simply muddle the herbs before adding to the base for an unexpected botanical flavor dimension.
-
Creamy Twist: For an even richer texture, replace half of the milk with additional heavy cream. This brings a luxurious mouthfeel to your sherbet that’s sure to impress.
-
Taste the Rainbow: Create a colorful sherbet by layering different flavors, like raspberry or mango, alongside your orange mix. The visual appeal makes for a stunning summer dessert.
-
Spicy Kick: Want to heat things up? Add a pinch of cayenne or finely grated ginger to your mixture for a fun, spicy twist that contrasts beautifully with the sweetness.
If you’re looking to elevate your dessert game, don’t forget to check out our sections on Storage Tips and Serving Suggestions for the best ways to enjoy your creations!
Make Ahead Options
These Homemade Orange Sherbet options are perfect for busy weeknights! You can prepare the orange juice, sugar, and zest mixture up to 24 hours in advance by whisking them together and refrigerating it in an airtight container. This allows the flavors to meld beautifully and saves you precious time later. The cream can also be measured out and stored separately in the fridge for up to 3 days. When you’re ready to enjoy, simply combine the prepped mixture with the milk and cream, churn as instructed, and freeze until solid. Following these steps will yield a delicious sherbet that tastes just as fresh as if you made it all at once!
Expert Tips for Orange Sherbet
Pre-Freeze Your Bowl: Ensure that your ice cream maker bowl is pre-frozen according to the manufacturer’s instructions to achieve a creamy texture without any slushy bits.
Use Fresh Juice: For the best flavor, only use freshly squeezed orange juice. Store-bought juices often lack the vibrant freshness that makes homemade Orange Sherbet truly shine.
Control the Sweetness: Adjust the quantity of granulated sugar based on your taste preferences and the sweetness of the oranges. Taste your mixture before freezing!
Avoid Ice Crystals: Cover the sherbet tightly with plastic wrap or wax paper to minimize ice crystal formation while it freezes. This keeps your sherbet smooth and creamy.
Flavor Variations: Don’t hesitate to experiment with other citrus juices like lime or lemon! Each brings a unique twist to your Orange Sherbet that’s sure to delight.
Serve at Room Temperature: Let your sherbet sit at room temperature for a few minutes before scooping. This makes serving easier and enhances the taste!
What to Serve with Homemade Orange Sherbet?
A delightful dish deserves equally tempting companions that enhance its refreshing charm.
-
Creamy Coconut Rice: The richness of coconut rice complements the bright citrus notes, creating a tropical vibe that transports you to paradise.
-
Fresh Berry Salad: A medley of strawberries, blueberries, and raspberries offers a sweet and tart contrast, balancing the sherbet’s creaminess beautifully. Toss in a drizzle of honey for added sweetness!
-
Lemonade Sparkler: Pair your sherbet with a fizzy lemonade to elevate the refreshment level. The zesty flavor of lemonade highlights the orange notes while adding an effervescent twist.
-
Grilled Pineapple Slices: The caramelized sweetness of grilled pineapple brings out the tropical essence of the sherbet, creating a joyful harmony of flavors.
-
Minty Fruit Skewers: Combine fresh fruits like kiwi, watermelon, and mint for a light snack that refreshes the palate and complements the sherbet’s tangy appeal.
-
Chilled Iced Tea: A glass of cold, lightly sweetened iced tea adds subtle flavors and balances the sherbet, making it a perfect afternoon treat.
Enjoy these pairings with your homemade Orange Sherbet, transforming your dessert into a truly memorable experience!
How to Store and Freeze Orange Sherbet
Fridge: Store any leftover Orange Sherbet in an airtight container in the fridge for up to 3 days, though it’s best enjoyed fresh right after freezing.
Freezer: For long-term storage, keep the sherbet in a tightly sealed freezer-safe container. It will stay delicious for up to 2 weeks.
Reheating: Allow the sherbet to soften slightly at room temperature for about 5-10 minutes before serving. This will make it easier to scoop and enhance the overall texture.
Cover: To prevent ice crystals from forming, cover the sherbet with plastic wrap or wax paper directly on the surface before sealing the container.
Orange Sherbet Recipe FAQs
What kind of oranges should I use for the best flavor?
Absolutely use fresh, juicy oranges for this recipe! Look for ones that feel heavy for their size, have smooth skin, and are free of dark spots. Navel oranges tend to be a popular choice for sherbet because of their sweet flavor and juiciness, but feel free to experiment with other varieties like Valencia for a different taste.
How long can I store my homemade Orange Sherbet?
You can store your Orange Sherbet in an airtight container in the freezer for up to 2 weeks. Just wrap it tightly with plastic wrap or wax paper to prevent ice crystals from forming. If you keep it in the fridge, aim to enjoy it within 3 days for the best taste and texture.
Can I freeze the Orange Sherbet for longer?
Yes, you can! While it’s best enjoyed fresh, if you wrap it tightly and store it in a properly sealed freezer-safe container, your homemade sherbet can last up to 3 months in the freezer. Just remember to thaw it at room temperature for about 5-10 minutes before serving—it’ll make scooping a breeze!
What should I do if my Orange Sherbet is too icy?
If your sherbet turns out icy, it may be due to ice crystals forming during freezing. To prevent this, ensure your sherbet is stored properly by covering the surface with plastic wrap or wax paper before sealing the container. If it’s already frozen and icy, let it sit out for a few minutes to soften, then stir it gently to help improve the texture.
Is this recipe suitable for people with dairy allergies?
Absolutely! You can easily make a dairy-free version of this Orange Sherbet by substituting milk and heavy cream with almond milk, coconut milk, or oat milk. This way, you can still enjoy a refreshing treat without compromising on taste or texture.
Can I use other fruits besides orange?
Very much so! One of the delightful aspects of this recipe is its versatility. Feel free to swap the orange juice with other citrus juices like lime, lemon, or even grapefruit to give your sherbet a refreshing twist that will impress your friends and family!
Refreshing Orange Sherbet for Your Summer Chill Moments
Ingredients
Equipment
Method
- In a large mixing bowl, combine freshly squeezed orange juice, granulated sugar, orange zest, kosher salt, and vanilla extract. Whisk until the sugar fully dissolves (2-3 minutes).
- Pour in the milk and heavy whipping cream into the orange mixture. Gently fold until well combined for a smooth and creamy texture.
- Set up your ice cream maker according to the manufacturer’s instructions. Pre-freeze the bowl if required. Pour in the creamy orange mixture.
- Turn on the ice cream maker and churn for 20-30 minutes until it resembles soft serve consistency.
- Spoon the soft orange sherbet into a freezer-safe container. Cover tightly with plastic wrap or wax paper and freeze for at least 4 hours.
- After freezing, let it sit at room temperature for a few minutes before scooping. Serve in chilled bowls or cones, optionally garnished with fresh orange slices.
Leave a Reply