
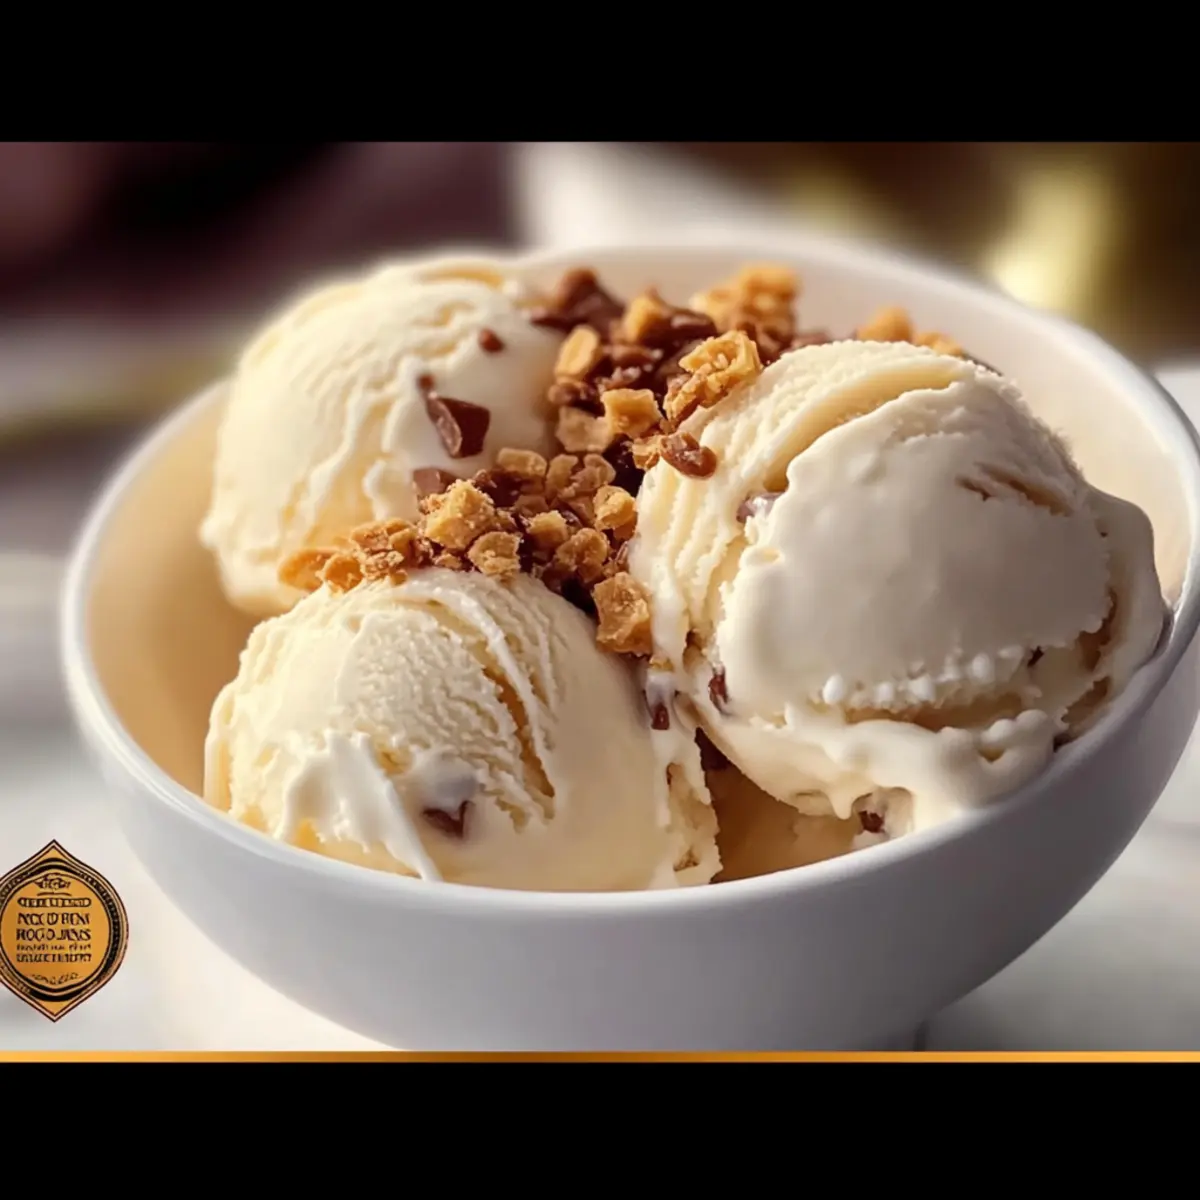
As I scraped the last remnants of a traditional crème brûlée from my dish, a delightful idea sparked in my mind: why not transform this classic indulgence into something just as luxurious, yet wonderfully adaptable for any occasion? Enter the No Churn Crème Brûlée Ice Cream—a creamy, dreamy dessert that captures the essence of rich vanilla and crunchy toffee bits, all without the fuss of an ice cream maker. This recipe not only brings exquisite flavor to your summer gatherings but also delivers the convenience of being both egg-free and gluten-free with a few thoughtful ingredient swaps. Perfect for a hot day or an after-dinner treat, this ice cream is an effortless way to impress your guests. What unique toppings will you use to make it your own?

Why is No Churn Crème Brûlée Ice Cream a Must-Try?
Convenience at Its Finest: You don’t need an ice cream maker to create this gourmet dessert in your own kitchen!
Rich, Creamy Texture: The combination of heavy whipping cream and sweetened condensed milk ensures every scoop is luxuriously velvety.
Flavor Versatility: Mix in your favorite toppings like crushed cookies or nuts, just as you might in a delightful Corn Cucumber Salad!
Perfect for Any Occasion: Whether it’s a summer barbecue or an elegant dinner party, this ice cream will have your guests raving.
Easy to Make Ahead: Prepare it the night before and let it freeze. By serving a scoop with your favorite dessert, you’ll create a blissful pairing that impresses. Treat yourself to this unique twist on a classic!
No Churn Crème Brûlée Ice Cream Ingredients
• Get ready to create an indulgent treat!
For the Ice Cream Base
- 2 cups heavy whipping cream – Provides rich creaminess and volume; whip until stiff peaks form for a light texture.
- 1 (14 oz) can sweetened condensed milk – Adds sweetness and ensures a smooth, no-churn texture; avoid substitutes for best results.
- 1 tbsp vanilla bean paste – Imparts deep vanilla flavor and appealing specks; substitute with pure vanilla extract for a milder taste.
- Optional pinch of salt – Enhances overall flavor by balancing sweetness.
For the Crunchy Element
- ½ cup toffee bits or crushed Heath Bar pieces – Adds a delightful crunch and caramel notes; can substitute with crushed caramel candies or omit for a pure vanilla flavor.
Feel free to adapt these ingredients to your taste, and enjoy the bliss of No Churn Crème Brûlée Ice Cream!
Step‑by‑Step Instructions for No Churn Crème Brûlée Ice Cream
Step 1: Chill Equipment
Begin by chilling your mixing bowl and whisk in the freezer for about 10 minutes. This simple step ensures your heavy whipping cream will whip up beautifully, resulting in a light and airy texture for the No Churn Crème Brûlée Ice Cream. Keep an eye on the time to ensure everything is well chilled for optimal whipping.
Step 2: Whip the Cream
Once your equipment is thoroughly chilled, pour the heavy whipping cream into the bowl. Use an electric mixer on medium-high speed to whip the cream until stiff peaks form, which should take about 3 to 5 minutes. The cream should be thick enough to hold its shape and look glossy, providing that luxurious texture your ice cream craves.
Step 3: Mix the Condensed Milk and Flavorings
In a separate bowl, combine the sweetened condensed milk with the vanilla bean paste and an optional pinch of salt. Mix together until well blended. This mixture will serve as the base for your ice cream, enhancing the creamy sweetness and rich vanilla flavor typical of a traditional crème brûlée.
Step 4: Combine Mixtures
Gently fold the whipped cream into the condensed milk mixture using a spatula. Start with a small amount of whipped cream to lighten the base, then gradually add the remaining cream. This folding technique ensures you maintain that airy texture so crucial for the No Churn Crème Brûlée Ice Cream, achieving a smooth and creamy consistency.
Step 5: Add the Crunchy Element
Next, gently fold in the toffee bits or crushed Heath Bar pieces until evenly distributed throughout the mixture. These bits will add a delightful crunch and caramel notes to your ice cream, enhancing the overall experience of every refreshing bite. Be careful not to over-mix to keep the light texture intact.
Step 6: Transfer to Container
Prepare a loaf pan or an airtight container for freezing. Carefully transfer the ice cream mixture into the pan, using a spatula to smooth the top for an even surface. This shape makes it easy to scoop later. Ensure the mixture is packed tightly to prevent air pockets from forming, which can affect the texture of the final ice cream.
Step 7: Freeze
Place your container in the freezer and allow the No Churn Crème Brûlée Ice Cream to freeze for at least 6 hours or overnight for best results. This time allows it to fully solidify, making it easier to serve later. Avoid opening the freezer door too often to maintain an even freezing temperature, ideal for the creamiest texture.
Step 8: Serve
When you’re ready to serve, take your ice cream out of the freezer and let it sit at room temperature for about 5 to 10 minutes. This wait allows the ice cream to soften slightly, making it easier to scoop. For an extra touch, sprinkle a little sugar on top and use a kitchen torch to caramelize the surface, mimicking the classic crème brûlée experience.
Make Ahead Options
These No Churn Crème Brûlée Ice Cream delights are perfect for meal prep, saving you time and effort on busy days! You can prepare the entire ice cream mixture up to 24 hours in advance. To do this, follow all the instructions up to transferring the mixture to an airtight container, then freeze it. If you’re planning a gathering, whip up this creamy treat a day before, letting it set overnight. When it’s time to serve, let the ice cream sit at room temperature for 5 to 10 minutes for easier scooping. This way, you’ll be serving a dessert that is just as luscious and impressive, ready to wow your guests effortlessly!
No Churn Crème Brûlée Ice Cream Variations
Feel free to get creative with your ice cream adventure! Let’s explore some delectable ways to customize your No Churn Crème Brûlée Ice Cream.
-
Dairy-Free: Substitute heavy cream with coconut cream for a tropical twist. This swap adds a lovely, rich flavor with a hint of coconut.
-
Nutty Delight: Fold in chopped almonds or hazelnuts in place of toffee bits for a deliciously crunchy bite. These nuts enhance the creamy texture, making each scoop uniquely satisfying.
-
Chocolate Lovers: Add mini chocolate chips or chunks to the base for a delightful contrast. This will give your ice cream an indulgent chocolatey experience that pairs beautifully with the vanilla.
-
Fruity Burst: Introduce crushed freeze-dried strawberries or raspberries for a fruity surprise. The tartness balances the richness of the crème brûlée, giving a refreshing lift in every mouthful.
-
Spicy Kick: Mix in a sprinkle of cinnamon or a pinch of cayenne pepper to add a warm, zesty note. Just a dash can elevate your ice cream, offering an exciting twist to the classic flavor.
-
Caramel Drizzle: Swirl in caramel sauce before freezing for an extra layer of sweetness. This adds oodles of flavor and a gooey texture that enhances the overall experience.
-
Gourmet Touch: Prepare a homemade vanilla bean syrup to drizzle over the top when serving. This elegant addition can turn your dessert into a restaurant-style treat.
-
Top It Off: Serve with a dollop of whipped cream and a sprinkle of crushed toffee or nuts. This not only adds texture but presents your creation with a touch of flair!
With these variations in mind, don’t hesitate to experiment and make this No Churn Crème Brûlée Ice Cream truly yours! Enjoy it alongside a charming Coconut Chicken Rice for a memorable dessert experience.
Expert Tips for No Churn Crème Brûlée Ice Cream
-
Chill Everything: Ensure your mixing bowl and whisk are adequately chilled for optimal whipping; this helps achieve the light and airy texture you desire.
-
Perfect Scoops: If your ice cream is too hard to scoop, let it sit at room temperature for 5-10 minutes. Avoid microwaving, as it can alter the texture.
-
Brûléed Effect: For an authentic touch, sprinkle a thin layer of sugar on top before serving, then caramelize it with a kitchen torch for that classic crème brûlée finish.
-
Ingredient Checks: If you customize with toppings, always verify they are gluten-free—this ice cream should remain suitable for everyone to enjoy!
-
Avoid Overmixing: When folding the whipped cream with the condensed milk, be gentle to maintain that gorgeous, airy consistency; overmixing can lead to a denser texture.
What to Serve with No Churn Crème Brûlée Ice Cream
Nothing elevates a warm summer evening quite like the shimmering scoop of homemade ice cream, complemented by delightful sides and flavors.
-
Fresh Berries: The bright tartness of strawberries, blueberries, or raspberries adds a refreshing contrast to the rich ice cream, enhancing each bite beautifully. You could even toss them with a sprinkle of sugar to bring out their natural sweetness.
-
Chocolate Chip Cookies: Soft and chewy cookies provide a delightful, familiar texture that pairs wonderfully with the creamy, smooth ice cream. This classic combo is perfect for a fun dessert platter!
-
Warm Brownies: The fudgy, chocolatey goodness of brownies offers an indulgent experience when paired with No Churn Crème Brûlée Ice Cream. Dress it up with a drizzle of chocolate sauce for a decadent treat.
-
Caramel Sauce: Drizzling homemade or store-bought caramel sauce over the ice cream creates an irresistible finish, enhancing the dessert’s sweet and salty flavor profile.
-
Espresso or Coffee: A small cup of strong coffee or espresso can act as a perfect palate cleanser, balancing the sweetness while enhancing the dessert’s vanilla notes. The warmth of the drink complements the coolness of the ice cream beautifully.
-
Pistachio Cake: A slice of moist pistachio cake brings a nutty flavor that pairs nicely with the ice cream. The flavors meld seamlessly, creating a uniquely satisfying experience.
-
Coconut Macaroons: These chewy treats add texture, and their hint of coconut pairs beautifully with the creamy vanilla base of the ice cream—just the right amount of tropical delight!
-
Sparkling Water or Lemonade: A bubbly drink serves as a refreshing contrast, cleansing the palate and making this dessert experience feel even more festive and vibrant.
Each of these delightful pairings, whether enjoyed individually or as part of a full spread, creates a memorable meal that turns simple ice cream into a cherished occasion.
Storage Tips for No Churn Crème Brûlée Ice Cream
Fridge: Store any leftover ice cream in an airtight container in the fridge for up to 3 days, but be aware it may lose some of its creamy texture.
Freezer: Keep the ice cream in the coldest part of your freezer for up to 2 weeks. For the best texture, it’s advised to enjoy it within the first week after making your No Churn Crème Brûlée Ice Cream.
Wrapping: If transferring to another container, ensure it’s tightly sealed and covered with plastic wrap to prevent freezer burn.
Reheating: Allow the ice cream to sit at room temperature for 5-10 minutes before scooping to help it soften, avoiding any microwave heating that could affect the consistency.
No Churn Crème Brûlée Ice Cream Recipe FAQs
How do I choose ripe ingredients for No Churn Crème Brûlée Ice Cream?
When selecting ingredients, particularly for the optional toffee bits, look for fresh, unbroken pieces without any dark spots or hard edges. If you’re using vanilla bean paste, ensure it has a rich aroma and no dry or hard lumps.
What is the best way to store No Churn Crème Brûlée Ice Cream?
Store your ice cream in an airtight container in the coldest part of your freezer. For best texture, it remains ideal to consume within one week, but it can last up to two weeks. Be sure to seal it tightly to avoid ice crystals forming on the surface.
Can I freeze No Churn Crème Brûlée Ice Cream?
Absolutely! This dessert freezes beautifully. Once you’ve combined and packed your ice cream mixture into an airtight container, place it in the freezer. Allow it to freeze for at least 6 hours or ideally overnight to achieve the best scoopable consistency.
What if my No Churn Crème Brûlée Ice Cream turns out too hard?
If you find it too hard to scoop, simply let it sit at room temperature for 5-10 minutes before serving to soften. Avoid using the microwave, as this can change the luscious, creamy texture of the ice cream.
Can I adapt the recipe for dietary restrictions or allergies?
Certainly! This recipe is already egg-free and can be made gluten-free by ensuring all ingredients, especially any add-ins or toppings, are certified gluten-free. If you’re sensitive to dairy, try using coconut cream as a base—just be mindful of how this may alter the flavor profile!
What variations can I try for No Churn Crème Brûlée Ice Cream?
To mix things up, feel free to play with different toppings! Instead of toffee bits, you can fold in crushed cookies, chocolate chips, or nuts for added texture. For a more traditional flavor, consider adding a swirl of caramel or chocolate sauce before freezing—let your creativity shine!
Indulge in No Churn Crème Brûlée Ice Cream Bliss at Home
Ingredients
Equipment
Method
- Chill your mixing bowl and whisk in the freezer for about 10 minutes to ensure optimal whipping.
- Pour heavy whipping cream into the chilled bowl and whip with an electric mixer until stiff peaks form, about 3 to 5 minutes.
- In a separate bowl, combine sweetened condensed milk, vanilla bean paste, and optional salt. Mix until well blended.
- Gently fold the whipped cream into the condensed milk mixture with a spatula, maintaining an airy texture.
- Fold in the toffee bits or crushed Heath Bar until evenly distributed.
- Transfer the mixture to a loaf pan or airtight container, smoothing the top.
- Freeze the mixture for at least 6 hours or overnight.
- When ready, let ice cream sit at room temperature for 5 to 10 minutes before serving.
Leave a Reply