
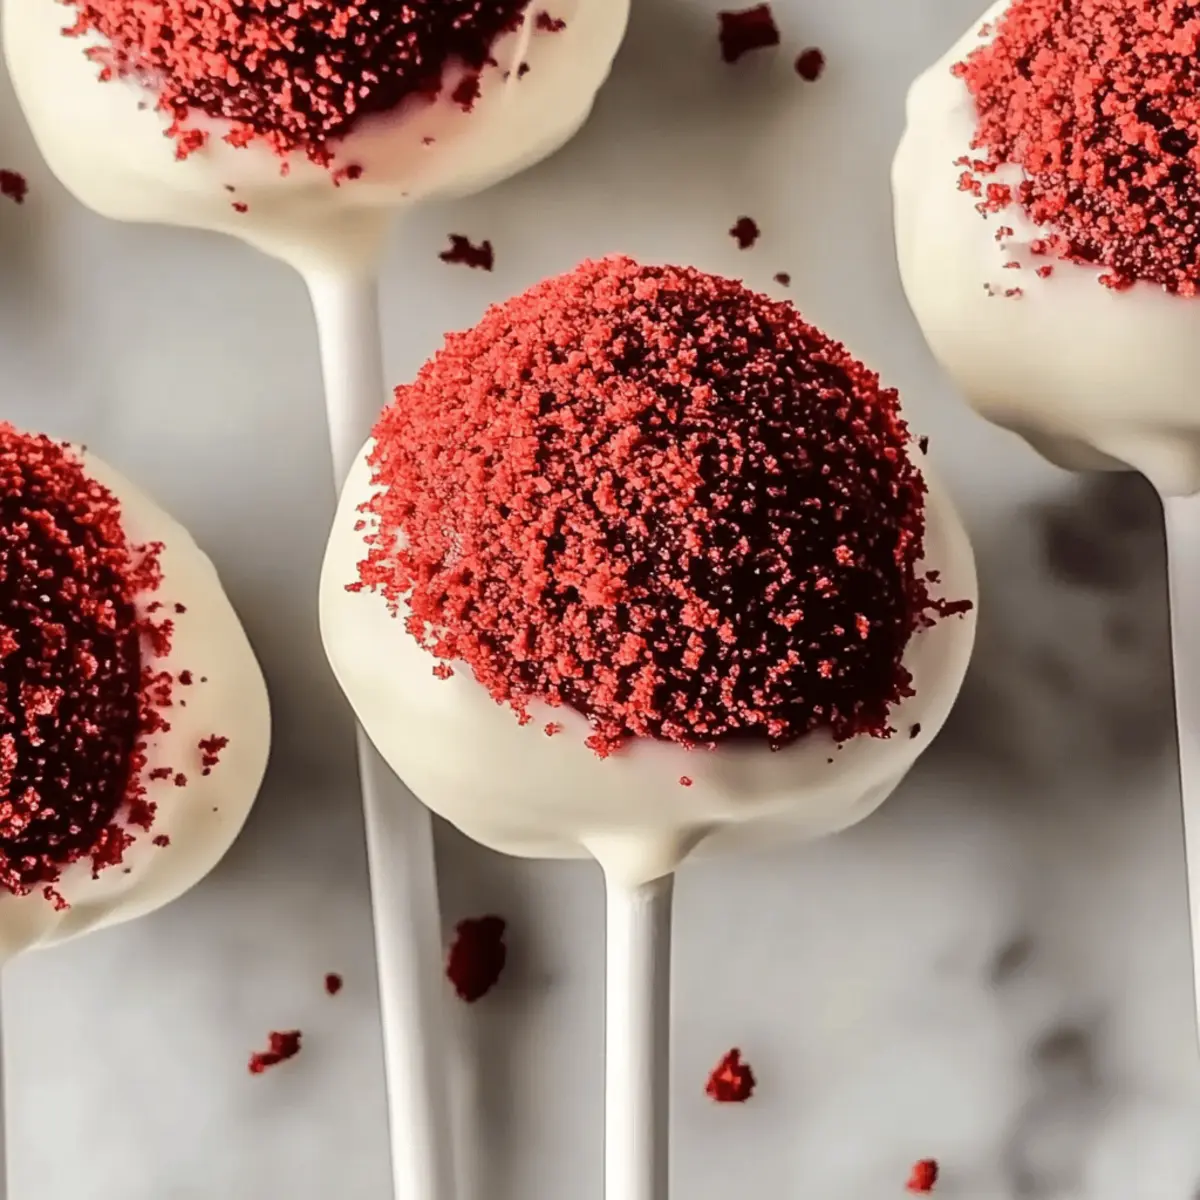
As I stood in the kitchen, the rich aroma of red velvet cake wafted through the air, instantly transporting me to a delightful celebration. Today, I’m thrilled to share my recipe for Moist Red Velvet Cake Pops, a fun twist on a classic dessert that’s perfect for any occasion! These bite-sized wonders are not only impressively simple to make but are also a fantastic way to bring a touch of joy to your gatherings. What I love most is that you can customize them with your favorite frosting, making them a delightful canvas for creativity. Plus, they’re an easy baking project that can leave little hands happily involved—ideal for kids’ parties or family get-togethers. Are you ready to dive into this deliciously easy baking adventure? Let’s get started!
Why Are These Cake Pops So Irresistible?
Indulgent in every bite, these Moist Red Velvet Cake Pops deliver a rich flavor that pleases both kids and adults alike, making them a perfect addition to any celebration. Simple to assemble, they require no advanced baking skills, ensuring everyone can join the fun. Customizable with your choice of frosting and coatings, they cater to different tastes, adding to their crowd appeal. Time-saving and easy to prepare, these cake pops are a fantastic way to impress your guests without spending hours in the kitchen. Whether paired with a warm cup of coffee or as a special after-school treat, they’re guaranteed to bring smiles all around!
Moist Red Velvet Cake Pop Ingredients
Get ready to create delicious treats!
For the Cake
- Red Velvet Cake Mix – The star of the show, providing that iconic flavor and vibrant color; popular brands like Betty Crocker or Duncan Hines work wonders!
- Water – Essential for hydrating the cake mix, ensuring a moist and tender crumb.
- Vegetable Oil – Adds necessary moisture, making your cake tender and fluffy.
- Eggs – These little gems help bind everything together and provide structure to the cake.
For the Cake Balls
- Frosting (Cream Cheese or Vanilla) – Ties the cake crumbs together perfectly; adjust the amount to reach your ideal consistency for forming balls.
For Coating
- Candy Melts or Chocolate – Dresses up your cake pops in a sweet, glossy finish; they are key to making them look scrumptious.
- Coconut Oil (optional) – Mix in with melted chocolate if you want super smooth and shiny cake pops!
Get ready to delight your guests with these Moist Red Velvet Cake Pops that will wow every sweet tooth!
Step‑by‑Step Instructions for Moist Red Velvet Cake Pops
Step 1: Prepare the Cake
Preheat your oven to 350°F (175°C) and grease a baking pan. Following the package instructions, mix the red velvet cake mix with water, vegetable oil, and eggs until smooth. Pour the batter into the prepared pan and bake for 25 to 30 minutes, or until a toothpick inserted in the center comes out clean. Once baked, allow the cake to cool completely before moving to the next step.
Step 2: Crumble the Cake
Once cooled, gently remove the cake from the pan and use a fork or your hands to crumble it into fine crumbs in a large bowl. Make sure to break up any large chunks to ensure even mixing. Reserve about 1/2 cup of the crumbs for decoration later. This will form the foundation of your Moist Red Velvet Cake Pops, so take your time to get a consistent crumb texture.
Step 3: Mix with Frosting
Add a few tablespoons of frosting to the cake crumbs and mix using your hands or a spatula until the crumbs are fully combined and form a dough-like consistency. You want just enough frosting to hold the mixture together without making it overly sticky. Once well blended, chill the mixture in the freezer for about 15-20 minutes to firm up, making it easier to shape.
Step 4: Form Balls
Once chilled, scoop out portions of the mixture and roll them into uniform balls, about the size of ping pong balls. Place each ball onto a baking sheet lined with parchment paper. Ensure that they are evenly shaped, as this will help with the overall appearance of your Moist Red Velvet Cake Pops. After forming all the cake balls, freeze them for at least 30 minutes until solid.
Step 5: Melt Chocolate
While the cake balls are freezing, prepare your coating. In a microwave-safe bowl, heat the candy melts or chocolate in the microwave in 30-second intervals, stirring in between, until melted and smooth. This process should take about 1-2 minutes. Be careful not to overheat as it can burn easily. Set the melted chocolate aside for the next step.
Step 6: Insert Sticks
Take the chilled cake balls out of the freezer. Dip the tip of each lollipop stick into the melted chocolate, then insert it carefully into the center of each cake ball. This will help secure the stick and ensure that your cake pops stay intact. Allow the chocolate to set slightly before moving on to the next step for better adherence.
Step 7: Coat Cake Pops
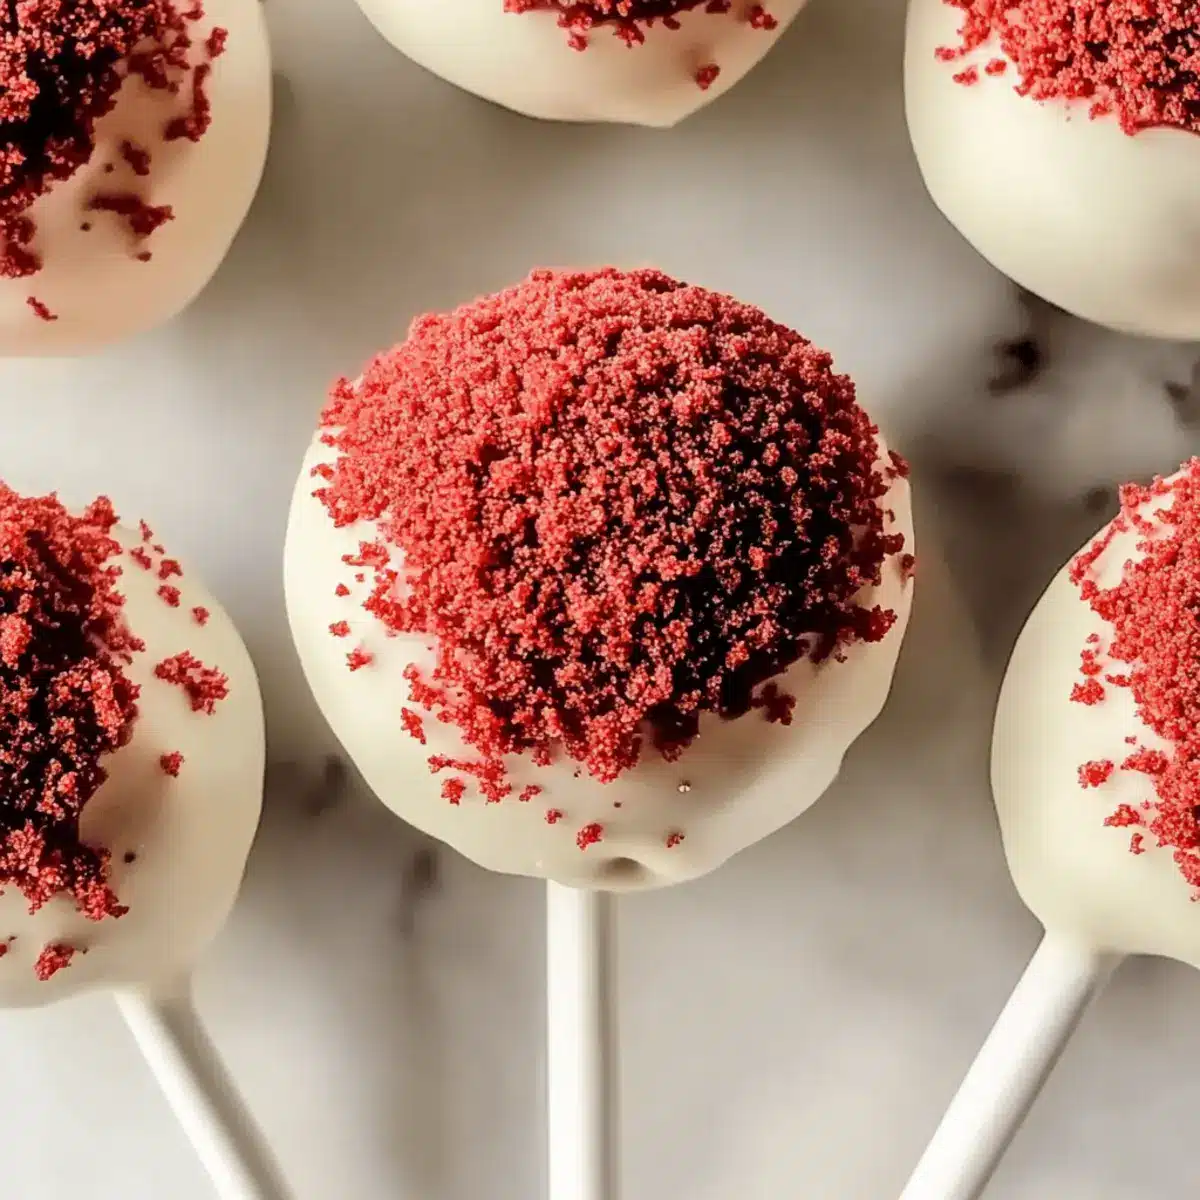
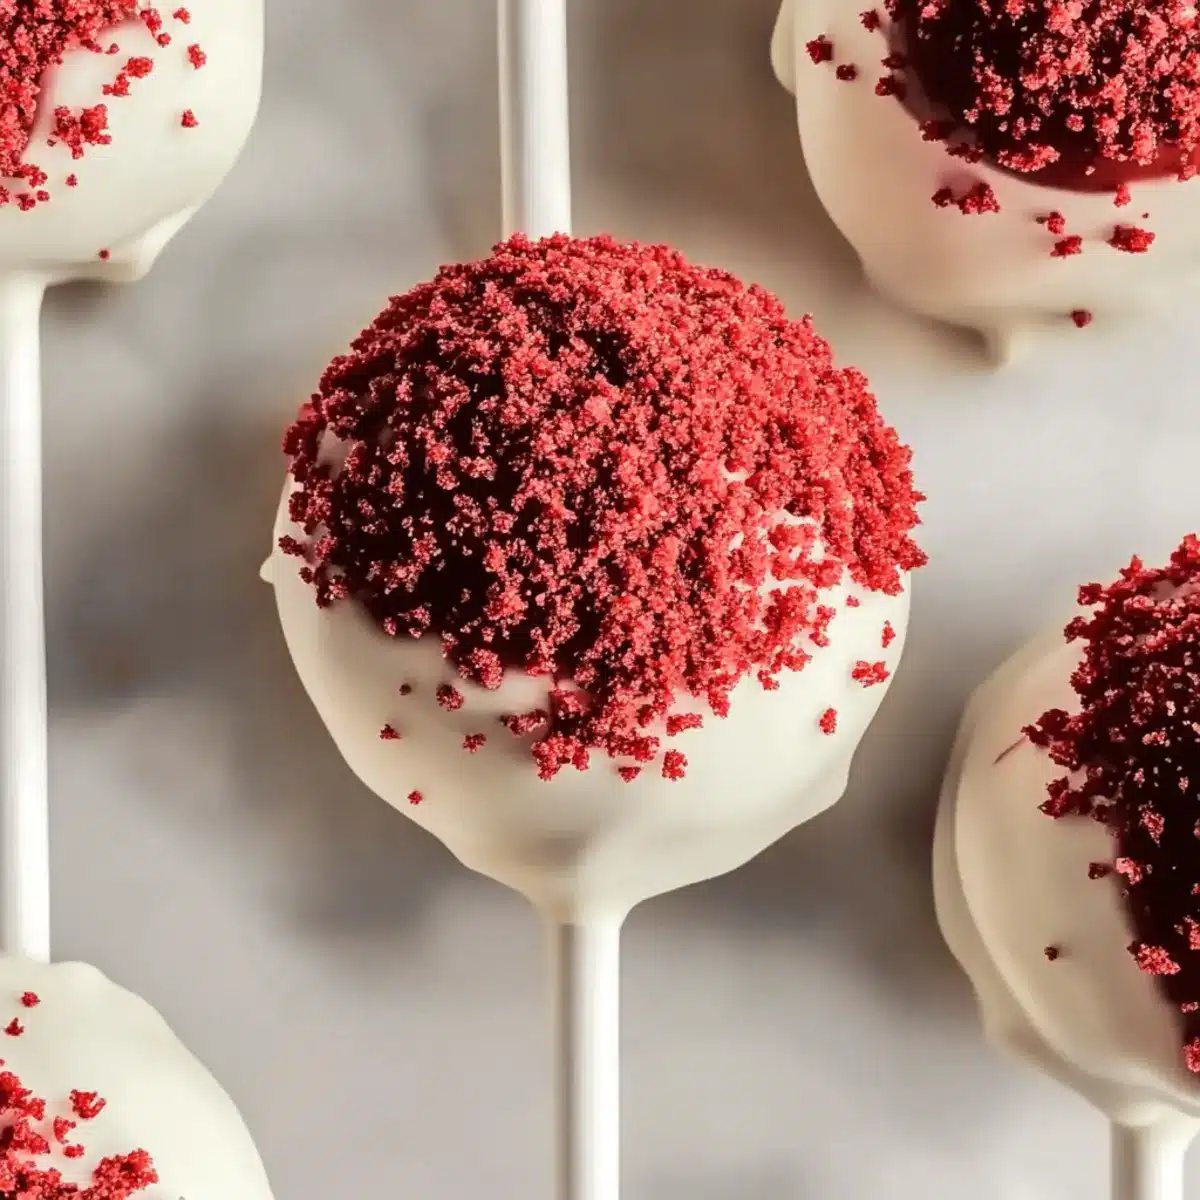
Dip each cake ball into the melted chocolate, ensuring it is fully coated. Hold the cake pop above the bowl and gently tap to let any excess chocolate drip off. While the coating is still wet, sprinkle with the reserved cake crumbs for decoration. This will give your Moist Red Velvet Cake Pops a charming touch and enhance their flavor.
Step 8: Set to Harden
Carefully place the coated cake pops upright in a foam block or a cardboard box to let them set completely. Allow them to harden for at least 30 minutes at room temperature or refrigerate for quicker setting. Once the coating is firm, your delicious red velvet cake pops will be ready to serve.
Make Ahead Options
These Moist Red Velvet Cake Pops are perfect for busy home cooks looking to save time! You can bake the cake and crumble it up up to 24 hours in advance, storing the crumbled cake in an airtight container at room temperature to maintain moisture. Additionally, once you mix the cake crumbs with frosting, chill the mixture and shape it into balls, which can be frozen for up to 3 weeks. Just ensure they are tightly wrapped to prevent freezer burn! When you’re ready to serve, simply dip the cake balls into melted chocolate and allow them to set, offering your guests delicious cake pops that are just as delightful as if made fresh.
Expert Tips for Moist Red Velvet Cake Pops
-
Chill Thoroughly: Ensure cake balls are fully frozen before coating. This prevents them from falling apart and helps maintain their shape during dipping.
-
Perfectly Melt Chocolate: Heat chocolate in 30-second intervals, stirring in between. This prevents overheating and ensures a smooth coating for your Moist Red Velvet Cake Pops.
-
Start Small with Frosting: Begin by mixing a small amount of frosting into the cake crumbs. Gradually add more until you achieve a dough-like consistency without making the mixture too wet.
-
Avoid Over-Decorating: Tap off excess chocolate gently before adding sprinkles or crumbs. This helps achieve a clean and polished look, avoiding messy cake pops.
-
Experiment with Flavors: Don’t hesitate to play with different frosting and coating flavors! Using chocolate or peanut butter frosting can create exciting variations of your Moist Red Velvet Cake Pops.
How to Store and Freeze Moist Red Velvet Cake Pops
Fridge: Keep your Moist Red Velvet Cake Pops in an airtight container in the refrigerator for up to 1 week. This helps maintain their delicious moisture and flavor.
Freezer: For longer storage, freeze your cake pops for up to 6 weeks. Place them in a freezer-safe container separated by parchment paper to prevent sticking.
Thawing: When you’re ready to enjoy, simply move the frozen cake pops to the fridge the night before serving. This gentle thaw helps preserve their delightful texture.
Reheating: These treats are best enjoyed cold or at room temperature. If you prefer a warm indulgence, gently warm them in the microwave for a few seconds—just be cautious not to overheat!
Moist Red Velvet Cake Pops Variations & Substitutions
Let your creativity shine by personalizing these delightful cake pops to suit your taste and preferences!
- Flavor Twist: Replace the red velvet cake mix with chocolate or vanilla for a tasty change. Kids will love this fun surprise!
- Frosting Flair: Try different flavors like cream cheese, chocolate ganache, or even peanut butter frosting for a unique spin. Each one adds a delightful layer of flavor.
- Coating Alternatives: Swap out candy melts for dark chocolate, white chocolate, or even colorful candy coatings for festive occasions. It’s an easy way to match any theme!
- Dairy-Free Option: Use a dairy-free cake mix and frost with a coconut or almond-based frosting. Your friends won’t miss the traditional dessert, and everyone can enjoy!
- Nutty Delight: Add crushed nuts or sprinkles to the chocolate coating for an extra crunch. This will elevate the texture and make them even more irresistible.
- Saved Time: If short on time, purchase pre-made cake balls from the store and just coat them in chocolate. This lets you enjoy the fun of decorating without all the prep work!
- Spicy Surprise: Add a pinch of cayenne or cinnamon to the cake mix for a warm, spiced surprise. This subtle heat can be a delightful addition to the flavors.
- Mini Cake Pops: For a fun twist, create tiny cake pops using a mini muffin tin and serve as bite-sized treats. Perfect for parties and keeping little hands busy!
For an indulgent dessert adventure, you might also want to try your hand at other temptations like Indulge Raspberry Cake or whip up a batch of Moist Pumpkin Bread for seasonal flavor! Enjoy exploring these sweet variations!
What to Serve with Moist Red Velvet Cake Pops
Looking to elevate your dessert experience? Pair these delightful cake pops with complementary flavors and textures for a truly memorable treat.
-
Creamy Mashed Potatoes: Their buttery texture and mild flavor balance out the sweetness of red velvet, perfect for a cozy meal.
-
Fluffy Vanilla Ice Cream: The cold creaminess enhances the rich chocolate notes in the cake pops, creating a delightful contrast that melts in your mouth.
-
Fresh Berries: Juicy strawberries or raspberries offer a tart burst that cuts through the sweetness, refreshing your palate with every bite.
Indulging in these cake pops is not just about the sweetness; the refreshing notes of fresh fruit offer a brilliant counterpoint, making them irresistible!
-
Sparkling Rosé: This bubbly drink adds a hint of fruity sweetness and effervescence, elevating the celebratory vibe of any gathering.
-
Chocolate Dipping Sauce: For the chocolate lovers, a warm, velvety dip takes these pops to another level of indulgence, creating a chocolate-covered experience.
-
Coffee or Hot Chocolate: These warm beverages provide a delicious, comforting backdrop that enhances the rich flavor of the red velvet cake pops.
Just imagine guests mingling, laughter filling the air, while they indulge in these beautifully crafted Moist Red Velvet Cake Pops alongside delightful pairings. What a perfect way to create lasting memories!

Moist Red Velvet Cake Pops Recipe FAQs
How do I choose the right red velvet cake mix?
Absolutely! When selecting a red velvet cake mix, I recommend popular brands like Betty Crocker or Duncan Hines for consistent results. If you prefer to save a few bucks, store brands can also work well; just ensure you bake it properly to retain the cake’s inherent moisture.
What’s the best way to store leftover cake pops?
Very! Store your Moist Red Velvet Cake Pops in an airtight container in the fridge for up to 1 week. This keeps them fresh and prevents drying out. For extended storage, you can freeze them for up to 6 weeks. Just make sure to separate layers with parchment paper to avoid sticking!
Can I freeze my cake pops? If so, how?
Absolutely! To freeze your Moist Red Velvet Cake Pops, first, place them in a single layer on a baking sheet and freeze until solid. Then, transfer them to a freezer-safe container, layering them with parchment paper to prevent sticking. They can be frozen for up to 6 weeks. When ready to enjoy, thaw them in the fridge overnight—this allows them to come back to room temperature without losing their delightful texture.
What should I do if my cake pops fall apart when coating?
Very! If your cake pops are crumbling or falling apart during coating, it could be due to them being too warm or not chilled enough. Make sure to freeze your cake balls for at least 30 minutes before dipping them in chocolate. If they’re still delicate, try adding a tiny bit more frosting to create a more cohesive mixture. Think of it like crafting—you want the perfect balance to ensure they hold their shape!
Are Moist Red Velvet Cake Pops suitable for specific dietary restrictions?
Absolutely! You can make dietary adjustments to suit various preferences. For example, if you’re catering to gluten-sensitive guests, consider using a gluten-free red velvet cake mix. Vegan versions can be achieved by substituting eggs with flax seeds and using non-dairy frosting. Always double-check the labels of your ingredients, especially if allergies are a concern, to ensure the cake pops cater to everyone’s needs.
Moist Red Velvet Cake Pops That Wow Every Sweet Tooth
Ingredients
Equipment
Method
- Preheat your oven to 350°F (175°C) and grease a baking pan. Mix the red velvet cake mix with water, vegetable oil, and eggs until smooth. Pour into the prepared pan and bake for 25 to 30 minutes, until a toothpick comes out clean. Allow to cool completely.
- Remove the cooled cake from the pan and crumble into fine crumbs in a large bowl. Reserve 1/2 cup for decoration.
- Add a few tablespoons of frosting to the crumbs and mix until combined and dough-like. Chill for 15-20 minutes.
- Scoop out portions and roll into balls, about the size of ping pong balls. Freeze for at least 30 minutes until solid.
- In a microwave-safe bowl, melt candy melts or chocolate in 30-second intervals until smooth. Set aside.
- Dip the tip of each lollipop stick into the melted chocolate, then insert into the center of each cake ball. Allow the chocolate to set.
- Dip each cake ball into the melted chocolate, allowing excess to drip off. While wet, sprinkle with reserved cake crumbs.
- Place the coated cake pops upright in a foam block or cardboard box to let them set completely, for at least 30 minutes.
Leave a Reply