
As I stood in the kitchen surrounded by the warm scents of autumn, I couldn’t help but think about the magic of Thanksgiving traditions. This No Bake Marshmallow Pumpkin Pie Recipe is my answer to preserving those cherished flavors without the stress of baking. Imagine creamy marshmallows and rich pumpkin mingling together in a fluffy filling, all resting in a graham cracker crust that’s both easy and gluten-free. With just a few simple steps, you can whip up this delightful dessert that not only saves time but also stands out as a light and airy twist on your classic pumpkin pie. It’s the perfect sweet treat to impress your guests while freeing up your holiday schedule for what really matters—celebrating with loved ones. Curious to find out how to create this dish that will have everyone asking for seconds? Let’s dive in!
Why is this Pumpkin Pie a Must-Try?
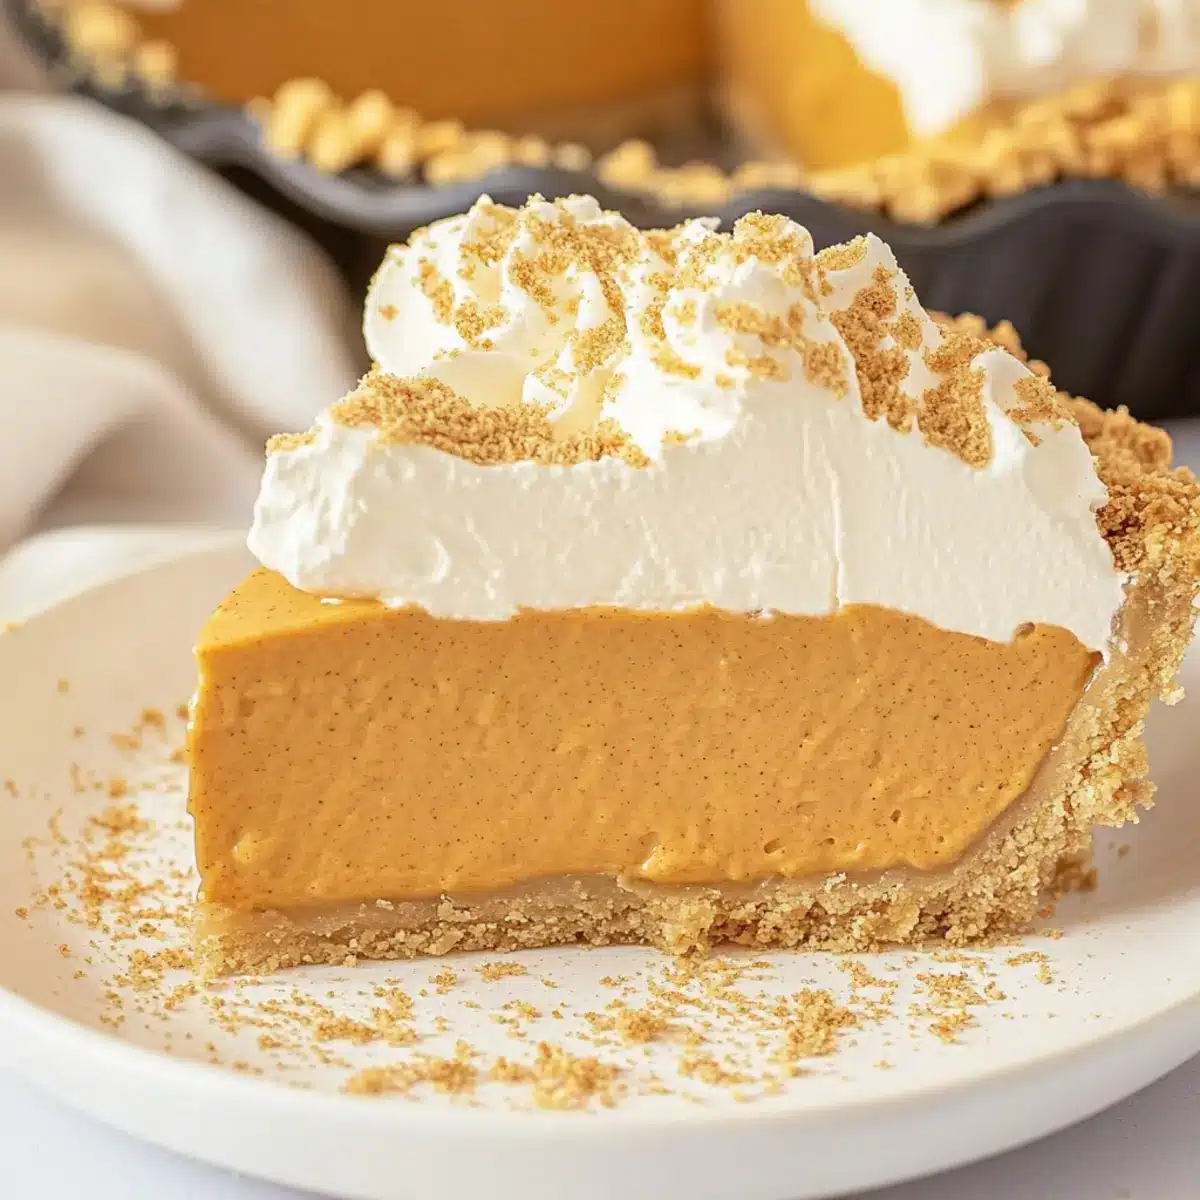
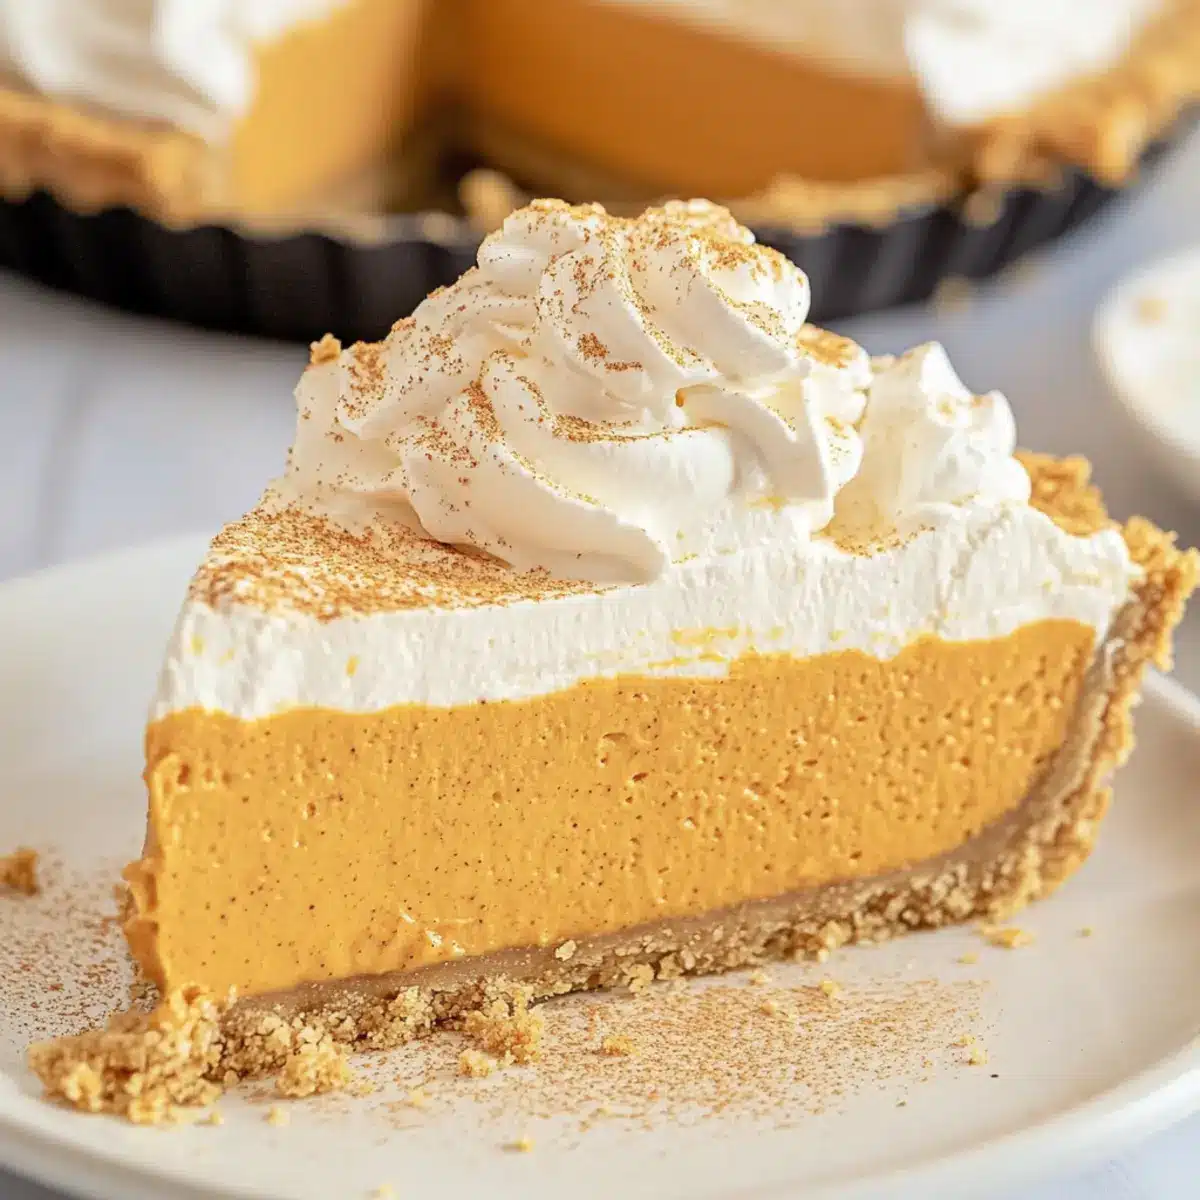
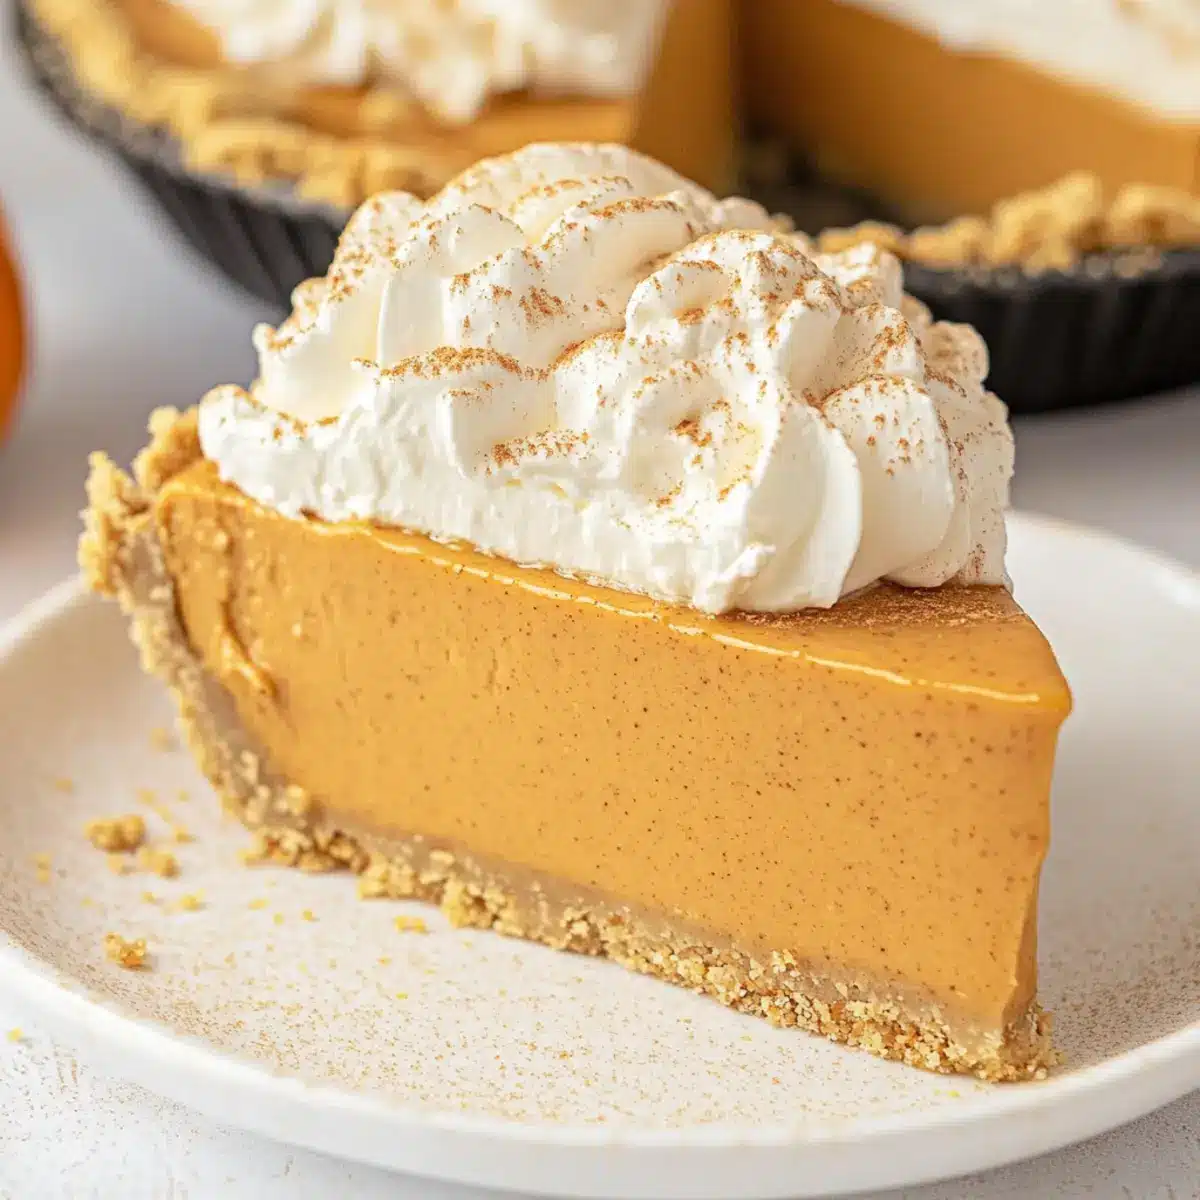
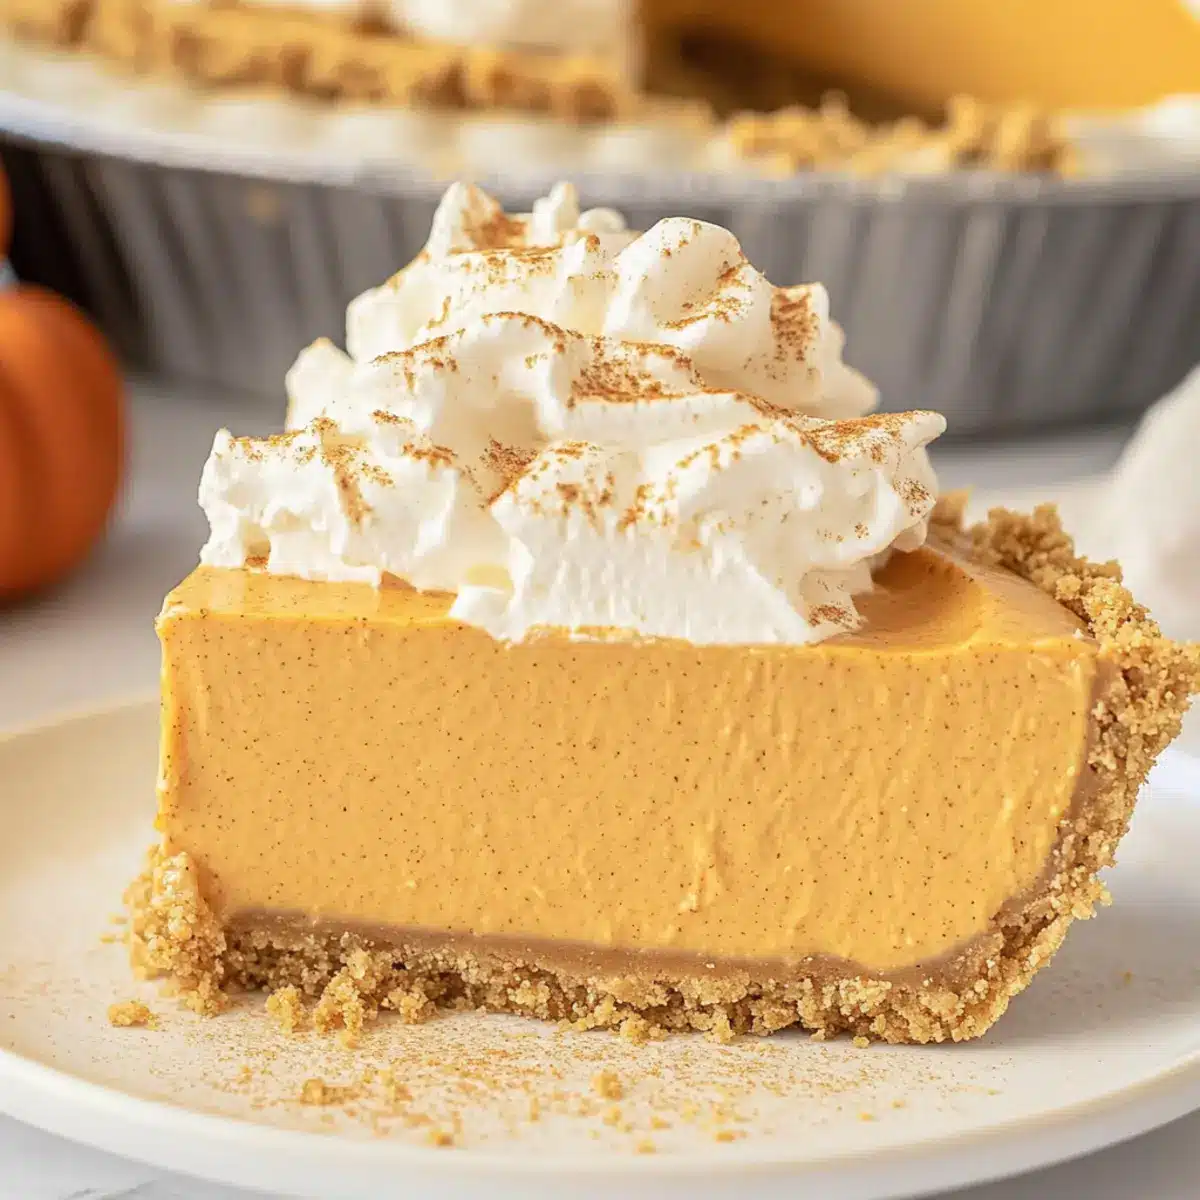
Creamy Delight: This No Bake Marshmallow Pumpkin Pie offers a luxuriously fluffy texture that’s sure to impress your family and friends.
Quick and Easy: With minimal prep and no baking required, this dessert fits seamlessly into your busy holiday schedule.
Versatile Options: Feel free to customize it! Substitute pumpkin with sweet potato or even add chocolate chips for a unique twist.
Gluten-Free Friendly: Using a gluten-free graham cracker crust means everyone at the table can indulge without worry.
Crowd Pleaser: Its light and airy profile has everyone coming back for seconds, making it a perfect addition to your Thanksgiving feast.
Pair this dessert with some warm coffee or a cup of tea for a delightful end to any meal this fall! If you’re in the mood for more delectable treats, check out my recipes for Moist Pumpkin Bread or a zesty twist with Lemon Truffles Zesty.
Marshmallow Pumpkin Pie Ingredients
• For the Filling
• Large Marshmallows – Essential for sweetness and fluffiness; consider using marshmallow fluff for a sweeter alternative.
• Pure Pumpkin – Brings the classic pumpkin flavor; make sure to use 100% pure pumpkin, not pumpkin pie filling.
• Cinnamon – Adds warm spice notes that enhance the dessert’s overall flavor profile.
• Pumpkin Pie Spice – A blend of spices that deepens the pumpkin flavor; it’s a must for the perfect autumn feel.
• Salt – Balances sweetness and enhances flavors beautifully.
• Cool Whip – Provides lightness and creaminess; you can swap it for homemade whipped cream for a fresher taste.
• For the Crust
• Store-Bought Graham Cracker Crust – A convenient base that adds a sweet crunch; just check that it’s gluten-free if needed.
This Marshmallow Pumpkin Pie Recipe is all about easy indulgence; with these simple ingredients, you’re one step closer to making a delicious centerpiece for your holiday table!
Step‑by‑Step Instructions for Marshmallow Pumpkin Pie Recipe
Step 1: Melt the Filling
In a medium saucepan over low to medium-low heat, combine large marshmallows, pure pumpkin, cinnamon, pumpkin pie spice, and a pinch of salt. Stir frequently with a wooden spoon until everything melts down into a smooth, creamy mixture, which should take about 10 minutes. Be sure to keep an eye on it, as you don’t want it to burn.
Step 2: Cool the Mixture
Once the marshmallow mixture is smoothly melted, remove it from the heat and transfer it to a large mixing bowl. Allow it to cool to room temperature for approximately 30 minutes, stirring occasionally to speed up the cooling process. The mixture should thicken slightly as it cools, making it easier to fold in the next ingredient.
Step 3: Fold in the Cool Whip
When the mixture has cooled completely, gently fold in the thawed Cool Whip using a spatula. Be careful to combine until evenly mixed and the color lightens, which should take about 2-3 minutes. This step is crucial for achieving the fluffy texture that will make your Marshmallow Pumpkin Pie so delightful!
Step 4: Pour into Crust
Carefully pour the creamy filling into the store-bought graham cracker crust, smoothing it out with a spatula to ensure an even layer. Take a moment to admire the vibrant orange color before leveling it for an appealing presentation. This will serve as the delightful base of your Marshmallow Pumpkin Pie.
Step 5: Refrigerate the Pie
Once the filling is perfectly spread out, cover the pie with its lid or plastic wrap. Place it in the refrigerator to chill for at least 8 hours, or preferably overnight. This allows the flavors to meld and the filling to set properly, creating that impeccable, fluffy texture you’re after in this No Bake Marshmallow Pumpkin Pie.
Step 6: Serve and Enjoy
After chilling, your Marshmallow Pumpkin Pie is ready to be enjoyed! Slice it into generous portions and serve chilled, topped with a dollop of whipped cream if desired. The pie should be creamy and light, and it will surely be a hit at your holiday table.
What to Serve with No Bake Marshmallow Pumpkin Pie
Enhance your festive gathering with these delightful pairings that perfectly complement the creamy, fluffy magic of this pumpkin pie.
-
Creamy Mashed Potatoes: Their smooth and buttery texture balances the lightness of the pie, making for a comforting meal.
-
Savory Green Bean Casserole: This classic dish brings a crunchy topping and rich flavor that pairs wonderfully with the sweet dessert.
-
Spiced Apple Cider: A warm mug of this fragrant drink enhances the autumnal flavors and creates a cozy atmosphere.
-
Pecan Pie: For those pie lovers, this nutty and sweet cousin offers a delightful contrast to the fluffy pumpkin dessert.
-
Cinnamon Sugar Doughnuts: These delightful rings add a playful twist and a hint of spice that echoes the pumpkin pie’s seasoning.
-
Intense Espresso: A bold cup of espresso contrasts the sweetness of the pie, providing a satisfying end to the meal.
-
Whipped Cream Topping: Lighten the pie even more with a dollop of freshly whipped cream, intensifying its creamy texture and delightful flavor.
-
Chestnut Stuffing: The rich and earthy notes of this side dish provide a beautiful harmony with the sweetness of the pumpkin pie.
-
Caramel Apple Crisp: Warm, sweet, and slightly tart, this dessert adds layers of flavor and a delightful contrast to the fluffy pie.
Make Ahead Options
These No Bake Marshmallow Pumpkin Pie recipes are perfect for busy home cooks looking to save time during the holidays! You can prepare the filling up to 24 hours in advance by following the usual steps, including melting the marshmallows and folding in the Cool Whip. Once mixed, simply cover and refrigerate the filling until you’re ready to assemble. Additionally, the pie can be fully prepped and stored in the refrigerator for up to 3 days; just remember not to add any whipped cream on top until right before serving to maintain its light texture. When it’s time to serve, slice the pie and add a generous dollop of whipped cream for that delightful finishing touch. This method ensures your Marshmallow Pumpkin Pie remains just as delicious and fluffy, allowing you to enjoy stress-free holiday gatherings!
Expert Tips for Marshmallow Pumpkin Pie Recipe
-
Chill Properly: Allow the pie to set in the refrigerator for at least 8 hours or overnight to achieve that perfect fluffy texture.
-
Cool Before Mixing: Be sure the marshmallow mixture is cool before folding in the Cool Whip; this helps maintain the pie’s fluffy consistency.
-
Ingredient Quality: Use 100% pure pumpkin instead of pie filling for the best flavor in your Marshmallow Pumpkin Pie Recipe.
-
Substitution Savvy: Experiment with different crusts; a ginger snap crust adds a delightful kick that complements the pumpkin flavor beautifully.
-
Whipped Cream Warning: Avoid adding whipped cream on top before storing; this prevents it from becoming watery.
Storage Tips for Marshmallow Pumpkin Pie
Fridge: Store your pie covered in the refrigerator for up to 4-5 days. This No Bake Marshmallow Pumpkin Pie stays fresh and delicious, making it perfect for holiday enjoyment.
Freezer: If you want to keep it longer, you can freeze the pie for up to 2 months. Wrap it tightly in plastic wrap and aluminum foil to prevent freezer burn.
Reheating: Thaw in the fridge overnight before serving. Avoid freezing the whipped cream if you’ve added it, as it can alter the texture.
Serving: For the best experience, serve chilled straight from the refrigerator. This will ensure the pie maintains its light and fluffy texture!
Marshmallow Pumpkin Pie Recipe Variations
Feel free to put your personal spin on this delightful dessert as you explore these creative twists!
-
Sweet Potato Swap: Replace pumpkin with sweet potato puree for a subtly sweeter flavor profile. It adds a nice richness too.
-
Chocolate Delight: Fold in mini chocolate chips for an indulgent touch. The chocolate complements the pumpkin beautifully and adds a fun texture.
-
Toffee Crunch: Add toffee bits to the filling for a sweet, buttery crunch. This unexpected twist gives each bite a delightful surprise!
-
Spicy Kick: For a warm twist, try using ginger snap crust instead of graham cracker crust. It brings a spicy kick that enhances the pumpkin flavors.
-
Nutty Flavor: Consider a crushed pecan crust for a nutty flavor. It pairs wonderfully with the creamy filling and gives an extra depth to the pie.
-
Maple Infusion: Drizzle in a bit of maple syrup when mixing the filling for a touch of autumn sweetness. It elevates the classic flavor to new heights.
-
Coconut Cream: Swap in whipped coconut cream for a dairy-free alternative. This will add a tropical flair that balances the spices beautifully.
-
Add Some Heat: If you love a hint of heat, try adding a dash of cayenne to the filling for a surprising zing. It pairs surprisingly well with the pumpkin!
By customizing your Marshmallow Pumpkin Pie Recipe, you can create a dessert that reflects your taste preferences. If you’re in the mood for more indulgent treats, don’t miss out on my Moist Pumpkin Bread or the zesty flavors of Lemon Truffles Zesty. Enjoy!
No Bake Marshmallow Pumpkin Pie Recipe FAQs
What kind of pumpkin should I use for this recipe?
Make sure to use 100% pure pumpkin for this recipe, not pumpkin pie filling, as the latter contains added sugars and spices that can alter the taste and texture of your No Bake Marshmallow Pumpkin Pie. The pure pumpkin provides the exact flavor and consistency needed for the filling to be truly delicious.
How should I store leftovers and for how long?
Store your pie covered in the refrigerator for up to 4-5 days. This No Bake Marshmallow Pumpkin Pie stays fresh and delightful, making it perfect for holiday enjoyment. If you find that leftovers are hanging around, be sure they are covered well to retain moisture and flavor.
Can I freeze this pie? If so, how?
Absolutely! If you want to keep your pie longer, you can freeze it for up to 2 months. Just wrap it tightly in plastic wrap followed by aluminum foil to prevent freezer burn. When you’re ready to enjoy it again, simply thaw in the refrigerator overnight. Be mindful not to freeze any whipped cream topping, as it won’t maintain its fluffy texture.
What if my filling doesn’t set properly?
If your filling is too runny, it might be because the marshmallow mixture wasn’t cooled sufficiently before adding the Cool Whip. Make sure to cool the mixture for at least 30 minutes or longer, stirring occasionally to aid in the cooling process. If it still doesn’t seem thick enough, consider chilling the pie longer, as sometimes the texture improves as it sits in the fridge.
Is this pie safe for those with gluten allergies?
Yes, just be sure to check that your store-bought graham cracker crust is gluten-free. Many brands offer gluten-free options that are equally delicious, allowing everyone at the table to indulge without worry! If you want to make it entirely from scratch, you can use crushed gluten-free cookies to make your crust.
Creamy Marshmallow Pumpkin Pie Recipe You'll Love This Fall
Ingredients
Equipment
Method
- In a medium saucepan over low to medium-low heat, combine large marshmallows, pure pumpkin, cinnamon, pumpkin pie spice, and a pinch of salt. Stir frequently until everything melts down into a smooth, creamy mixture, about 10 minutes.
- Once melted, remove from heat and transfer to a large mixing bowl. Allow it to cool to room temperature for approximately 30 minutes, stirring occasionally.
- When the mixture has cooled completely, gently fold in the thawed Cool Whip using a spatula.
- Carefully pour the creamy filling into the store-bought graham cracker crust, smoothing it out with a spatula.
- Cover the pie with its lid or plastic wrap and refrigerate for at least 8 hours, or preferably overnight.
- After chilling, slice into generous portions and serve chilled, topped with whipped cream if desired.
Leave a Reply