
As the aroma of sizzling chicken fills your kitchen, you might find yourself transported to a cozy Japanese eatery, where each bite whispers tales of comfort and joy. My latest favorite, Japanese Katsu Bowls, brings the delicious crunch of perfectly fried chicken nestled atop a bed of fluffy rice, all drizzled with a savory sauce. This dish not only offers a delightful escape from fast food but is also incredibly customizable—swap in pork or try a vegetarian twist with crispy eggplant or tofu. With straightforward prep and a touch of creativity, you’re just moments away from a satisfying meal that will impress your family or friends. What’s your favorite topping to make it your own?
Why You’ll Crave Japanese Katsu Bowls
Comforting Taste: The crispy chicken katsu paired with savory sauce creates an irresistible dining experience that feels like a warm hug on a plate.
Endless Customization: From pork options to vegetarian delights like eggplant or tofu, you have the freedom to make each bowl uniquely yours.
Quick & Easy: This recipe is easy to follow and can be ready in under an hour—perfect for busy weeknights when you crave something special!
Crowd-Pleaser: Whether you’re hosting friends or feeding family, these bowls are sure to be a hit, offering flavors that everyone will love.
Healthy Twist: With a gluten-free breadcrumb option and the ability to add fresh veggies, you can indulge guilt-free. You might also love these Sticky Chicken Bowls for another fantastic meal idea!
Japanese Katsu Bowls Ingredients
For the Katsu
• Boneless chicken breasts (or pork loin) – The main protein that gives your bowl texture and richness; you can switch to pork loin for a delicious variation.
• Salt and pepper – Essential seasonings to enhance the flavor; adjust to your personal taste.
• All-purpose flour – Perfect for breading and creating a crispy crust; substitute with gluten-free flour for a gluten-free version.
• Large eggs – Binds the breadcrumbs to the meat, contributing to the crust’s texture; no substitute recommended.
• Panko breadcrumbs – Essential for that authentic crunchy katsu texture; you can use gluten-free panko as an alternative.
• Vegetable oil – Ideal for frying, providing that coveted crispiness; can be replaced with canola oil if desired.
For the Rice
• Japanese short-grain rice – Offers a sticky base that complements the dish perfectly; sushi rice can work as a substitute but might vary in texture.
• Water – Crucial for cooking rice correctly; use the same amount regardless of the rice type.
• Rice vinegar – Adds tanginess to the rice; you can substitute with apple cider vinegar if needed.
• Sugar – Balances flavors in your rice seasoning; no alternative suggested.
• Salt – Enhances the overall dish flavor.
For the Sauce
• Tonkatsu sauce – This main sauce adds depth to the dish; homemade or store-bought options are both delightful.
• Soy sauce – Introduces umami flavor; opt for low-sodium if watching your salt intake.
• Worcestershire sauce – Complements the katsu sauce with complexity; a dash of hot sauce can work as a spicier substitute.
• Ketchup – Lends sweetness and tanginess to the sauce; no alternative recommended.
For the Toppings
• Shredded cabbage – A fresh topping that provides crunch; you can swap with lettuce for an equally crisp effect.
• Green onions – Adds brightness and flavor; omit if you prefer.
• Sesame seeds – A garnish for extra texture and visual appeal.
• Pickled ginger (optional) – This optional topping cleanses the palate; it’s highly recommended for a traditional touch.
Enjoy crafting your Japanese Katsu Bowls, where every bite is a blissful escape into a world of flavor and comfort!
Step‑by‑Step Instructions for Japanese Katsu Bowls
Step 1: Prepare the Rice
Start by rinsing 1 cup of Japanese short-grain rice under cold water until the water runs clear, removing excess starch. Soak the rice in water for 30 minutes, then drain. In a pot, combine soaked rice with 1 ¼ cups of water, bring to a boil, then reduce the heat to low and cover. Cook for 15 minutes until fluffy, then let it rest covered for 10 minutes. Gently fluff the rice and mix in rice vinegar, sugar, and salt.
Step 2: Prepare the Katsu
While the rice cooks, pound 2 boneless chicken breasts to a uniform ½ inch thickness using a meat mallet for even cooking. Season both sides generously with salt and pepper. Set up a breading station with three shallow dishes: one for all-purpose flour, one for beaten eggs, and another for panko breadcrumbs. Dredge each chicken breast in flour, dip into the egg, then coat thoroughly with panko.
Step 3: Fry the Katsu
In a large skillet, heat ½ cup of vegetable oil over medium heat until shimmering. Carefully add the breaded chicken breasts; fry for about 4-5 minutes per side until they are golden brown and an internal temperature of 165°F is reached. Use tongs to flip the katsu gently, avoiding overcrowding the pan to maintain oil temperature. Drain the cooked katsu on paper towels to remove excess oil.
Step 4: Make the Sauce
In a small bowl, whisk together ¼ cup tonkatsu sauce, 1 tablespoon soy sauce, 1 teaspoon Worcestershire sauce, and 2 tablespoons ketchup. This savory sauce brings a delightful depth to your Japanese Katsu Bowls, balancing the flavors of the crispy chicken and the sticky rice. Set aside to allow flavors to meld while assembling the dish.
Step 5: Assemble Bowls
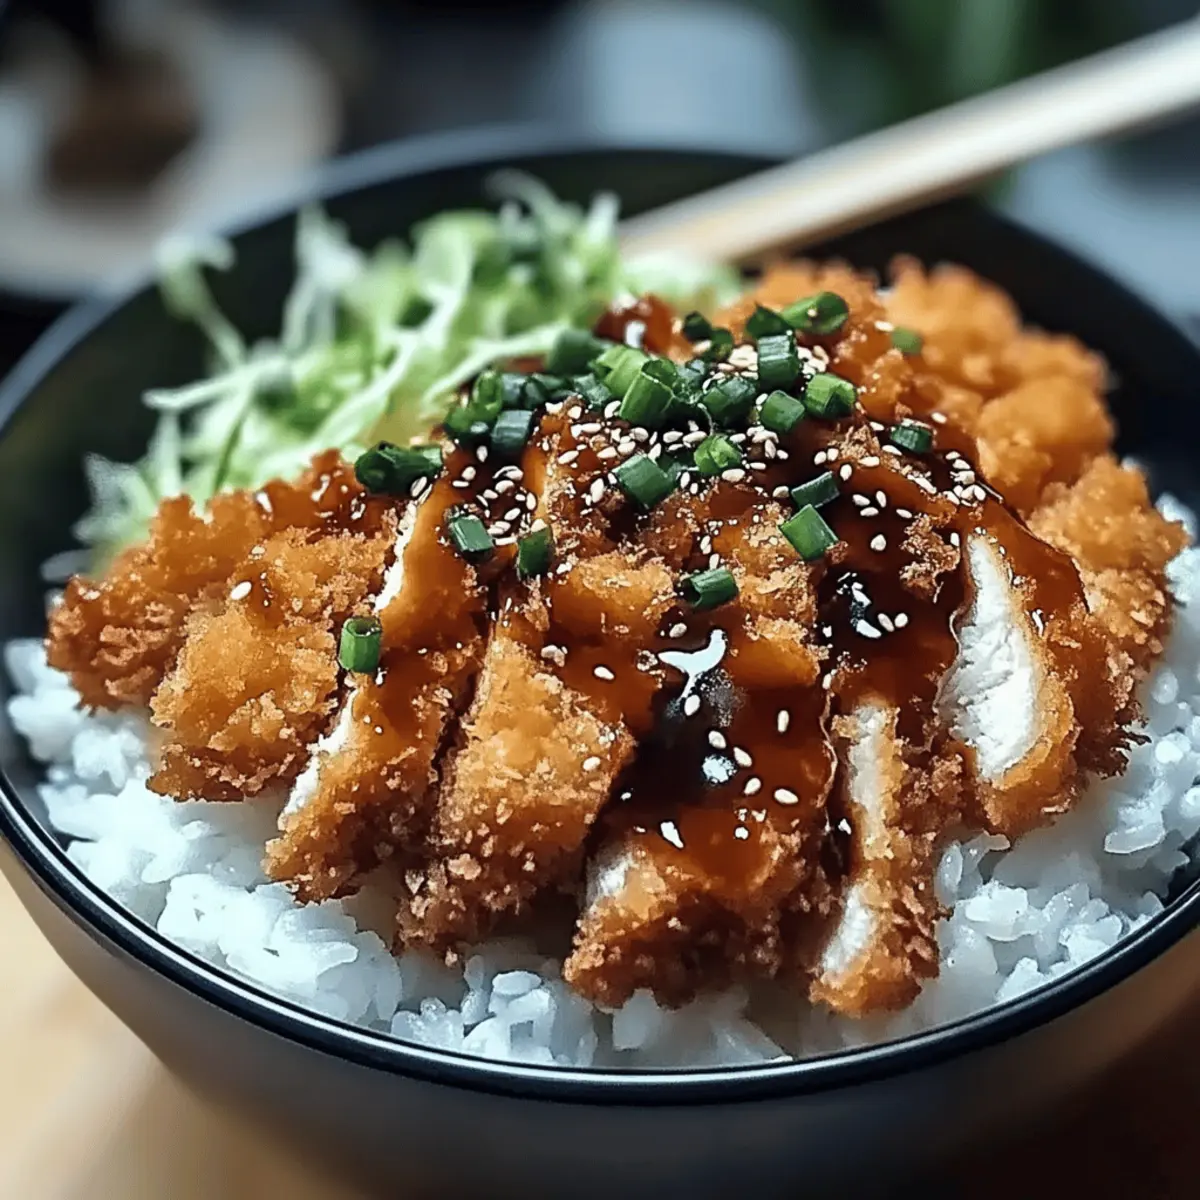
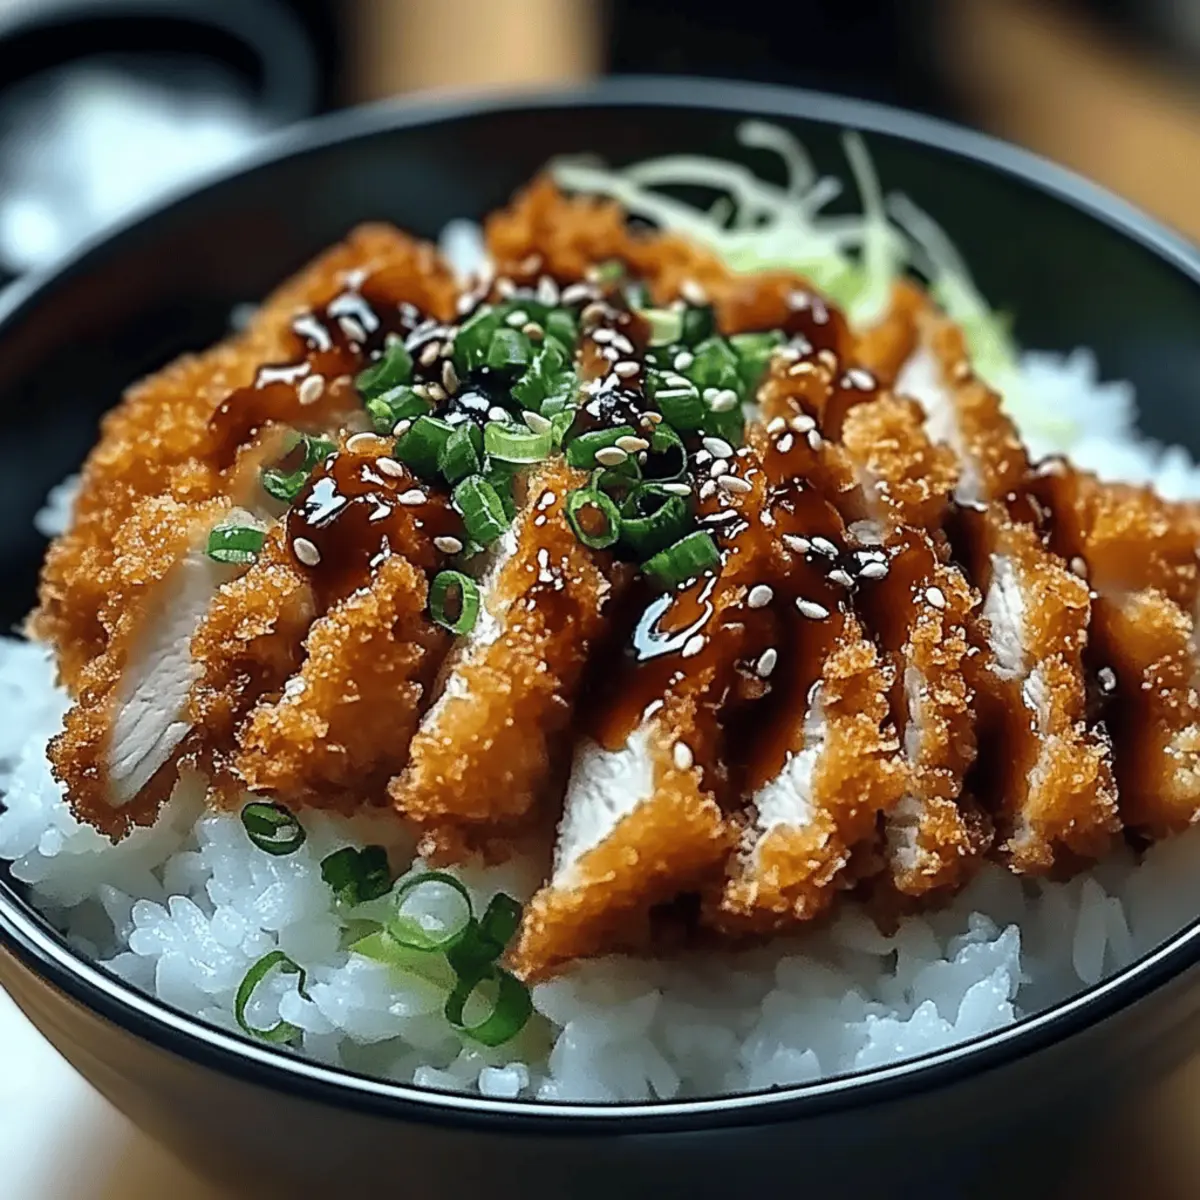
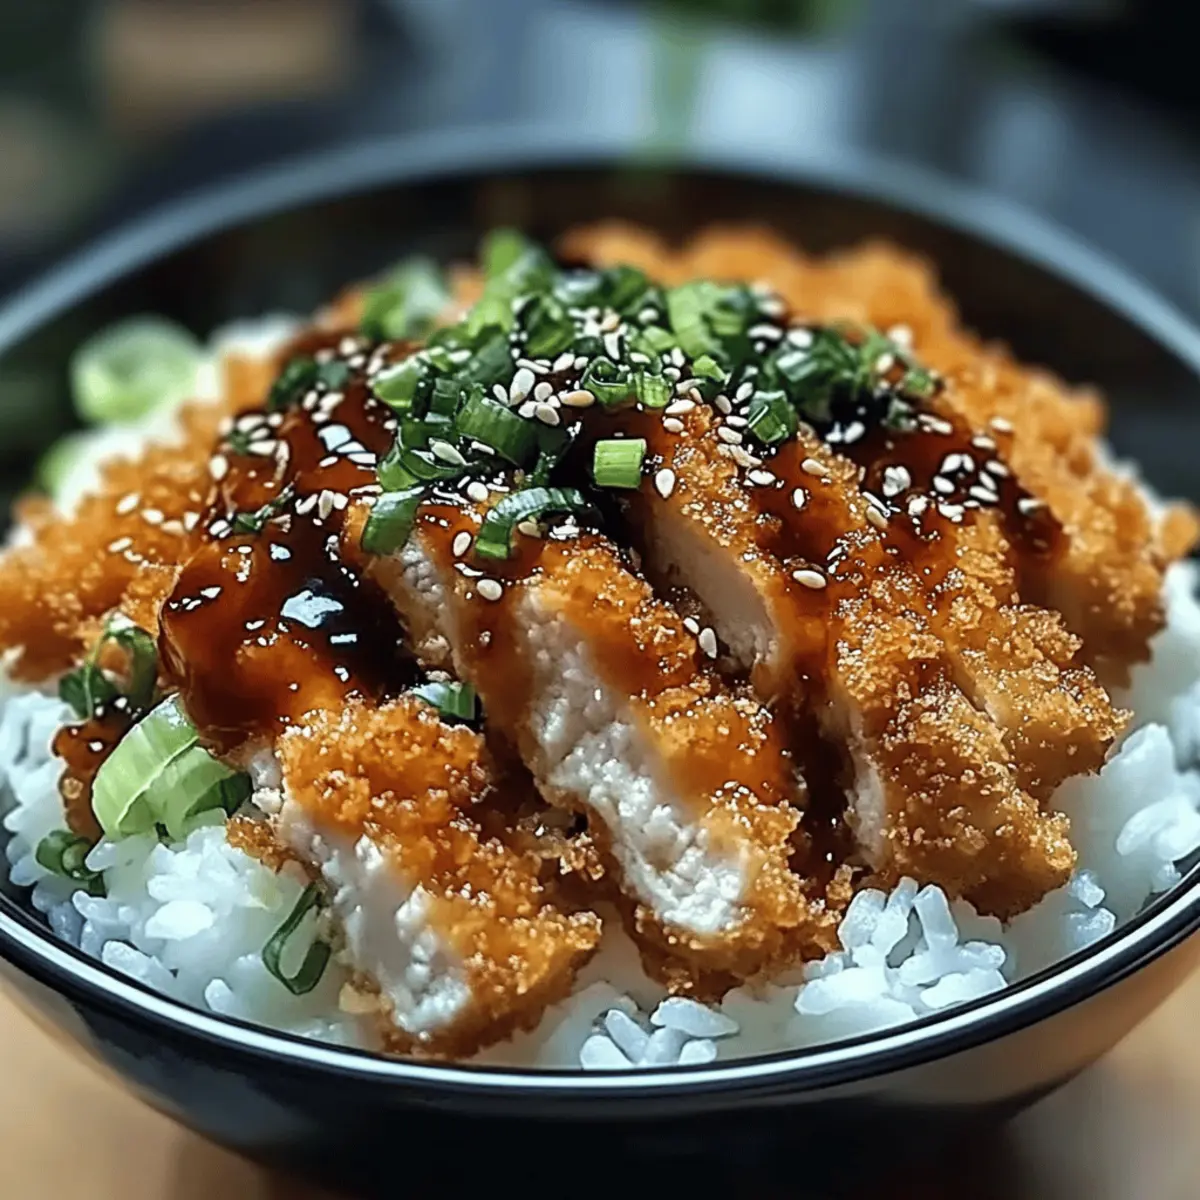
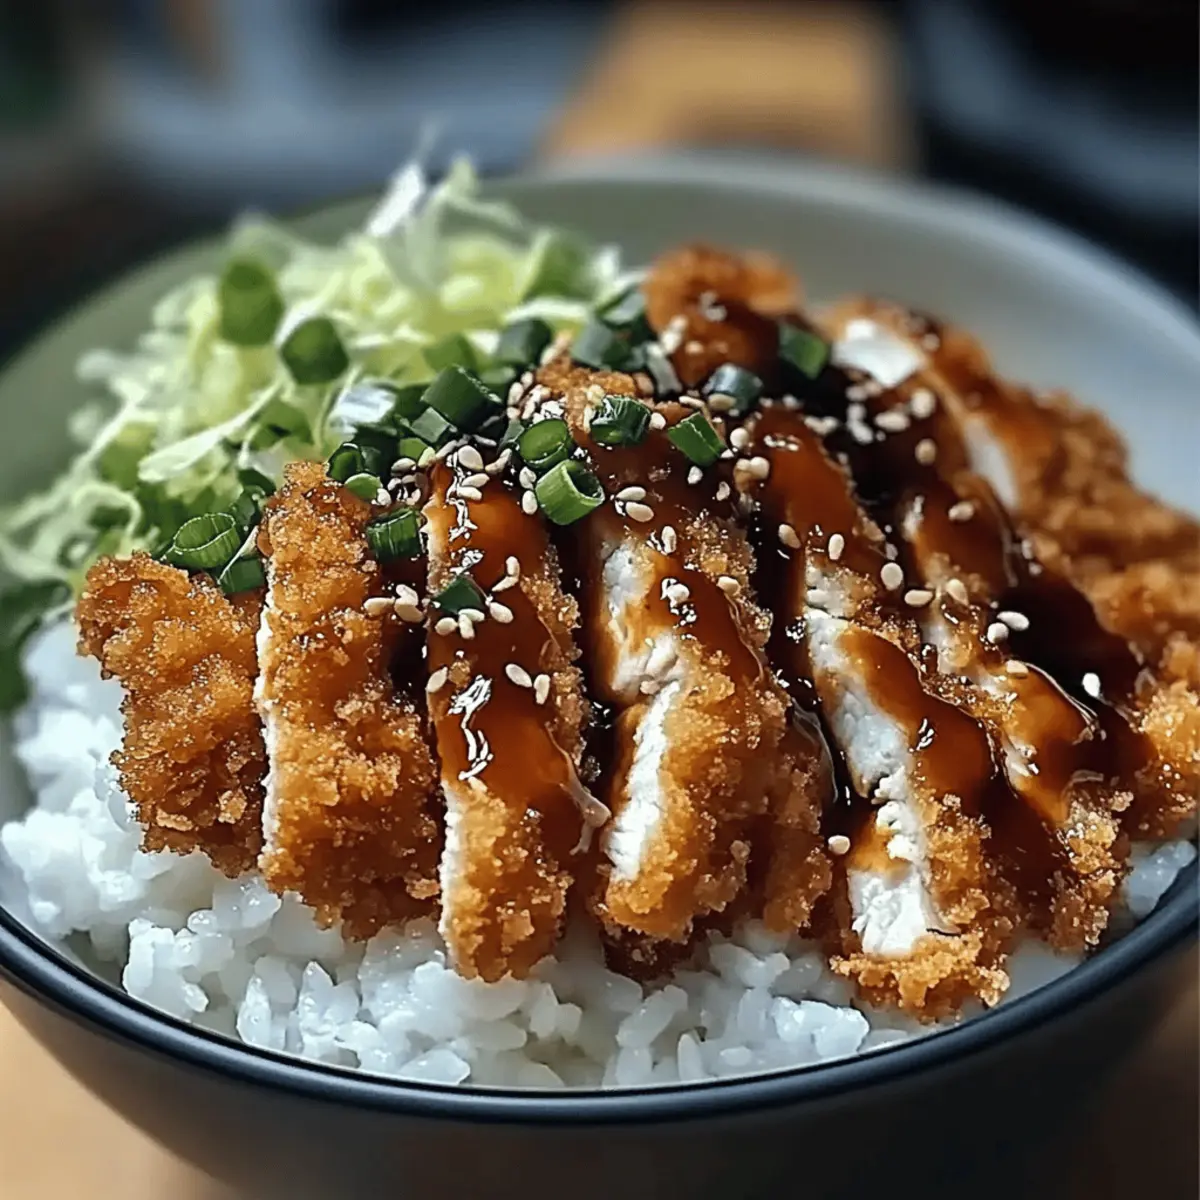
For serving, spoon a generous portion of the seasoned rice into each bowl. Slice the crispy katsu into strips and layer them on top of the rice. Drizzle the homemade sauce generously over the chicken, ensuring every bite is flavorful. Finish by adding a handful of shredded cabbage, chopped green onions, and a sprinkle of sesame seeds for garnish, bringing both color and crunch to these delicious Japanese Katsu Bowls.
Make Ahead Options
These Japanese Katsu Bowls are perfect for meal prep! You can prepare the katsu by breading the chicken up to 24 hours in advance, storing it in the fridge to maintain freshness and crispness. Additionally, the rice can be made ahead and refrigerated for up to 3 days; simply reheat gently with a splash of water to keep it moist. When you’re ready to serve, just fry the coated chicken until golden and crisp, following the original cooking instructions, and assemble your bowls with freshly made sauce and toppings. This way, you can enjoy restaurant-quality Katsu with minimal effort during busy weeknights!
How to Store and Freeze Japanese Katsu Bowls
Fridge: Store your Japanese Katsu Bowls in an airtight container for up to 3 days to keep the chicken crispy and the rice fresh.
Freezer: Freeze any leftover katsu separately from the rice in an airtight container for up to 2 months. To reheat, thaw in the fridge overnight before warming.
Reheating: For optimal results, reheating in a toaster oven will help restore the katsu’s crispiness. Heat until warmed through, about 10-15 minutes at 350°F.
Assembly Tips: If you’ve stored components separately, reassemble your Japanese Katsu Bowls just before serving for the best texture and flavor.
Expert Tips for Japanese Katsu Bowls
-
Flatten Evenly: Ensure to pound the chicken to ½ inch thick for uniform cooking, so each piece is succulent and crispy.
-
Maintain Oil Temperature: Avoid overcrowding the skillet; give chicken enough space to fry properly, ensuring a golden-brown crust on your katsu.
-
Rest Before Slicing: Allow the fried katsu to rest for a few minutes before slicing. This helps preserve its juiciness, enhancing flavor in every bite.
-
Choose the Right Rice: Use Japanese short-grain rice for the best sticky texture. If you opt for sushi rice, be aware of slight differences in texture.
-
Make It Your Own: Don’t hesitate to experiment with toppings like avocado or a soft-boiled egg for added richness in your Japanese Katsu Bowls.
What to Serve with Japanese Katsu Bowls
Elevate your dining experience with these delightful side dishes that enhance the crispy comfort of katsu and bring balance to your meal.
-
Crispy Tempura Vegetables: Crunchy, lightly battered vegetables offer a delightful contrast to the katsu. The batter’s airy texture complements the dish’s savory nature beautifully.
-
Miso Soup: Warm and soothing, this traditional soup made with miso paste and seaweed adds a comforting touch, perfect for a chilly evening.
-
Steamed Edamame: Simple yet nutritious, these green soybeans provide a pop of freshness and a beautiful color that brightens the table.
-
Pickled Cucumbers: The tangy, refreshing crunch of pickled cucumbers acts as a palate cleanser, balancing the richness of katsu and making each bite more enjoyable.
-
Japanese Potato Salad: Creamy and slightly sweet, this dish brings a comforting touch with its soft potatoes and vibrant vegetables, making your meal feel more complete.
-
Chilled Soba Noodles: These buckwheat noodles dressed in a light soy sauce or sesame dressing serve as a cool contrast to the warm katsu and rice, enhancing the overall experience.
-
Green Salad with Sesame Dressing: A vibrant salad with fresh greens tossed in a nutty sesame dressing introduces a lightness that complements the katsu’s crunch.
-
Lychee or Mango Sorbet: For dessert, a refreshing sorbet serves as a sweet ending, cleansing the palate while echoing the meal’s delightful flavors.
These pairings create a well-rounded meal that celebrates the comforting essence of Japanese Katsu Bowls while introducing new textures and flavors.
Japanese Katsu Bowls Variations & Substitutions
Feel free to get creative with your Japanese Katsu Bowls and tailor them to your heart’s desire for that perfect dish!
- Pork Variation: Swap the chicken for tender pork loin for a rich and flavorful twist that adds depth to your bowls.
- Vegetarian Delight: Substitute chicken with crispy eggplant or tofu for a satisfying vegetarian option; just make sure to season well for flavor.
- Gluten-Free Option: Use gluten-free all-purpose flour and panko breadcrumbs to make your katsu gluten-free without sacrificing crunch.
- Flavor Kick: Try adding a drizzle of sriracha or a sprinkle of red pepper flakes for an extra layer of heat that brings the dish to life.
- Dynamic Toppings: Layer on sliced avocado or a soft-boiled egg for a creamy contrast that enhances every bite of your katsu.
- Saucy Surprise: Instead of the traditional tonkatsu sauce, mix things up with a savory teriyaki sauce for a sweet and salty adventure.
- Crunchy Contrast: For added freshness, toss in some pickled vegetables alongside the shredded cabbage; it brightens the flavor and adds a delightful crunch.
- Rice Variations: Experiment with jasmine or brown rice for your base to change the texture; each type adds something new to your Japanese Katsu experience.
Feeling adventurous? These alternatives allow for endless possibilities, making your meal both versatile and absolutely delicious, just like my Sticky Chicken Bowls that you might also enjoy!
Japanese Katsu Bowls Recipe FAQs
What is the best way to select ripe ingredients for Japanese Katsu Bowls?
Absolutely! For the best chicken katsu, choose boneless, skinless chicken breasts that are fresh and firm to the touch, with a pale pink color. When selecting shredded cabbage, look for vibrant green leaves without any brown spots. If you prefer a vegetarian option like eggplant, go for a firm, shiny eggplant with a deep purple hue, ensuring it’s not overly soft.
How should I store leftovers of Japanese Katsu Bowls?
After enjoying your delicious katsu bowls, store any leftovers in an airtight container in the refrigerator for up to 3 days. Make sure the chicken is fully cooled before sealing it. If you want to keep the katsu crispy, I recommend placing a paper towel in the container to absorb any moisture.
Can I freeze Japanese Katsu Bowls and how?
Yes, you can! To freeze, separate the katsu from the rice and toppings. Place the cooled katsu in an airtight container or freezer bag, ensuring to remove as much air as possible. It will keep well for up to 2 months. When you’re ready to enjoy them again, let the katsu thaw in the fridge overnight and reheat in a toaster oven for that beloved crispiness, about 10-15 minutes at 350°F.
What should I do if my katsu isn’t crispy enough?
If your katsu isn’t turning out crispy, make sure you’re using the correct amount of oil and preheating it adequately before frying. Aim for a shimmering sheen, which indicates the oil is hot enough. Avoid crowding the pan, as this lowers the temperature and prevents the katsu from frying properly. If you’ve already cooked it, you can try reheating the katsu in a hot skillet or toaster oven to revive some of that crunch!
Are there any dietary considerations for Japanese Katsu Bowls?
Very! For those with gluten sensitivities, you can easily make a gluten-free version by substituting all-purpose flour and panko breadcrumbs with gluten-free alternatives. Additionally, if you’re accommodating allergies, be mindful of the sauces—soy sauce can contain gluten, so opt for gluten-free soy sauce. If you have vegetarian friends or family, consider using tofu or eggplant instead of chicken or pork for a delicious alternative!
Crispy Japanese Katsu Bowls: Comfort Food You’ll Love
Ingredients
Equipment
Method
- Rinse the rice under cold water until the water runs clear. Soak for 30 minutes, then drain. Combine with 1 ¼ cups water, bring to a boil, cover, and cook for 15 minutes. Let it rest for 10 minutes, then fluff and mix in rice vinegar, sugar, and salt.
- Pound chicken breasts to ½ inch thickness, season with salt and pepper. Set up a breading station with flour, beaten eggs, and panko. Dredge chicken in flour, dip in egg, then coat with panko.
- Heat oil in a skillet over medium heat. Fry chicken for 4-5 minutes per side until golden brown and cooked through. Drain on paper towels.
- Whisk together tonkatsu sauce, soy sauce, Worcestershire sauce, and ketchup in a bowl. Set aside.
- Assemble bowls with a portion of rice, sliced katsu on top, drizzle with sauce, and add cabbage, green onions, and sesame seeds.
Leave a Reply