
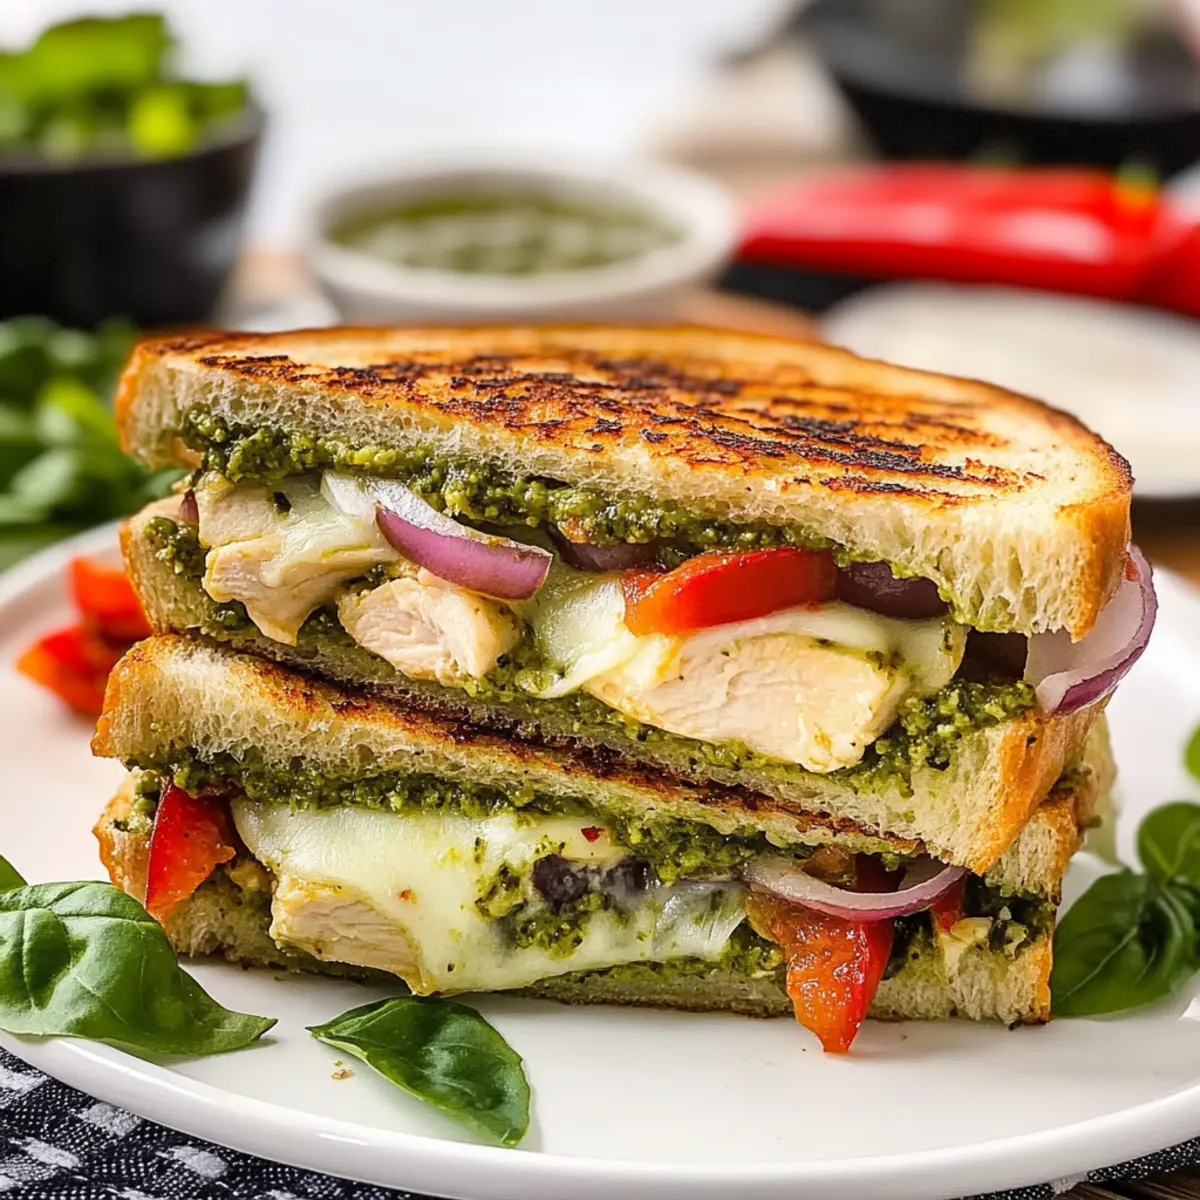
I still can’t shake the memory of that sunny afternoon when the aroma of freshly pressed sandwiches wafted through the air, beckoning my taste buds with promises of savory delights. This Italian Chicken Panini with Garlicky Pesto is a delicious way to recreate that magic in your own kitchen. Packed with tender chicken, gooey mozzarella, and vibrant roasted red peppers, this panini strikes the perfect balance of crispiness and melty goodness. Not only is it a fantastic choice for a quick lunch, but it also doubles as a cozy dinner option that’ll satisfy your cravings. With just a few simple ingredients and minimal prep time, you’ll be treated to a crowd-pleaser that leaves you wondering why you ever settled for takeout. Are you ready to dive into the delightful layers of flavor that await inside this incredible sandwich?
Why is the Italian Chicken Panini amazing?
Simple yet Amazing: This Italian Chicken Panini is a breeze to make, requiring just a few ingredients that deliver bold flavors without the fuss.
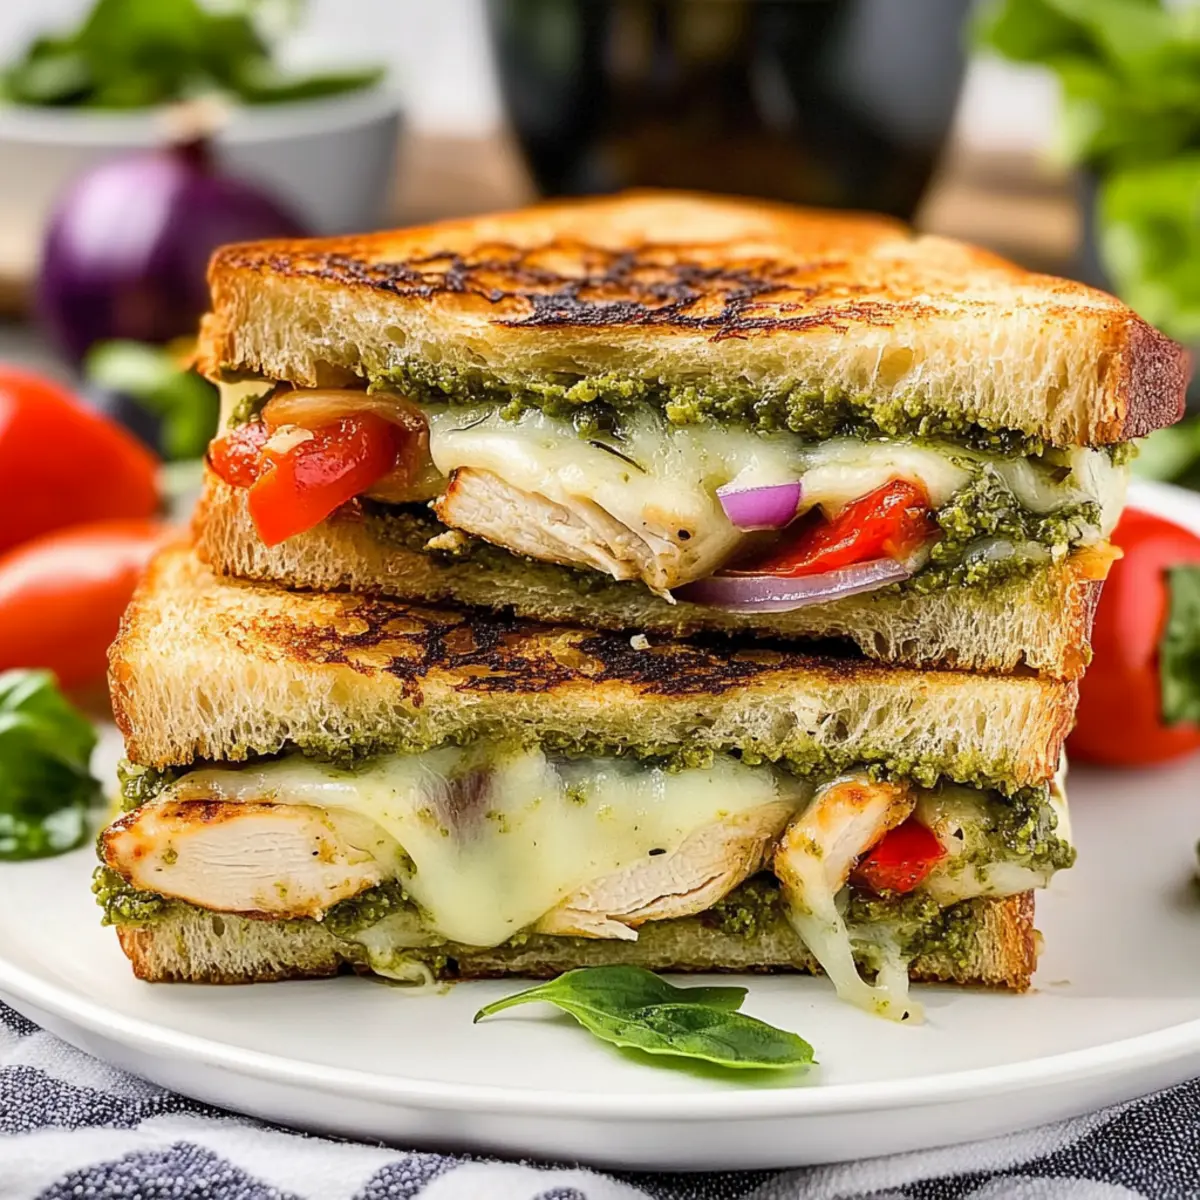
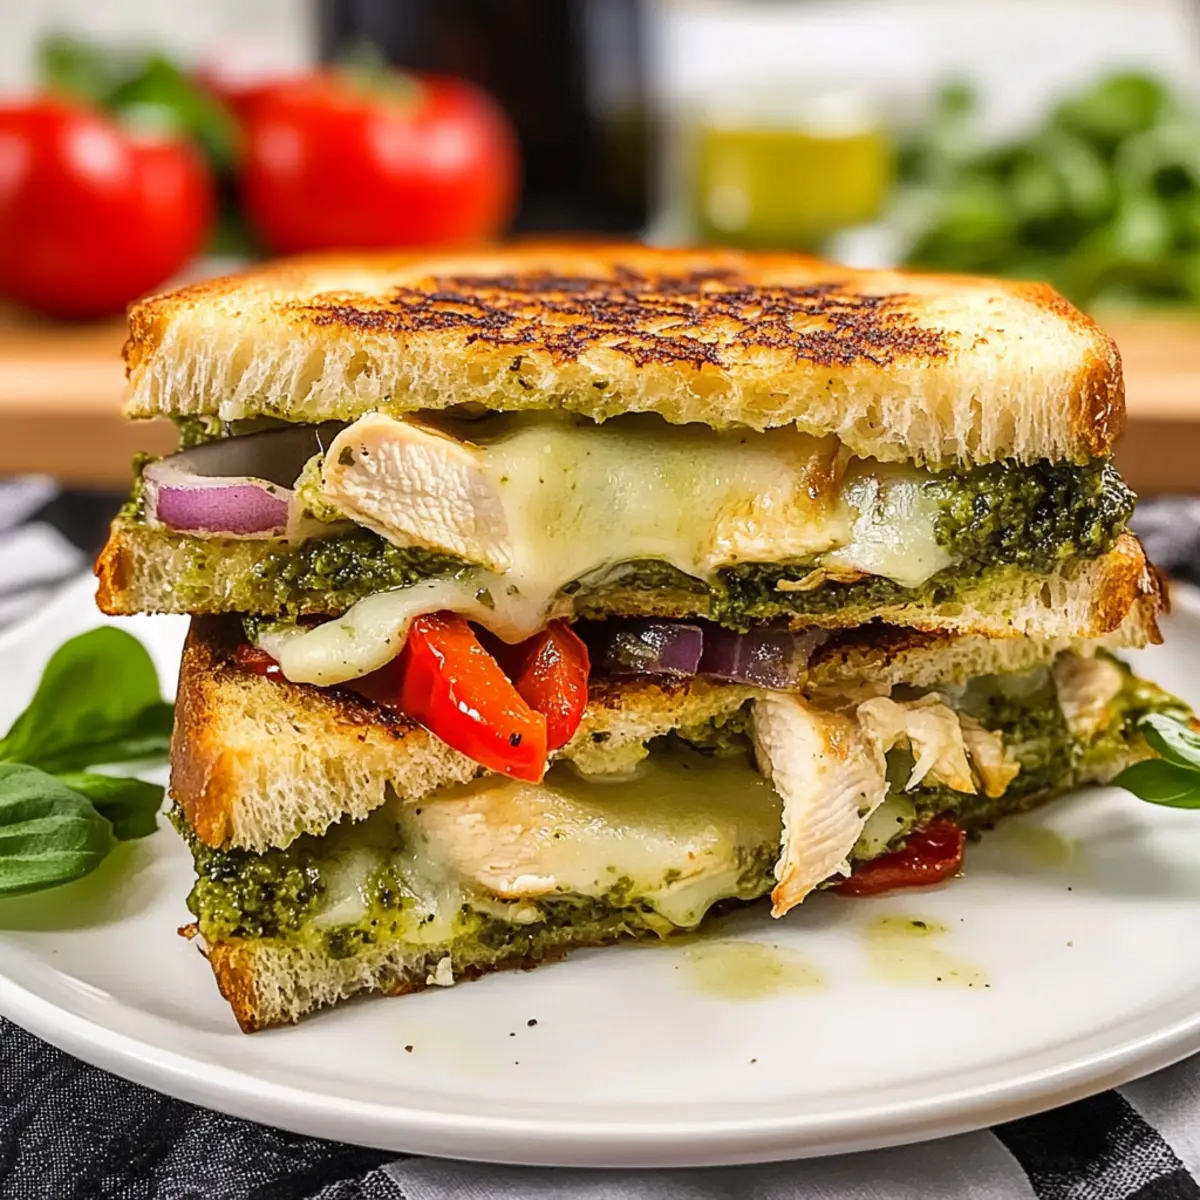
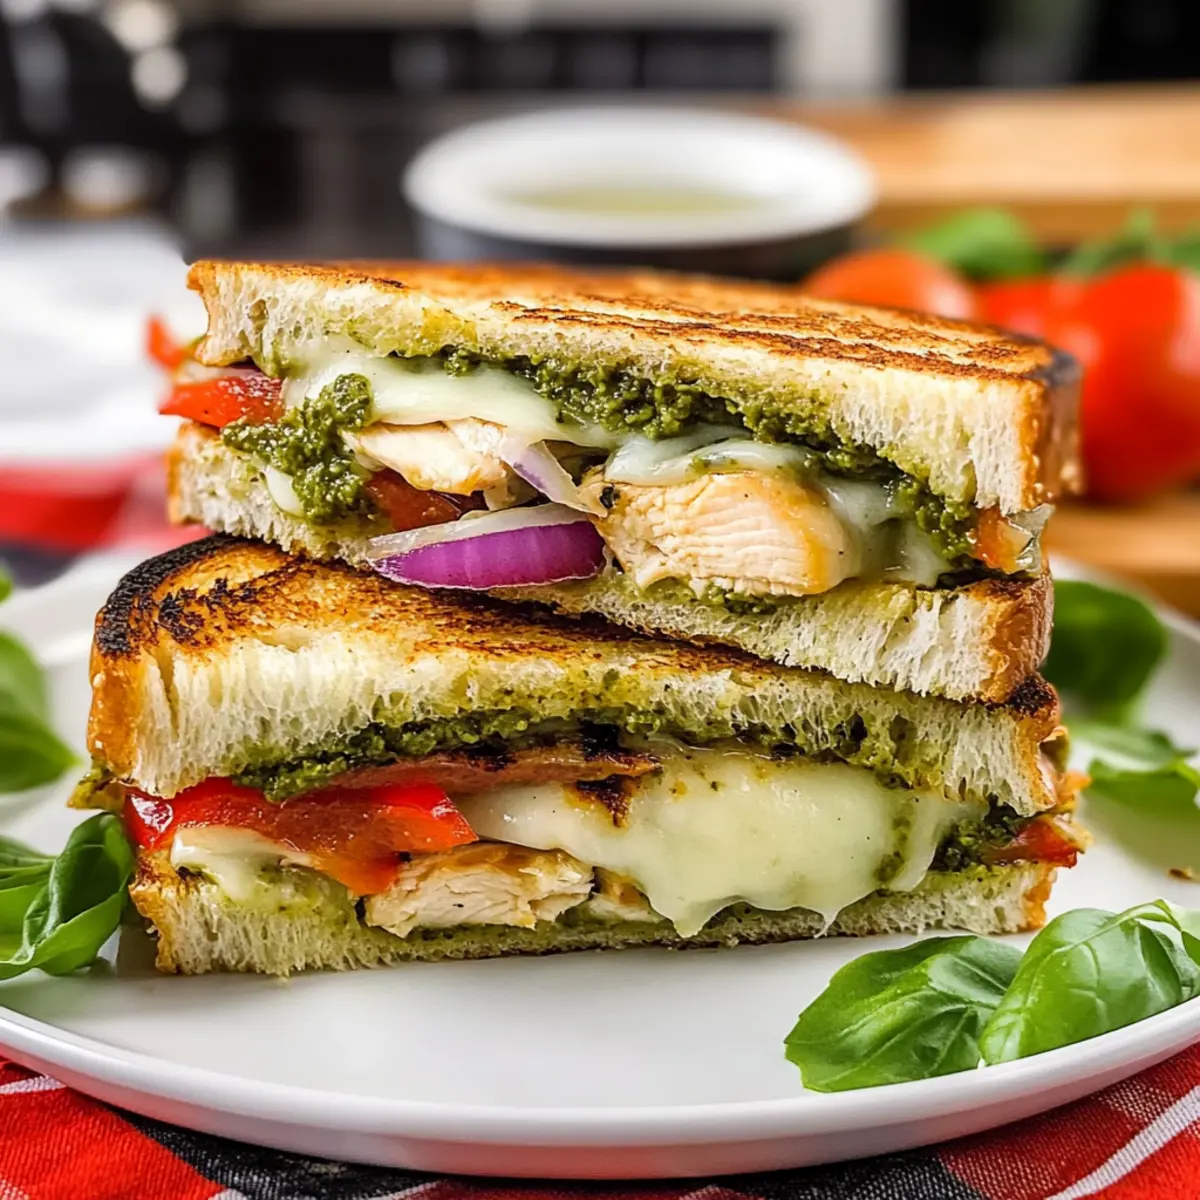
Mouthwatering Layers: Expect gooey mozzarella melting over sun-kissed roasted red peppers and tender chicken, infused with garlicky pesto that brings everything together beautifully.
Quick Satisfaction: Perfect for a speedy lunch or a leisurely dinner, you can whip this up in no time and keep your evenings stress-free.
Versatile Delight: Feel free to swap in your favorite proteins or cheeses, allowing you to customize each panini to suit your tastes. Why not try it with a side of mixed greens or chips for a complete meal? If you have more chicken, consider making some Sticky Garlic Chicken for your next dinner too!
Italian Chicken Panini Ingredients
For the Bread
• Italian Bread – A sturdy base that offers a delightful crunch; alternatives like ciabatta or sourdough work beautifully too.
For the Filling
• Chicken Breast – The star protein in this Italian Chicken Panini; use rotisserie chicken for a speedy option.
• Low Moisture Mozzarella – This cheese creates that perfect melty texture; avoid fresh mozzarella to keep the sandwich from getting soggy.
• Roasted Red Peppers – A smoky, sweet addition; ensure they are well-drained for the best texture.
• Red Onion – Adds a sharp yet sweet flavor; feel free to substitute with shallots if you prefer a milder taste.
For the Sauce
• Pesto – Infuses the panini with a rich, garlicky goodness; any spread or aioli can work as a tasty alternative.
With these simple ingredients, your Italian Chicken Panini will become a family favorite that’s sure to impress!
Step‑by‑Step Instructions for Italian Chicken Panini
Step 1: Prepare the Bread
Begin by laying out your Italian bread slices on a clean surface. Generously slather one side of each slice with garlicky pesto, ensuring an even coating that brings flavor to every bite. This step sets the delicious foundation for your Italian Chicken Panini, ready to embrace the other ingredients.
Step 2: Layer the Chicken
On two of the pesto-coated bread slices, place half of the cooked chicken breast, sliced thinly. Distribute the chicken evenly across each slice to ensure every bite is packed with savory goodness. This tender chicken will add heartiness to your panini, making each mouthful satisfying.
Step 3: Add the Vegetables
Next, layer the slivered red onion and well-drained roasted red peppers over the chicken. The sharpness of the red onion and the sweetness of the peppers will create a delightful contrast in your Italian Chicken Panini. Make sure to spread them out evenly for a balanced flavor profile in each bite.
Step 4: Cheese it Up
Sprinkle a generous amount of shredded low moisture mozzarella over the vegetables, ensuring even coverage. This cheesy layer is crucial for that gooey, melty texture that pairs perfectly with the other ingredients. The cheese will bubble and brown beautifully as the panini cooks.
Step 5: Complete the Sandwich
Carefully place the remaining slices of bread, pesto side down, atop the cheese layer to close your panini. Gently press down to seal the sandwich and ensure that all those flavorful elements meld together as they cook. Now, your Italian Chicken Panini is set for grilling!
Step 6: Heat the Panini Press
Preheat your panini press according to the manufacturer’s instructions until it’s nice and hot. For a stovetop alternative, heat two skillets—one for grilling and another to press down on the sandwich. Spray cooking oil on the press or skillets to prevent sticking and help achieve a golden crust.
Step 7: Grill the Panini
Place the assembled sandwiches in the preheated panini press and grill for about 3-4 minutes. Check for a golden brown exterior and melted cheese. If using skillets, press down firmly with the other skillet while cooking. This ensures your Italian Chicken Panini becomes beautifully toasted and crunchy.
Step 8: Serve and Enjoy
Once grilled, carefully remove the panini from the press and let them cool for a minute before cutting in half. The crust should be perfectly crispy while the inside remains warm and melty. Serve your Italian Chicken Panini hot, with your favorite sides like mixed greens or chips!
How to Store and Freeze Italian Chicken Panini
Fridge: Keep any leftover Italian Chicken Panini wrapped tightly in plastic wrap or stored in an airtight container for up to 3 days to maintain freshness.
Freezer: While it’s best not to freeze the entire prepared panini, you can freeze the chicken and vegetables separately for up to 2 months; just thaw before assembling and grilling.
Reheating: To enjoy leftover panini, reheat in a panini press or skillet over medium heat for about 3-4 minutes per side; this will help restore that crispy texture.
Assembly Tips: If prepping ahead, store individual ingredients separately in the fridge to maintain the quality of the bread, ensuring a delicious panini experience when ready to assemble!
Italian Chicken Panini Variations
Feel free to let your creativity shine and customize this delicious panini to suit your mood and taste buds!
-
Healthier Option: Substitute whole grain bread for a nutritious twist that still delivers great flavor without compromising texture.
-
Spicy Kick: Add sliced jalapeños or a smear of spicy aioli for a delightful heat that will tantalize your taste buds.
-
Vegetarian Delight: Replace the chicken with grilled zucchini or eggplant slices, bringing a lovely smoky element to your panini.
For a little extra goodness, toss in some fresh spinach or basil leaves. They not only provide vibrant color but also a burst of freshness that complements the other ingredients beautifully.
-
Cheese Swap: Try mozzarella alternatives like pepper jack for a zesty flavor or gouda for a rich, creamy twist.
-
Smoky Flavor: Instead of roasted red peppers, use smoked paprika or a smoky cheese to add that irresistible depth to your panini.
-
Herbed Pesto: Switch out the traditional pesto for sun-dried tomato or arugula pesto to create a whole new flavor experience.
I also recommend trying this panini alongside a refreshing side salad of mixed greens for a balanced meal. You might even enjoy it with some Chopped Chicken Caesar for a fun twist!
- Savory Spread: For an added kick, mix in a dash of balsamic glaze to create layers of flavor that will take your sandwich over the top.
Embrace these ideas, and transform your Italian Chicken Panini into a creation that feels distinctly yours!
What to Serve with Italian Chicken Panini
Imagine sinking your teeth into a buttery, crispy panini, then pairing it with vibrant sides and delightful drinks to create a full culinary experience.
- Mixed Greens Salad: A refreshing mix of greens with a zesty vinaigrette complements the rich flavors of the panini, adding a crisp contrast.
- Homemade Tomato Soup: The creamy, comforting texture of a warm tomato soup creates a soul-satisfying meal that pairs beautifully with the crunchy sandwich.
- Sweet Potato Fries: Crispy on the outside and tender on the inside, these add a subtle sweetness that balances the savory panini perfectly.
- Grilled Vegetables: Charred bell peppers, zucchini, and eggplant enhance the meal with smoky flavors and vibrant colors, creating an appealing plate.
- Chips and Salsa: The crunchiness of tortilla chips and the tangy bite of fresh salsa provide a light, playful side that everyone will love.
- Pineapple Smoothie: A refreshing, sweet beverage that’s both uplifting and flavorful, complementing the savory elements of the sandwich.
- Lemon Sorbet: For dessert, a scoop of tart lemon sorbet cleanses the palate after the rich sandwich, leaving you feeling refreshed.
- Iced Tea: A light, sweetened iced tea pairs well with your panini, offering a refreshing sip that balances the meal perfectly.
Expert Tips for Italian Chicken Panini
• Perfect Bread Choice: Select a sturdy bread like ciabatta or sourdough to hold the fillings without getting soggy.
• Avoid Sogginess: Ensure roasted red peppers are well-drained to prevent your Italian Chicken Panini from becoming too moist during grilling.
• Melted Cheese Magic: Use low moisture mozzarella for the ultimate gooey texture. Fresh mozzarella may release too much moisture while cooking.
• Grill It Right: Monitor the cooking time carefully; if the bread is too thick, you might need to adjust grilling time for properly melted cheese and golden crusts.
• Pressing Technique: If using skillets, press down firmly with the second skillet to get that authentic panini crunch and ensure even cooking.
• Try Variations: Experiment with different proteins or toppings for your Italian Chicken Panini; it’s a versatile recipe that can adapt to your taste!
Make Ahead Options
These Italian Chicken Paninis are a game changer for meal prep enthusiasts! You can slice and prepare the chicken along with the roasted red peppers and store them in the refrigerator for up to 3 days. To maintain flavor and texture, layer the ingredients (chicken, roasted red peppers, and cheese) in individual airtight containers. When you’re ready to enjoy your panini, simply assemble it with fresh pesto on the bread and grill it for about 3-4 minutes. This way, you’ll have a delicious, homemade meal that’s just as satisfying and avoids the hassle of fast food, all without compromising on quality!
Italian Chicken Panini Recipe FAQs
How do I choose the right bread for my Italian Chicken Panini?
Absolutely! Look for a sturdy bread like ciabatta or sourdough, which can hold all those delicious fillings without becoming soggy. Avoid soft white bread since it may not hold up during grilling and can lead to a mushy panini.
How should I store leftovers from the Italian Chicken Panini?
To keep your leftover Italian Chicken Panini fresh, wrap them tightly in plastic wrap or place in an airtight container. They can be stored in the fridge for up to 3 days. Just remember, the sooner you enjoy it, the better it will taste!
Can I freeze my Italian Chicken Panini?
While freezing the entire prepared panini isn’t recommended due to potential sogginess, you can freeze the cooked chicken and vegetables separately. Just place them in airtight bags, and they can last up to 2 months in the freezer. Thaw before assembling when you’re ready to enjoy!
What should I do if my panini gets soggy?
To avoid sogginess, make sure to drain the roasted red peppers thoroughly before adding them to your panini. You can also try using low moisture mozzarella, which helps keep excess moisture out. If you’re using fresh ingredients, keep a close eye on the water content to maintain that delightful crispiness.
Can my pets enjoy the fillings from the Italian Chicken Panini?
While some ingredients like chicken and roasted red peppers are safe for pets in moderation, always consult your veterinarian before introducing new foods. Avoid giving them any seasoned or flavored items, especially those with garlic or onions, as these can be harmful to animals.
How can I ensure my cheese melts perfectly?
For the best melting experience, stick with low moisture mozzarella, which provides that gooey, melt-in-your-mouth texture. If using fresh mozzarella, be sure to drain it well to minimize excess moisture, helping your panini stay crispy. Grill over medium heat and monitor closely for that perfect golden crust!
Irresistible Italian Chicken Panini with Garlicky Pesto Delight
Ingredients
Equipment
Method
- Begin by laying out your Italian bread slices on a clean surface. Generously slather one side of each slice with garlicky pesto.
- On two of the pesto-coated bread slices, place half of the cooked chicken breast, sliced thinly. Distribute the chicken evenly.
- Next, layer the slivered red onion and well-drained roasted red peppers over the chicken.
- Sprinkle a generous amount of shredded low moisture mozzarella over the vegetables.
- Carefully place the remaining slices of bread, pesto side down, atop the cheese layer to close your panini.
- Preheat your panini press according to the manufacturer's instructions until it's nice and hot.
- Place the assembled sandwiches in the preheated panini press and grill for about 3-4 minutes.
- Once grilled, carefully remove the panini from the press and let them cool for a minute before cutting in half.
Leave a Reply